What's the deal with Addictive Drums 2 in the New SONAR?

by Dan Gonzalez

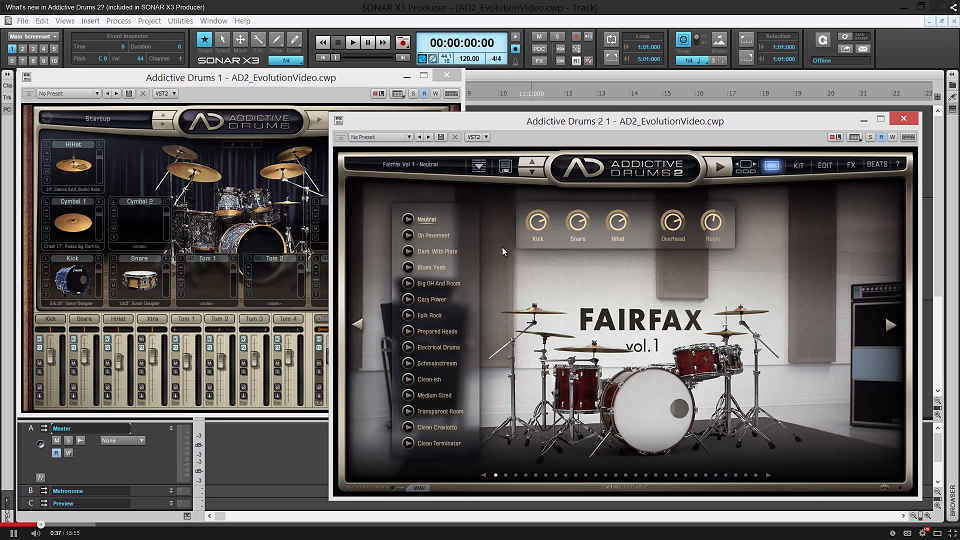
Addictive Drums 2 come to life in the brand new version of SONAR Platinum and SONAR Professional making for a massive introduction into the world of XLN Audio and all the awesome products that they develop.


As a SONAR X3 user, your standpoint may be “What’s the deal with Addictive Drums 2 and my upgrade?” Let’s see if we can clear that up in this article.

What comes with my purchase of SONAR Platinum?

SONAR comes in 3 flavors, and 2 of them come with Addictive Drums 2.

With SONAR Platinum you get the Addictive Drums 2 Producer Bundle. This comes with your choice of any 3 kits that are available for Addictive Drums 2.

You also get your pick of 3 MIDIpaks and 3 Kitpiece Paks from XLN Audio’s webshop. Just about every single genre of music is covered in the wide Continue reading “What's the deal with Addictive Drums 2 in the New SONAR?”

Mix Recall Remembers Your Instrument Settings

by Dan Gonzalez

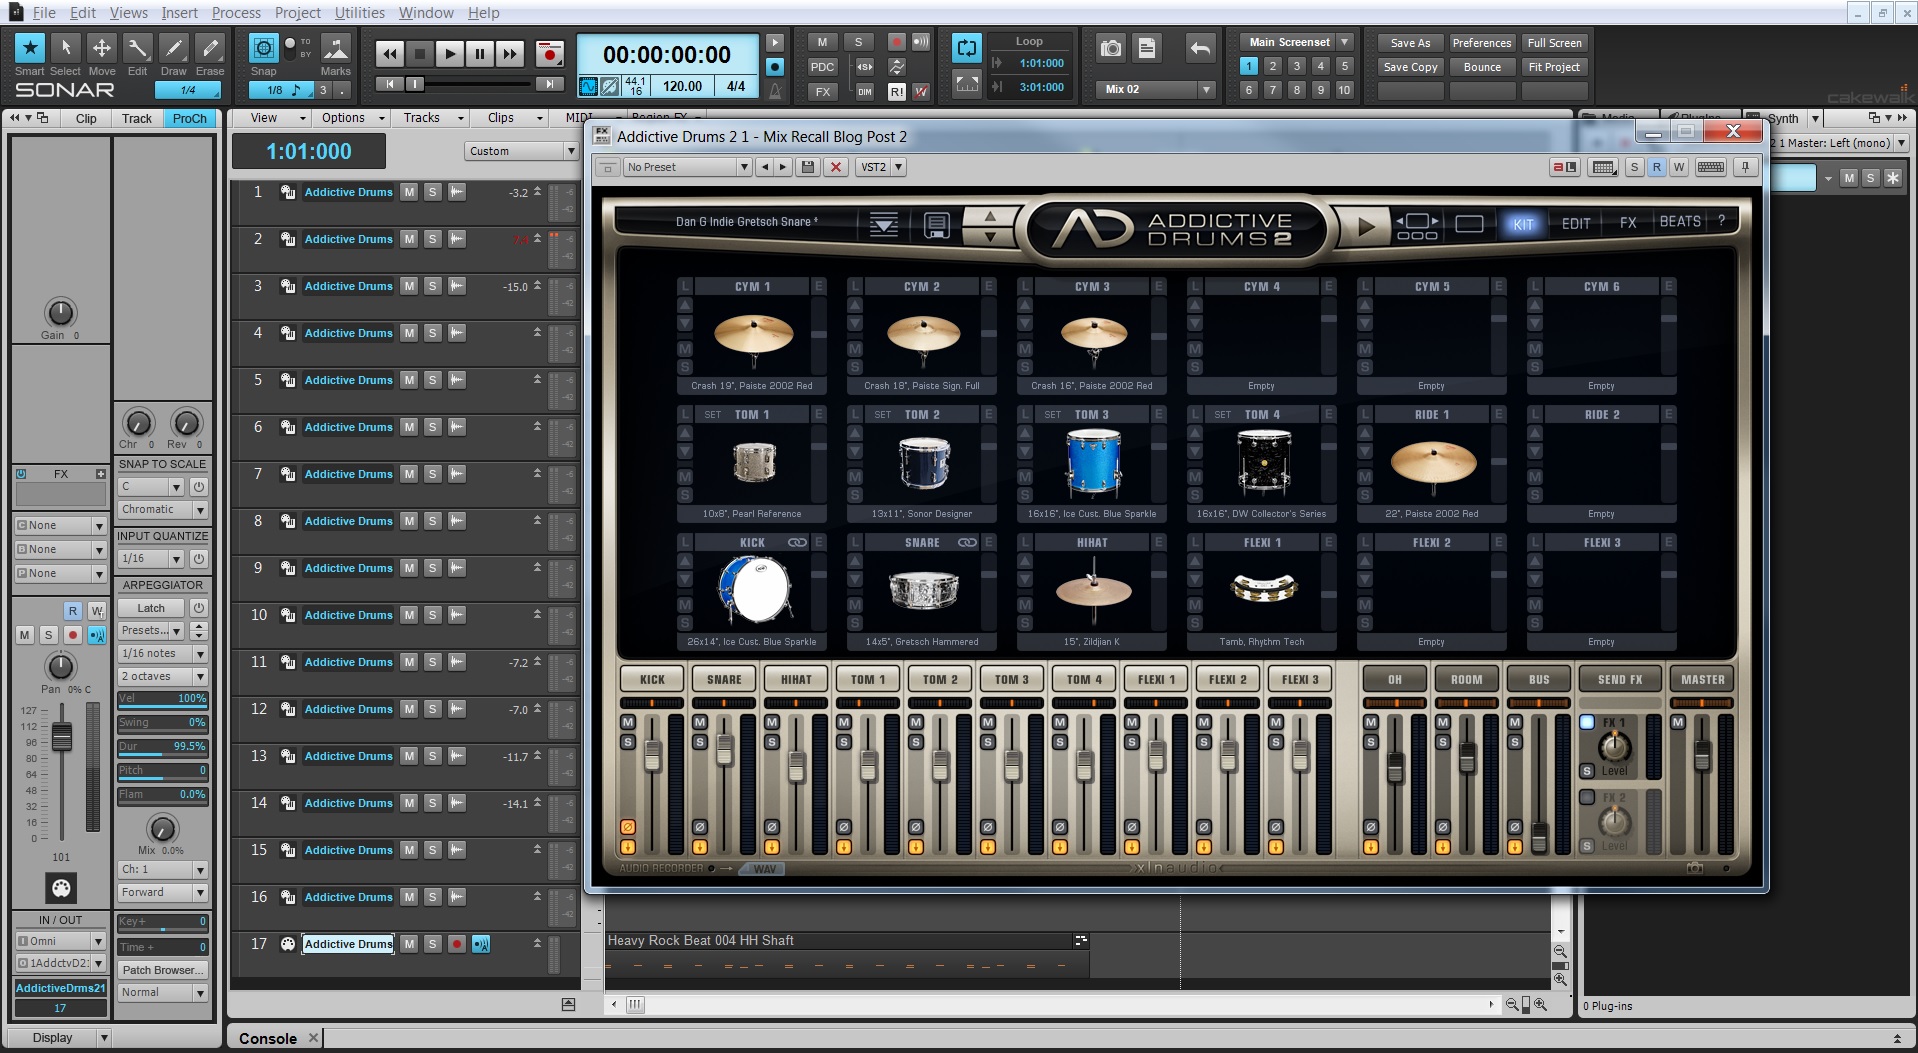
Mix Recall takes your mixing to another level by offering SONAR Artist, Professional, and Platinum users the ability to save different mix scenes of the same mix within a single project. Mix Recall saves track parameters, bus parameters, and even instrument presets. A great way to use this feature is to audition different drumkits using the included Addictive Drums 2.


Instruments these days are full of all kinds of choices, especially ones that are as expansive as Addictive Drums 2. When working on a track I like to take the same pattern and switch between the custom kits that I’ve made. Addictive Drums 2 and Addictive Drums 1 both let the user take pieces of all the different kits that it comes with to make your own. Mix Recall let’s you take this workflow a step further.

Original drum passage

Here we have a simple Indie Kit from Addictive Drums:


Saving the first mix scene

Go to the Mix Recall module in SONAR and click on Continue reading “Mix Recall Remembers Your Instrument Settings”

Reader's Choice: Most Popular Drum Production articles in 2014

by Dan Gonzalez

Free Quick Kit Project Templates for SONAR X3 Users


Yes, we’re bringing back the freebie post from last December. Our Free Quick Kit Project Templates made a big splash with the community as one of our top posts over the last 12 months. These pre-mixed project templates load right from quick start menu in all three versions of SONAR X3 without any assembly required. Open a quick kit, drop in your sequence, and you’re ready to rock with great sounding drums. Now we’re opening it up to anyone who has Session Drummer 3 in their arsenal.  Download the free pack here.

9 Microphone Techniques for Recording a Snare Drum

Ever wanted to know how to mic up a snare drum? Well we wrote a comprehensive article about 9 different ways to do it. This article is brought to you by the community of Cakewalk readers that follow the blog and read it regularly. Check out the article here.

What’s New in Addictive Drums 2?

2014 brought us more than just content, it brought us Addictive Drums 2. Ever since we’ve posted our extensive video about XLN Audio’s new instrument we’ve heard nothing but great reviews. Here’s our most popular video chosen by the readers of The Cakewalk Blog. Check it out here.

Subtractive EQ Part 1: Snare Drum

Here’s one of our most popular posts this past year in case you missed it the first time around. There are a ton parts to this series, but the first part has seemed to win over the rest. Here’s a nice thick article about how to apply subtractive EQ to a snare drum. Check it out here.

Setting up your Addictive Drums

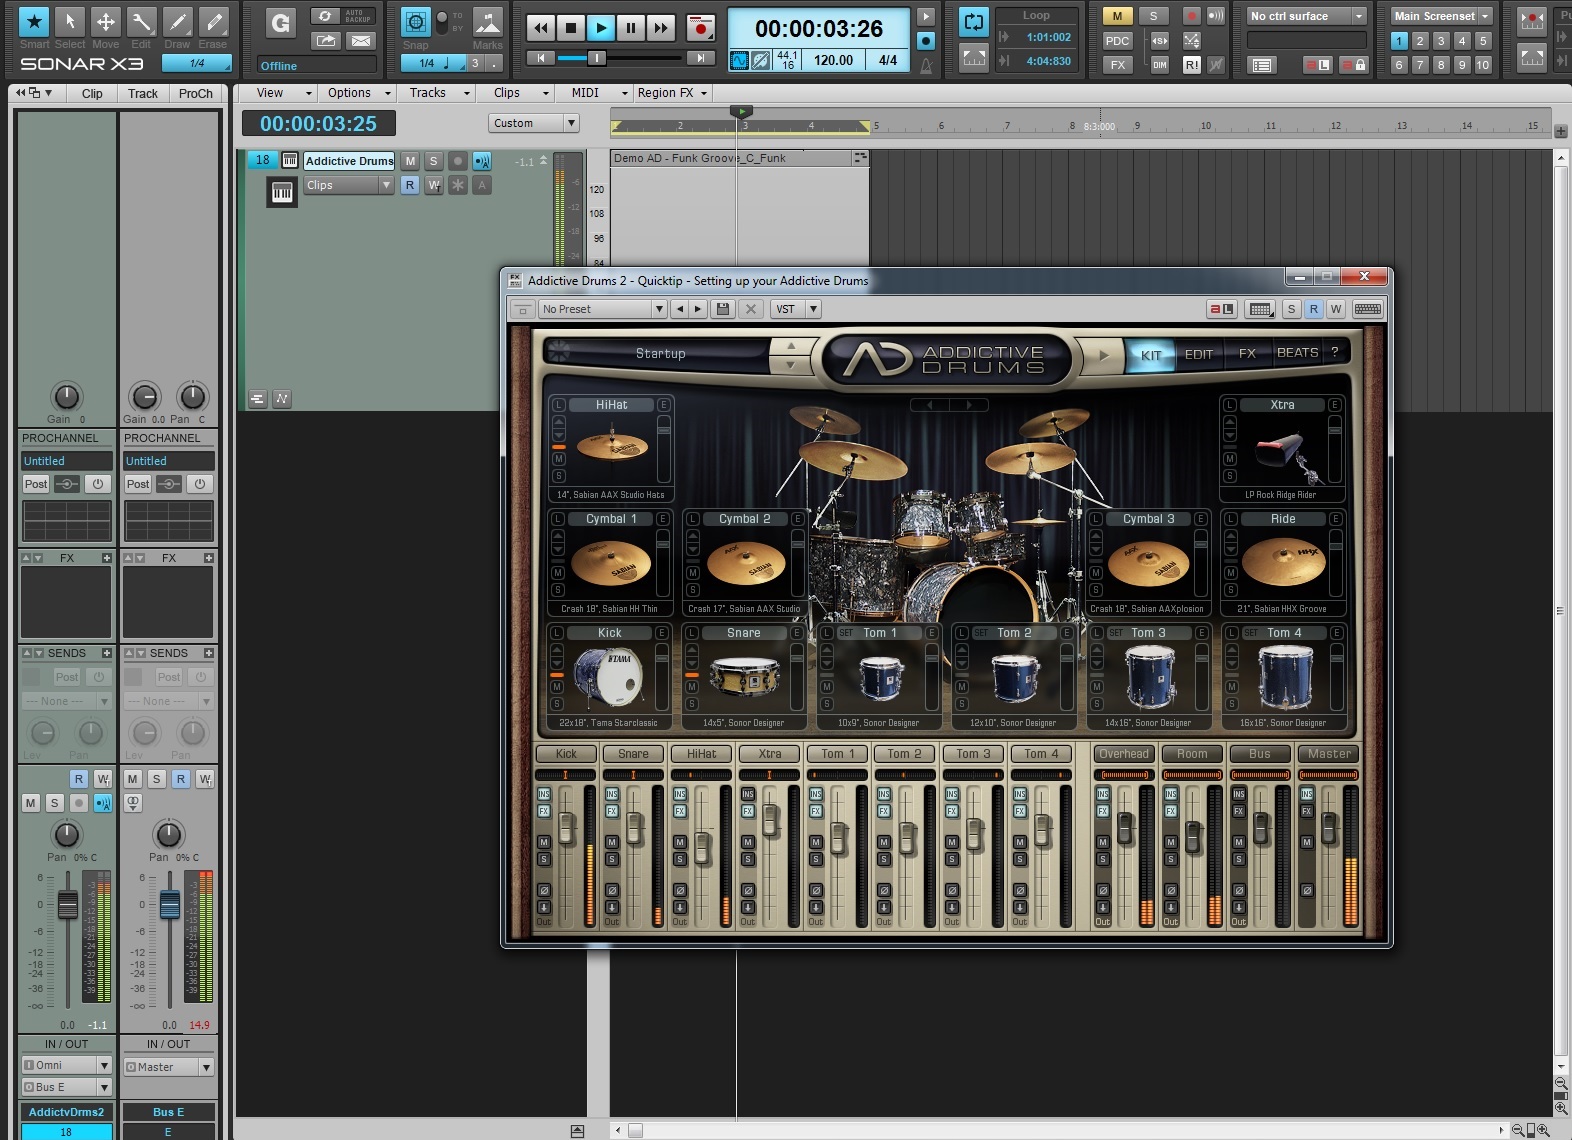
Check out how you can easily setup Addictive Drums (1 & 2) to accommodate multiple different working environments within SONAR X3 Studio and Producer. This one of kind drum synth is the best of the best. Check out the article here.

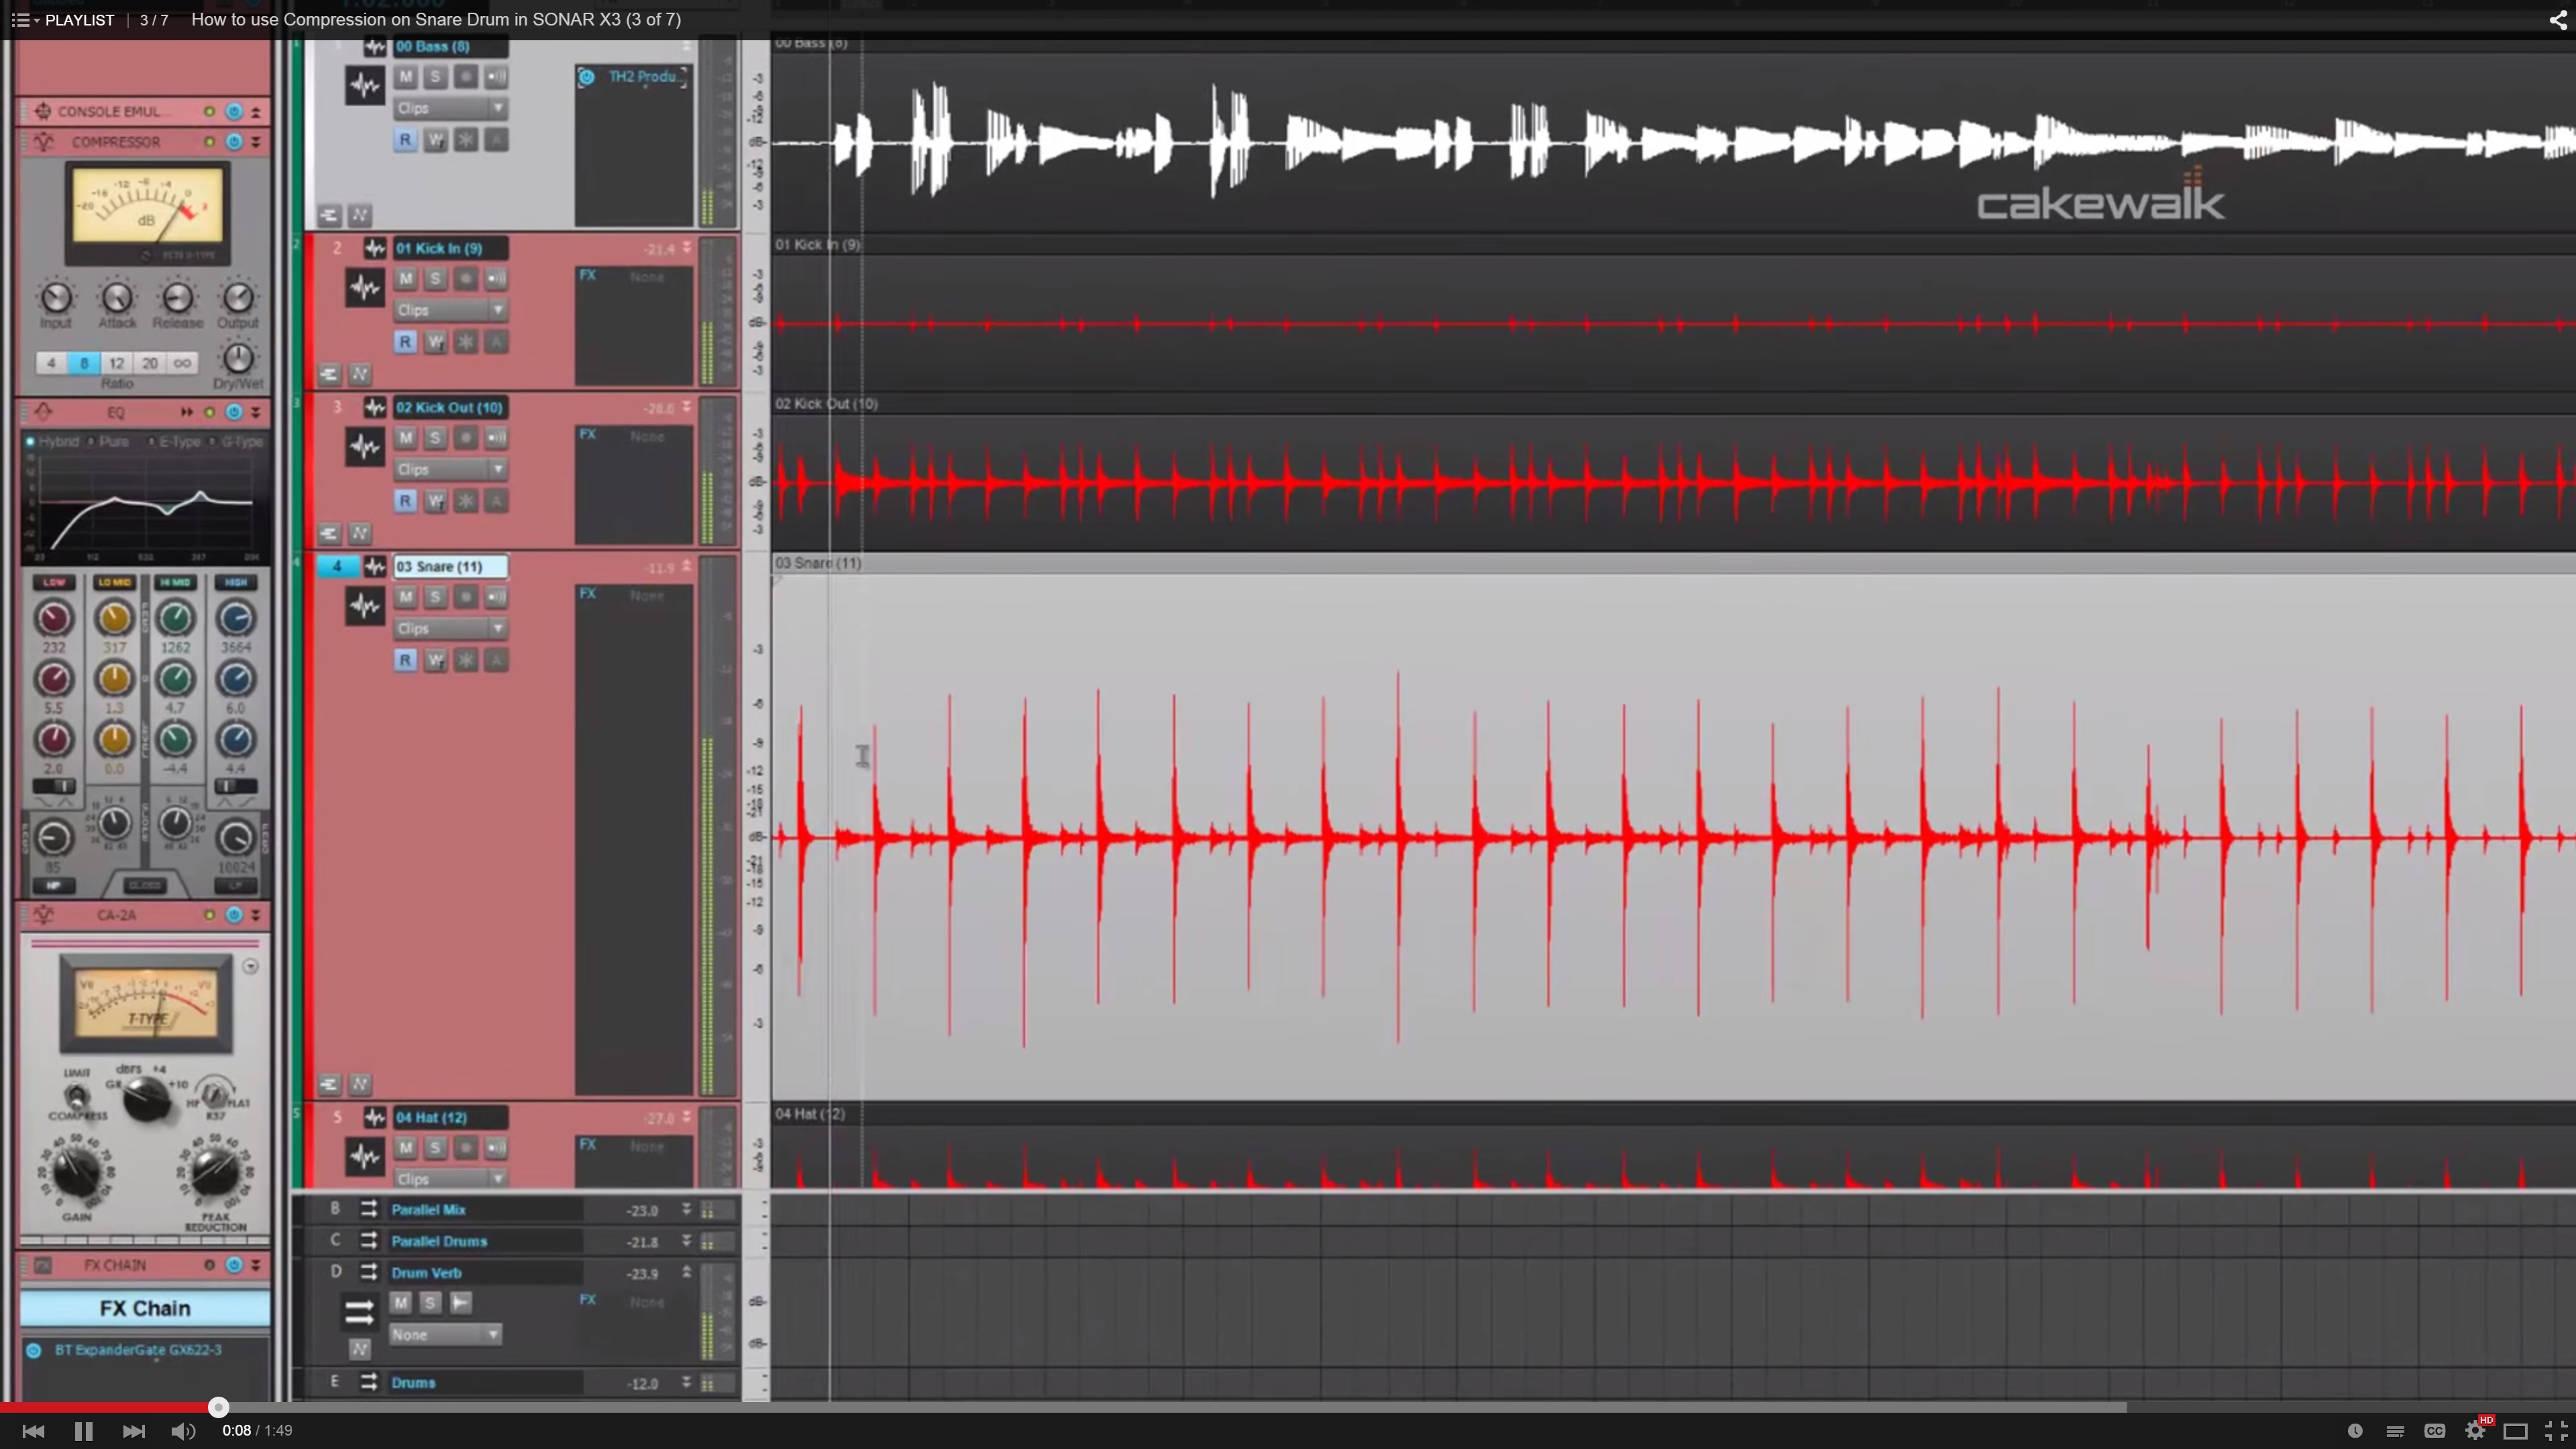
How to use Compression on Snare Drum in SONAR X3

Using compression is one of those tools that is tricky to understand if you’re not familiar with how the different audio signals in your mix. Check out our most viewed video from the extensive video series about using the CA-2A Leveling Amp on snare drum. Check out the video here.

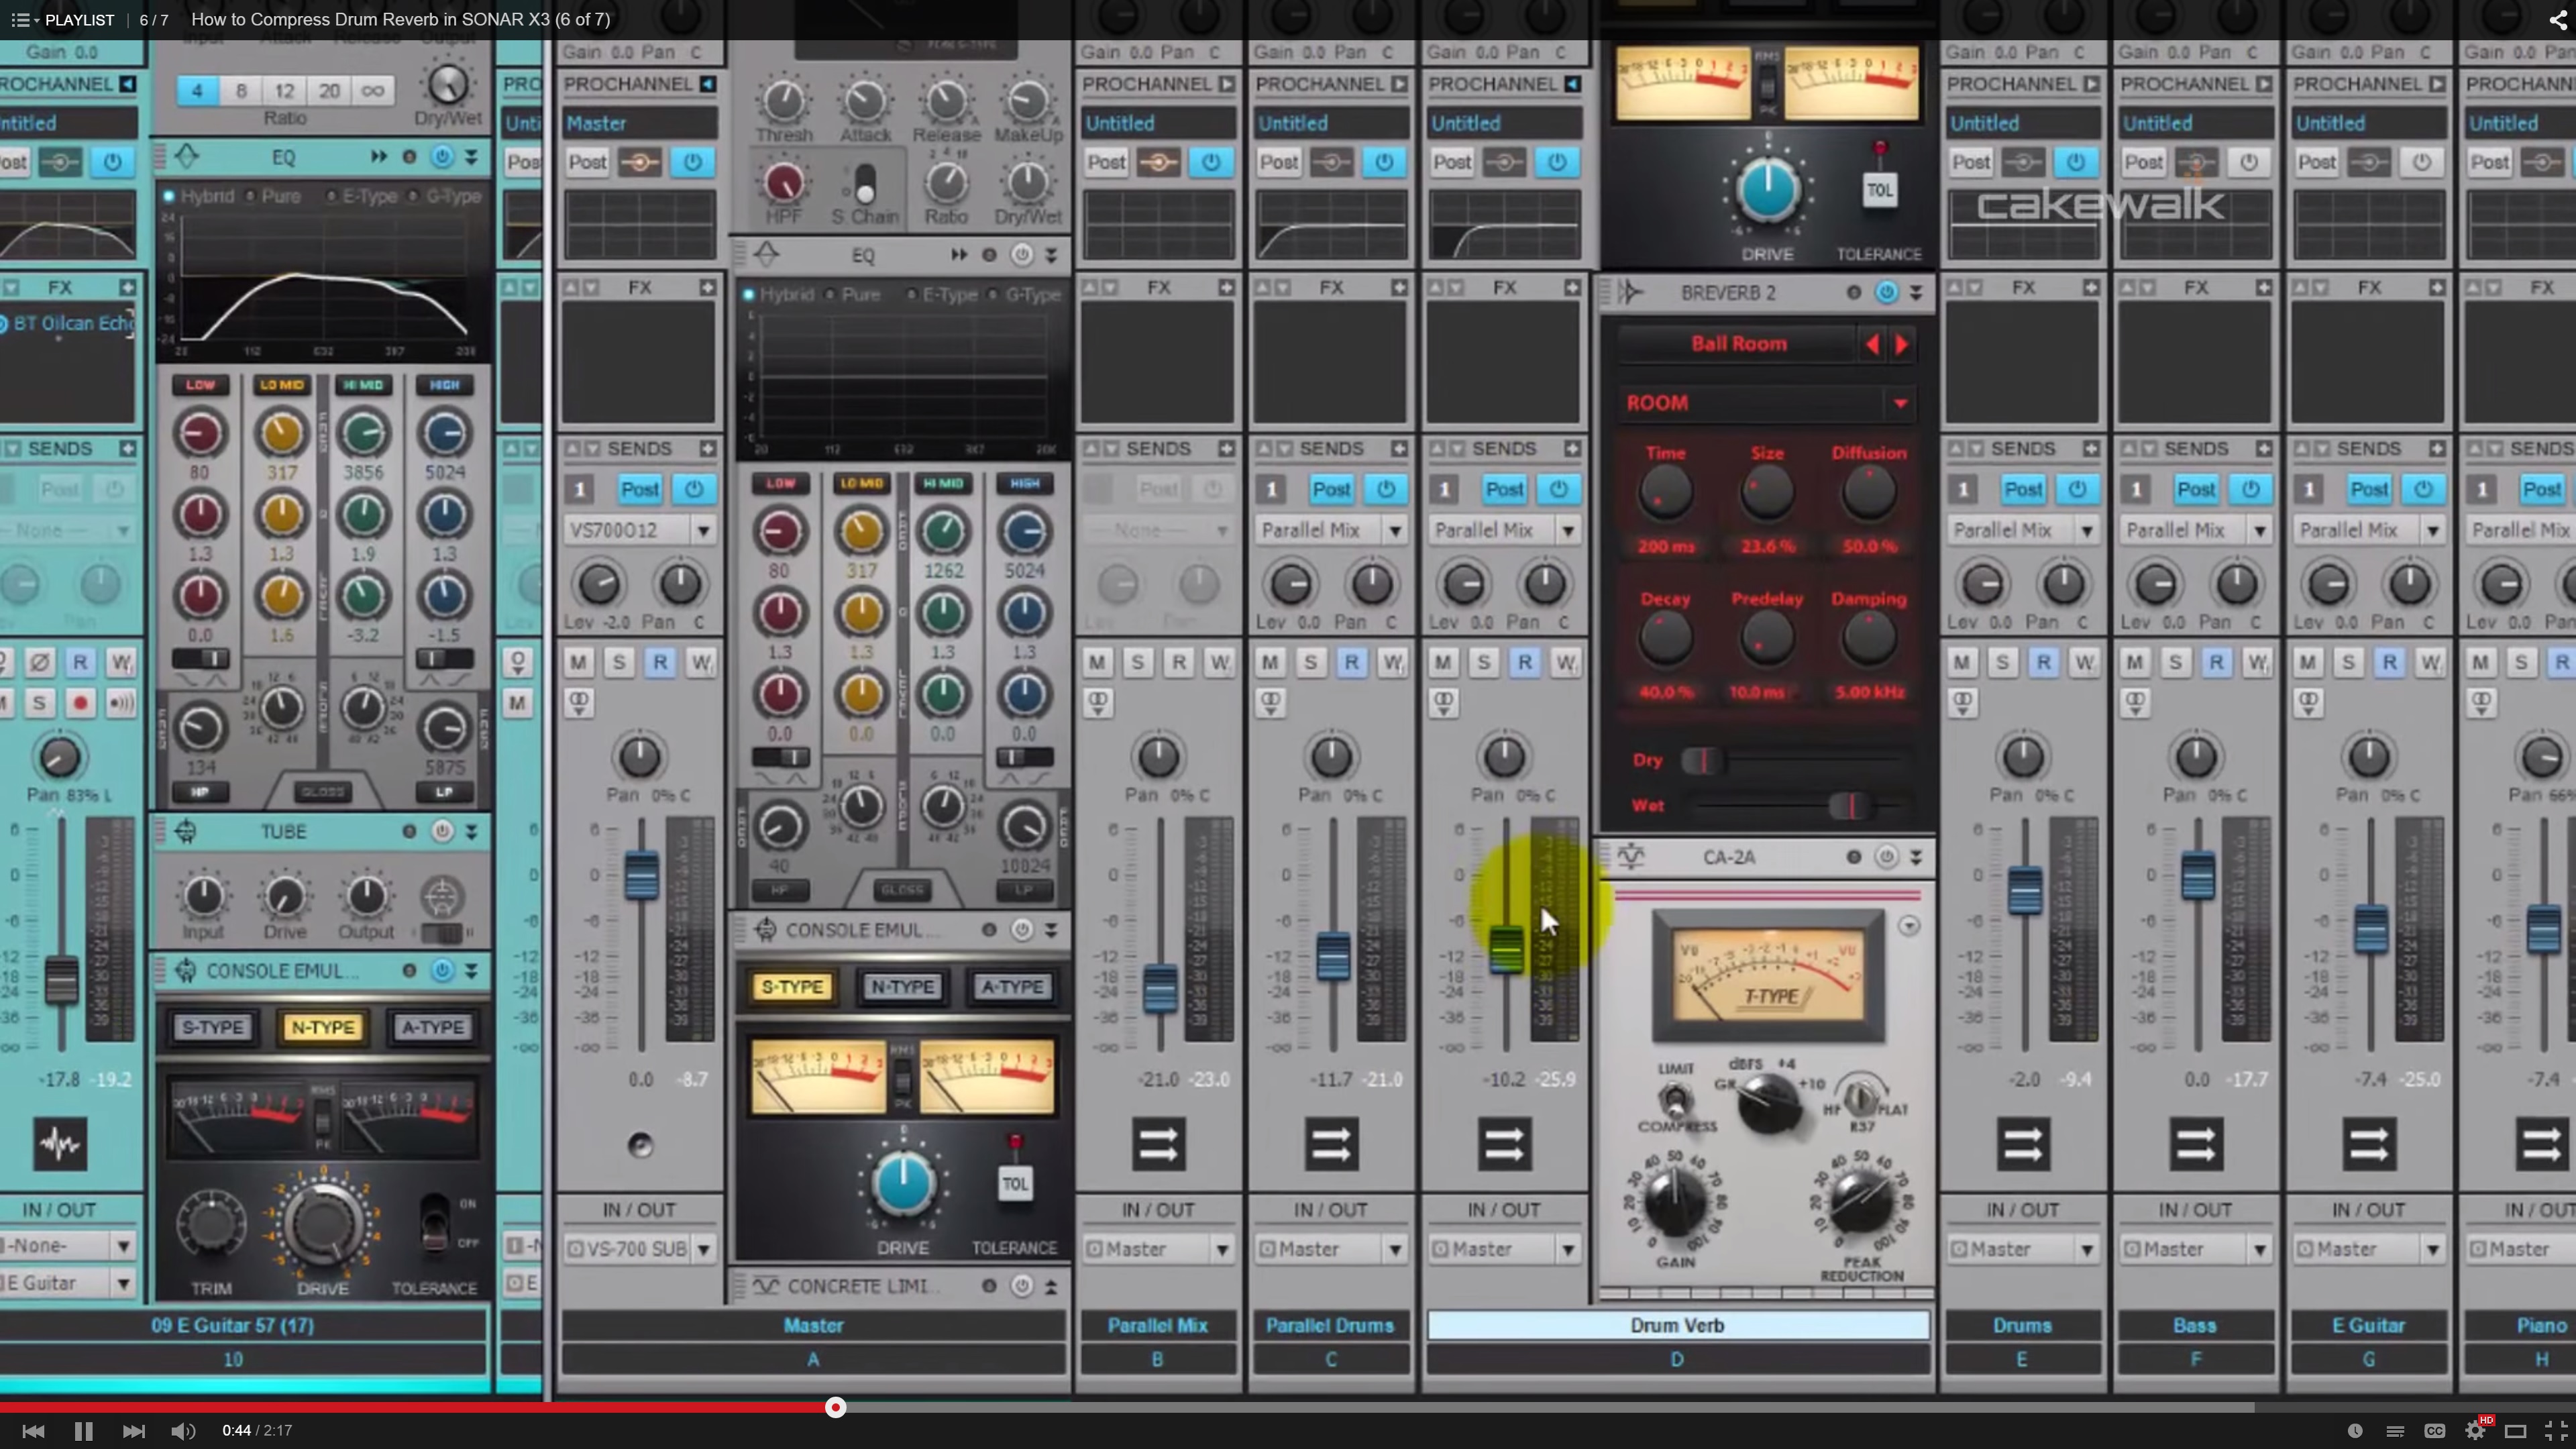
How to Compress Drum Reverb in SONAR X3

Another popular drum related video from the Compression video series is #6 where I give some tips on using compression on drum reverb. You can see the video here.

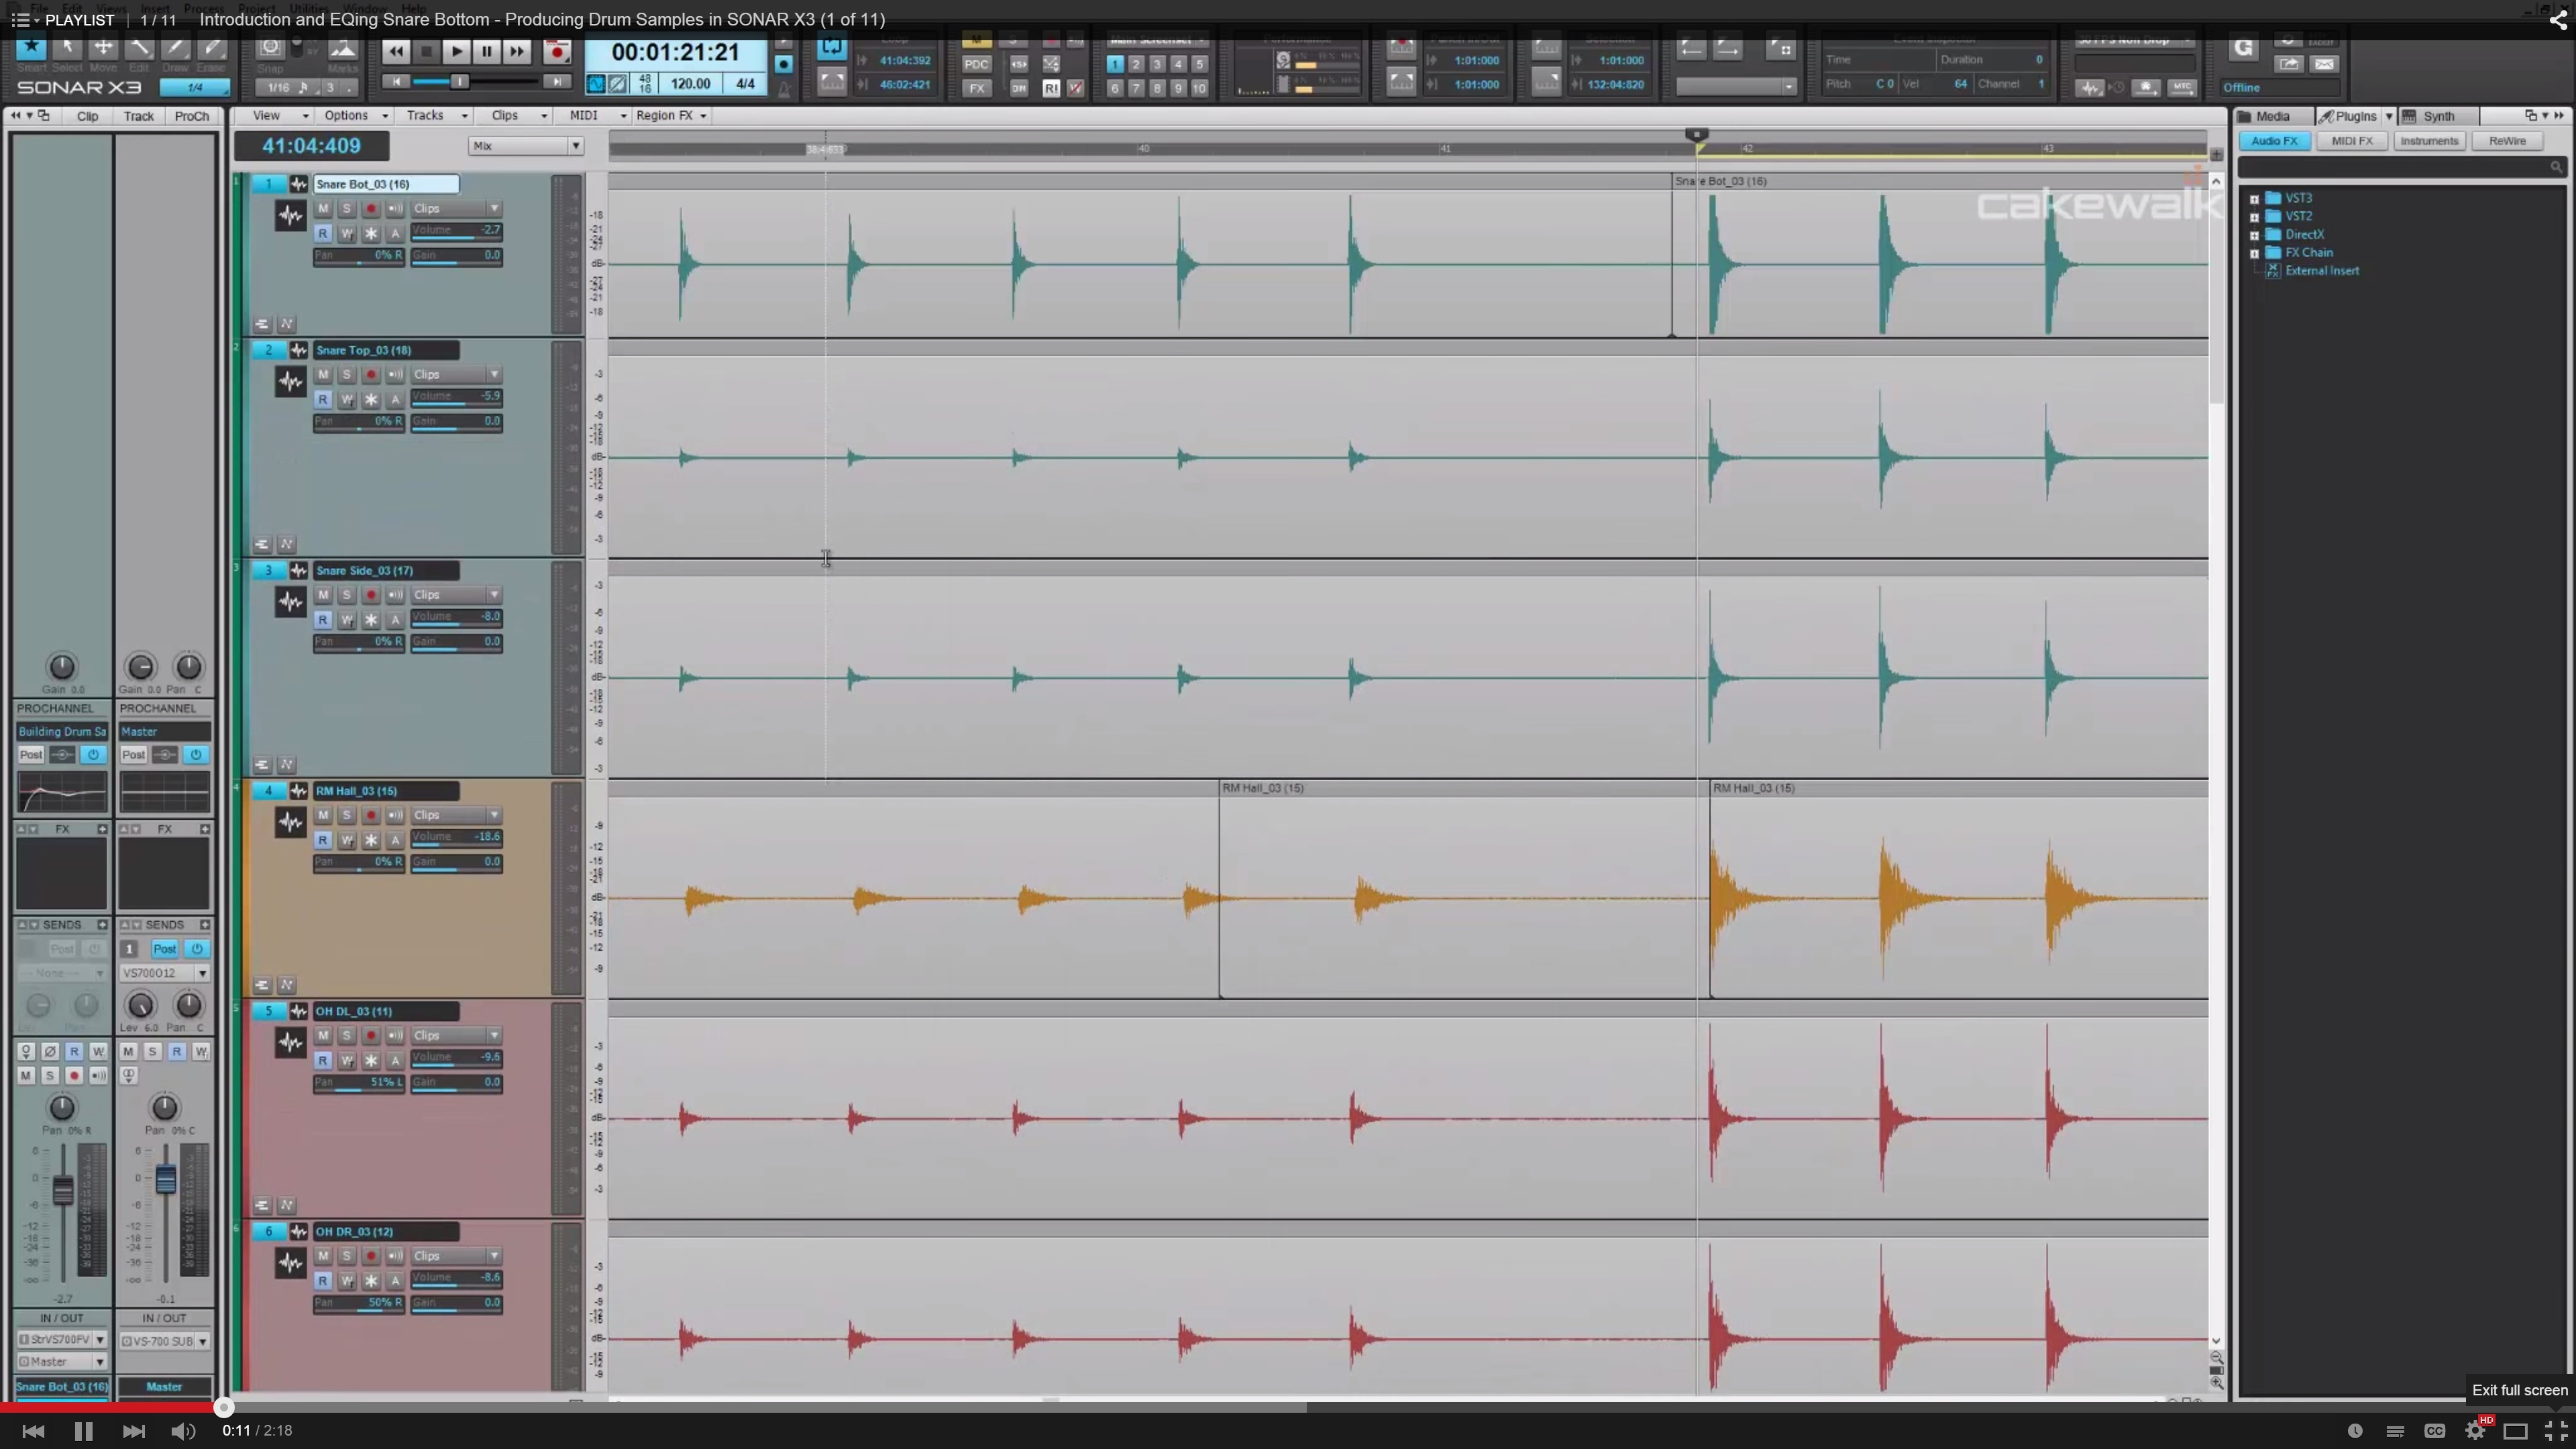
Producing Drum Samples in SONAR X3

Last but not least we’ve seen that our community has really enjoyed our Producing Drum Samples video series. This video series is available to watch here and guides you through some awesome ways to mix and EQ drum samples to your liking.

If you’re looking for more Drum Production tips check out the tag for this on our blog here.

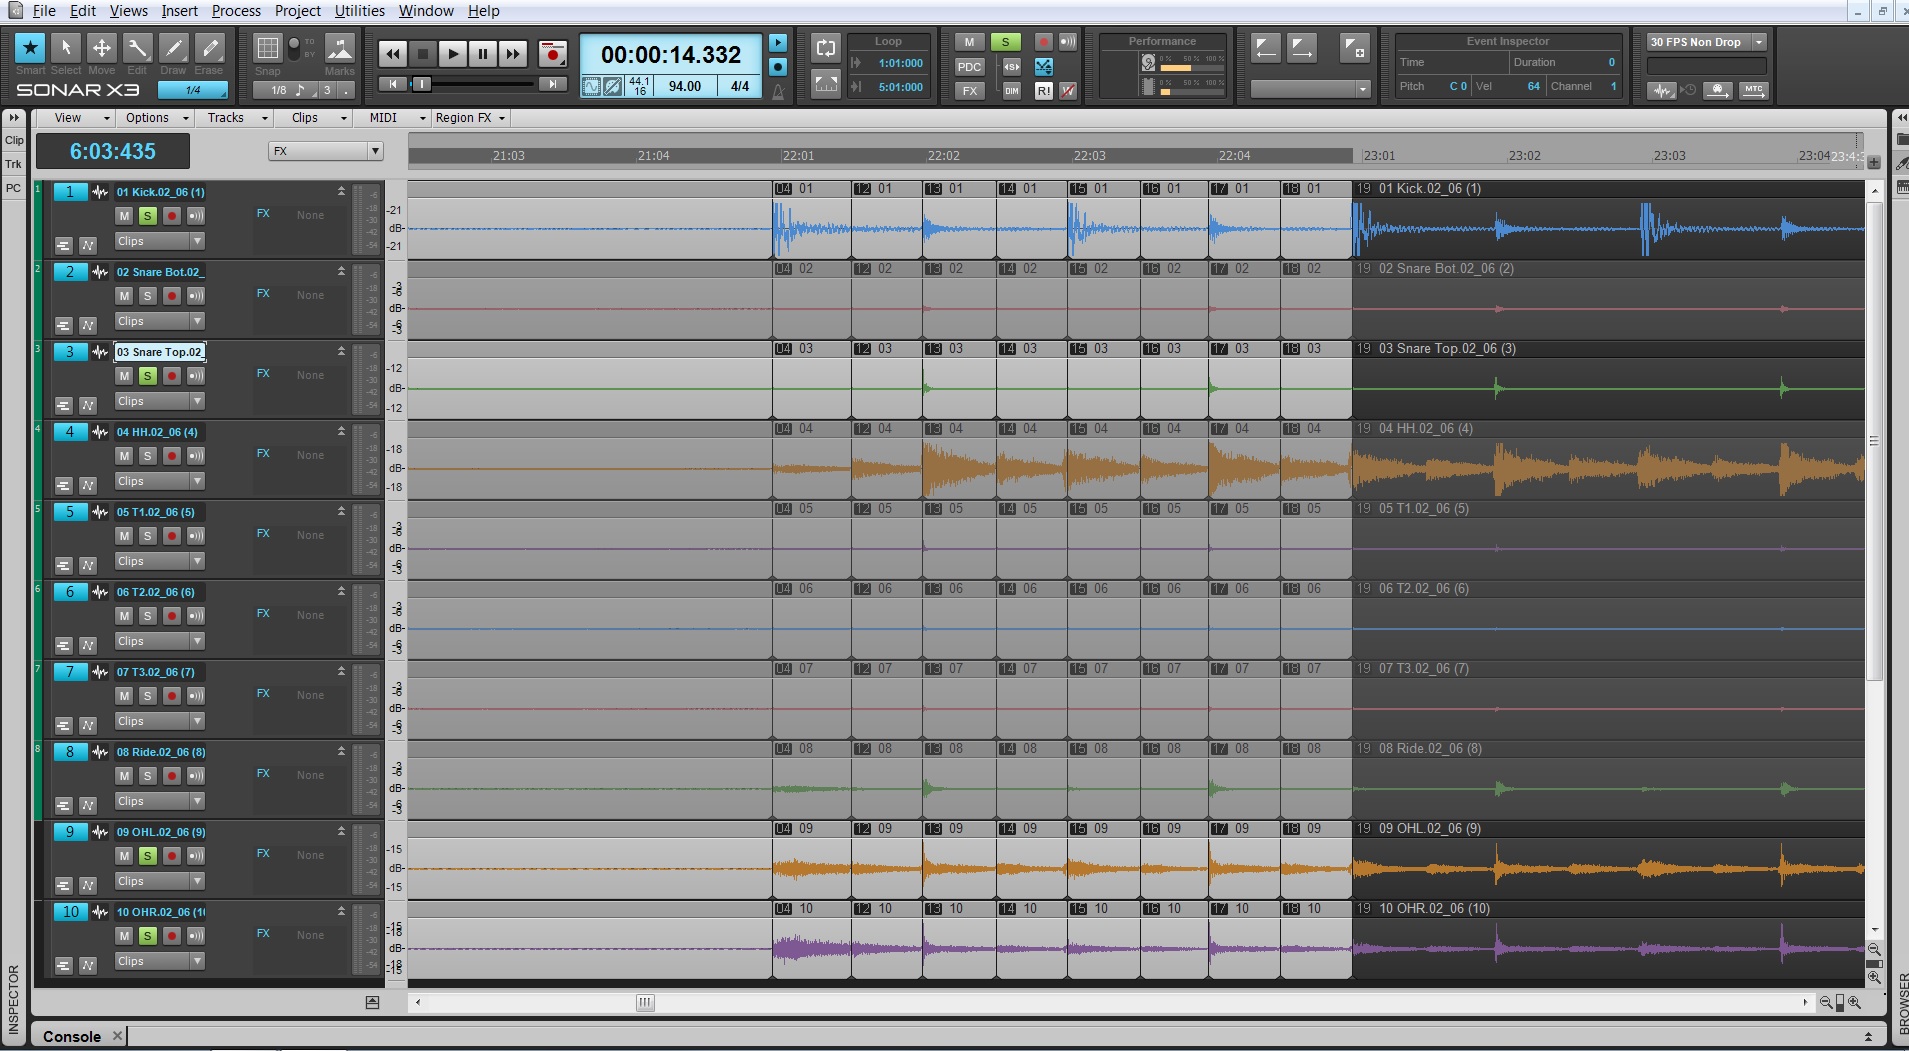
Multi-track Drum Editing – Crossfading and Critical Listening

by Dan Gonzalez

In the past 3 articles we have looked at basic tools for drum editing as well as identifying, splitting, cropping, and aligning clips. All of these techniques can be followed pretty accurately by reading along and performing the functions as I’ve written them. This portion of the blog series will require that you listen intently to what you’re doing as we work through it.

Make sure to wear headphones and get your critical listening ears on so that your drum edits are clean and not full of pops. Previously I mentioned that we would need to monitor our drums as we edit them and that erroneous edits come through the most in the cymbal microphones. In order to make this possible we’re going to mute the tom tracks and lower the volume for the kick and snare tracks. This exposes mostly high hat, ride, and overhead microphone signals. Also, make sure to pan the overhead microphone signals hard left and right too.

STEP 14: Turn on Auto Crossfade

SONAR is known for it’s streamlined feel and quick functions. One of the best examples of this is SONAR’s auto cross-fade functionality. Since we’re  putting this drum pattern back together we’ll need some speedy way of making sure the clips do not pop when overlapping.

Within the track view click on the Options > Auto Crossfade. This feature allows you to crop one clip into another and automatically yield a cross fade. Continue reading “Multi-track Drum Editing – Crossfading and Critical Listening”

Multi-Track Drum Editing – Cropping and Aligning Clips

In this part of the blog series we’ll cover cropping and aligning the clips that we sliced and diced in the previous post.

STEP 09: Cropping Multiple Clips

SONAR rocks when it comes to cropping multiple clips at once. Now that we’ve sliced up the first measure, select all the split clips from measure 22 to 23 including the blank waveforms leading up to measure 22. You can select multiple clips by clicking the header of each Clip Group and holding SHIFT.

While holding SHIFT, crop the right side of any of the selected clips.

This will crop all of these clips at once. The end Continue reading “Multi-Track Drum Editing – Cropping and Aligning Clips”

Multi-Track Drum Editing – Identifying & Splitting Drum Hits

You need to start with a great performance

Before you begin to edit drum stems you have to make sure that you are working with tracks that were recorded close to a click. They need to be consistent. Tightening up the performance is something that is very invasive and requires a lot of time. If the drummer can’t put in the time to learn the parts then you should wait until they are ready to record their parts properly. Having this knowledge will make your life easier and should be something you think about during the preproduction stages of any record.


A note about the editing process.

The purpose of this type of editing is to identify the strong hits of the drum beat, split them into tiny parts, and then crop and align those small parts. The splits will depend on which part of the drum falls on each down beat.

In this tutorial Kicks happen every 1/4 note, snares every 2nd and 4th beat, and high hats on every 1/8th note. This happens for about 20 measures with various fills here and there and then it switches to a different pattern. We’ll move in measure by measure increments so that we don’t bite off more than we can chew at first.

Engage the metronome so that you can hear the pulse.  This will help you check your work as you edit. Download the project files here (if you didn’t download them from our previous post)  to get started:

Multi-Track Drum Editing Tutorial

Multi-track drum editing requires you to listen intently to the audio you’re editing. I recommend using headphones for this tutorial so that you can hear subtle edits. Erroneous edits are most exposed in the overheads, high hat, and cymbal frequencies so we’ll need to solo those as well as the kick and snare track while we work through this project.

As we work through the session the high hat and ride will need to be solo’d due to the spot mics that were placed on these. Everything else will follow suit with your editing.

You can also adjust your Track Height in the Track View by dragging the borders of the Continue reading “Multi-Track Drum Editing – Identifying & Splitting Drum Hits”

DAW Best Practices: How to get a bigger drum sound with reverb

The Biggest, Baddest Drum Reverb Sound Ever

[Originally posted as a daily tip on the SONAR forums and reposted for viewers here on the blog.]

by Craig Anderton

You want big-sounding drums? Want your metal drum tracks to sound like the Drums of Doom? Keep reading. This technique transposes a copy of the reverb and pans the two reverb tracks oppositely. It works best with unpitched sounds like percussion.

1. Insert a reverb send.

Insert a send in your drum track, then insert your reverb of choice in the Send bus.


2. Render the reverb, isolated from the drum track. Continue reading “DAW Best Practices: How to get a bigger drum sound with reverb”

Multi-Track Drum Editing – DLC and Basic Tools

The need for perfect drum production is at an all time high.

In today’s world there is a huge need for all types of drum production. Everything from VST instruments to advanced drum replacement software has been growing in popularity. For the most part, records that require the tracking of live drums always have some sort of drum editing applied. This process is meticulous, long, and can be frustrating if you have never done this much in depth editing before.

Downloadable Content:

Let’s start by getting you the files you need to follow along with this tutorial.

Multi-Track Drum Editing Tutorial

Once downloaded, they should open just fine inside of SONAR X3.

Understanding the basics.

Before diving in, let’s take a look at some essential tools that we’ll be using for major drum editing. These tools may be basic to some, but are definitely the right functions we’ll need in SONAR to edit down these drums.

Creating selection groups

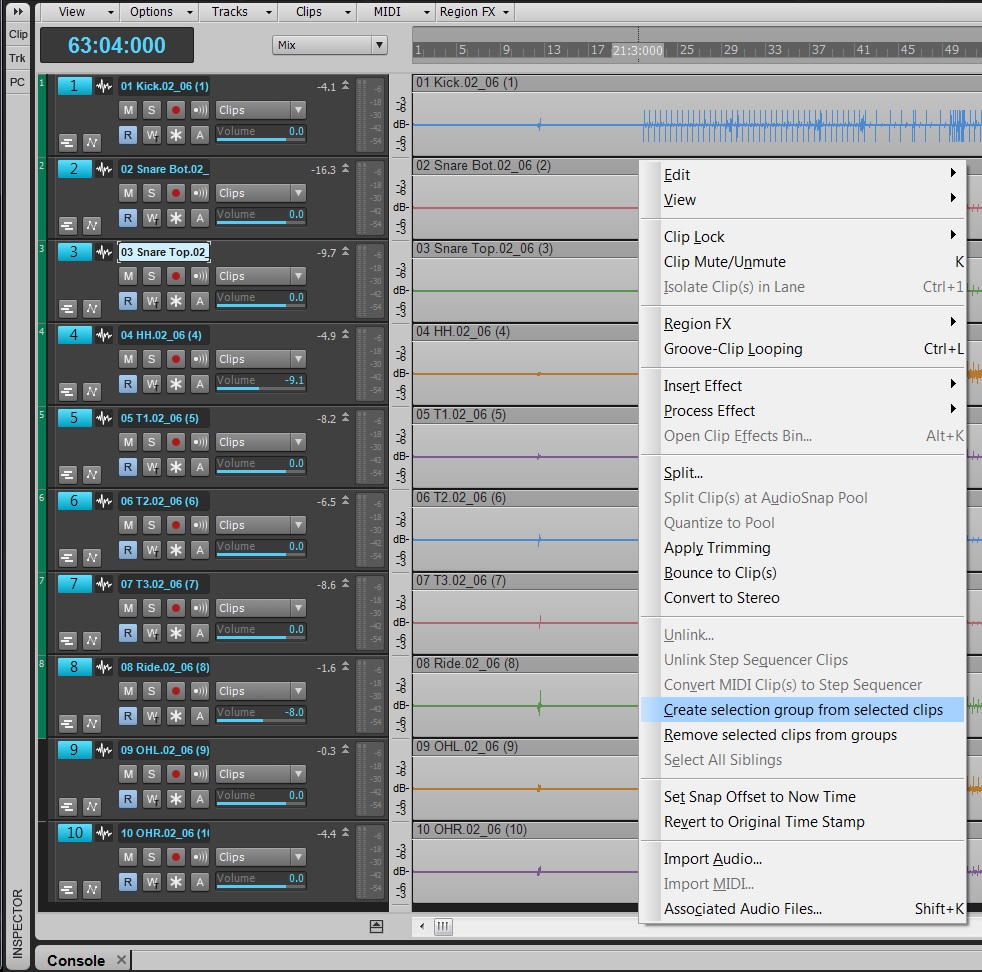
The first step in editing multi-track drums is making selection groups. Once created, these clips will be synced to one another for batch editing tasks – like multi-track editing. During the course of this tutorial we’ll be relying heavily on splitting clips – grouping will make this faster and more efficient.

To create these, choose CTRL+A within the Track View and then right-click on your clips. Near the bottom of the menu there will be an option that says Create Selection Group from selected clips. Select this and a number will appear in the header of your clips indicating that your clips are all in a group now.

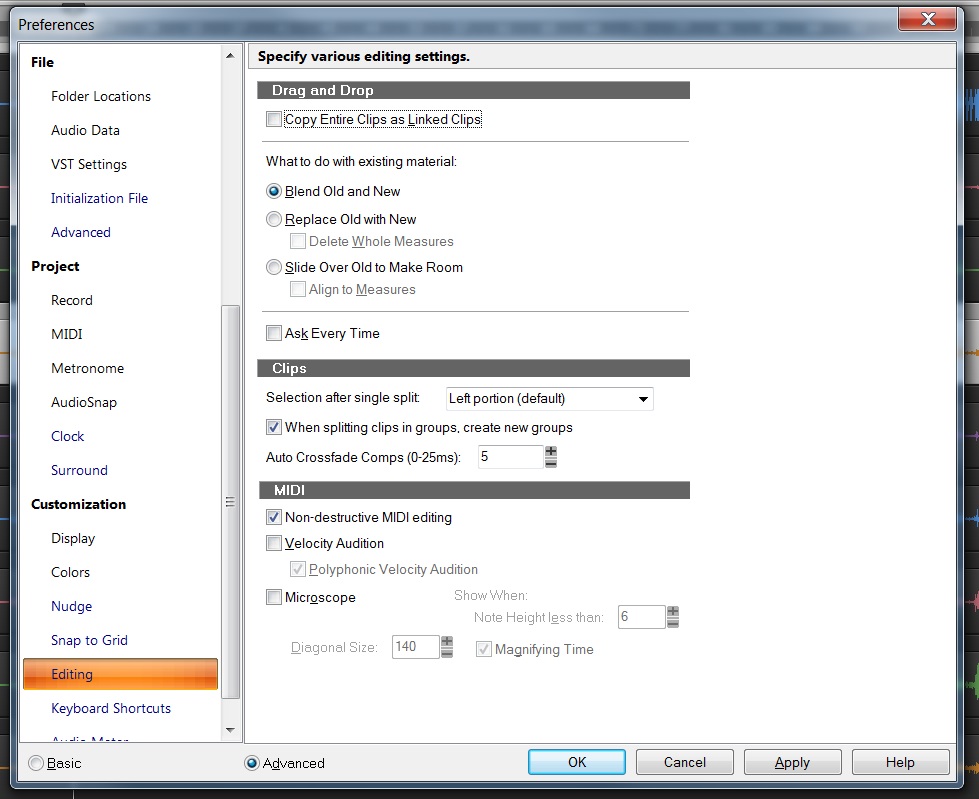
As we work through the song the different Split edits will cause the group number to increase. This indicates that a new group has been made. You can change whether or not this occurs within the Preferences here:


Tab to Transients

Tabbing to transients locates strong transients and moves Continue reading “Multi-Track Drum Editing – DLC and Basic Tools”

The Art of Transient Shaping with the TS-64

Understand this often-misunderstood processor, and your tracks will benefit greatly 

By Craig Anderton 

Transient Shapers are interesting plug-ins. I don’t see them mentioned a lot, but that might be because they’re not necessarily intuitive to use. Nor are they bundled with a lot of DAWs, although SONAR is a welcome exception. 

I’ve used transient shaping on everything from a tom-based drum part to make each hit “pop” a little more, to bass to bring out the attacks and also add “weight” to the decay, to acoustic guitar to tame overly-aggressive attacks. The TS-64 has some pretty sophisticated DSP, so let’s find out how to take advantage of its talents.

But first, a warning: transient shaping requires a “look-ahead” function, as it has to know when transients are coming, analyze them, filter them, and then calculate when and how to apply particular amounts of gain so it can act on the transients as soon as they occur. As a result, simply inserting the TS-64 will increase latency. If this is a problem, either leave it bypassed until it’s time to mix, or render the audio track once you get the sound you want. Keep an original of the audio track in case you end up deciding to change the shaping later on. 

TS-64 TRANSIENT SHAPER BASICS

A Transient Shaper is a dynamics processor that modifies only a signal’s attack characteristics. If there’s no defined transient the TS-64 won’t do much, or worse yet, add unpleasant effects. 

Transient shapers are not just for drums—guitars, electric pianos, bass, and even some program material are all suitable for TS-64 processing if they have sharp, defined transients. And it’s not just about making transient more percussive; you can also use the TS-64 to “soften” transients, which gives a less percussive effect so a sound can sit further back in a track. 

There are two main elements to transient shaping. The first is Continue reading “The Art of Transient Shaping with the TS-64”

The Sound of Console Emulation in SONAR X3

The age of hybrid studios

The day has come where digital audio has caught up to the analog trends of the pre-xyz age. Hybrid (digital/analog) home-studios are more common and the need for more analog flavored plugins is a must. Cakewalk has harnessed these trends in some of the latest software additions to the X-series with their track by track Console Emulation ProChannel plugin.

At a glance

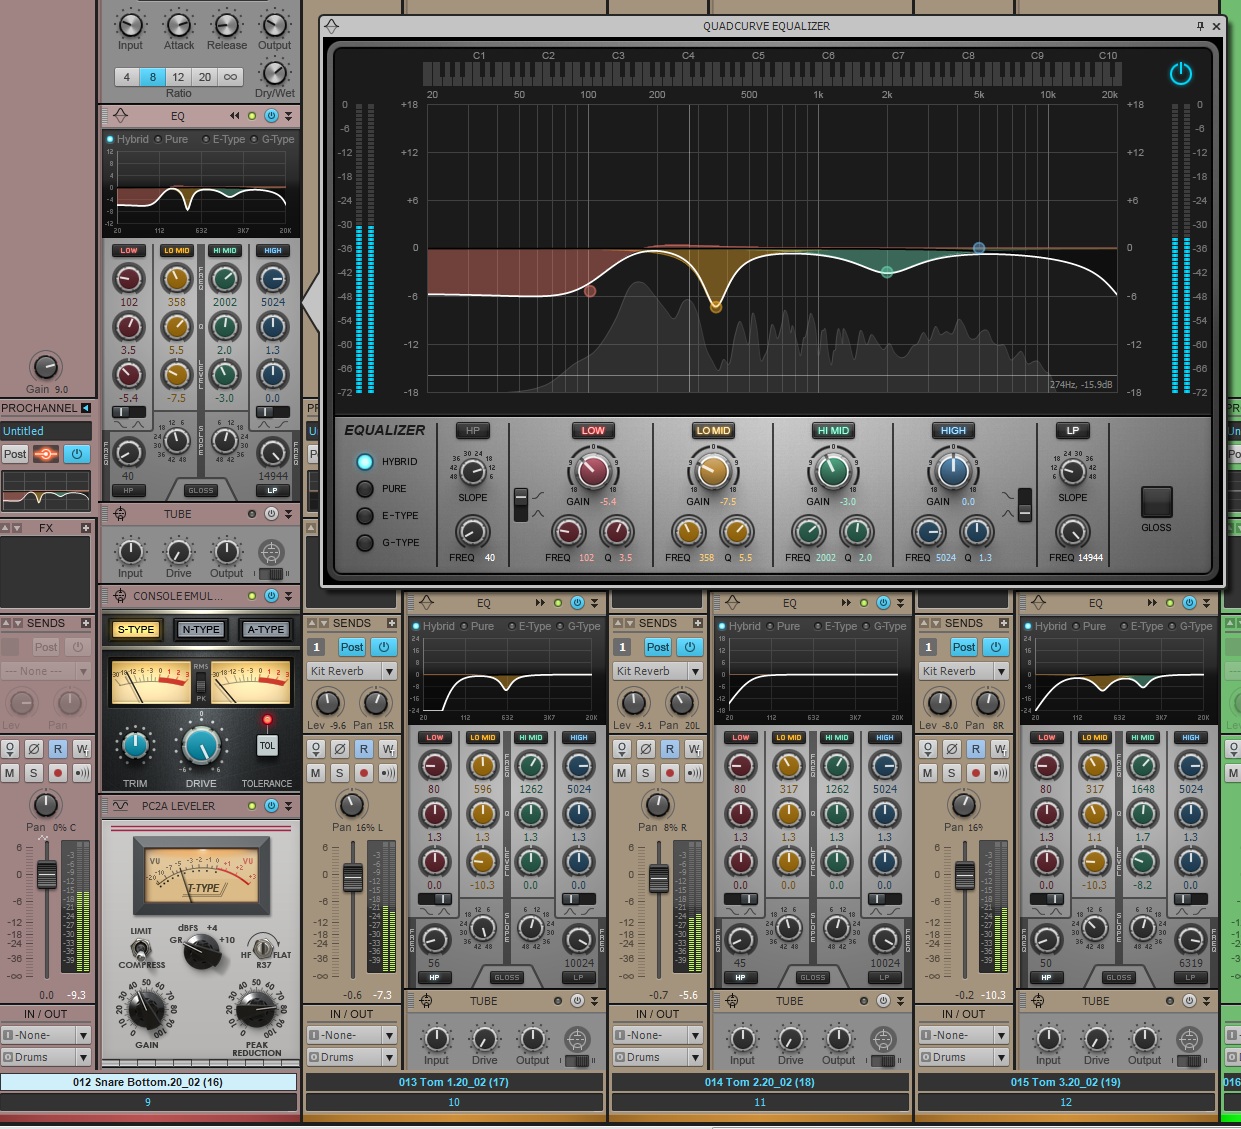
Simplicity is one of the key ingredients in the world of plugin interfaces and the Console Emulator is no stranger to that. It’s an easy tool to use, just turn up the Drive! Each algorithm has the same 3 parameters for locking in the sound, Drive, Tolerance, and Trim. Each version of the plugin reflects the circuitry of 3 classic large format console from the past 30 years. Every board has it’s own sound because each circuit is completely different than the other.

Let’s take a closer listen 

For most part, Console Emulation is about subtle character. If you apply subtle changes to your entire mix it will collectively sound different. One track may not sound all that different in the final mix, but if you apply this effect to the entirety of your session, well then you’ll probably start to hear some differences. These DSP algorithms are tuned Continue reading “The Sound of Console Emulation in SONAR X3”