by Daniel Gonz
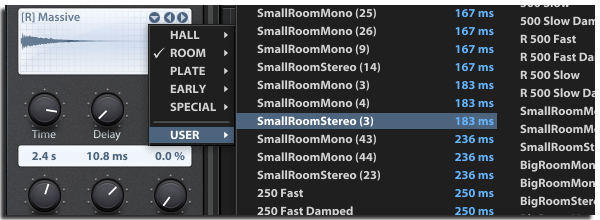
We’d like to release an impulse pack that we created last year in New York City. This free impulse response pack captures the simple ambience of two fantastic live rooms for drums, vocals, and pretty much any acoustic instrument you can imagine. Drop them into your choice of any convolution reverb to add depth to the elements of your mix.
How the new "TH3 Cakewalk" Will Elevate Your Recordings in SONAR

Whether you update SONAR every month or not, this month is a great time to hit the C3 button. Besides the new cutting edge LP mastering plug-ins, we have worked hard and closely with our good friends at Overloud to deliver something that can truly change your sound as a SONAR user. TH3 Cakewalk has arrived and will now replace TH2 moving forward, and I had the opportunity to run the beta for the last month building some basic presets for the plug-in. Right out of the gate I found this VST3 to be a nice upgrade from its predecessor TH2.
Now I am absolutely nothing close to a guitar wizard, but I have been hacking around since I picked up the instrument at age 5, so I’ve been around the block with guitar tones touring, producing, engineering, recording, etc. like a lot of folks probably reading this. From a production standpoint, I’ve always loved the convenience of amp simulators, but always hated what would happen to the tone when trying to mix them together with drums that had been recorded with 1073’s, API’s or other heavy duty pres and mics… the tone gets small pretty fast. In my opinion, this is something that Overloud in general has excelled at—DSP and algorithms that truly stay at the front of the mix no matter what the context. TH3 brings this concept to even another level. Here are some of my quick thoughts and findings.
Sounds
 There are a lot of changes with the new TH3 Cakewalk including the new and upgraded User Interface which I will get into, but I bet a lot of folks like me really base their judgments on how things sound. The good news is that once you are up and running with the plug-in you will notice a nice improvement on the sound quality from TH2 Producer/Cakewalk. 5 new amp models with more accurate model reproduction are included in TH3 Cakewalk, and all have improved DSP along with enhanced preamp and power amp stages. To my ear, I notice a more “open and natural” sound in general, but also notice a more responsive relationship between the pick and the strings in terms of “feel”—like when you play a guitar through an amp that just had the tubes replaced. I also notice more presence overall, but the right type of presence without harshness. The low-mids and mids are thick and punchy and I especially love the new Slo88 and Tweed Deluxe amps which have a lot of character. The Bassface is a beast as well; this amp is a secret weapon for many rock producers who use it to double rhythm guitar parts recorded with other amps. Blending these two sources together produces a tone that is about as thick as it gets.
New amps in TH3 Cakewalk:

Bassface 59: Model of a classic american “bass” combo amp, tuned to be great for rhythm and blues playing on guitar once overdriven
Continue reading “How the new "TH3 Cakewalk" Will Elevate Your Recordings in SONAR”
Artist Spotlight: Eric Hansen—How He Gets Big Pro Soundinig Results at Home
 “Is it World Music?” “Is it Spanish Music?” “Is this Jazz?” “Is this in the Acoustic Genre?” Fortunately for guitar virtuoso and now-Pro D.I.Y’er Eric Hansen, the simple answer to these questions he faces regularly about his music is, “YES.” Eric is another longtime SONAR user who depends on SONAR daily for his livelihood. He is based out of Southern Florida which might just be where his Spanish and Latin influences come from, where at a young age he had a unique fondness for Flamenco infused Pop music.
Eric began studying the guitar at age 14 and was performing professionally with local rock groups by the age 16. He then attended Florida Atlantic University where he studied Classical and Jazz guitar and was the first actual guitarist to complete the Honors Performance Program at F.A.U. He went on to graduate with academic honors while simultaneously studying Flamenco and Latin American music with musicians from Spain and Peru.
 In his professional career, Eric is no stranger to the Billboard Charts with 6 records under his belt all crafted in different versions of SONAR spanning over 15 years. Eric is in the final stages of another record, but this one is being tracked, mixed and recorded all in SONAR Platinum. After Eric getting Cakewalk an exclusive preview to 3 of the new songs on the record, we were interested in finding out more about how all these great tracks are coming together in Platinum [DEMO PREVIEW]:
Continue reading “Artist Spotlight: Eric Hansen—How He Gets Big Pro Soundinig Results at Home”
Mining Gold from PA Recordings with SONAR
by Craig Parmerlee – SONAR user since SONAR 7
SONAR and other DAWs are used heavily to produce high-quality recordings, while other people use SONAR as part of a compositional process. I find that most of my SONAR usage is a little different, processing live recordings tracked in a concert or club setting. This usage presents various problems that aren’t as apparent in a controlled studio setting. This blog will present a workflow and various SONAR features I have found valuable when processing live recordings.
Objectives
- In most cases, my primary objective is to produce a recording that the musicians can study in order to improve their performance.
- In some cases, the performance and production quality will be high enough to serve as demo material to promote the group.
- I try to deliver a mixed and mastered copy to the musicians within 48 hours, while the event is still fresh in mind, so speed and efficiency are very important.
- Often a musician will ask for a further edit on one of the songs, for example, to include in their personal résumé. Flexibility and ability to recall settings are important.
Changing Expectations
Years ago, I did such projects using Audacity, which seemed adequate at the time. However, expectations have changed radically.
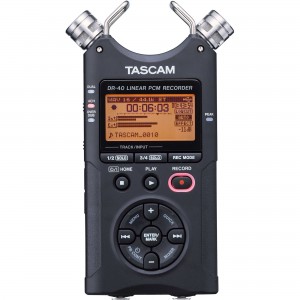
Today many musicians have a low-cost stereo field recorder such as the TASCAM DR-40.These recorders are the equivalent of point-and-shoot cameras. For around $100, they can produce remarkably good quality under ideal circumstances.
This has become the baseline against which many musicians judge other live recordings. Even though I want to produce quick results, if I can’t do substantially better than a TASCAM DR-40, for example, then I am wasting my time (I should note I love those small field recorders and often use them too, but that is not the subject of this blog).
Fortunately, with SONAR I have found a work flow and a set of “go-to” features that allow me to do much better than a stereo field recorder almost every time, using only the microphones that are already placed for the live PA system.
A Word About My Background
Continue reading “Mining Gold from PA Recordings with SONAR”
5 Ways to Widen Your Mix
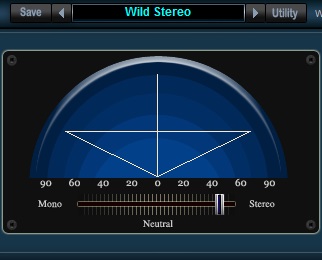
At some point, nearly every mixer has experienced this:
“My mix sounds great, but this mix by (Bob Clearmountain, George Massenburg, Joe Barresi, etc.) sounds so much wider… How do they do that?”
Aside from the highly classified mixer voodoo magic that they still swear isn’t real, there are a number of techniques you can employ to get a little more width out of your mix.
PANNING
I already know what you’re about to say: “But I pan my parts hard left and right, and it still doesn’t sound wide enough.” I struggled with this for a long time myself, but trust me, panning is listed first because it’s the first step toward a wide mix.
If you’ve got things hard-panned, you’re already halfway there. One trick to making this work is contrast; if everything is hard-panned, there’s no point of reference for what is narrow or wide.
EXAMPLE: In a rock or metal mix, it’s fairly common to find extremely wide guitars. What many folks don’t notice is that the drums are not always quite as wide.
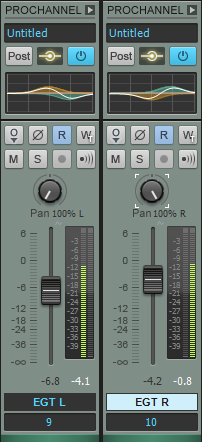
A pretty standard template for me is: guitars panned hard, drum overheads panned at about 50%, and if applicable, the drum room track at about 60-75%. This makes for a full stereo field and helps isolate the parts, creating a very wide image of the guitars while still having good stereo separation for the drums. It also helps prevent distorted electric guitars from eating up all that gorgeous drum ambiance you worked so hard to track perfectly.

Contrary to the above, I’ve heard a lot of folks swear by what’s known as “LCR Mixing,” or Left-Center-Right mixing, where – you guessed it – everything is either panned, hard left, center, or hard right.
I personally am not a major advocate of LCR Mixing, but I highly encourage everyone to try it out. It might work for one song or one style, but not another. If nothing else, it’s an excellent starting point in helping you quickly decide the rough stereo placement of each mix element .

And of course, never forget about automation–the most important part of any mix, in my opinion. Try panning a stereo track to about 80% width, and then at an appropriate point in the song, bump it up to 100%. I guarantee this will add apparent width to your mix.
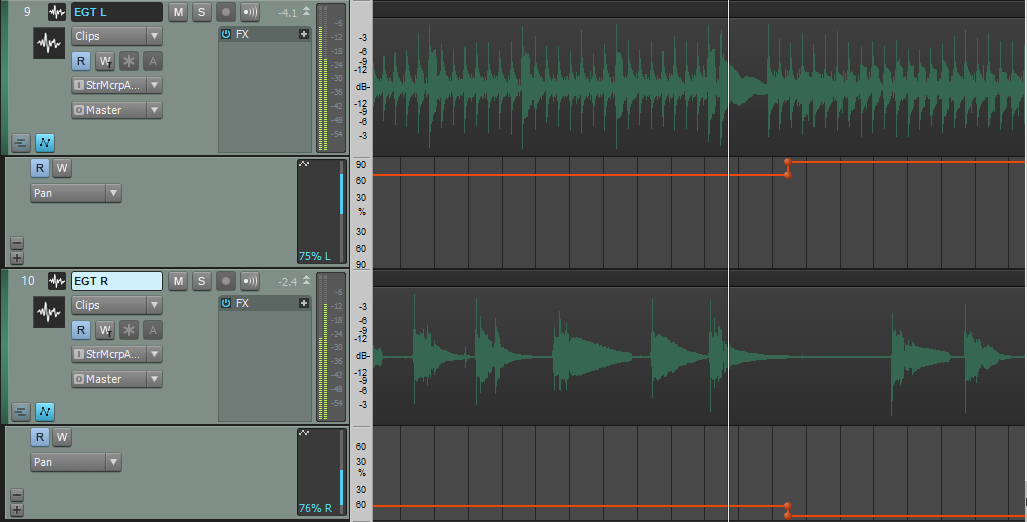
This goes back to contrast — you’re listening to the song and at its widest point, it’s at 80% width. Your ears believe that everything is as wide as it can be. Suddenly, everything gets wider and the apparent stereo width seems enormous! I’m not saying go crazy and use this trick all the time, but try it out and hear the effect for yourself.
EQ
Sometimes EQ can help you make your mix sound wider. And you’re probably thinking, “how is adjusting frequency content going to expand stereo width?” Well, technically it’s not…
It’s a psychoacoustical phenomenon that causes a bit of separation of the parts, making their perceived width much greater. That’s right, it’s not real. But we can fool our ears into thinking we’re actually adding width.
Here’s what to do: take a look at your left guitar track and find a place in the midrange where you might like to boost. Let’s say just for example’s sake, that we’ll add 2dB at 600Hz. Now we’re going to find another frequency and cut it: -2dB at 2.8kHz (again, just for example).
Now, go to your right guitar track and do the opposite: -2dB at 600Hz; +2dB at 2.8kHz.
Be careful — I wouldn’t add or subtract any more than about 2 or 3 dB here lest altering or totally destroying the tone (trust me, the guitar player will hear it and reveal his or her darker side very quickly). Make an adjustment that’s just enough and you’ll trick the listener into hearing an expanded stereo width.
Delay
This is how you get a mix to sound like it’s actually wider than the speakers themselves. It became ubiquitous in the 80s, but much like gated reverb, it’s used more tastefully in modern mixes.
First, a word of warning: this can completely dismantle the mono compatibility of your mix — proceed with caution!
The technique is quite simple, and is another one of those psychoacoustical tricks (come on, you didn’t think you could actually get your mix to be wider than the speakers themselves… did you?).
Insert a stereo delay plugin on your stereo track or bus (IMPORTANT: make sure the delay plugin has independent controls for the left and right sides) and set the mix to 100%. You could also use the Channel Tools plugin, which has this sort of functionality built in. Just add a few milliseconds of delay to one side of your stereo track or bus, and you’ll hear quite a difference right away.
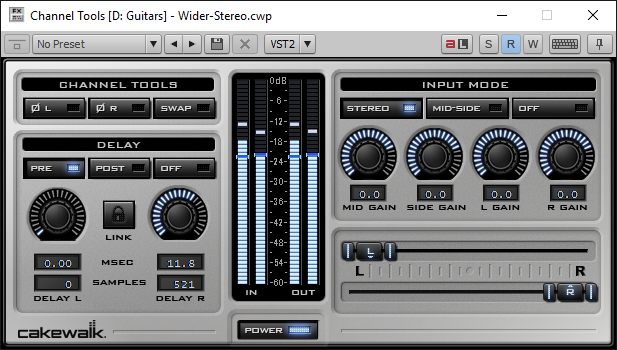
Of course, there’s always the question of how much is enough. Here are some tips:
-
Does it sound like one side is playing before the other? Too much. You’ll definitely want it below 20-25ms, or it’ll start actually sounding like, well, a delay.
-
More delay time will not always make it wider. The effect is caused by the phase relationship between the two sides, so you may find a sweet spot with hardly any delay at all.
-
Collapse the track/bus to mono. Does it sound terrible? Try making it a little narrower.
-
Does the tone change too much? Move the delay time up or down a little bit and see if that helps.
-
Remember, phase can truly make or break your mix, so again, tread cautiously when applying this effect.
Reverb
There are a few different ways reverb can help increase the apparent stereo width of your mix.
The first way is quite simple: Applying reverb to an already-wide signal can make it sound even wider. This has to do with those phase relationships we were just talking about.
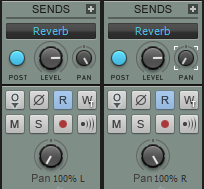
To take things a step further, try panning your reverb sends to the opposite side (Hard Left Audio w/ Hard Right Send; Hard Right Audio w/ Hard Left Send) to see if it makes any difference. If nothing else, it makes for a pretty cool creative effect.
The second way is also quite simple. What is reverb but a few thousand delay signals right after one another? What we’ll do is apply reverb to only one side of the stereo track or bus.
What this is doing, in addition to the delay trick mentioned above, is making one side sound slightly more distant. It’s ultimately creating a distinction between the left and right side (again, in your mind) that creates the illusion of greater width.
Mid/Side Processing
This is a bit of an advanced technique. There are plug-ins out there that will do all the thinking for you (The Hoser XT, for example) by allowing you the option to make separate adjustments for the individual “mid” and “sides” channels.
However, there are a few ways to make this work, even without a “smart” plug-in… I’ll keep this as simple as possible.
The best way to set yourself up for Mid/Side processing is to use the Mid/Side microphone configuration when recording. This is what I consider a true Mid/Side configuration, and I feel it balances better, has better mono compatibility, and is more “true to the source” when it’s being modified than its “fabricated Mid/Side configuration” counterpart.
If you don’t know how to do Mid/Side recording, I’ve provided you some resources here, here, and here.
Now, as for converting a standard stereo track or bus to Mid/Side tracks, you’ll have to do a bit of extra work…
-
Clone your stereo track or bus.
-
Collapse the original to mono with the interleave button. It should look like this: [mono interleave button]. This is now your “Mid” track.
-
Insert a plugin like Channel Tools, or any comparable plugin, on the cloned track.
-
Flip the phase on the left side (or the right side; one may sound better than the other). This is now your “Sides” track.
What we can do from here is process these tracks individually. A good starting point would be to apply some fast compression to only the “Sides” track, somewhat eliminating the dynamic peaks and valleys and making the sides seem louder, thereby increasing the apparent stereo width.
Similarly, you can add some upper-midrange frequencies to the “Sides” track, increasing their presence, and/or reduce the same frequency range in the “Mid” track.
Try all these techniques and take note of the qualities that each impart. Remember, the more techniques you have in your arsenal, and the more practice and experience you have with each of them, the quicker you’ll be able to make creative production decisions.
Reader's Choice: Most Popular Drum Production articles in 2014
by Dan Gonzalez
Free Quick Kit Project Templates for SONAR X3 Users
Yes, we’re bringing back the freebie post from last December. Our Free Quick Kit Project Templates made a big splash with the community as one of our top posts over the last 12 months. These pre-mixed project templates load right from quick start menu in all three versions of SONAR X3 without any assembly required. Open a quick kit, drop in your sequence, and you’re ready to rock with great sounding drums. Now we’re opening it up to anyone who has Session Drummer 3 in their arsenal. Download the free pack here.
9 Microphone Techniques for Recording a Snare Drum
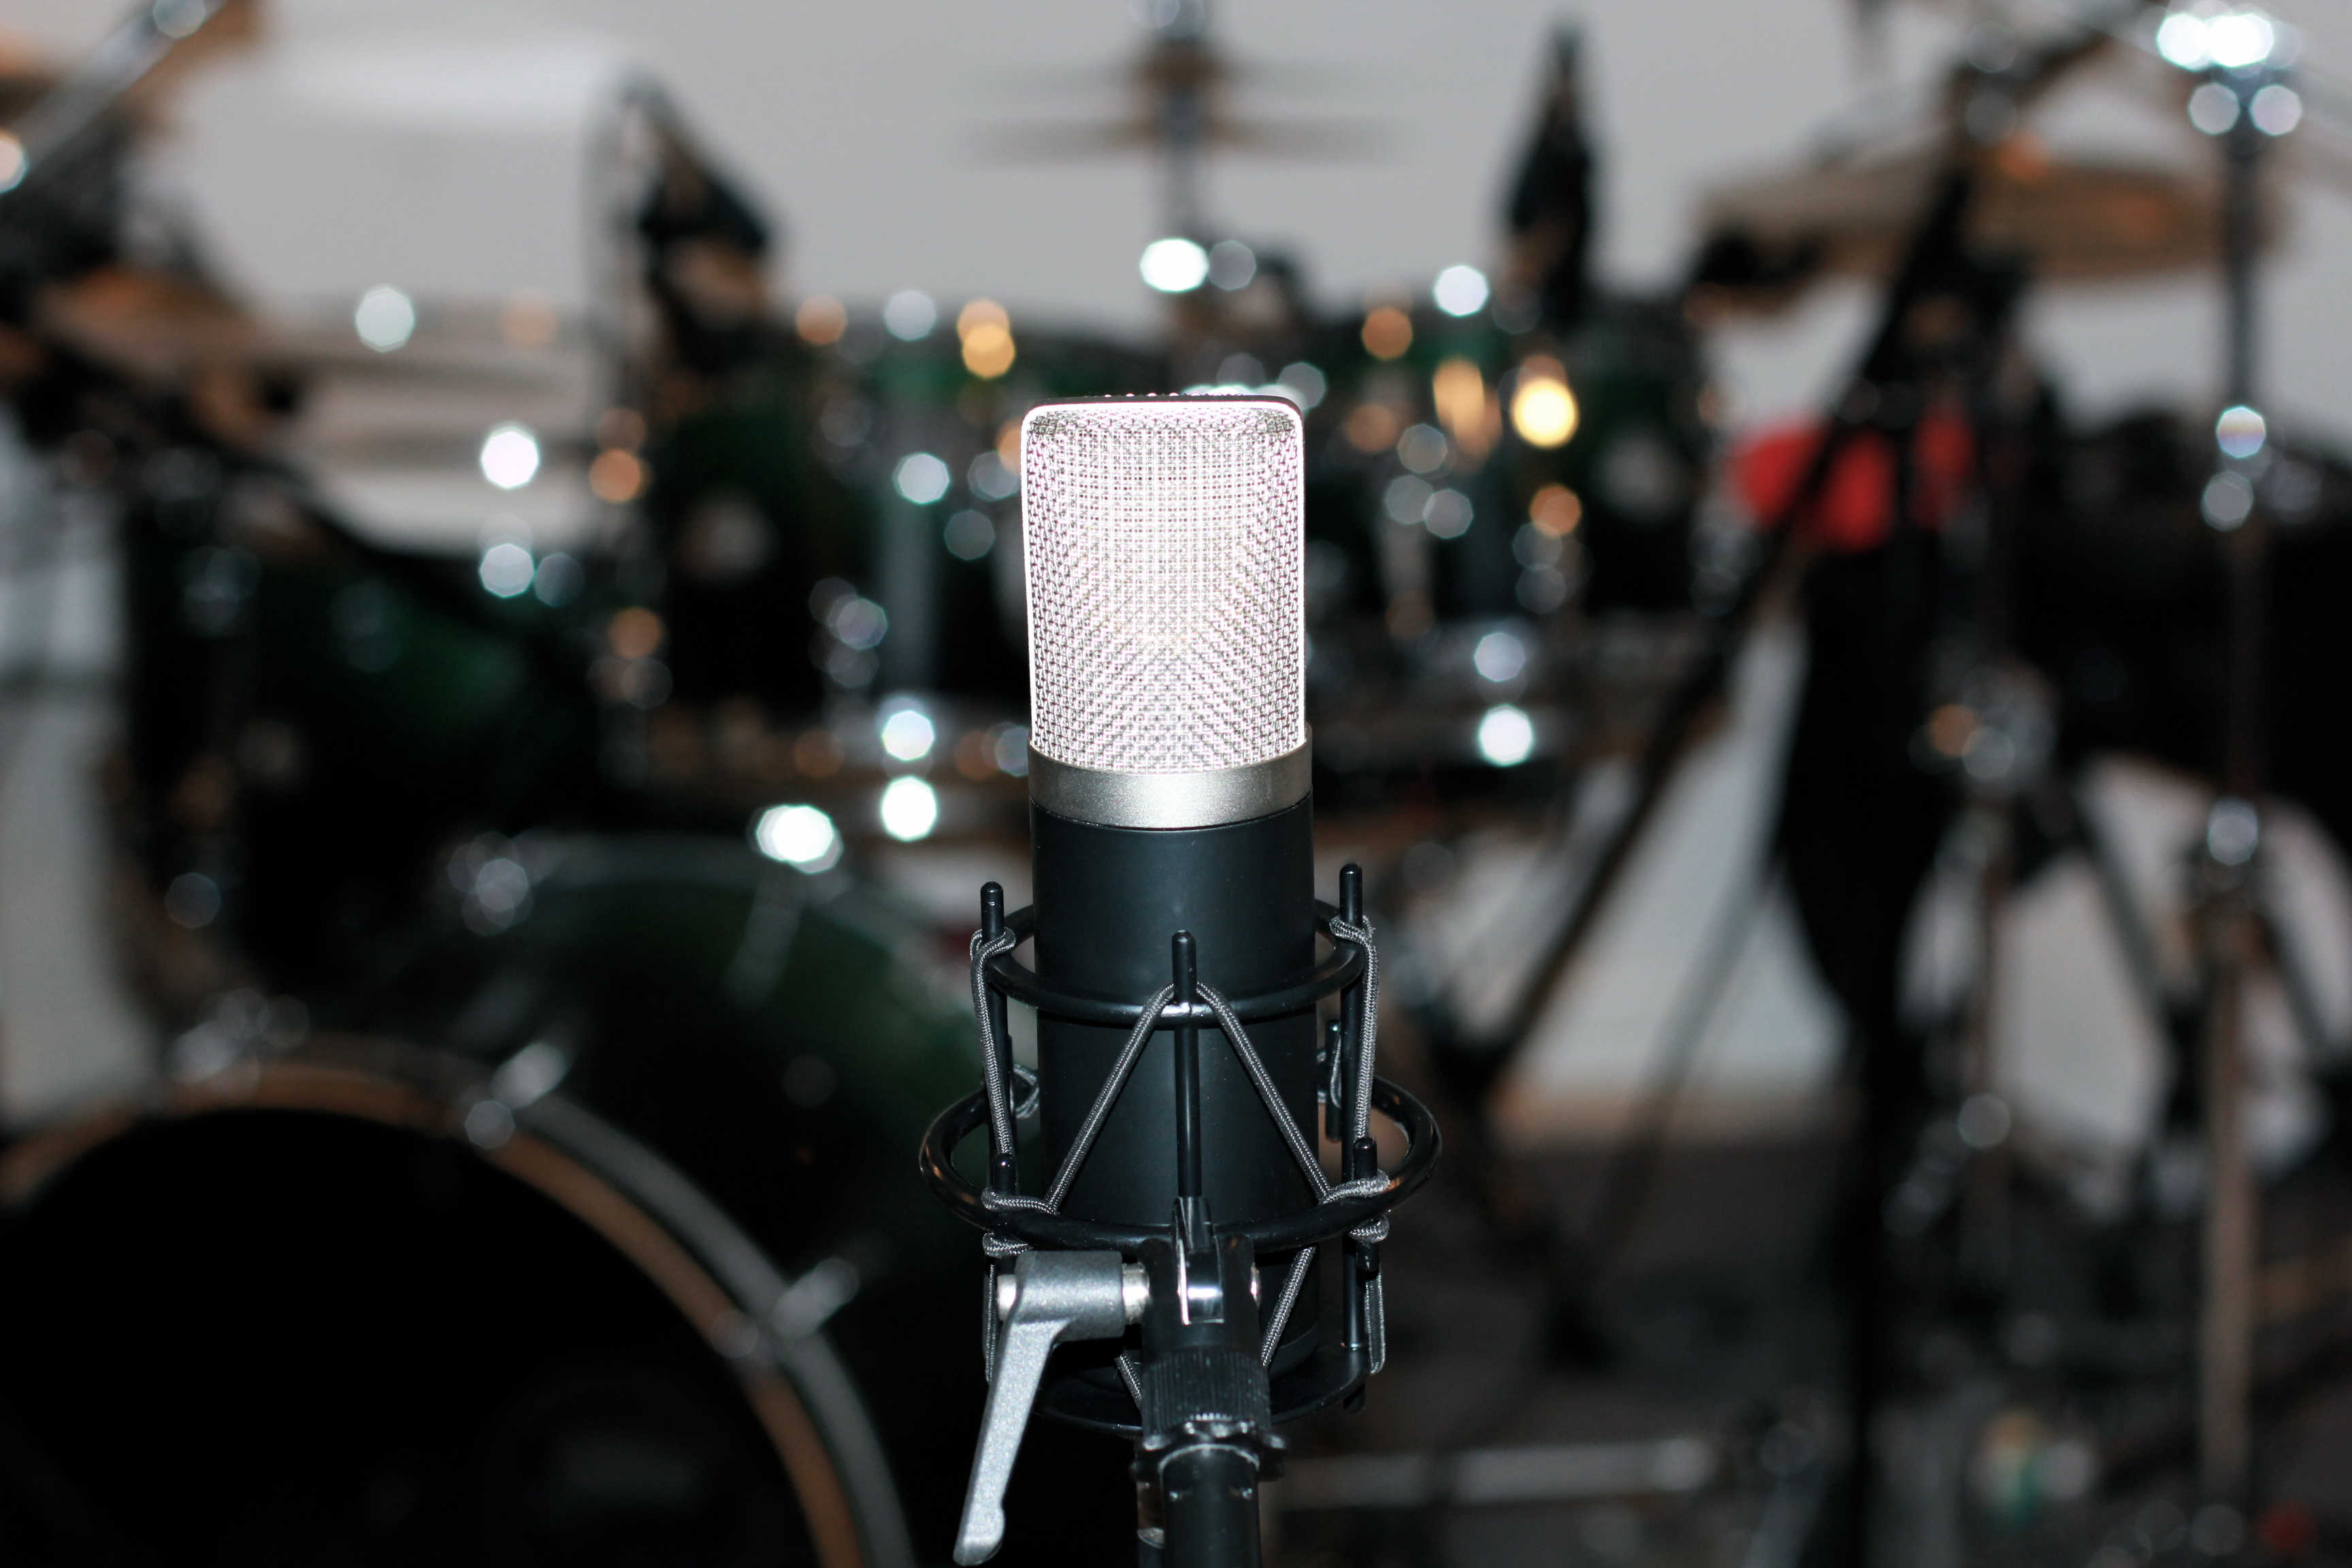
Ever wanted to know how to mic up a snare drum? Well we wrote a comprehensive article about 9 different ways to do it. This article is brought to you by the community of Cakewalk readers that follow the blog and read it regularly. Check out the article here.
What’s New in Addictive Drums 2?
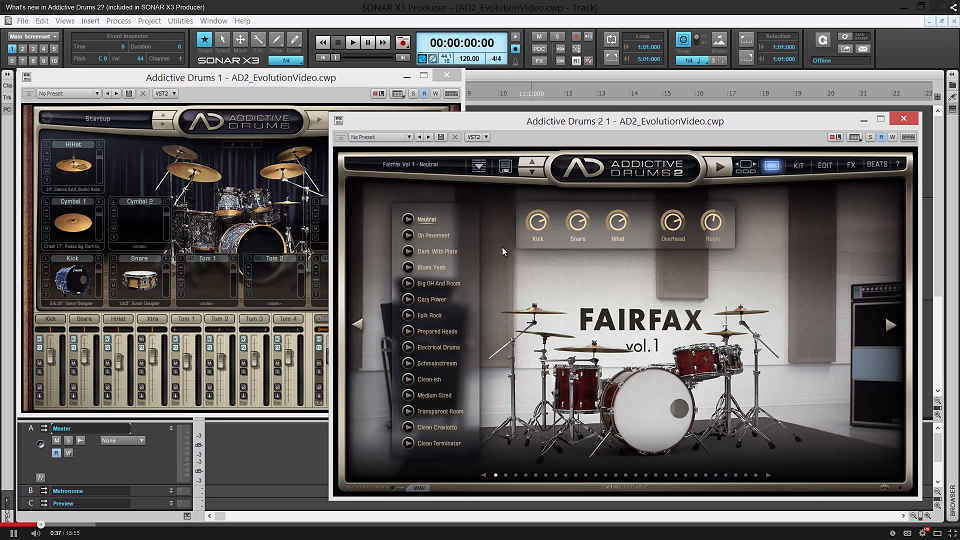
2014 brought us more than just content, it brought us Addictive Drums 2. Ever since we’ve posted our extensive video about XLN Audio’s new instrument we’ve heard nothing but great reviews. Here’s our most popular video chosen by the readers of The Cakewalk Blog. Check it out here.
Subtractive EQ Part 1: Snare Drum
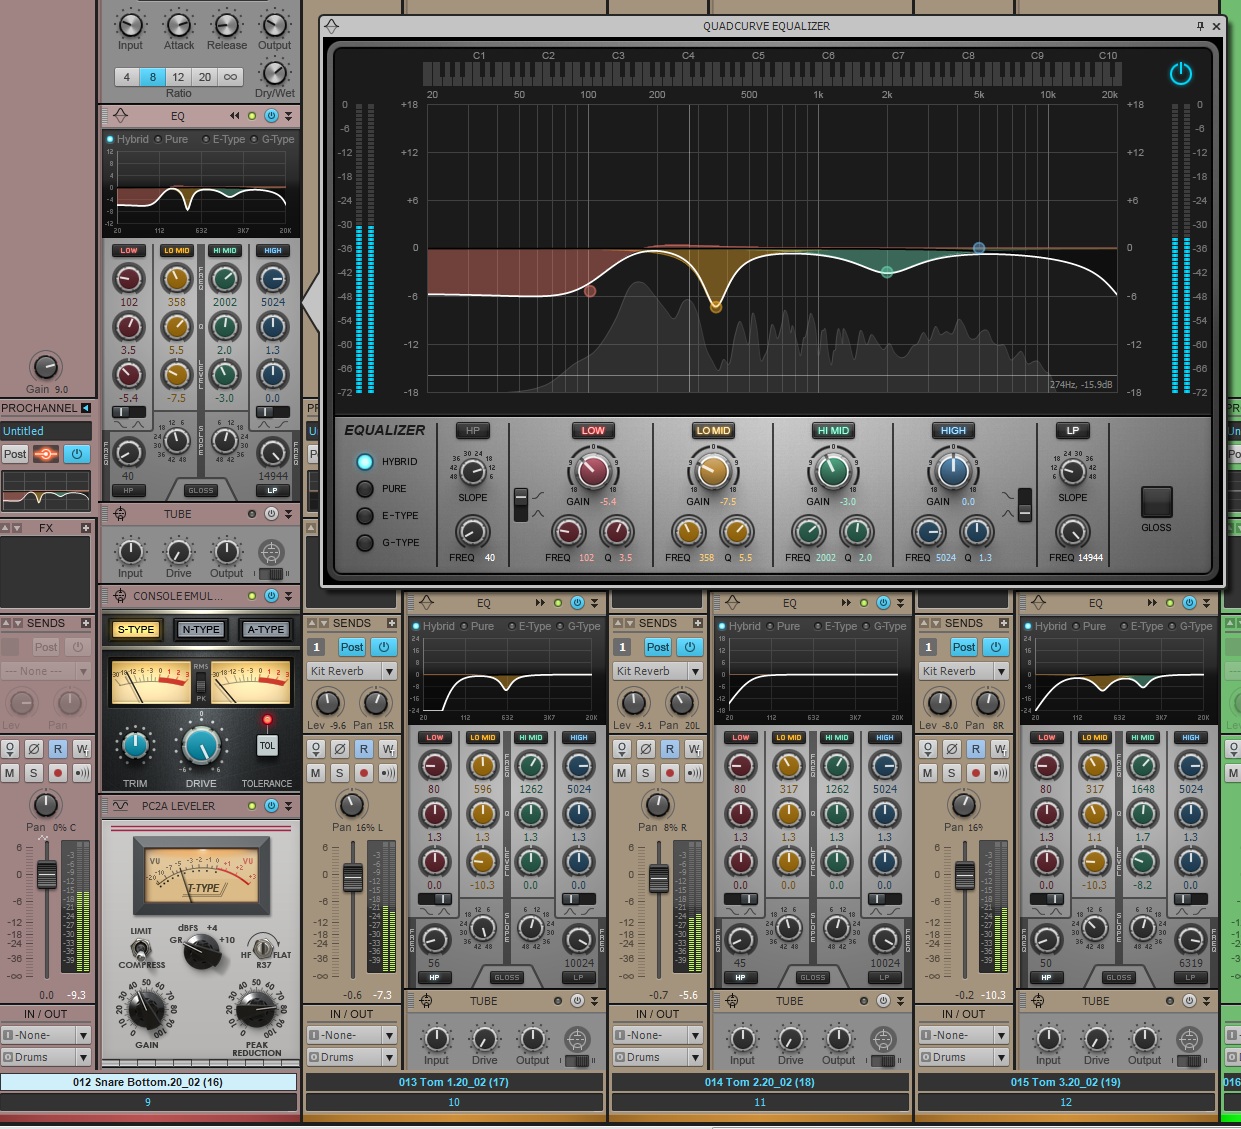
Here’s one of our most popular posts this past year in case you missed it the first time around. There are a ton parts to this series, but the first part has seemed to win over the rest. Here’s a nice thick article about how to apply subtractive EQ to a snare drum. Check it out here.
Setting up your Addictive Drums
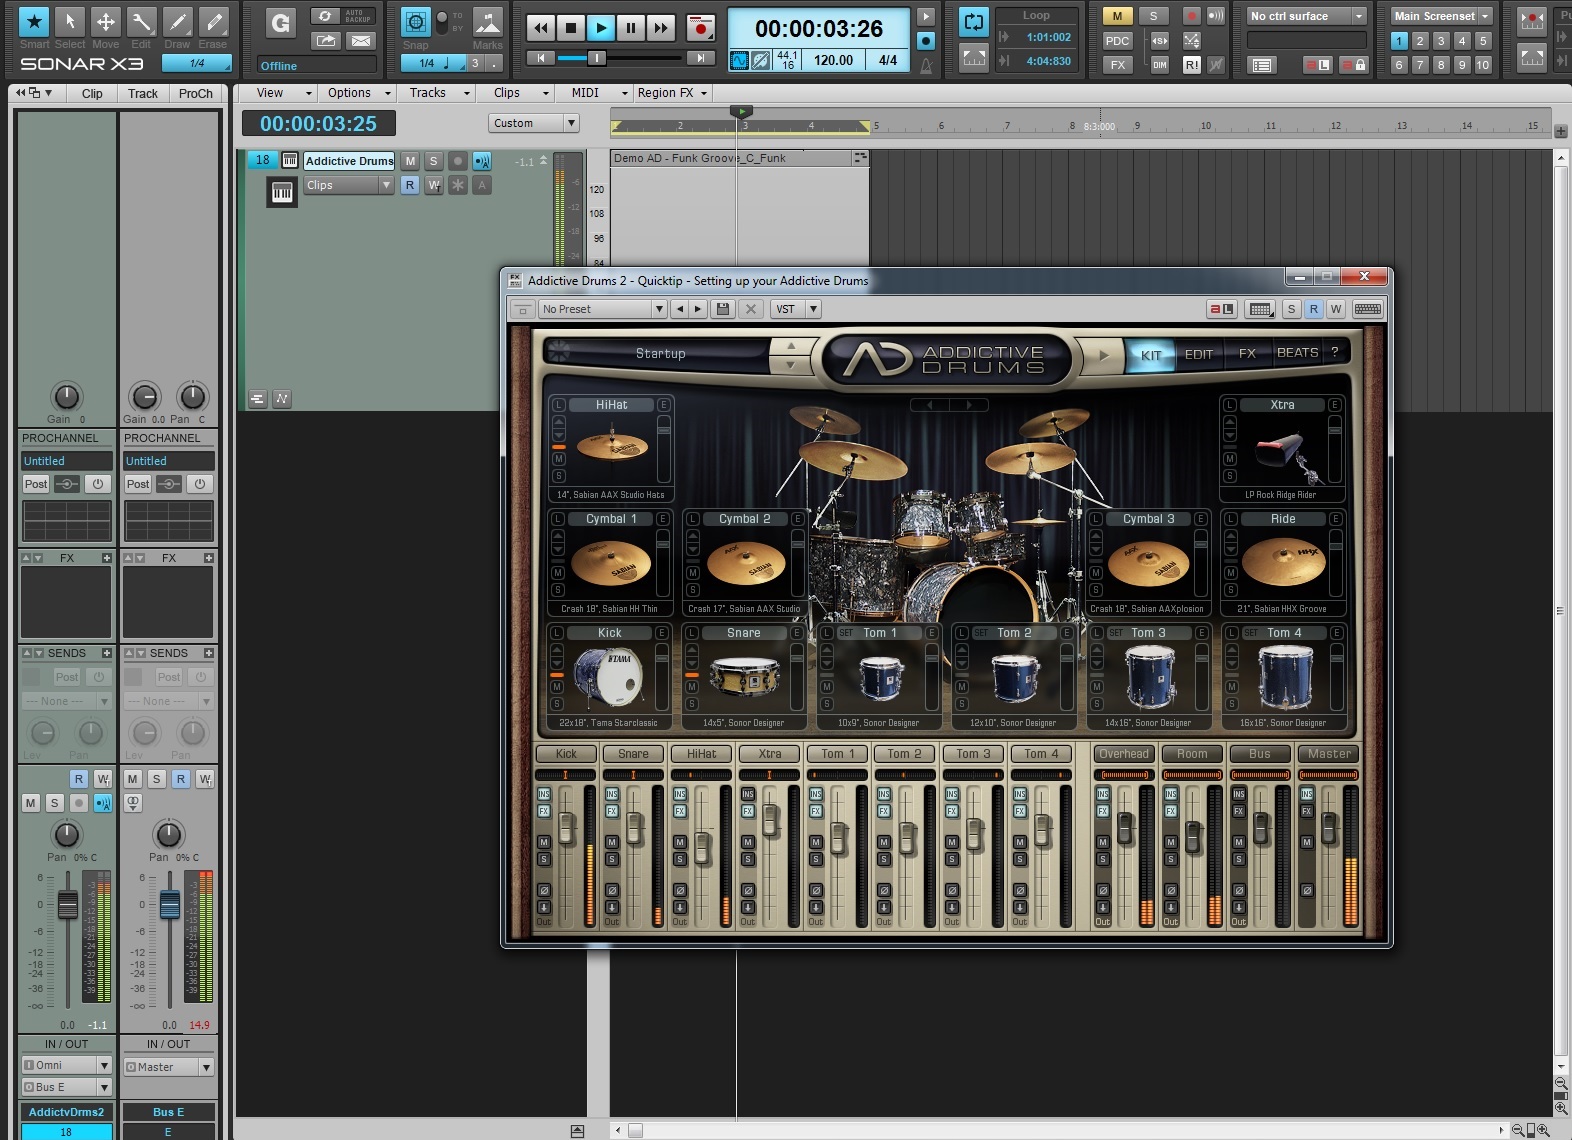
Check out how you can easily setup Addictive Drums (1 & 2) to accommodate multiple different working environments within SONAR X3 Studio and Producer. This one of kind drum synth is the best of the best. Check out the article here.
How to use Compression on Snare Drum in SONAR X3
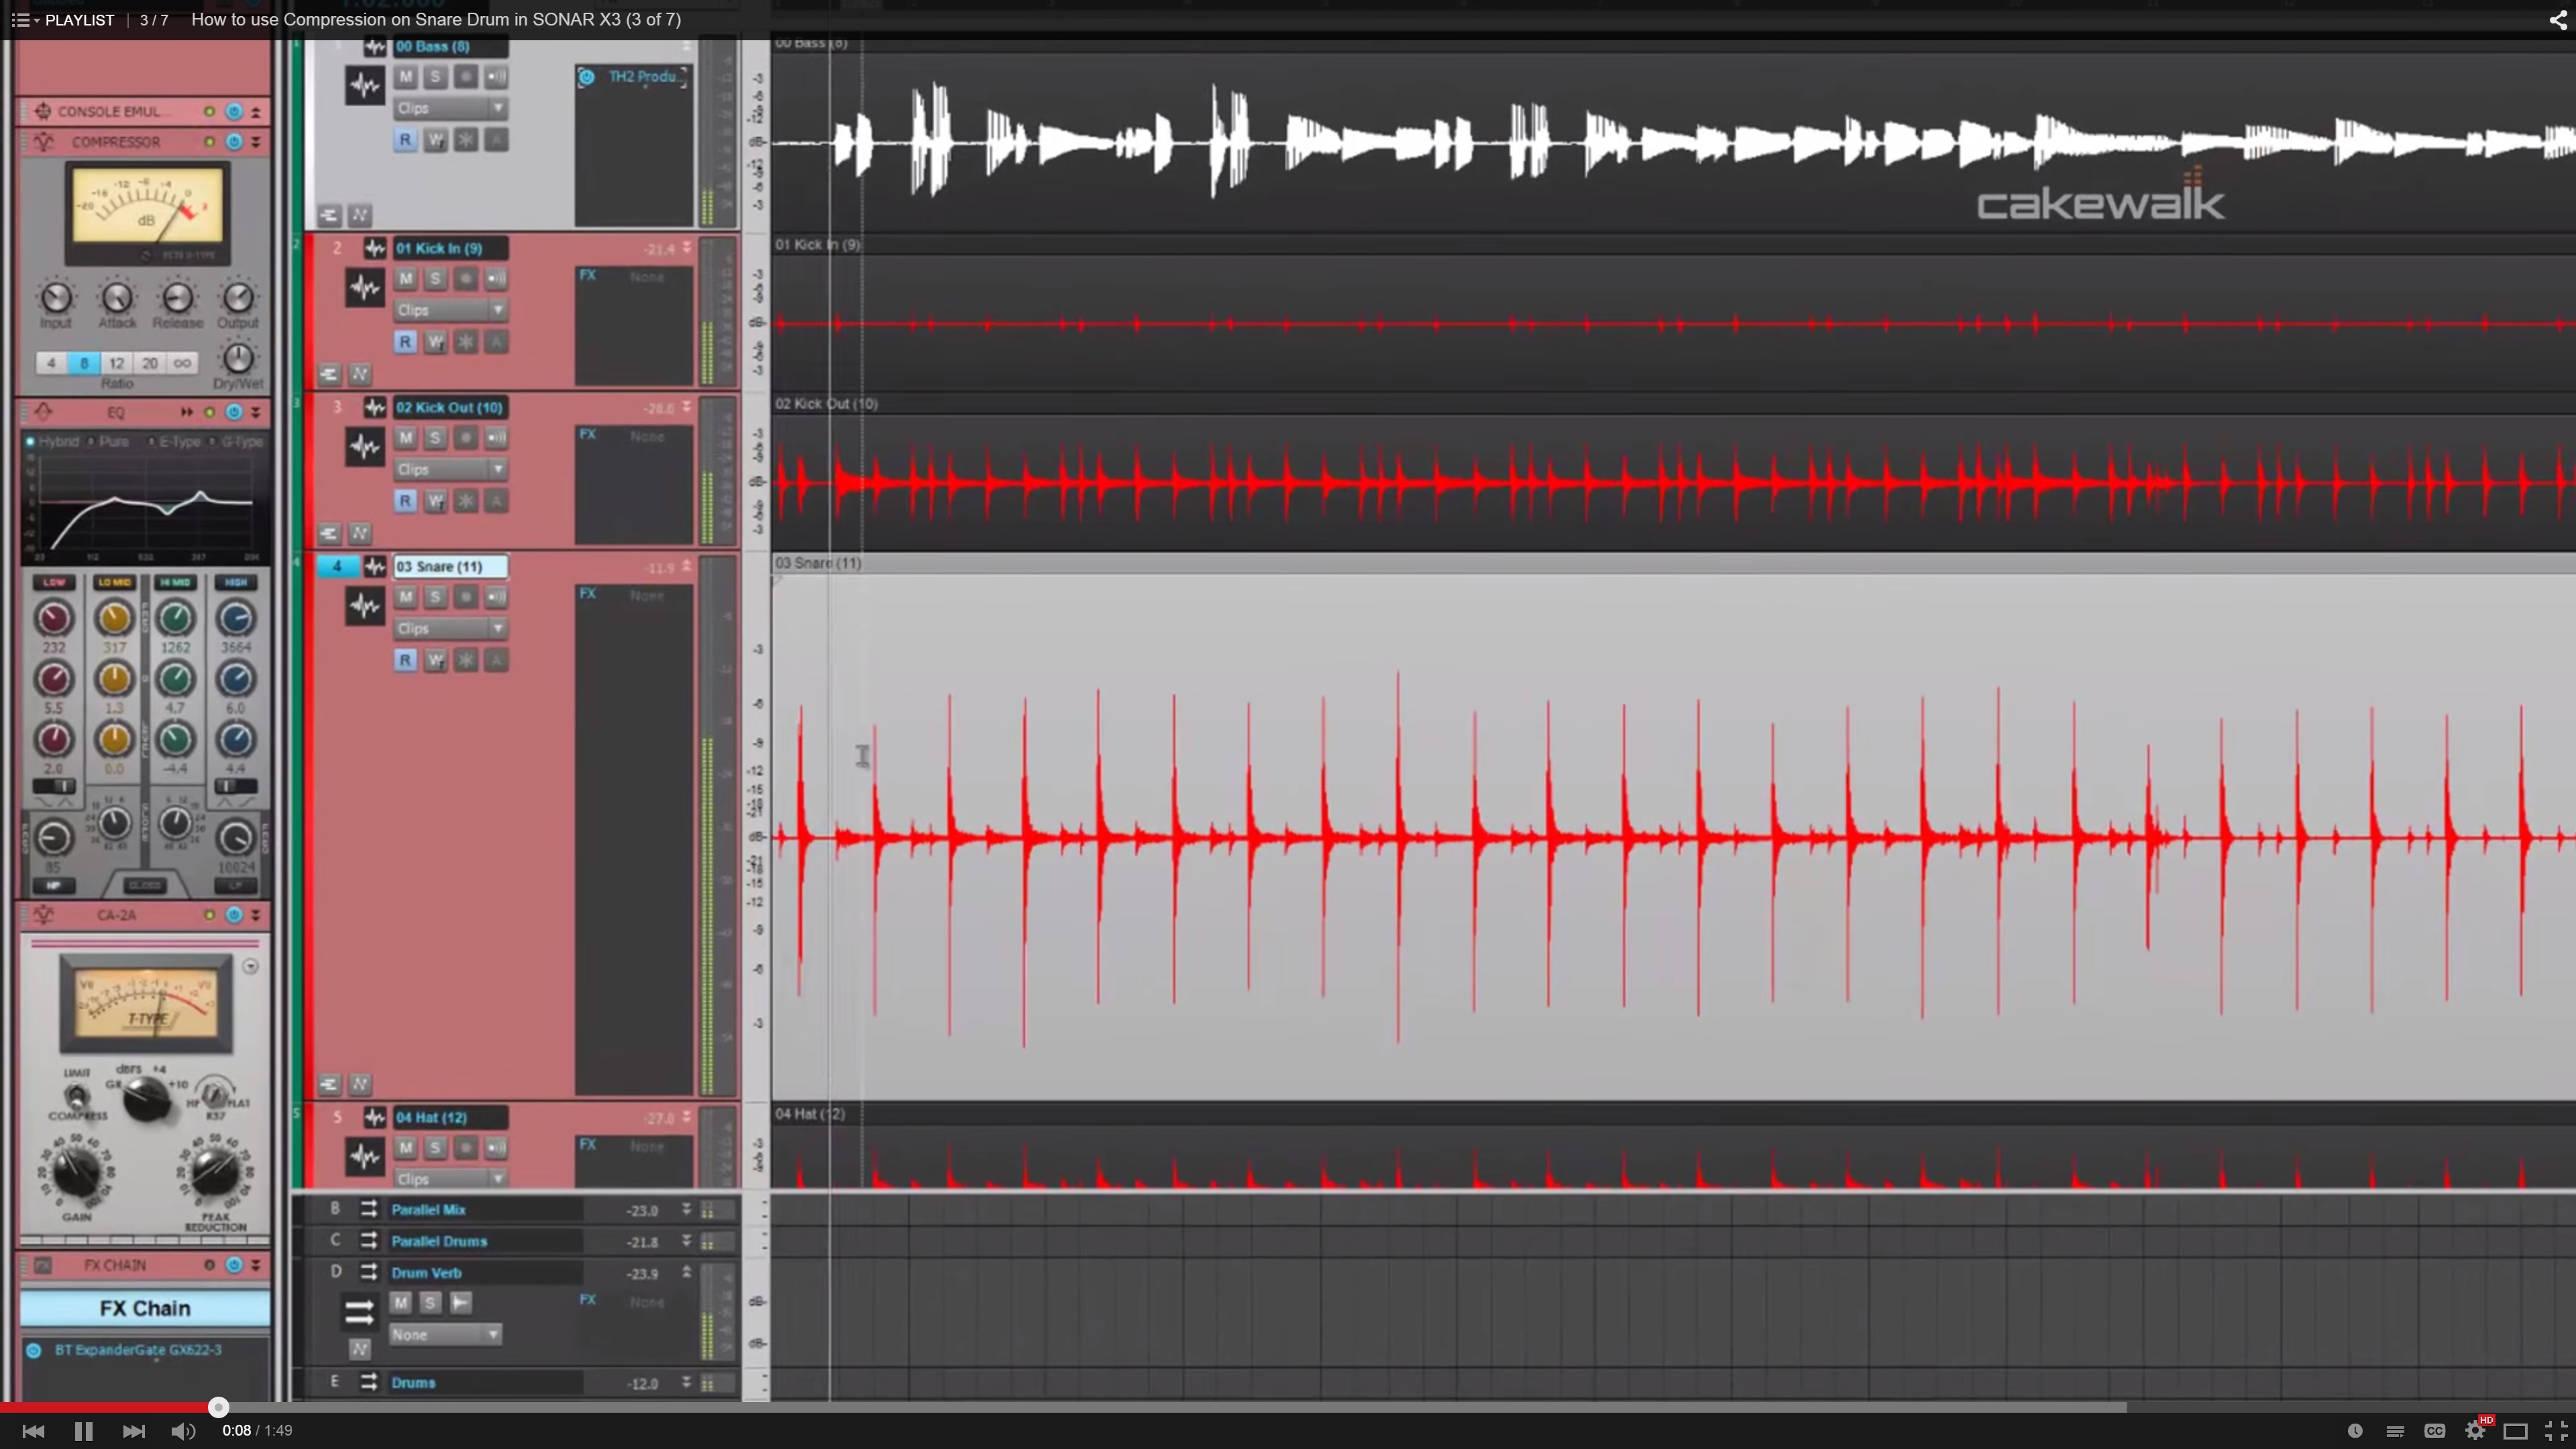
Using compression is one of those tools that is tricky to understand if you’re not familiar with how the different audio signals in your mix. Check out our most viewed video from the extensive video series about using the CA-2A Leveling Amp on snare drum. Check out the video here.
How to Compress Drum Reverb in SONAR X3
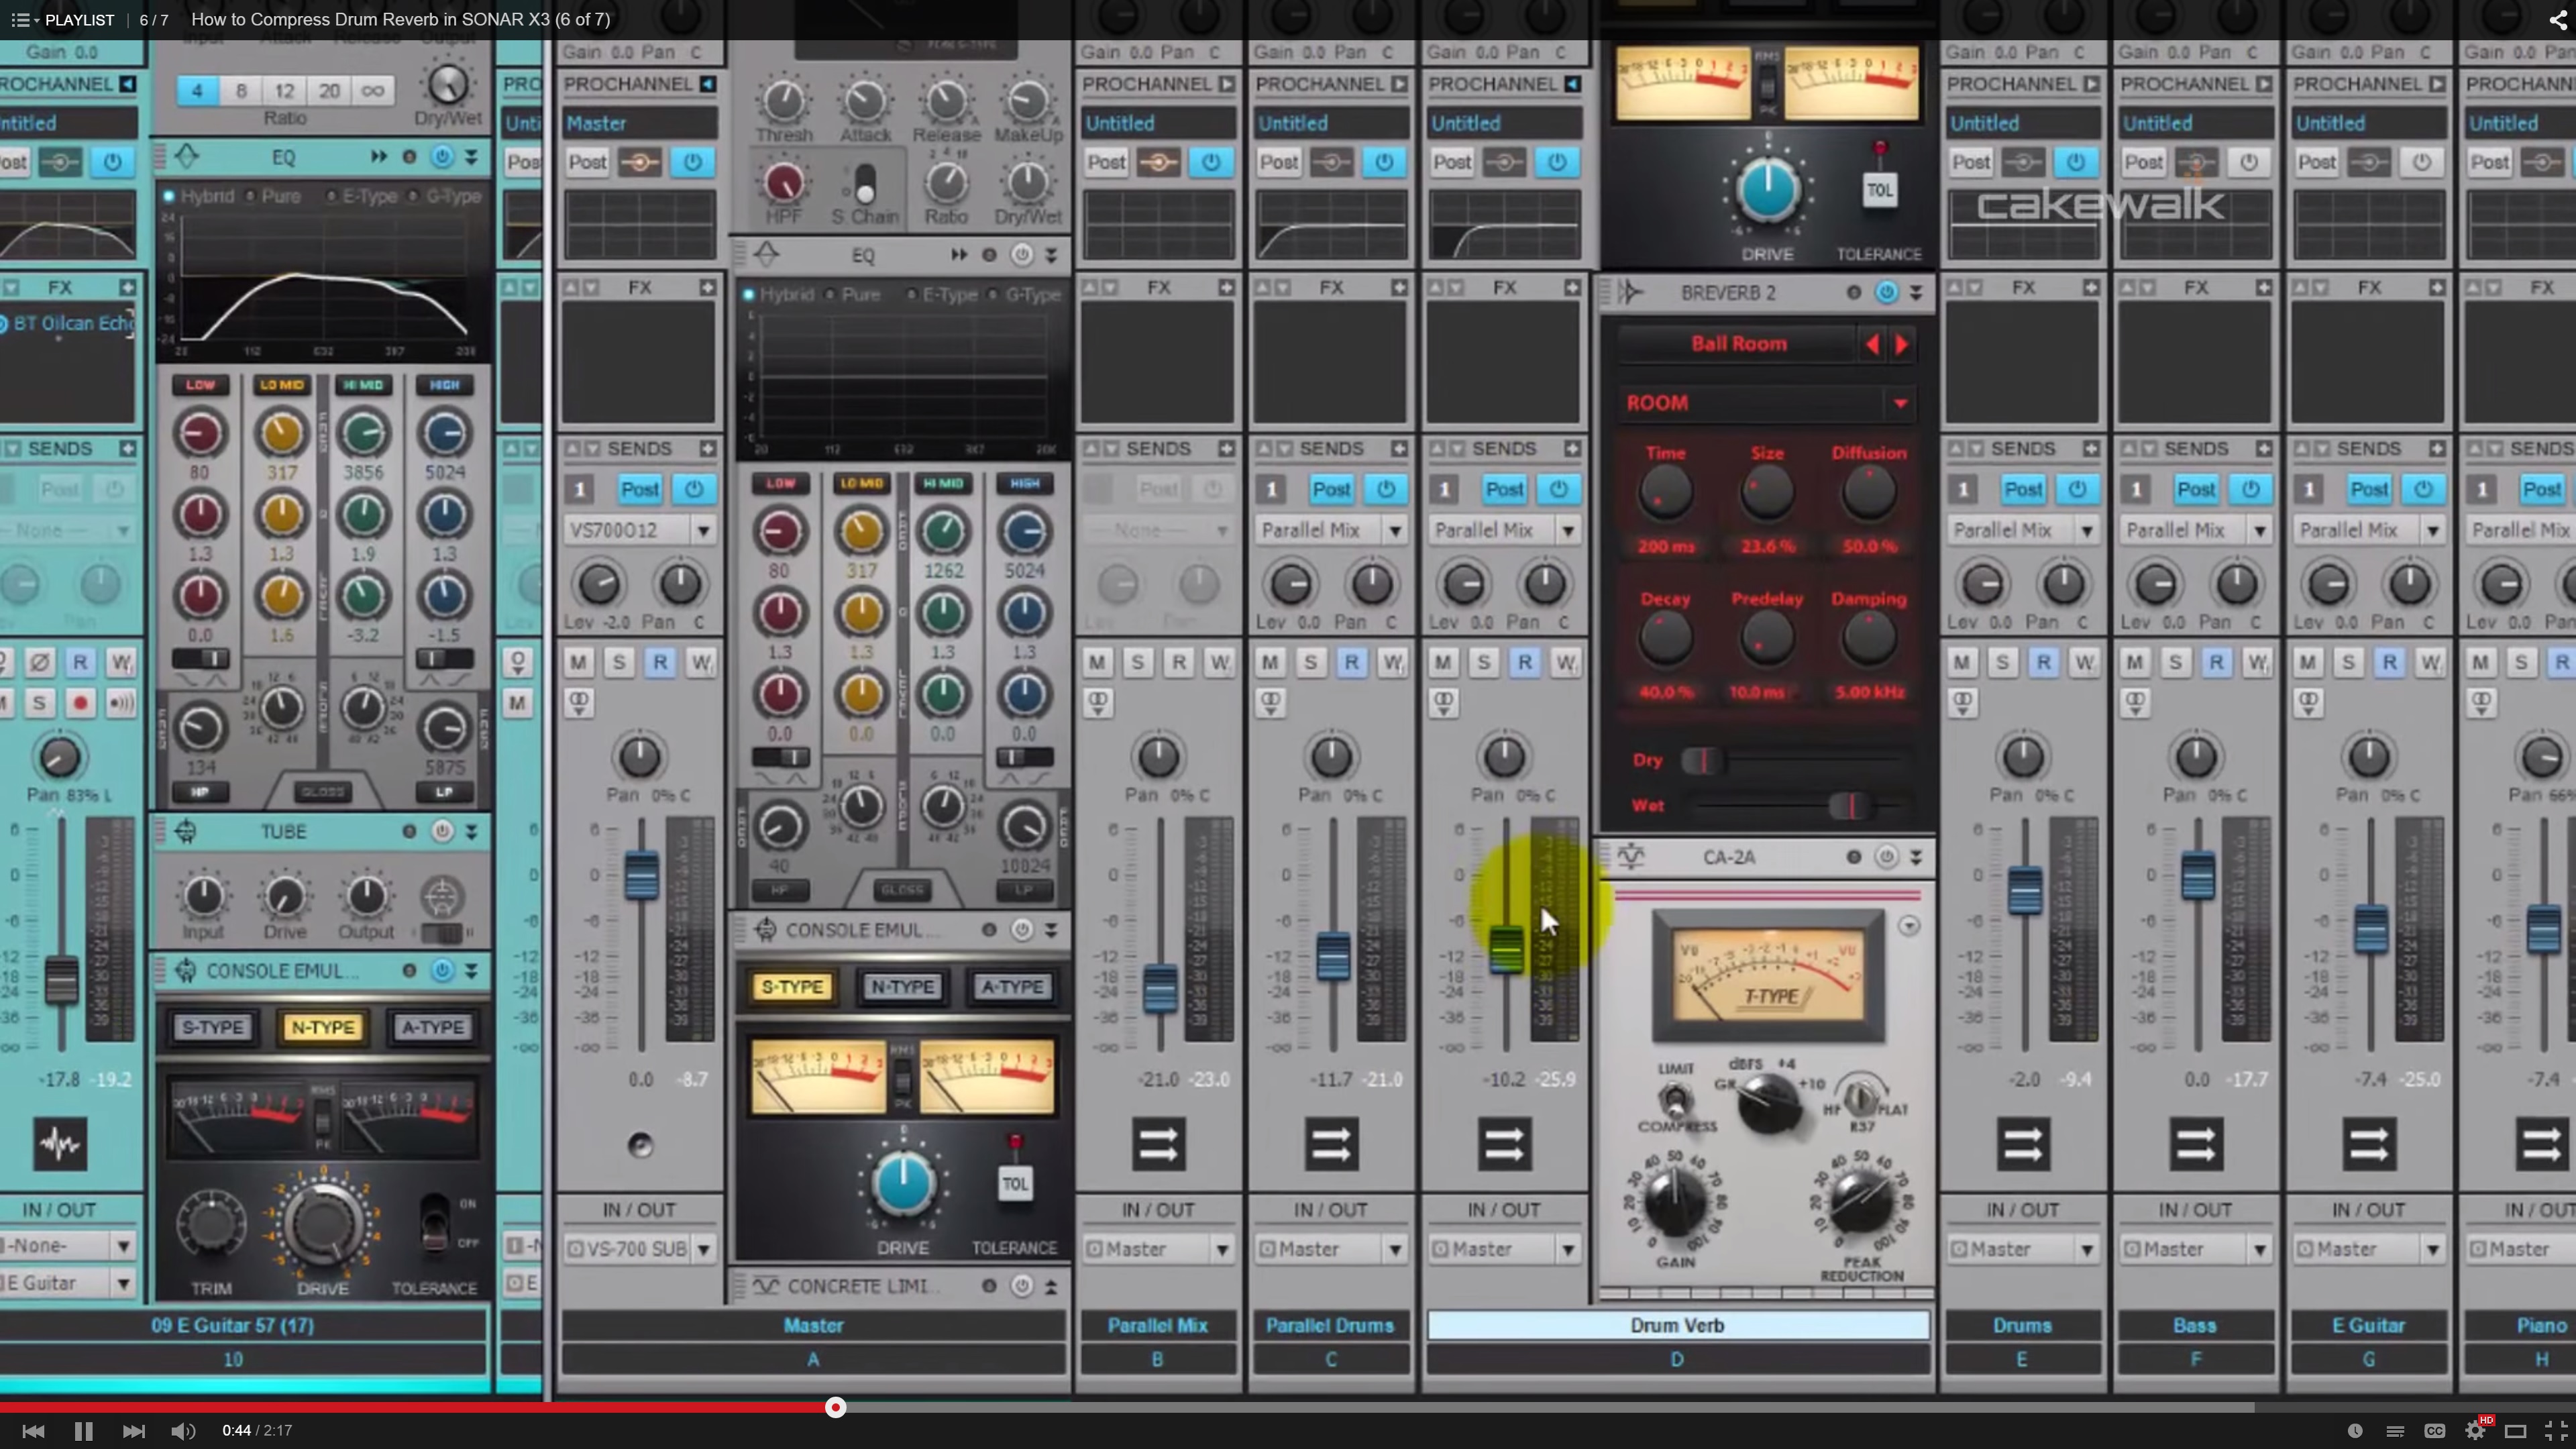
Another popular drum related video from the Compression video series is #6 where I give some tips on using compression on drum reverb. You can see the video here.
Producing Drum Samples in SONAR X3
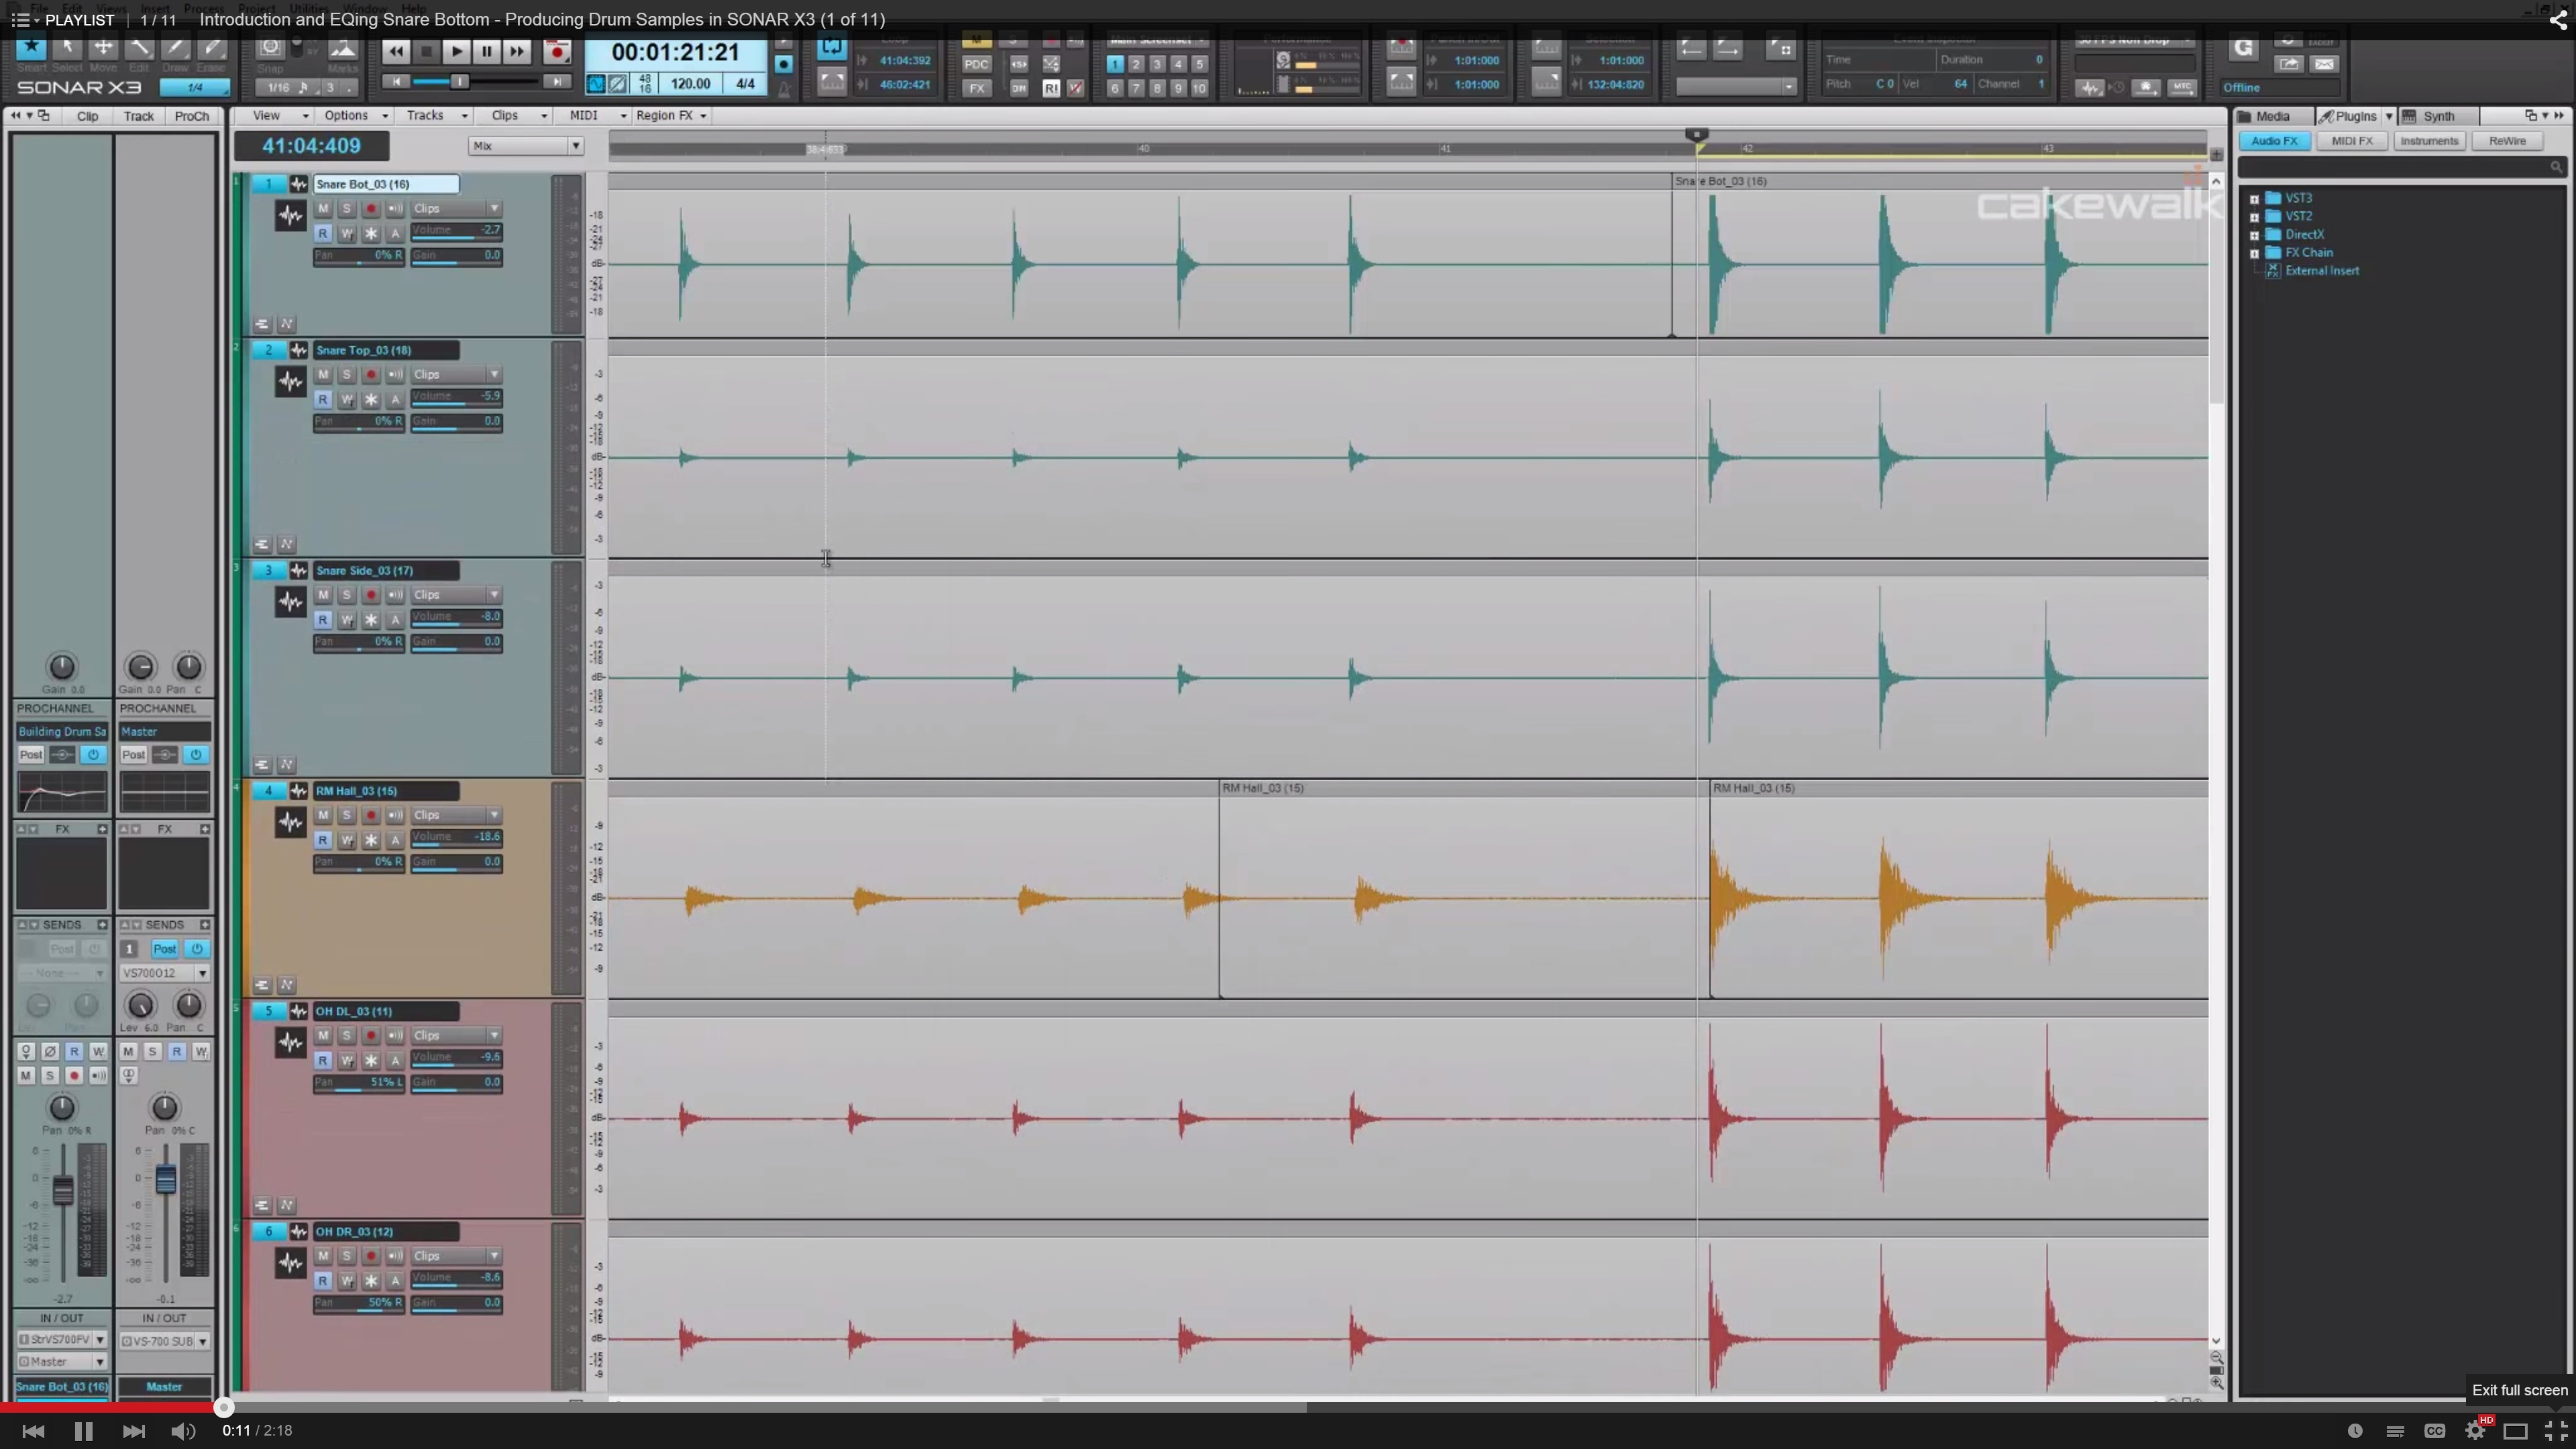
Last but not least we’ve seen that our community has really enjoyed our Producing Drum Samples video series. This video series is available to watch here and guides you through some awesome ways to mix and EQ drum samples to your liking.
If you’re looking for more Drum Production tips check out the tag for this on our blog here.
6 Mindblowing reasons to get SONAR X3 Producer
1. SONAR has redefined mixing in the box.
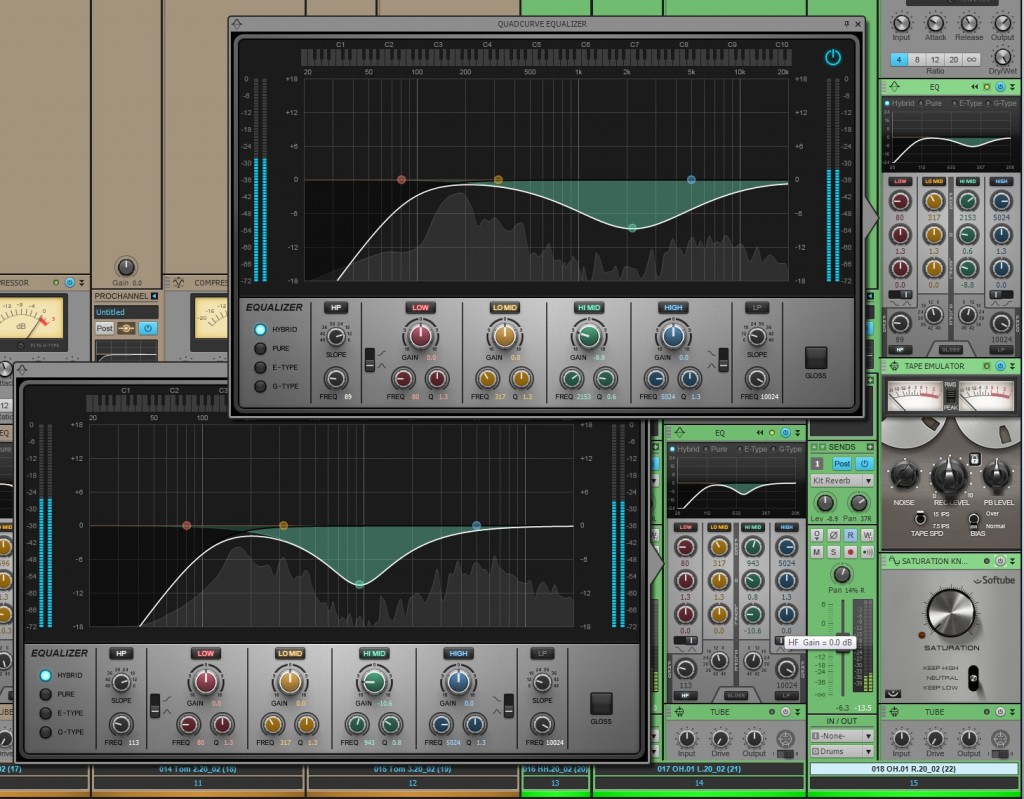
The ProChannel redefines the way you work with the Console View. Each audio track, instrument track, and bus comes with a complete modular strip of analog effects. Even the inspector allows the users to preview a selected track’s ProChannel strip right from the Track View. With the click of a button users can expand this analog mixing console and fully customize it by dragging around the modules, or loading up a ProChannel presets. Load up the Compressors, Tube Saturation, Reverb, Console Emulators, Tap Emulators, and the new QuadCurve EQ Zoom with Analyzer by simply right-clicking. SONAR’s ProChannel lends itself to an immensely visual experience and to enhance this feature a step further Cakewalk introduced the fly-out panel for the Quad Curve EQ (SONAR X3 Producer Exclusive). Adding this allows users to see and modify their audio signals in real-time across a spectrum analyzer.
2. The best pitch correction software that exists is fully integrated.
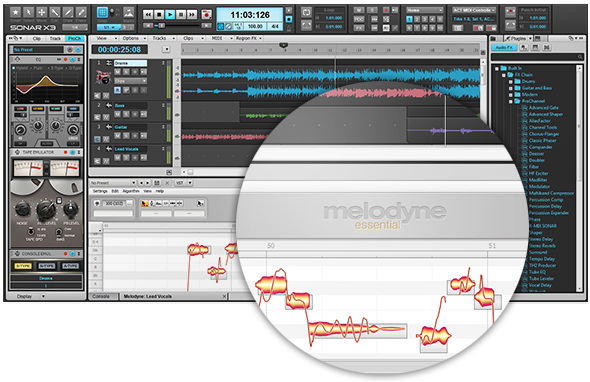
ARA technology is Celemony’s way of allowing DAW’s to host the functions of any audio edit capable plugin. ARA Integration means that Melodyne can now run as a fully integrated feature within SONAR X3. Yes, you read that correctly, SONAR X3 can now run the world’s best pitch correction as a native component and SONAR X3 Studio & Producer now include Melodyne Essential.
Melodyne interacts with the new Region FX clips in SONAR – allowing users to highlight any mono audio clip and apply Melodyne pitch correction. ARA’s high quality time stretching replaces the older time stretching capabilities run by AudioSnap and SONAR X3 has the ability to convert Audio to MIDI by simply dragging and dropping audio to a MIDI track. This deeply integrated technology makes SONAR perfect solution for complex pitch correction!
3. Floating windows get in the way, so SONAR solved that problem.
 If you’re looking to purge your workflow of a cryptic DAW with an unsettling interface that is not conducive to a creative environment then you should really check out what SONAR’s been doing since the X-series overhaul. We’ve pretty much ended the floating window interface to bring users a more efficient musical experience. Our Smart Tools HUD can be accessed anywhere in the interface. Our main track view houses several different workflows that are a single click or shortcut away. Screen-sets lets you save window configurations and swap between them using your numerical keys. The list goes on and on and we’re continuing to make it better with more intuitive features.
4. It takes minutes to create something awesome.
There are programs that exist only to record and edit, and then there is SONAR – which is the major contender for the entire creative experience. Every part of SONAR’s MIDI and virtual instrument implementation allows users drag in, route, and start composing within seconds.
You can save your favorite instrument and track routing as track templates and load them into other projects without any hesitation. Complex routing tasks like a multi-track setup for Addictive Drums requires no thinking – just doing. Our synth rack stays separate from the Track View and Console view so that your processing plugins stay separate from your synthesis plugins. Organization, clarity, and not a second wasted, that’s why SONAR stays on top.
5. We don’t bundle useless plugins with SONAR.
In fact, we bundle some of the best software in the industry with SONAR. We’ve already covered the fact that Melodyne Essential comes with the product – but that doesn’t even scratch the surface. 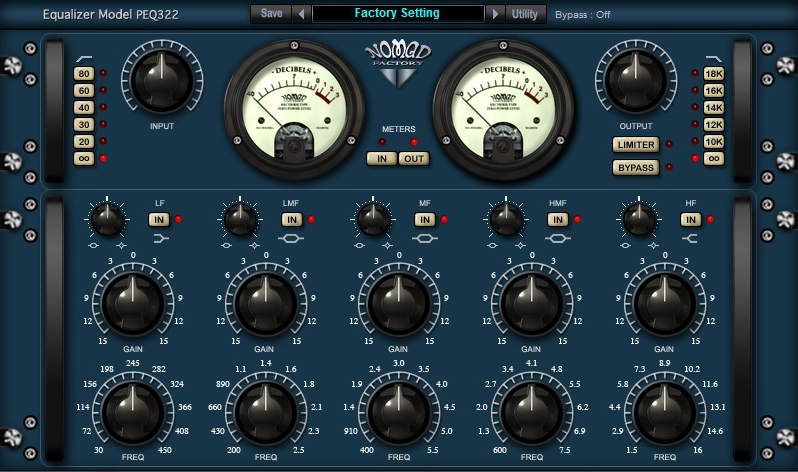
The Nomad Factory Blue Tubes bundle ships with SONAR X3 and contains as many dynamic, time-based, and eq-based plugins that you could ever need. We have astounding instruments from AAS: Strum Acoustic SONAR, and Lounge Lizard SONAR. Lastly, Addictive Drums – which will make you want to fire your drummer and spark your MIDI programming addiction. It doesn’t stop there, check out the full list of effects and get yourself on board with the future of the DAWs.
6. You’re not limited to a Track Count or Plugin Count.
There’s always that moment when you realize that your DAW has hit a brick wall with the amount of plugins or tracks that it can handle at once. SONAR doesn’t have that problem, in fact it goes above and beyond to give you the best 64-bit architecture, unlimited tracks, buses, and effects that money can buy. We even have surround sound support! No need to constantly submix your tracks or work in parts because you don’t have thousands of dollars to drop on a “pro-system”. Even at our $99 value we’ve taken out track and effects limitations and still retain flagship features like ARA and VST3.
Upgrade to SONAR X3 Producer today!
Still not convinced? Check out SONAR free for 30-days.
Microphone Tips: What is a Polar Pattern?
The Polar Pattern of a microphone determines how the microphone perceives sound 360 degrees around the capsule and ultimately helps engineers decide on a microphone’s use and application. Some microphones have multiple polar patterns while others are designed for one specific pattern. Understanding the sound of any microphone is very important, especially when harnessing that knowledge on a session that has a multi-mic’d instrument.

How to read these patterns
These graphs are read from the top down. 0 degrees is the front of the microphone and Continue reading “Microphone Tips: What is a Polar Pattern?”


