TH2: Using Guitar Amp Software Live

Turning this powerful amp, cab, mic & pedal modeler into a MIDI-controlled effect for live use.

Original article posted on The Cakewalk Knowledgebase

TH2 is the guitar amp modeling software included in SONAR X3 and Music Creator 6 Touch, and while it deserves all the high praise it’s received as a guitar processor, one aspect that is often overlooked is its deep MIDI routing capability. More specifically, it’s possible to adjust the settings of TH2’s amps and effects pedals and even switch between separate banks, sounds and variations by using a hardware MIDI controller or a MIDI CC message in a track. With this setup, TH2 can become your full-time pedalboard and let you take the sounds of your studio recording to the stage.
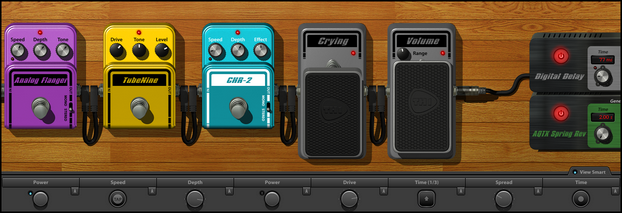
Wait, what’s that sound? Oh, it’s all the groaning from the people who think that mixing “MIDI” with “stage” will only lead to wasted time and headaches. Fear not, TH2 is smarter than usual software and the flexibility you’ll gain—even if you don’t make TH2 your Continue reading “TH2: Using Guitar Amp Software Live”

DAW Best Practices: Migrating SONAR to a New Computer

So you just brought home your shiny new dream machine computer with the most powerful CPU, loads of drive space and more RAM then you know what to do with. First thing you do is fire up SONAR to work on a project but wait – you can’t find any of your favorite plug-ins. It’s time to migrate all of your favorite settings, and this handy article will show you how.

Set-up
The first thing you will need is a way to move files from your old computer to your new one. The easiest method is with GobblerContinue reading “DAW Best Practices: Migrating SONAR to a New Computer”

Free SONAR X3 Clinic by Berklee Online [March 31st 2014]

Innovative Music Production Techniques with Cakewalk SONAR X3

When: Monday, March 31 at 4:00pm ET
Length:
30 minutes

Next Monday, join Berklee Online for an in-depth online clinic with Craig Anderton, a renowned music technologist and producer, and Chief Magic Officer for Gibson Brands.

Learn how to create, edit, master, and more using SONAR X3 Producer.


Topics for this Open House will include:

  • The MIDI advantage for songwriting
  • Using loops for both songwriting and EDM
  • Speeding up workflow to prevent “inspiration atrophy” (effects chains, track templates, browser techniques, etc.)
  • Creating your own mixer architecture
  • Using “spot” timing correction to tighten timing without destroying feel
  • How to make amp sims sound great (e.g. effects chains)
  • Mastering in SONAR

Sign-up here

Cakewalk Integrates with Gibson Brands at Musikmesse Frankfurt 2014

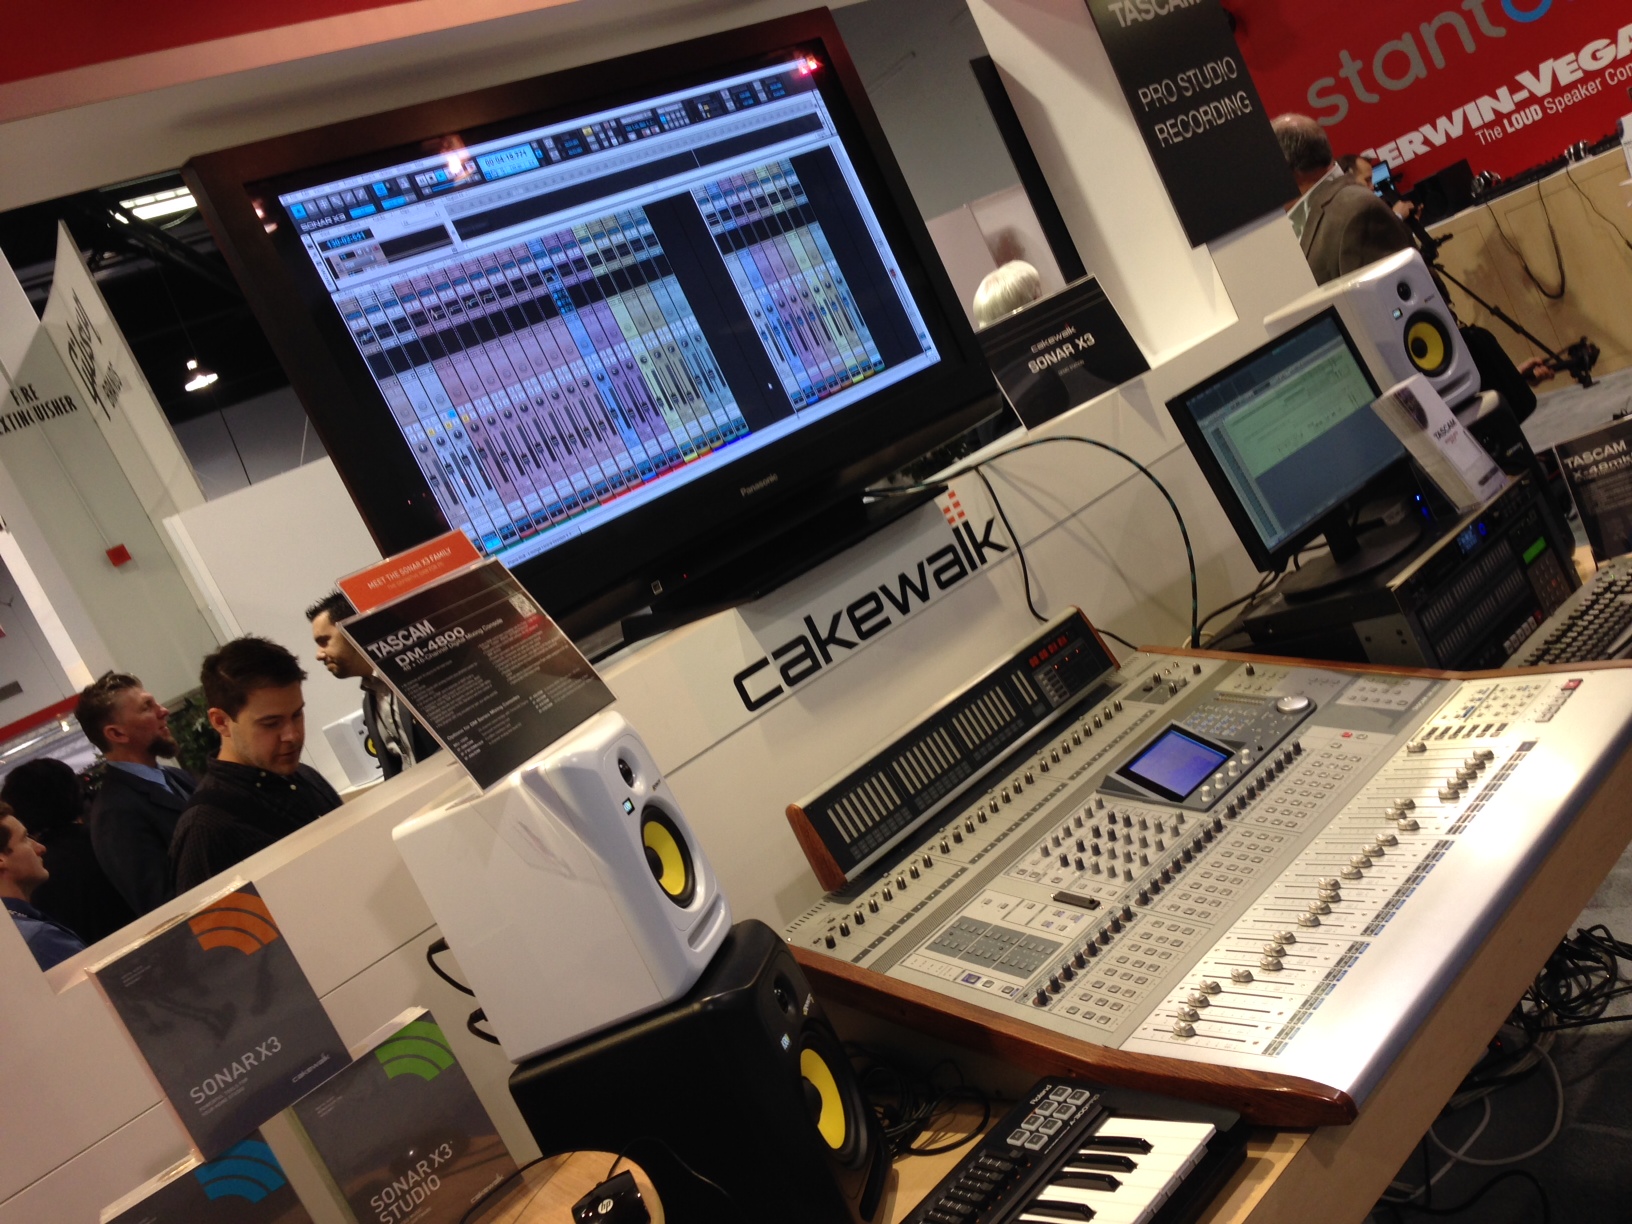
Musikmesse 2014 brought a lot of things together for Cakewalk in the grander picture under the Gibson Brands family.  For the first time, Gibson Pro Audio brought together its family of TASCAM, KRK, Stanton, Onkyo, Cerwin-Vega and Cakewalk at a major trade show – and it was pretty fantastic to say the least.  All brands were representing their latest and greatest products to an international group of industry professionals, music creators, musicians and producers from all over the world.  Besides the Pro Audio space which covered close to 6,000 square feet, Gibson also had its instrument space on the lower level which sprawled across an even greater area; so there was no shortage of Gibson at Musikmesse this year.

If two spectacular booths are not enough, why not throw in an eye catching/death defying stunt show outside in front of the all the halls?  Introducing: The Gibson Motodrome: a 16 meter diameter pitted-cylinder-wall where vintage motorcycles and a speed-racer circa 1928 whizzed around avoiding what would seem to be an inevitable crash.  The only logical thing to do after getting this contraption going onsite was to have a visit from Rudolf Schenker who is the guitar player for Germany’s own The Scorpions. Continue reading “Cakewalk Integrates with Gibson Brands at Musikmesse Frankfurt 2014”

Flat Response Amps vs. Conventional Guitar Amps

Many guitar players are discovering the advantages of the FRFR (Full Range, Flat Response) guitar amp compared to conventional amps. This isn’t to diss the traditional guitar amp; it’s great, and has its uses. But the FRFR option has some compelling advantages.

A guitar amp does more than make soft signals loud. The cabinet is basically a filter; open-back cabinets reduce bass, closed-back types give more bass, and the high-frequency response starts rolling off at around 5kHz. Also, the preamp and power amp affect the sound dramatically—or Spinal Tap would never have praised the virtues of turning up an amp to eleven.

Guitar amps are wonderful not because they’re precision devices like studio monitors, but because they’re about character. Adding a pedalboard and some cool effects creates a setup that has served us well for decades.

However, conventional guitar amps are generally limited to a particular “signature” sound. Plugging your guitar into a different amp or direct into a PA mixer gives a different sound. Tube amps have their own magic, but also, some drawbacks: Tubes get “soft” over time, wear out, and can become microphonic.

An FRFR amplification system is like a PA or studio monitoring system—clean and accurate. You get your “sound” before it hits the FRFR amp, either through a quality multieffects with amp/cab simulation, or a laptop running amp sim software. This means you’ll get the same sound whether you plug into an FRFR system, PA, or recording setup because your tone isn’t dependent on the specific way an amp colors your sound.

Read the full article by Craig Anderton

First Time DAW Users: Frequently Asked Questions about MIDI

MIDI, or Musical Instrument Digital Interface, is a language by which computers, virtual instruments, and hardware samplers/synthesizers can communicate. It’s a way to give instructions to music production software like SONAR X3 to play, control, and program your own tunes. Even touchscreen tablets have the ability to generate and accept MIDI information. MIDI is a great way to work with music and has powerful capabilities that appeal to users of all levels. There are a lot of unfamiliar terms and concepts in the MIDI world so let’s take a look at a few questions that I typically hear from first time users.

1. What is MIDI, can I hear it?

MIDI by itself is data and is inconceivable to the human ear. It is a universally accepted standard for communicating information about a musical performance. It encompasses both hardware and software components, and though it could be used for sending information about many other things, such as the control of lighting in a theater, or even to control your coffee maker, Continue reading “First Time DAW Users: Frequently Asked Questions about MIDI”

Subtractive EQ Part 5: When Should I Boost EQ?

Missed Part 1? Read it here.

When should I boost?
Some of you may read this and field this very question.  Boosting is something that you can do any time you want with any given instrument.  Obviously it is your own choice in the matter but if you find yourself constantly pulling your faders up and down because your master level is clipping then you may want to apply these EQ techniques to your workflow. In my world it is always a matter of reducing first and then boosting later.

Conclusion
Mixing is as much of an art as it is understanding the logical ways that instruments interact with one another. Continue reading “Subtractive EQ Part 5: When Should I Boost EQ?”

Subtractive EQ Part 4: Bass

Miss part 1? Read Subtractive EQ – Snare Drum.

Bass
The bass in this track caters to fans of the early Metallica era.  Bassist Cliff Burton popularized this distorted sound on such tracks as (Anesthesia) Pulling Teeth.  It’s important to blend this type of bass tone into the bottom of the guitars.  In this mix the guitars and the bass become a single unit ebbing and flowing with one another at certain points through the song.

Understandably one can assume that there was much processing done to this track before it’s transfer into SONAR.  It’s important to capture the sound before you start mixing so that your mixing process is not a patch-job.

This tone is aggressive and piercing to the ear.  A significant way to know that this instrument needs attention is by the aural fatigue that you may experience while soloing this track and listening to it rather loudly for more than 10 seconds.  I aimed to adjust the bass track to fit like a glove under the mix by applying a HPF at 78Hz with a steep bandwidth setting.  The amount of bass here needs control. Using a compressor to control the sound would be redundant because of how much overdrive was applied to this track.  The overdrive has ultimately eliminated any trace of strong transients.

Lastly, there is another dip in the EQ around 2.2kHz.  This adjustment reduces some of the aforementioned piercing sound. Any harsh tones in this register will be too overbearing in the mix.

Subtractive EQ Part 3: Kick Drum

Miss part 1? Read Subtractive EQ – Snare Drum.

The Kick Drum
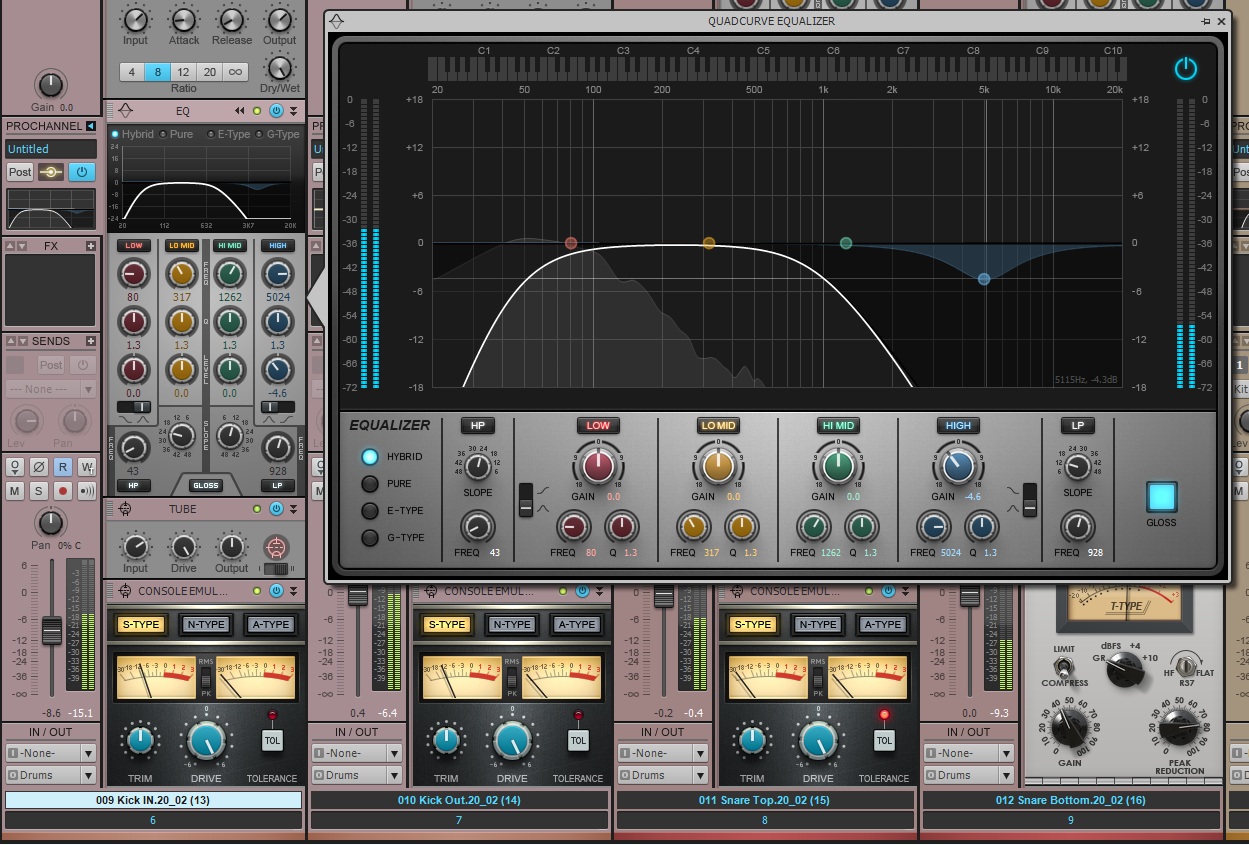
If the snare was the primary listening point for Rock music then the kick drum is the second most important. By working in the guitars in over the snare I was then met with the challenge of working in a solid kick drum sound. This kick drum was tracked using two different kick drum microphones, one deeper into the drum than the other. For reference, the first kick signal is called the “Kick-In” microphone and the second is the “Kick-Out” signal. (This is one example of the nomenclature used by many engineers to differentiate between the different microphones placed on a drum set)

Kick In

I started by blending the two signals Continue reading “Subtractive EQ Part 3: Kick Drum”