
The recording of a snare drum is the focal point of every modern recording. It sits right in the center of the mix, below or above the vocals depending on the style of the music. In this article, I’ve outlined some mic placement techniques that will help focus in on getting specific snare sounds in your recordings.
1. Close Mic

This is simple, easy, and very exposing. If you are looking to get that initial attack of your snare drum, use this type of placement. On its own it does not sound as appealing as one would first think, but once you add in the rest of your microphones you will begin to understand how the drumset takes shape.
Close mic’ing a snare drum captures ghost notes, blast beats, and other low-volume hits. Adding this type of placement to your snare configurations and then automating it’s level in post or during the performance can help pick up snare hits that do not get through to the rest of the microphones on the drumset.
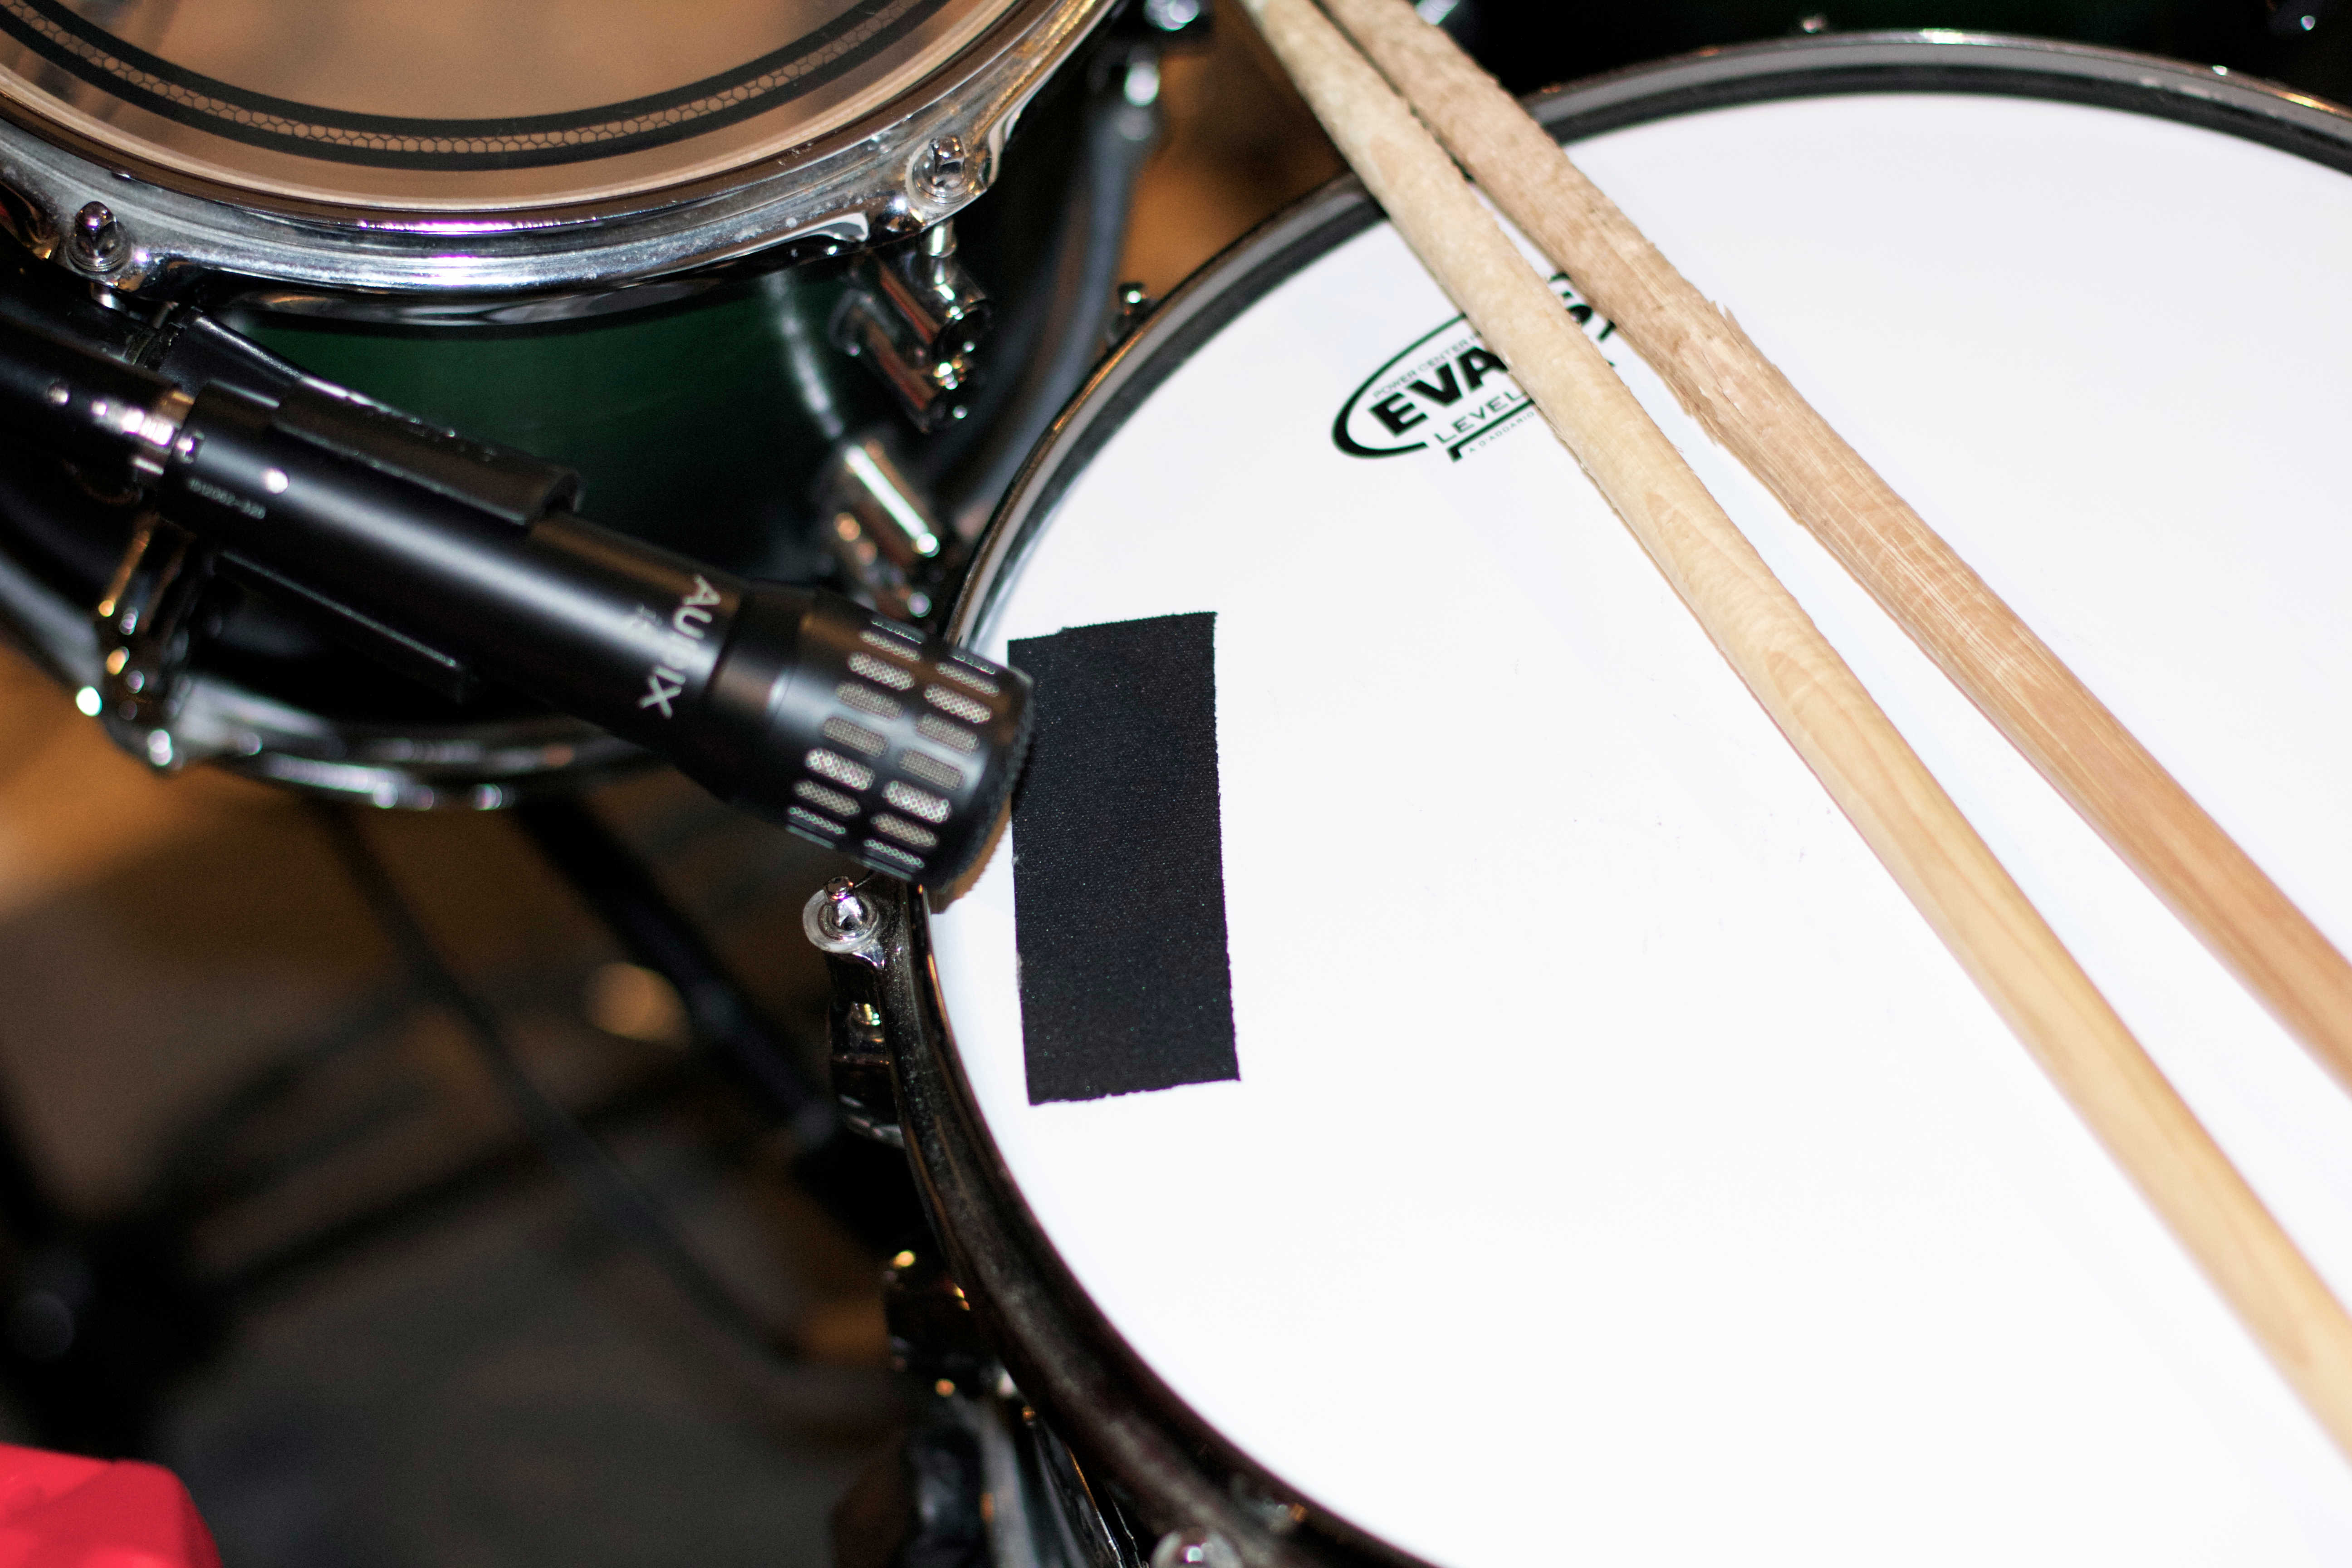
2. Close Mic with Moon Gel Applied

This microphone placement is the same one used in number 1 above, but with Moongel applied. Applying Moongel to a snare drum reduces ringing overtones. Some snares ring a bit more than others depending on the type of head, drum-tuning and wood. This one in particular rang more than what was desired, so the application of moongel was necessary.
Obviously the amount of ring in your snare is based on what you like stylistically. Coming from a heavy rock and metal background I tend to lean towards a more-attack and short-sustain type of snare sound. In my experience I have found that a snare with a long sustain can immensely impede drum editing, time alignment, and replacement; it can also get in the way of other frequencies when it comes time to mix.
3. Six inches from the snare – Let your snare breath

When you move the snare microphone 6” from the head you introduce a level ambience to the sound of the snare. The amount of ring and attack sounds more like a natural snare drum. I think of it as allowing the snare to breath a bit more in the room so that more reflections from the surrounding areas make it into the microphone. Too close of a snare can almost “choke” the sound and make it sound unnatural and dull. This is especially useful when recording a drummer that is a hard hitter. The more you let the snare breath, the more dynamic its sound will become.
4. Side snare

Obtaining the proper sound of a snare drum should be something that is tried and tried again. Moving microphones, trying different microphones, and referencing a track with desired sounds is the best way to start understanding the recording of a snare drum. Inexperienced users will start to reach for a plugin the second they get the tracks down in their DAW. Microphone placement is like anything else, practicing will only make you better.
One (not so typical) technique that I like is setting up a microphone from the side. This allows for a combination of the top and bottom as well as some of ringing from the shell. You can increase the amount of top or bottom by simply raising or lowering the microphone. This, again, is a stylistic choice and introduces some new ways to personalize the sound of your snare.
Bonus – A Warm Microphone Pre makes the difference

The Warm WA12 microphone pre is by far one of the best preamps of it’s kind and price range. The feel, sound, and overall architecture of this pre amp makes for a great snare top choice just like the microphone pre amp that it’s modelled after – the API312. In fact this pre amp is so close to API’s design that it’s actually considered an absolute clone of the vintage ancestor. This was first noticeable when sending the hot snare top signal through it and understanding how it embraced the low frequencies with ease and didn’t break up in the high-end. It is by far the perfect option for home studios and pro studios alike. I used this for all of the snare top recordings in this article.
5. Bottom snare

Typically this one is always paired with a top snare microphone. The common practice is to flip the two microphones out of phase due to their arrangement, but that’s really up to the engineer’s ear. Listen to your signal, then flip them out of phase and decipher which one sounds better. Sometimes this will even act as an EQ. Regardless, the bottom snare is there to pick up the crisp rattling of the snares against the resonant head. This bright sizzle from the bottom and the attack of a top snare can be used to balance the lows and highs of your initial snare signal when dialing in the right sound during mixing.
6. Overheads


If you follow my other articles you will know that I typically work by getting the sound of the drums with the overheads first. Much of this is understanding the drums in the room, and how the snare sounds with the rest of the kit. For the most part, OH microphones are where a lot of the sound of your drums come from in the final mix, including the snare. Center your snare in the overhead microphones or dedicate a pair of overheads to your snare as secondary overheads. The point is to capture the sound of the snare in the room with the rest of the kit. After that, it’s a matter of dialing in the right balance and blending your top, side, bottom or other snare microphones in with the sound.
7. 1 Condenser – In front of the kit

There really is no turning back once you start adding room microphones to your drum sounds. Having many different microphones in different places of your drum room can start to shape the sound of the set even more than you would expect. Placing a condenser microphone like the Mojave MA200 in front of your kit captures a narrow perspective of the drums in the room. The advantage here is that you are recording the kit in mono, so everything is reduced to the center of the stereo image.
That center is where your snare occurs, so if you filter out the high and low end of this signal you essentially have a dedicated snare microphone 10 feet from the kit. Apply some compression and voila!
8. 1 Dynamic – In front of the kit

The same principles apply here as they did in number 7 above, although this perspective changes significantly with a different type of microphone. In comparison to the Mojave, the SM7B is more aggressive in the mid range. If you are familiar with the SM57, the SM7B is close in sound and more accepting of the low end.
You can use this to fatten up the center of your drumset, or simply throw a reverb on it to make for an even more ambient sound. Again, filtering and crushing this type of source can produce results that are unmatched to other recordings.
9. Stereo Room Microphones – Facing opposing walls


Using wide room microphones is a great way to up the intensity and quality of your drum recordings. If you’re not in a big room, you can face the microphone capsules in the opposite direction of the drum set. Place them as close to any opposing wall as you can and set them to the “Cardiod Pattern”.
Facing the microphones towards a reflective surface breaks the line-of-sight between the capsule of the microphone and the drum set.This means that your distant stereo room microphones will pick up reflections from the wall first. This slight variation of mic positioning creates a difference in the sound of your rooms.
Learn more Drum Production Tips:
The Case for Getting Your Drum Sounds with Overheads First
7 Pre-Production Tips for Drum Tracking

3 Replies to “9 Microphone Techniques for Recording A Snare Drum”
Comments are closed.