Universal Routing Technology 202: Unlocking the Creative Potential of the Aux Track

By Craig Anderton

Here are some representative applications for using Patch Points and Aux Tracks. There are often several ways to accomplish the same functionality, so use whichever is most comfortable. For example, if you already have existing tracks that you want to connect to Patch Points, it’s probably easier to assign their inputs to Patch Points than create new Aux Tracks. However, if you’re setting up a new recording scenario, it will probably be easiest to create an Aux Track as that will create both a track and a Patch Point assignment.

Application #1: Recording the Metronome to a Track

Note: If your project already contains a Metronome bus, skip to step 7.
  1. Choose Insert > Stereo Bus to create a new bus for the audio metronome.
  2. Rename the new bus to Metronome.
  3. Choose Edit > Preferences > Project – Metronome.
  4. Select the Recording check box and clear the Playback check box (you will hear the recorded metronome instead during playback).
  5. Select “Use Audio Metronome.”
  6. Click the Output drop-down menu and select the bus named Metronome, then click OK to close the Preferences dialog box.
  7. Click the Metronome bus’s Output control and select New Aux Track on the pop-up menu.
  8. Arm the Aux Track for recording.
  9. Begin recording.

Continue reading “Universal Routing Technology 202: Unlocking the Creative Potential of the Aux Track”

Universal Routing Technology 101: Improving Your Workflow With Patch Points

By Craig Anderton

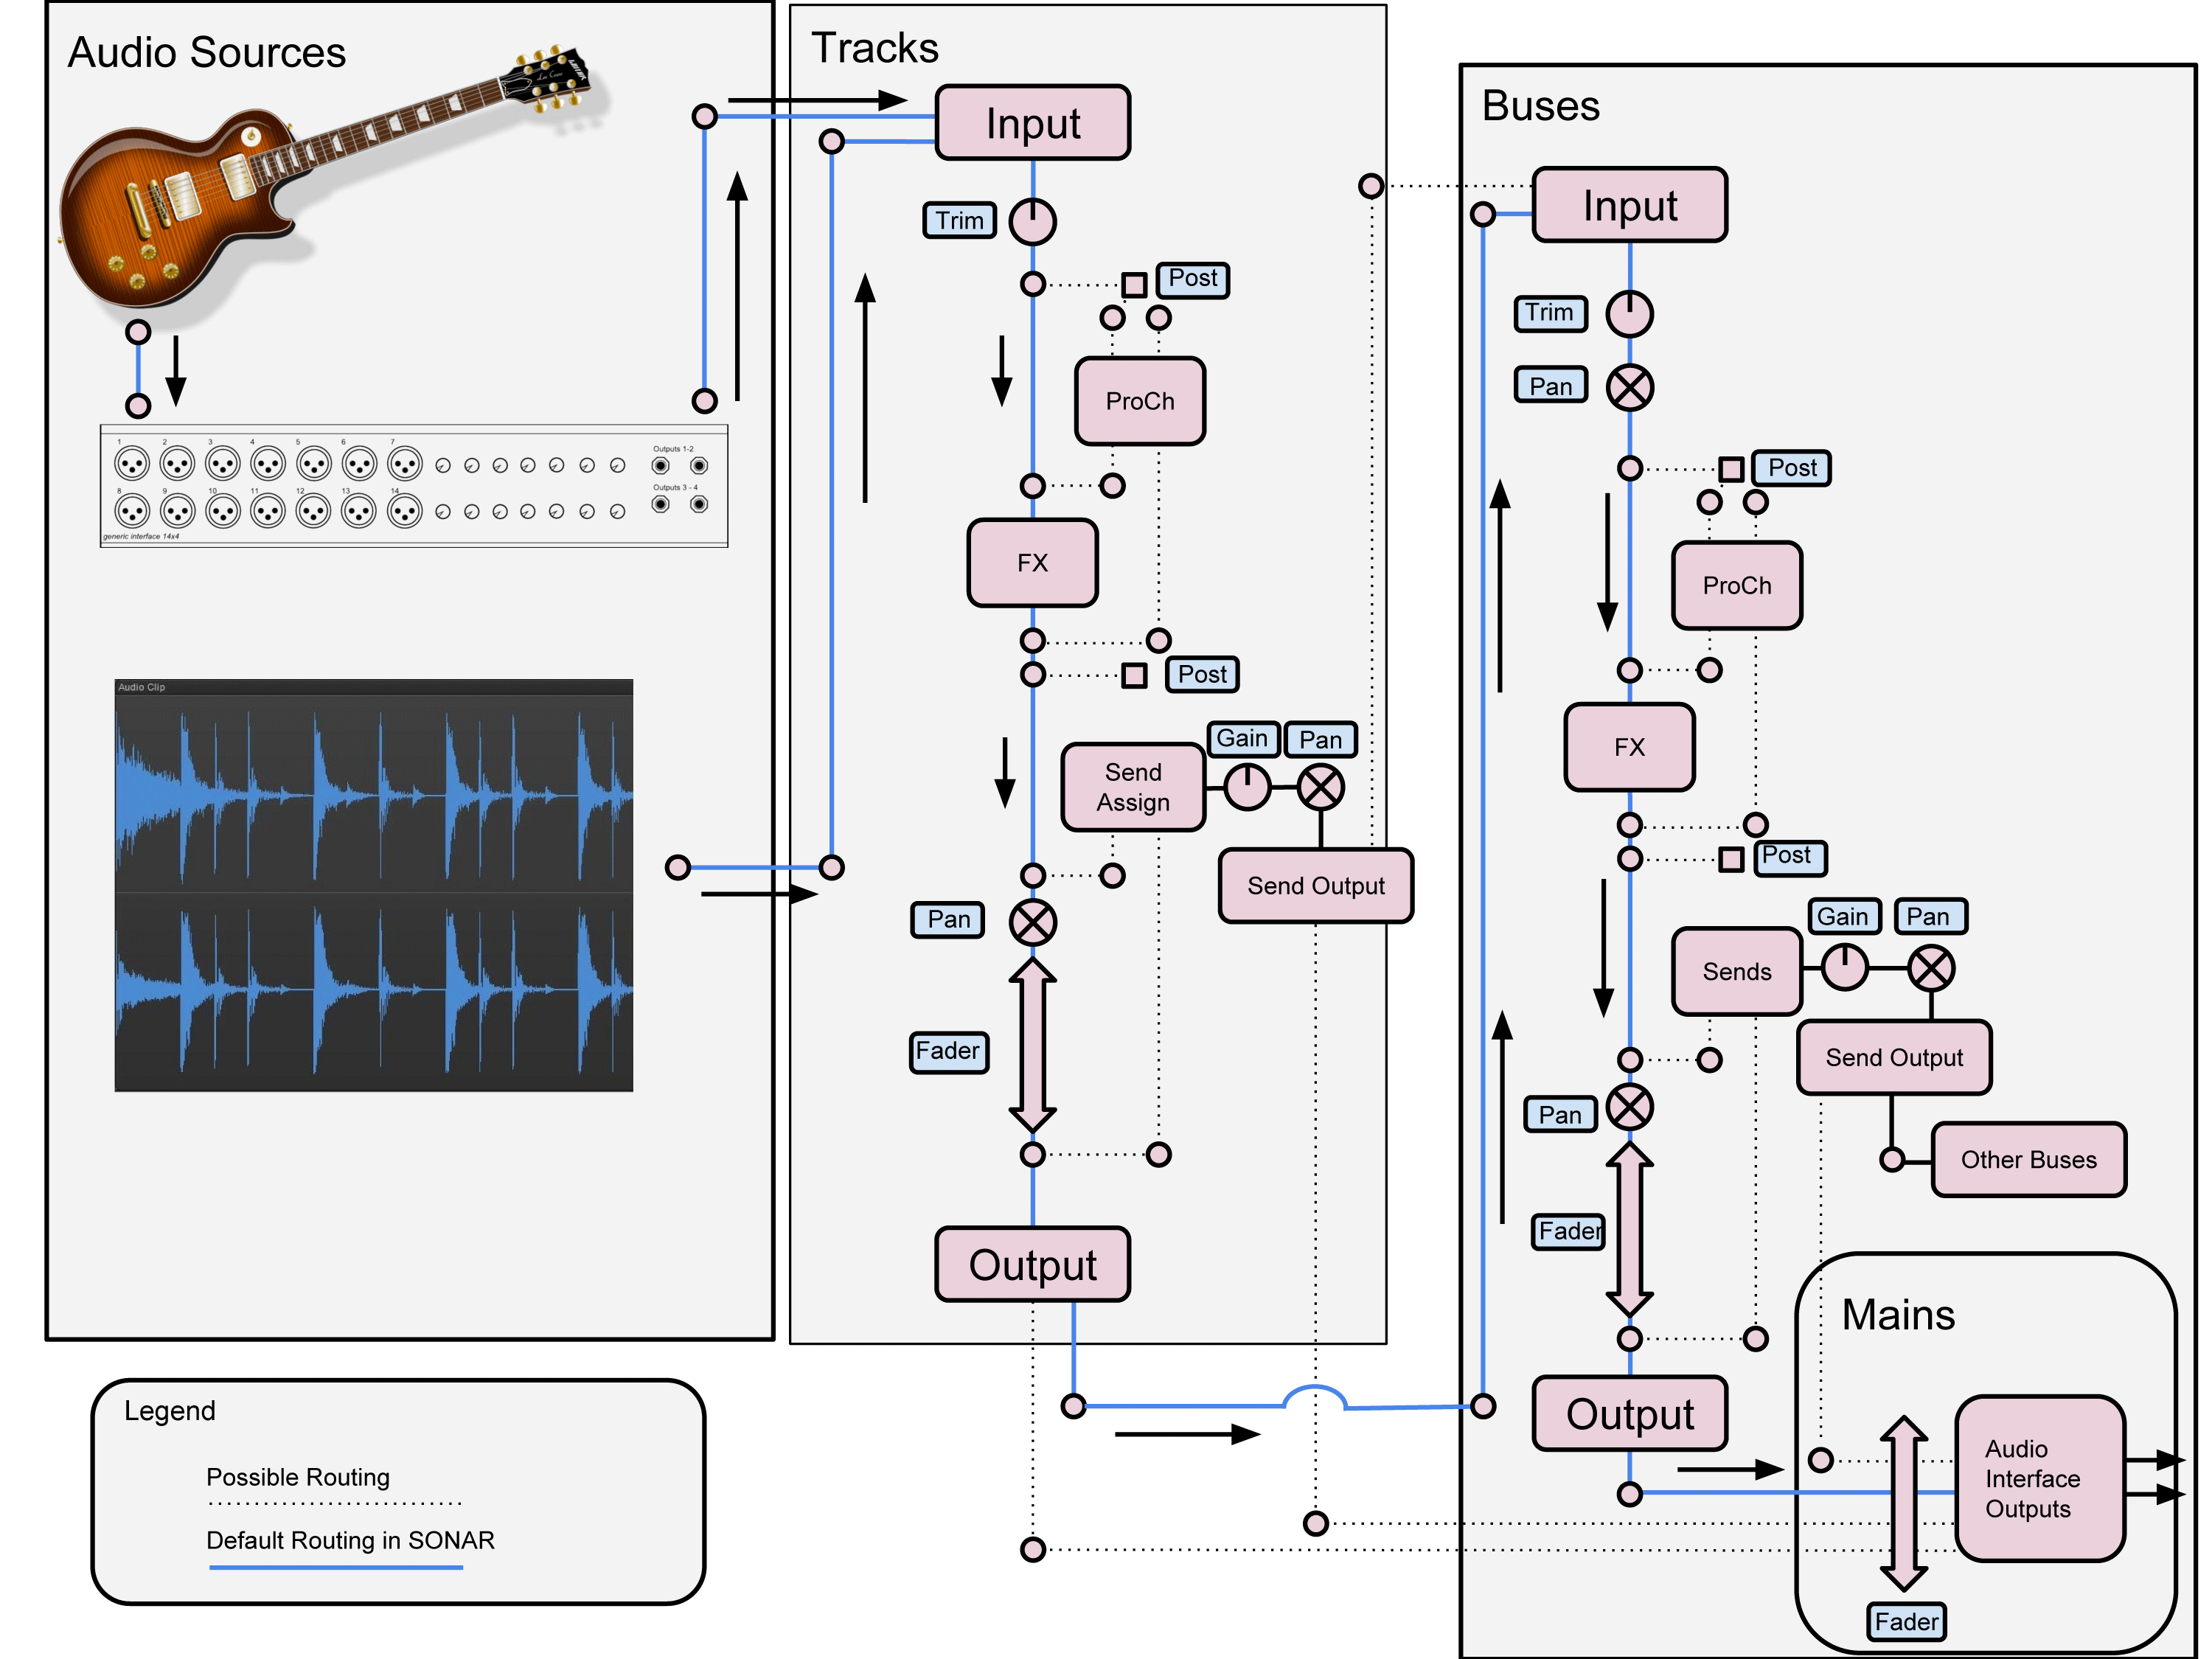
Cakewalk has been quietly developing a Universal Routing Technology that gives tremendous flexibility when routing signals within SONAR. One of the first examples was the FX Chain, which provided a “container” for routing effect inputs and outputs together, and had the intelligence to disconnect controls if the effects being controlled were removed. The ProChannel and FX Racks are a basic example of taking the “insert jacks” on mixers to a more flexible level by providing two ways of inserting effects, where one block could be pre or post compared to the other.

Synth recording took the concept another step further by allowing real-time recording of synth outputs, but now Patch Points and Aux Tracks introduce a mind-boggling level of flexibility: you can feed tracks (audio or instrument) into tracks, buses into tracks, sends into tracks, or even (get ready!) tracks, sends, and buses into the same track—and much more. It’s even possible to do something like feed track outputs and bus outputs into an Aux Track, when can then feed with other Aux Tracks and a Send into a different track. This may sound complicated enough to make your head explode, but it’s all implemented in a smart, intuitive way that not only adds no clutter to the Track or Console view, but even cleans up unused patch points if the routing changes.

Please note: Projects that contain Patch Points and Aux Tracks cannot be opened in SONAR versions prior to SONAR Jamaica Plain (Update 9). If you need to open a project in an earlier version, first back up the project, unassign any patch points, then re-save the project.

For detailed Patch Points information, see the New Features section in SONAR’s online Help.

Creating, Choosing and Assigning Patch Points

When you open a track input or output picker, or a send or bus output picker, you’ll see the option “New Patch Point.” Select this to create a Patch Point. This is also how you pick an existing Patch Point. Continue reading “Universal Routing Technology 101: Improving Your Workflow With Patch Points”

The Evolution of Comping

Compiling or “Comping” takes is relatively new to sound recording. With the increased ability of technology has come the increased desire to comp with excruciating attention to detail, sometimes all the way down to a syllable or note, to create “The Perfect Take.”

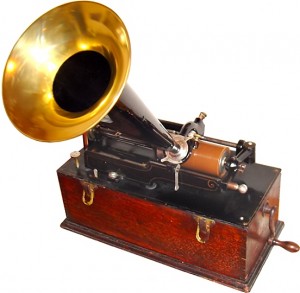
The Acoustic and Electrical Eras (1877-1945)EdisonPhonograph

When audio recording was first introduced, it was an entirely mechanical process. Comping did not exist. In fact, neither did mixing as we know it. Everything was recorded in one take, and level adjustments were made by moving musicians closer to or farther from the horn–essentially the microphone of its time.

In the primitive stages of this recording format, it was not uncommon to have copies of the same record that sounded entirely different. This was because if a band wanted to release 1,000 copies of a song, they would have to record it 1,000 different times, each take resulting in its own uniquely-performed copy.
Continue reading “The Evolution of Comping”

Five Reasons Why Patch Points Rock

By Craig Anderton

Looking for some advanced, interesting, or downright weird ways to use the new Patch Points feature? Here you go:

Signal Splitter

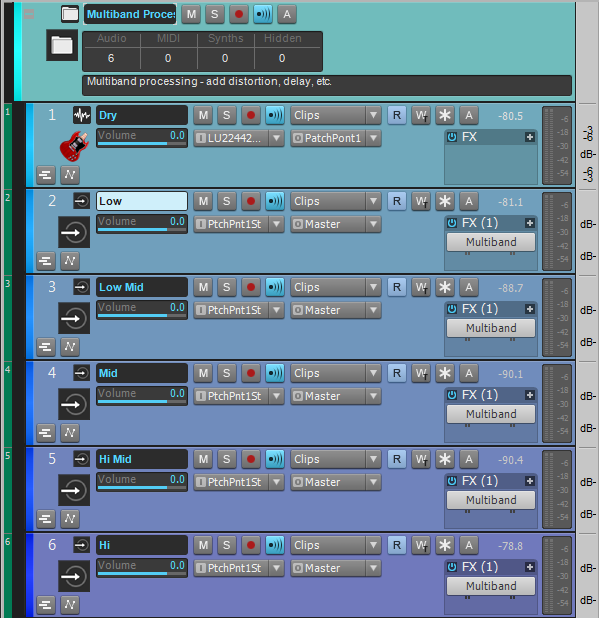
Suppose you want to split one track to several outputs, for example to do multiband processing. Here’s how:

SONAR Patch Points Splitter

The Dry track output goes to Patch Point 1 instead of the master bus. Five tracks, each of which filters a different band of frequencies, have their inputs set to Patch Point 1. The Dry track now feeds all five channels simultaneously. Placing all these tracks inside a track folder makes it easy to fold them up when you want a tidier setup.
Continue reading “Five Reasons Why Patch Points Rock”

5 Tools To Get "That Analog Sound" From SONAR

With the advent of digital audio, some feel a certain quality associated with the analog signal path has been lost. While that may have been true at one point, analog emulations have come a long way since first introduced. Let’s find out how to add that “analog sound” using some of SONAR’s plugins. (Note: Many of the following examples use features are exclusive to SONAR Platinum, so if you don’t already have this version, you can try a free demo by clicking here.)

#5 – ProChannel Tape Emulation

Tape Emulator Gif

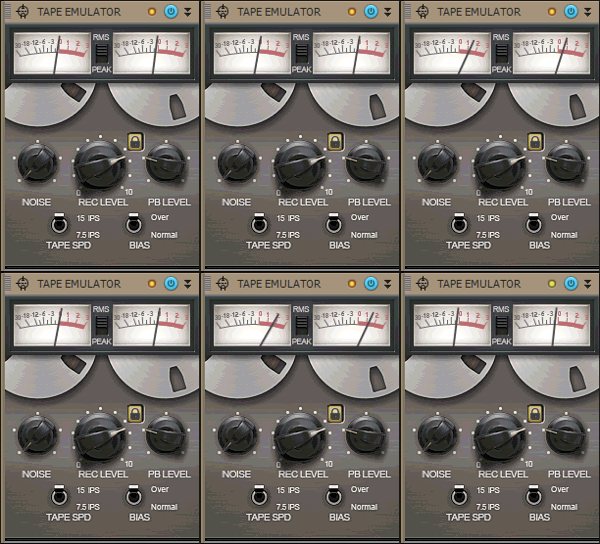
Tape does some pretty magical things to audio, so SONAR Platinum includes tape emulation as a ProChannel module. Best  of all,  you can use it as much as you like without having to clean the heads!

Here’s how tape emulation enhances the sound:

  • Emulates the “head bump” of analog tape to enrich the low end, adding subtle warmth
  • Smooths response by slightly rolling off lowest lows and highest highs
  • Increases sustain by smoothing peaks
  • Saturates the signal in a non-linear, analog manner
  • Optionally introduces high-frequency hiss

For a basic application, insert the Tape Emulator in the Master Bus ProChannel. You’ll immediately hear a more cohesive mix. Increasing the REC LEVEL increases the overall saturation. The REC LEVEL knob, TAPE SPD switch, and BIAS switch all interact in unique ways, so try out different combinations to hear how they affect each other.

After hearing how the Tape Emulator affects your sound, try applying it to individual tracks (your drums will sound particularly fabulous). This will be a more subtle effect, adding a sense of depth to the overall mix.

Continue reading “5 Tools To Get "That Analog Sound" From SONAR”

Speed Up Your Workflow With 5 (Rather Hidden) SONAR Features

SONAR has a LOT of features. So many, in fact, that it’s easy for some of them to fly right under the radar. The list below contains five of my favorite SONAR features that can really speed up your workflow!  Download the latest SONAR Free Demo and follow along.

#5 – Clip Coloring

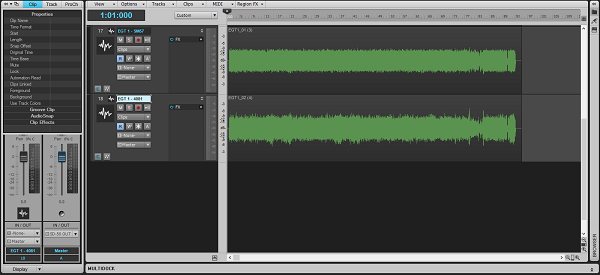
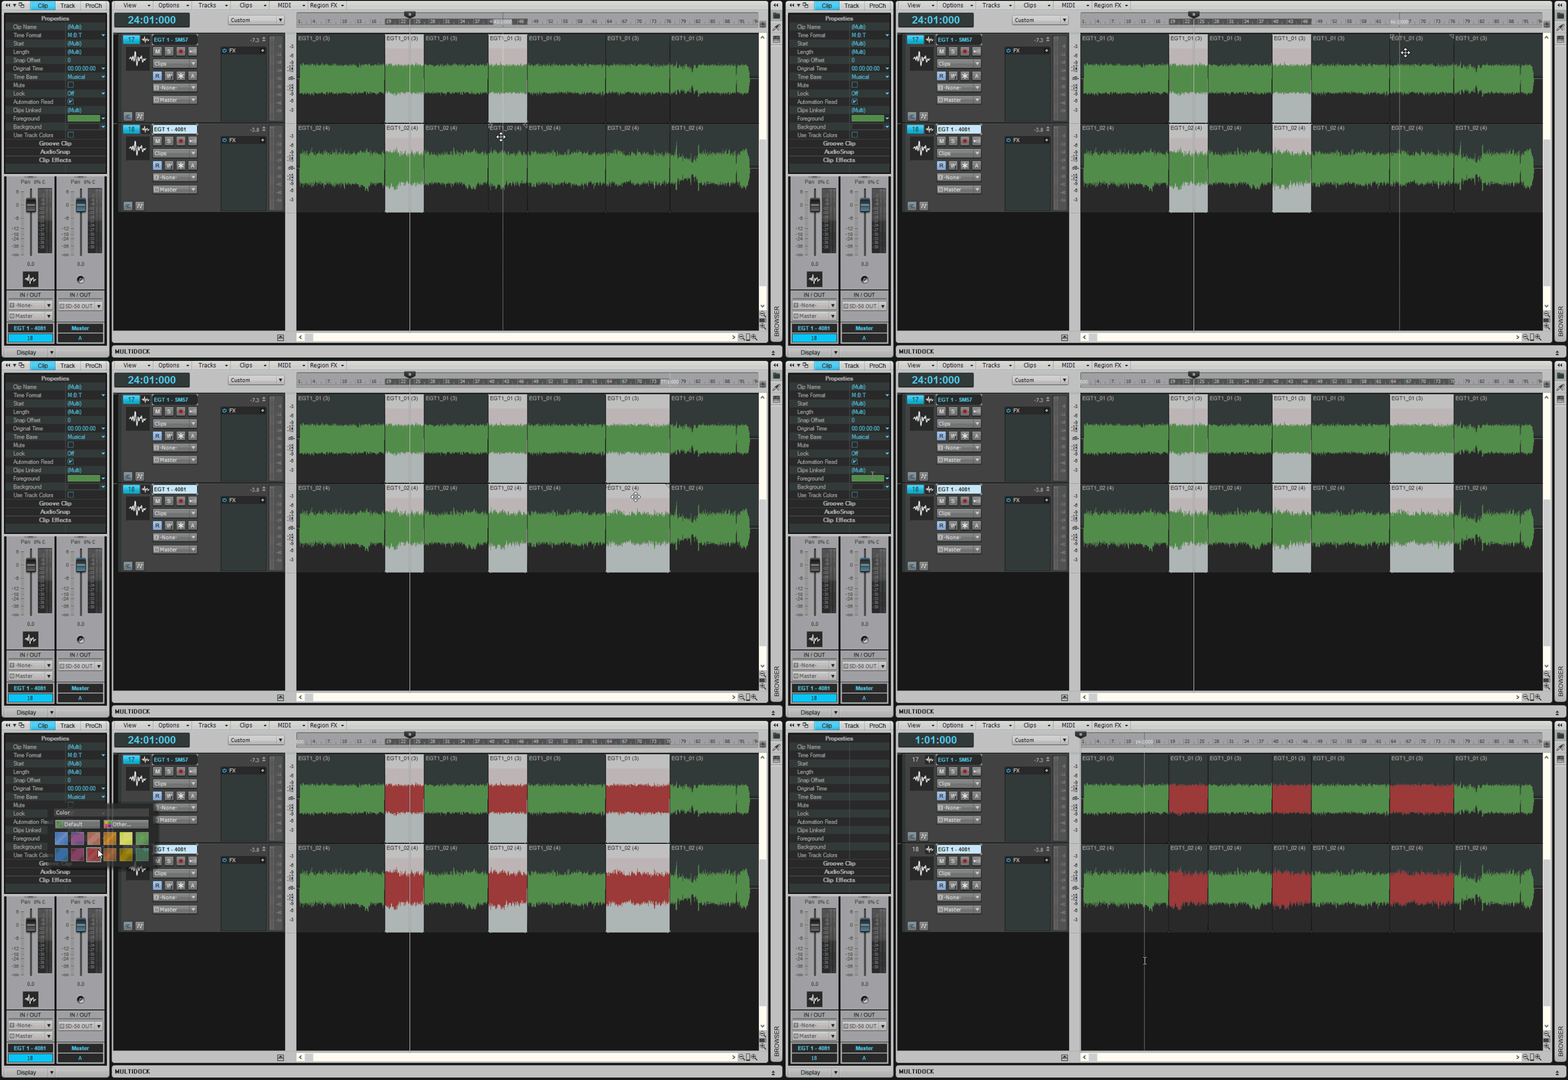
Let’s say you’ve recorded a couple of guitar tracks, and the guitar player changed tone in certain parts of the song. You may want to identify these parts easily during the mixing process. Markers can work, but I typically use those to indicate sections and turning points in the song, and the tone change doesn’t always line up with arrangement changes. Instead, you can change the clip color in these sections to make the parts easier to find.

Here are the clips in their original state:
Clips Before Editing

Make some splits where the pickup change happens:
Clips Have Been Split

Now, select the parts with Shift+Click where the guitarist changes his tone, and using the Foreground selector in the Clip Inspector, color these red:
Clip Coloring GIF

You can now see all the sections where the guitar player used an alternate tone by the red waveform, which can come in very handy while mixing.

Continue reading “Speed Up Your Workflow With 5 (Rather Hidden) SONAR Features”

Drum Maps for Addictive Drums 2 in SONAR

by Joey Adams

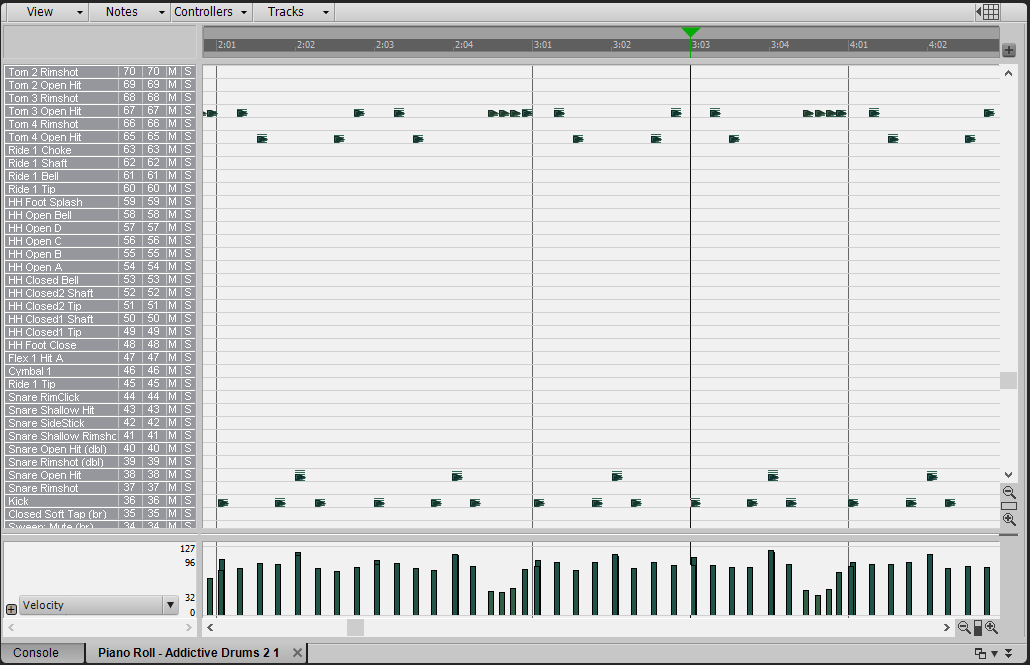
Drum Maps are a powerful tool for taking all the guesswork out of editing your MIDI drum tracks. By using Drum Maps, you are able to see exactly which MIDI Notes trigger which sounds in your VST drum kit.

The purpose of this particular Drum Map is to allow you to see the relationship between MIDI notes and drum kit pieces of Addictive Drums 2, a VST Instrument included with your SONAR Professional and SONAR Platinum software.

Here is what editing MIDI in Piano Roll view looks like without a Drum Map:

Here is the same exact MIDI data viewed with a Drum Map. Now you can see exactly which pieces of the drum kit are in use:


Step  1 – Download the files you’ll need

To get started you will want to download the Continue reading “Drum Maps for Addictive Drums 2 in SONAR”

Reader's Choice: The most popular mixing articles of 2014

by Dan Gonzalez
Mixing is and always will be one of the core elements of each and every DAW. Here at Cakewalk, SONAR features hundreds of a ways to mix and process your tracks for personal and commercial use. Here are some of the most popular articles we have featured in 2014.

How to use Reverb to create depth

Mix engineers that have had their time behind a board can pick out the misuse of Reverb when they hear it. Just like with anything, applying the proper Reverb requires more time than just scrolling through the presets of the basic Hall, Room, and Plate algorithms. Music tends to have a significant three-dimensional experience to it. This concept requires the understanding of width, height, and depth. Check out this article on how to use reverb in your mix.

Subtractive EQ Parts 1-5

Equalization is one of the most powerful tools that an audio engineer can get their hands on. Live engineers, post-production engineers, and recording engineers all have their specific uses for it. It’s so powerful that some beginner engineers habitually reach for it without understanding what it can ultimately do to a mix. Check out this 5 part series about how to properly apply EQ

6 creative ways to use the VKFX-Delay

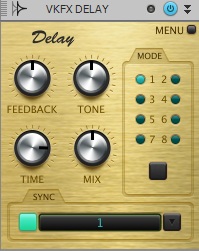
Overloud’s VKFX Delay Module is a rendition of a classic tape delay with an incredible set of parameters that virtually allows you to get just about any sound you please. Check out this frequently read article about how to use this powerful ProChannel module.

Know Your Signal Flow in SONAR

Signal Flow is an important concept to understand, and it may be easier to think about when presented with a diagram of how audio is passes through SONAR. Read the article here.

Ten Nasty Mix Mistakes

Mixing is tough enough as is, but avoiding the following mistakes just might help the process go a little more smoothly—and give you audibly better results. Check out this awesome article by Craig Anderton.

Thanks for reading!


Reader's Choice: Most Popular Drum Production articles in 2014

by Dan Gonzalez

Free Quick Kit Project Templates for SONAR X3 Users


Yes, we’re bringing back the freebie post from last December. Our Free Quick Kit Project Templates made a big splash with the community as one of our top posts over the last 12 months. These pre-mixed project templates load right from quick start menu in all three versions of SONAR X3 without any assembly required. Open a quick kit, drop in your sequence, and you’re ready to rock with great sounding drums. Now we’re opening it up to anyone who has Session Drummer 3 in their arsenal.  Download the free pack here.

9 Microphone Techniques for Recording a Snare Drum

Ever wanted to know how to mic up a snare drum? Well we wrote a comprehensive article about 9 different ways to do it. This article is brought to you by the community of Cakewalk readers that follow the blog and read it regularly. Check out the article here.

What’s New in Addictive Drums 2?

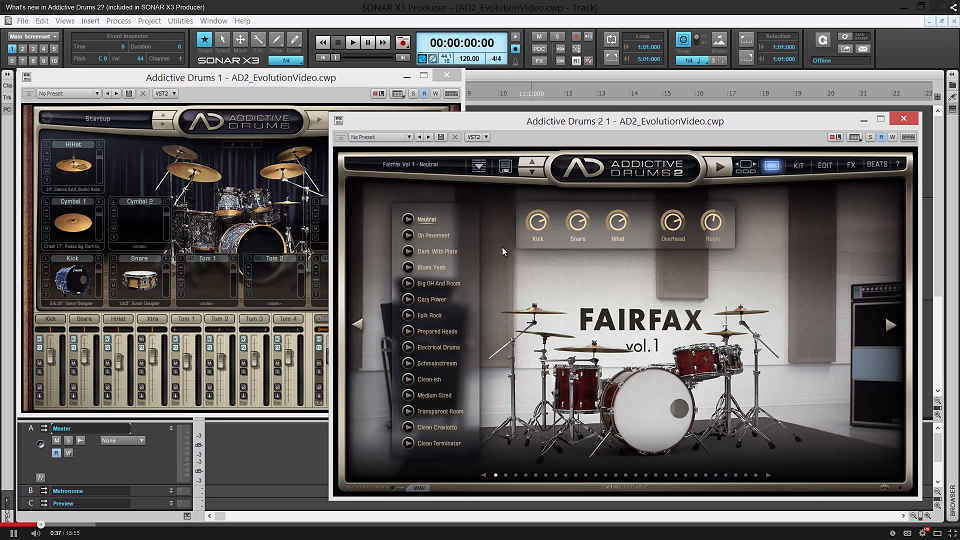
2014 brought us more than just content, it brought us Addictive Drums 2. Ever since we’ve posted our extensive video about XLN Audio’s new instrument we’ve heard nothing but great reviews. Here’s our most popular video chosen by the readers of The Cakewalk Blog. Check it out here.

Subtractive EQ Part 1: Snare Drum

Here’s one of our most popular posts this past year in case you missed it the first time around. There are a ton parts to this series, but the first part has seemed to win over the rest. Here’s a nice thick article about how to apply subtractive EQ to a snare drum. Check it out here.

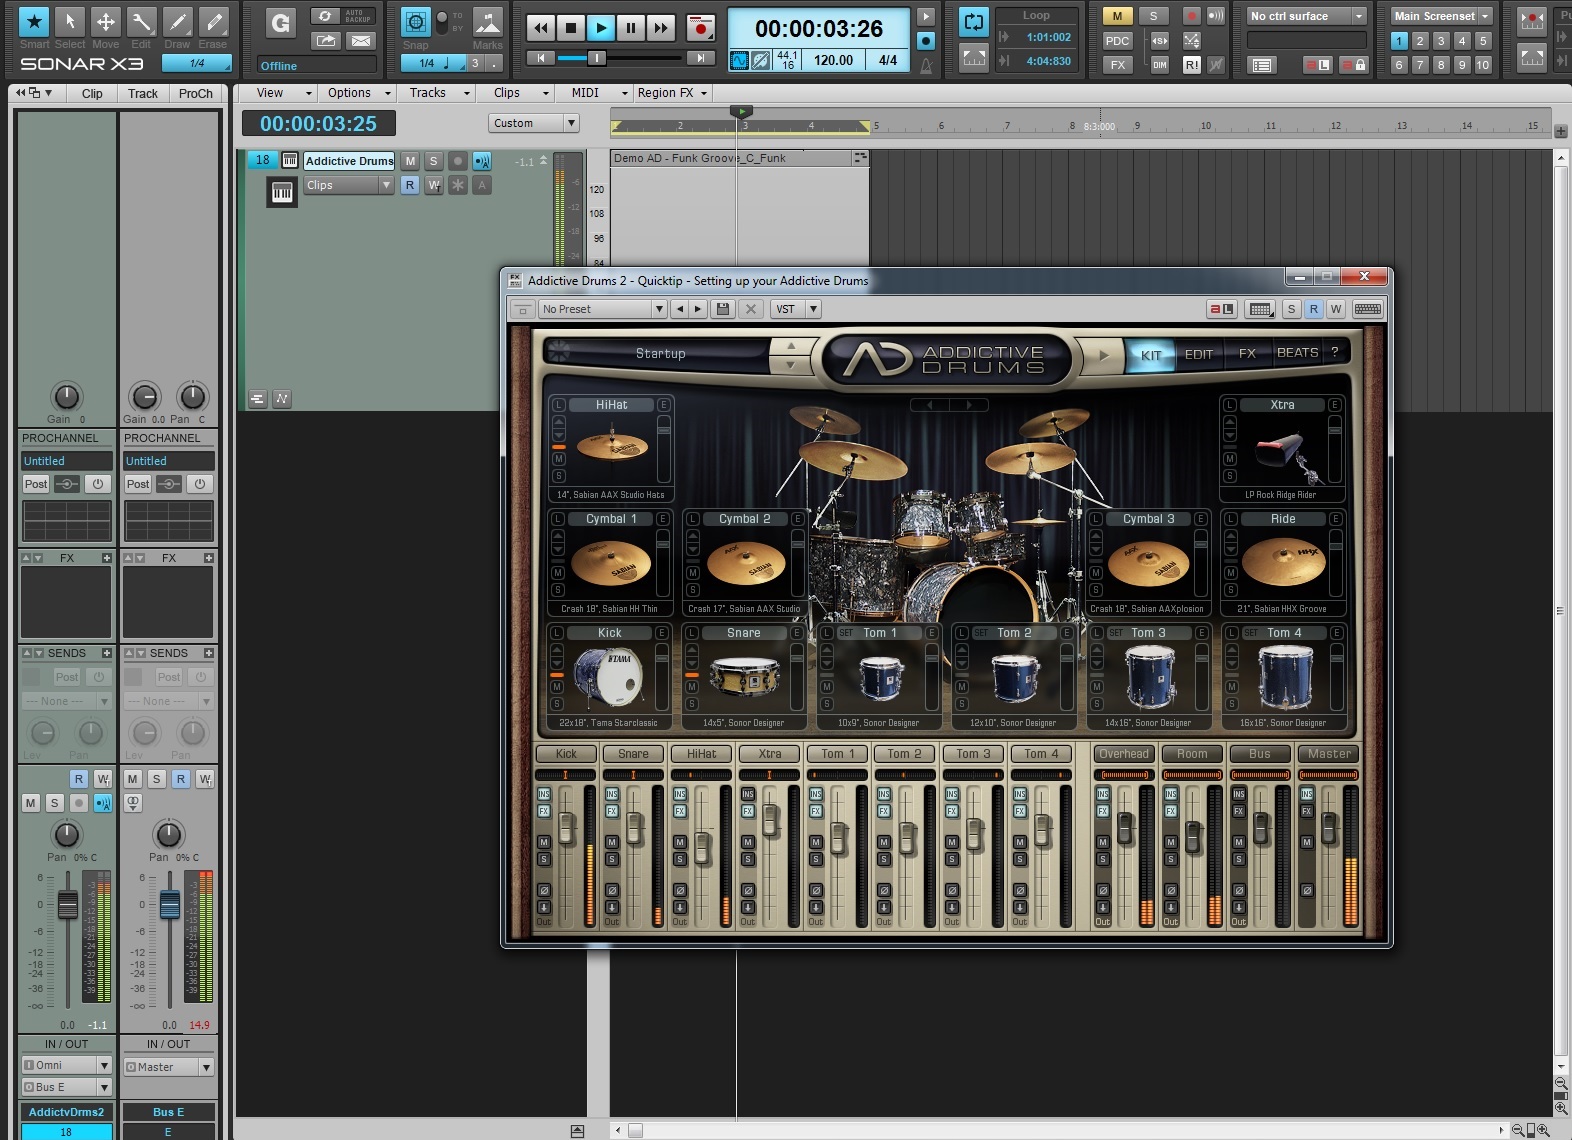
Setting up your Addictive Drums

Check out how you can easily setup Addictive Drums (1 & 2) to accommodate multiple different working environments within SONAR X3 Studio and Producer. This one of kind drum synth is the best of the best. Check out the article here.

How to use Compression on Snare Drum in SONAR X3

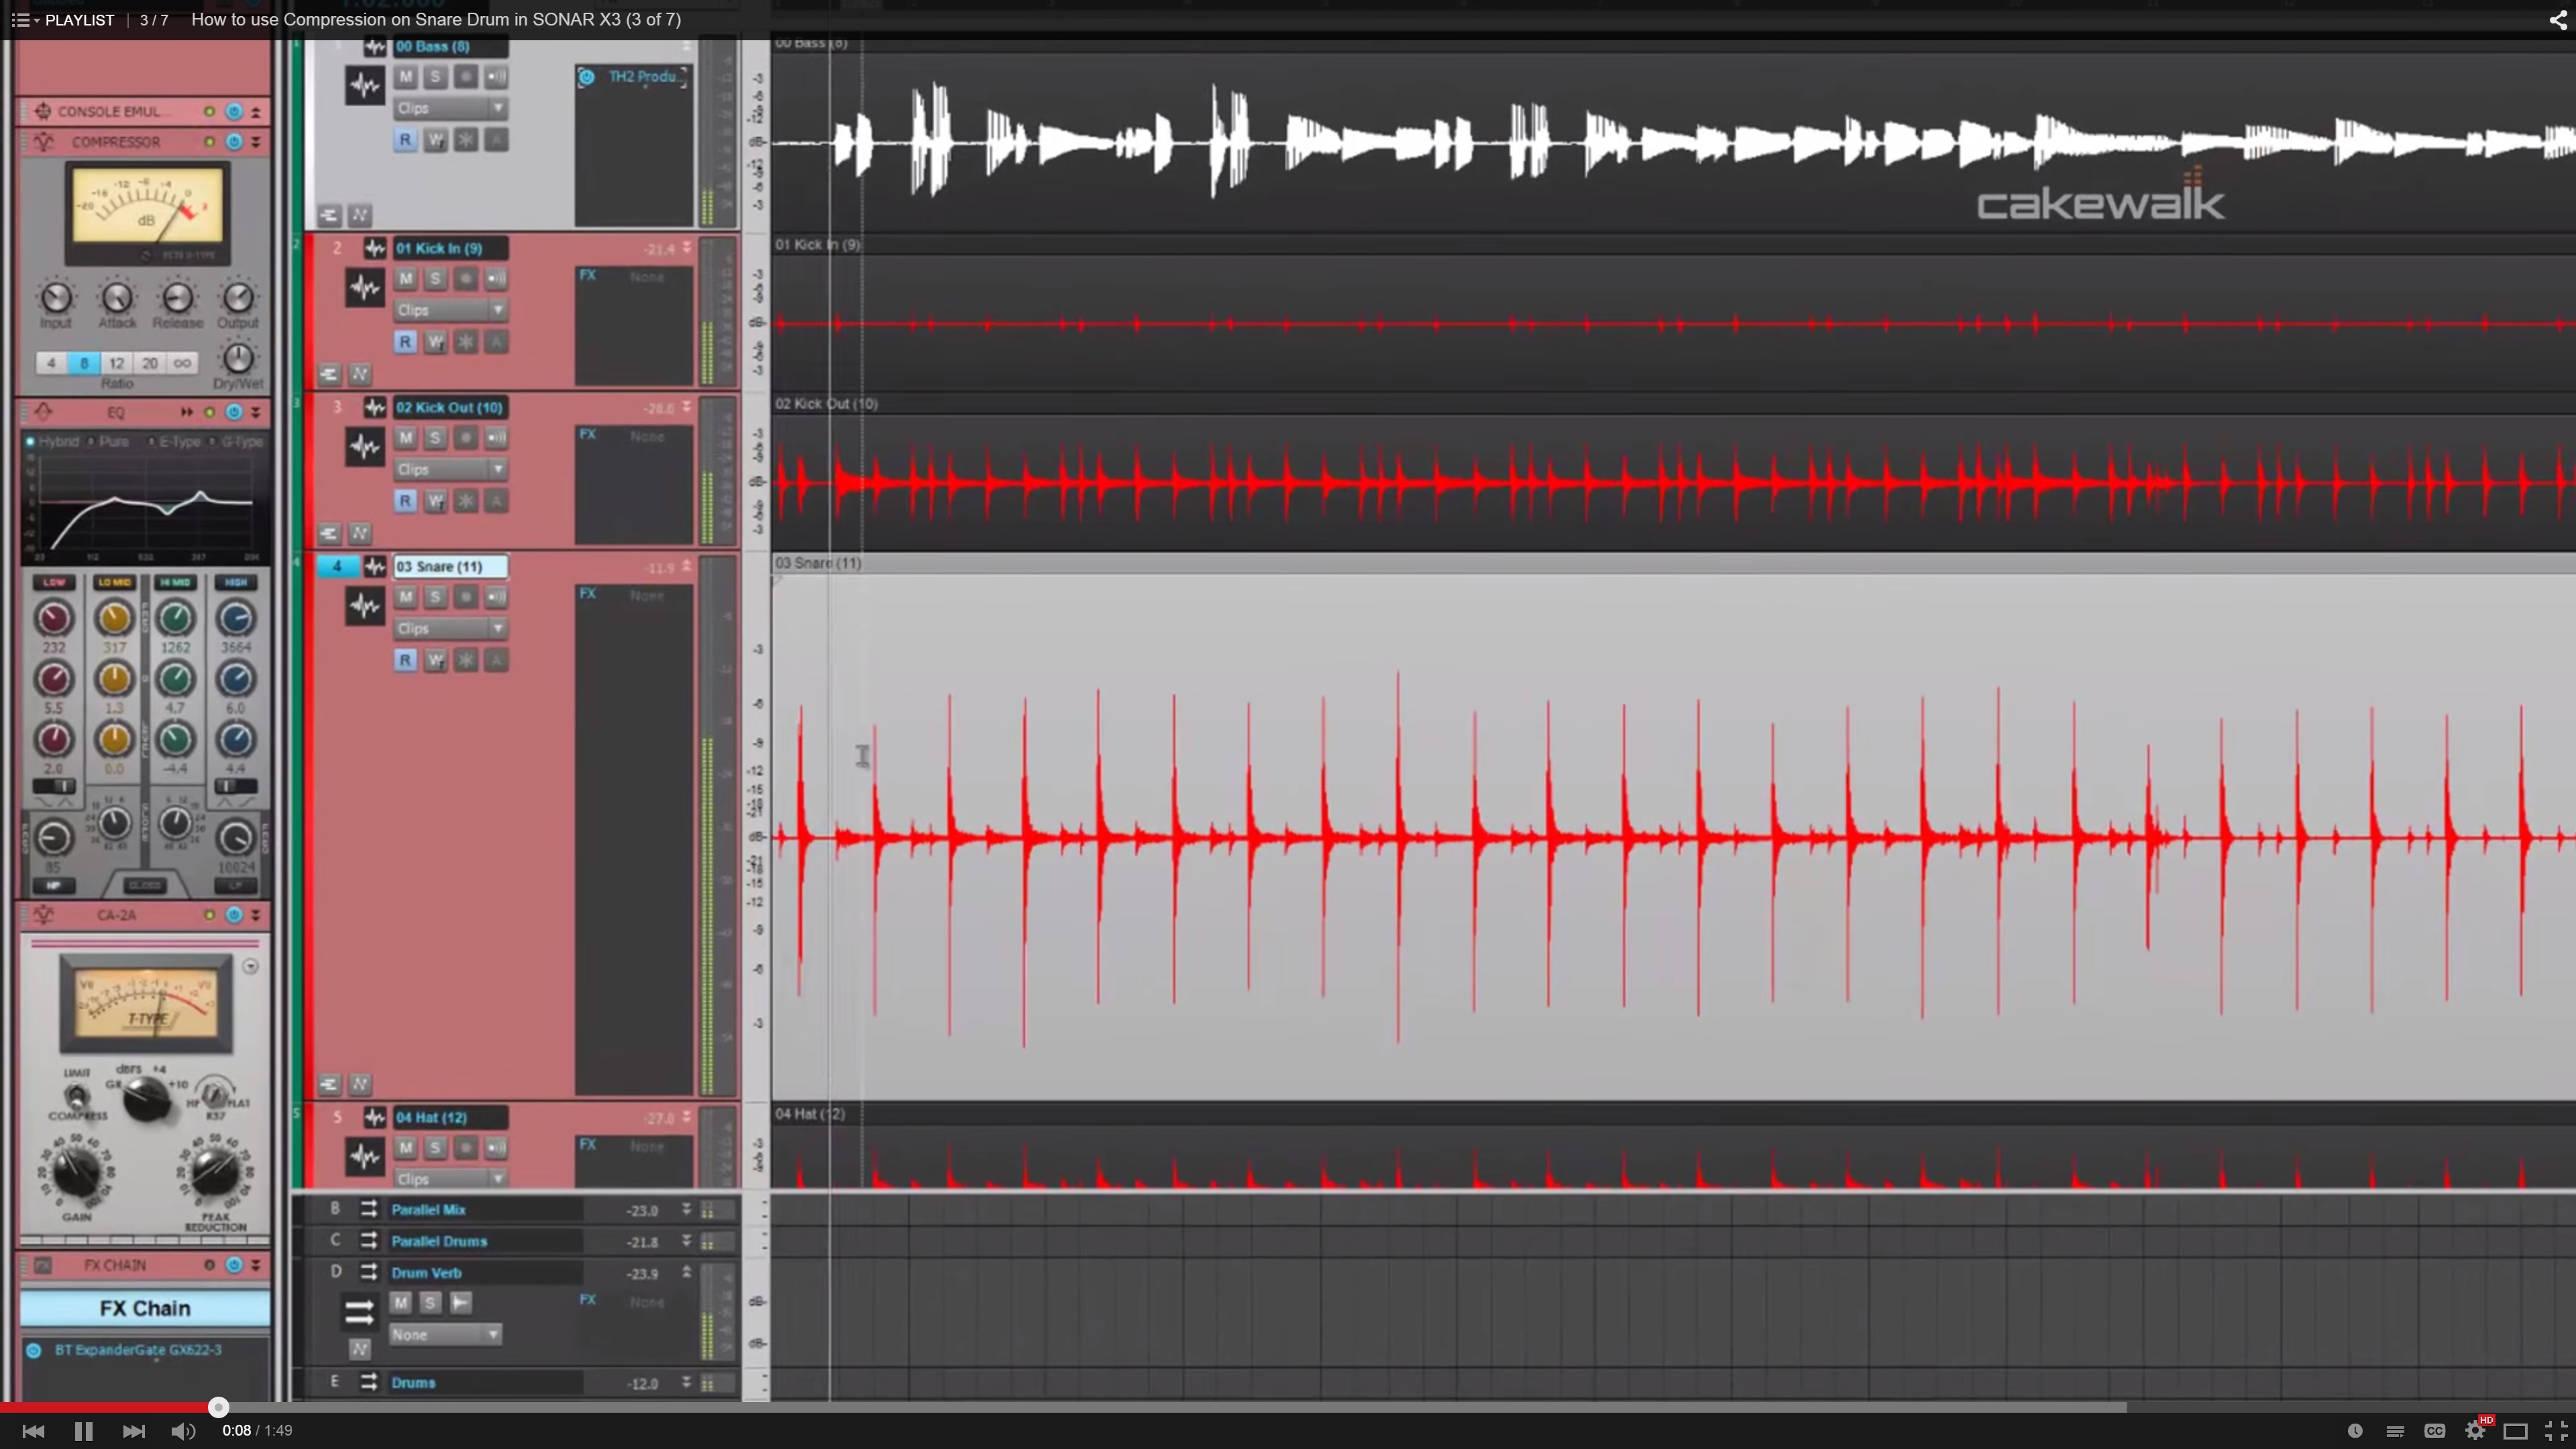
Using compression is one of those tools that is tricky to understand if you’re not familiar with how the different audio signals in your mix. Check out our most viewed video from the extensive video series about using the CA-2A Leveling Amp on snare drum. Check out the video here.

How to Compress Drum Reverb in SONAR X3

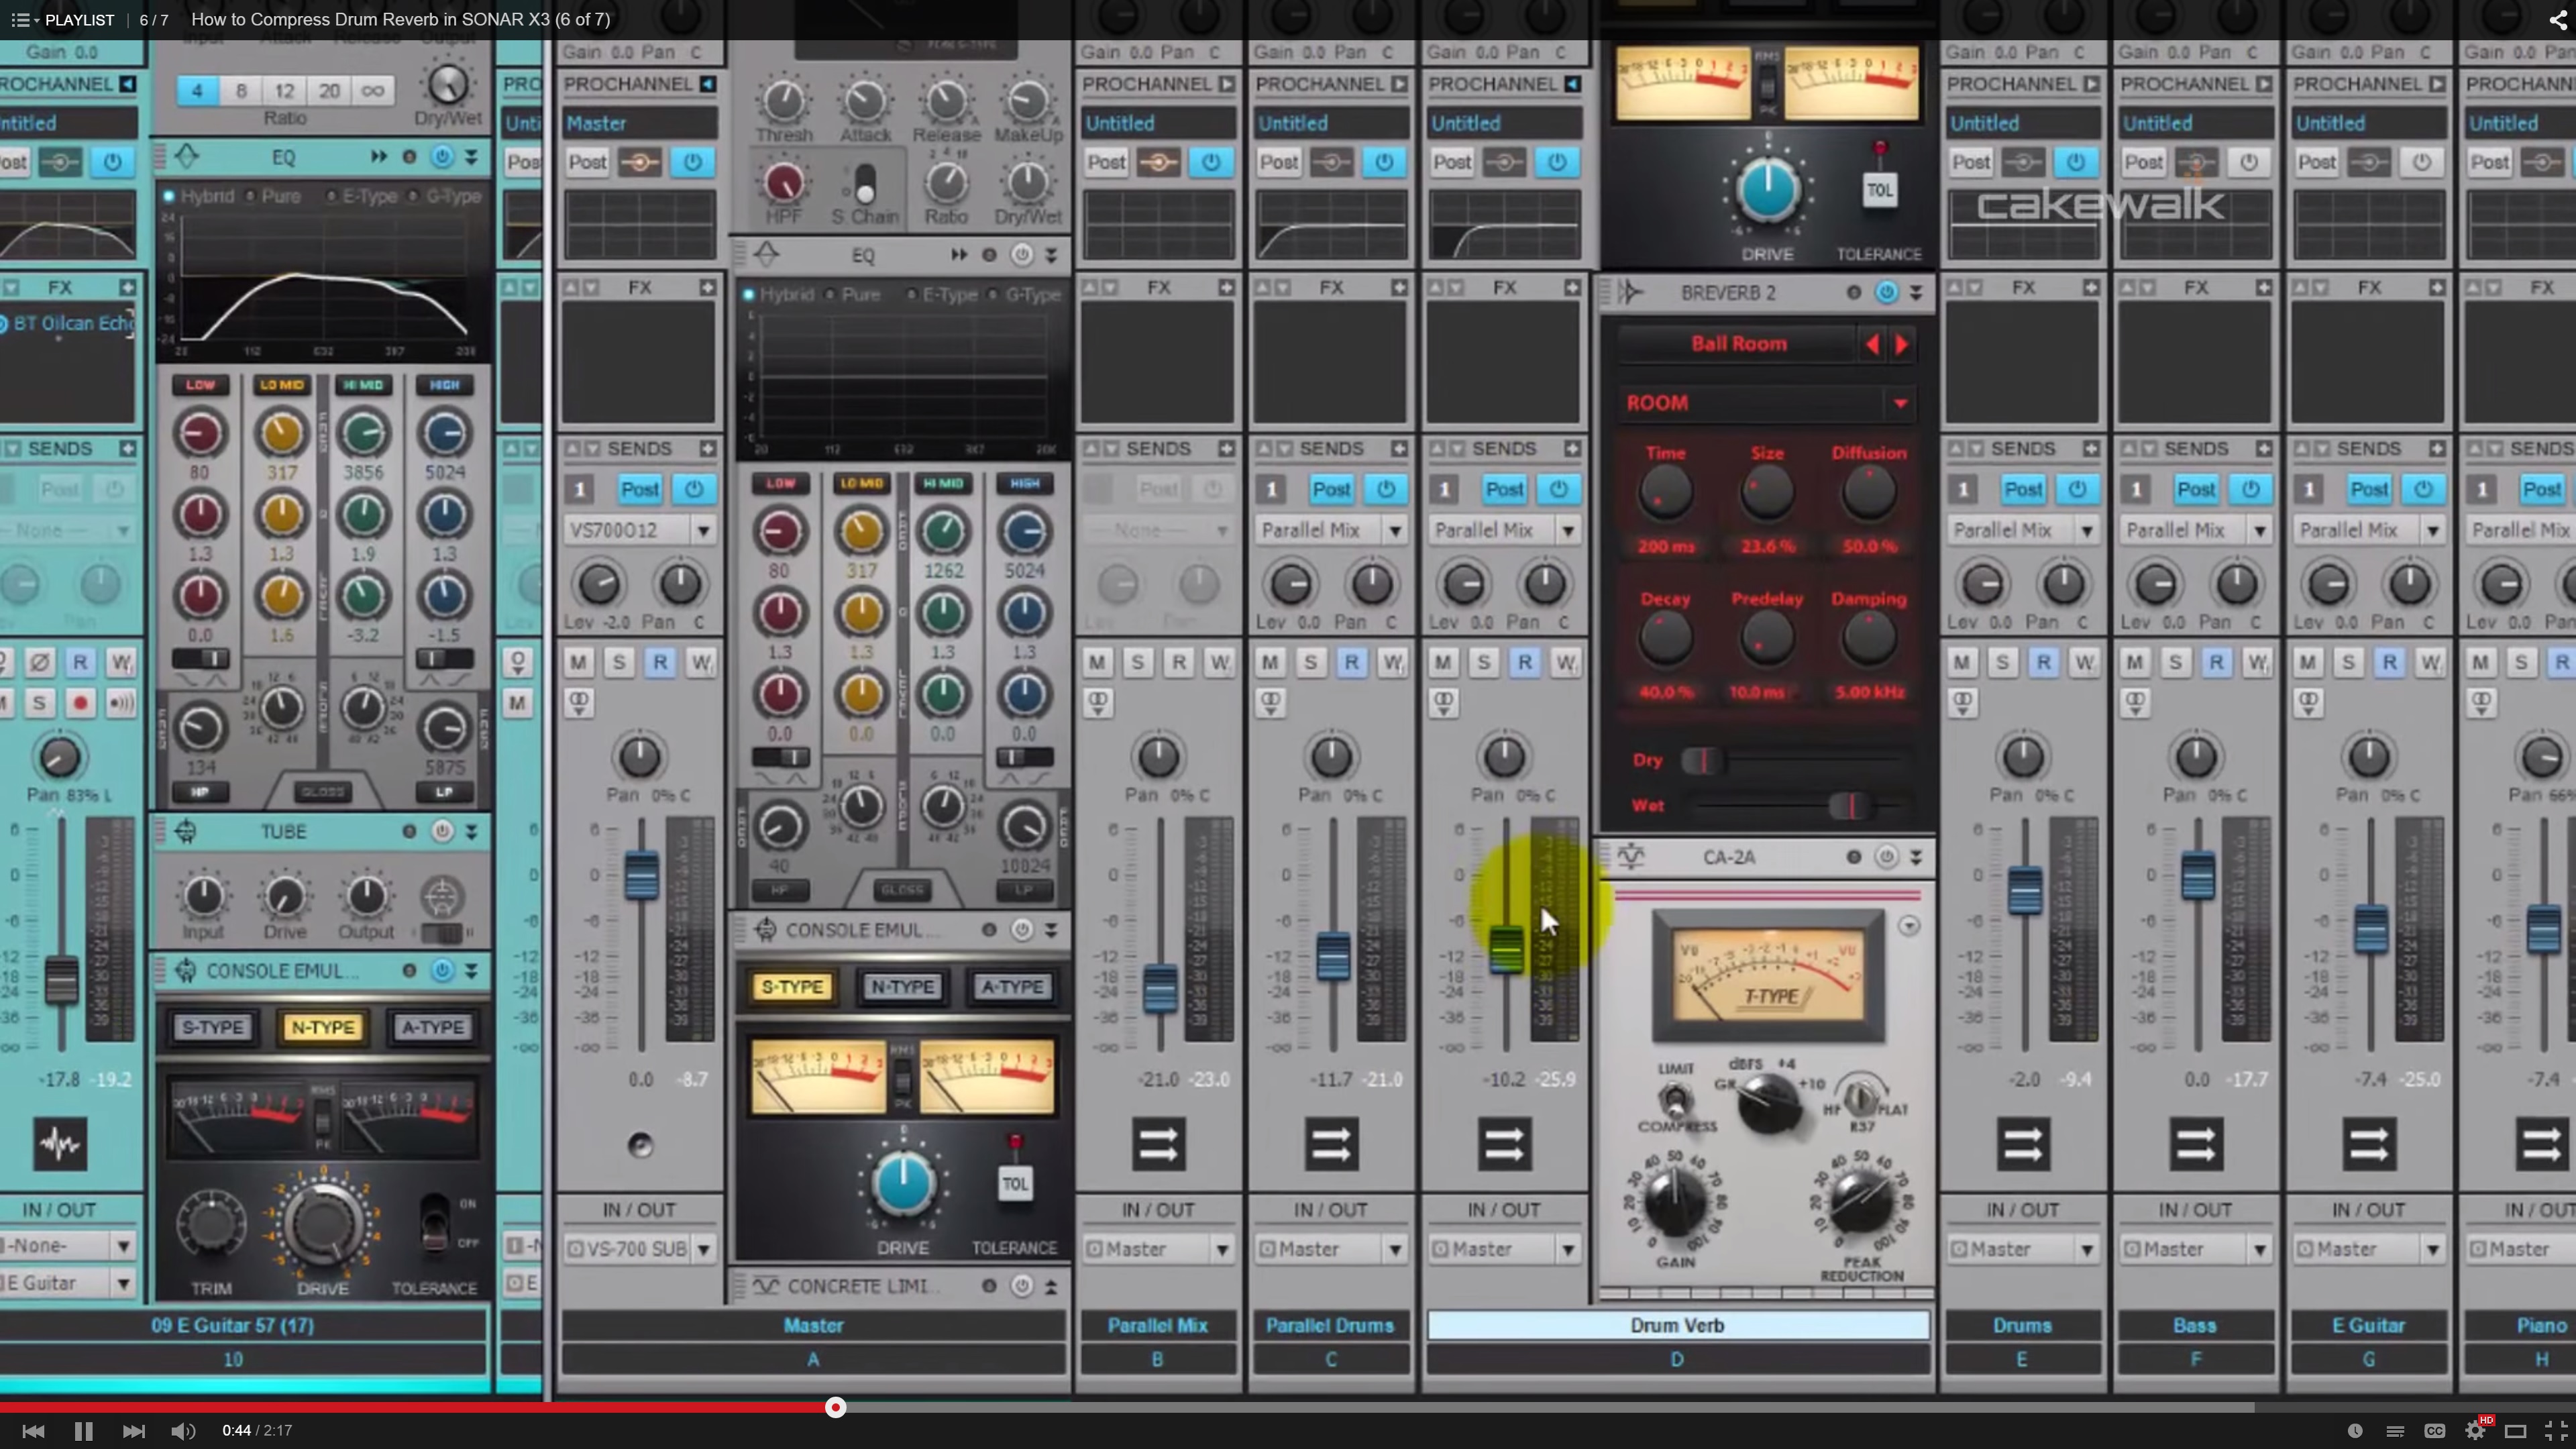
Another popular drum related video from the Compression video series is #6 where I give some tips on using compression on drum reverb. You can see the video here.

Producing Drum Samples in SONAR X3

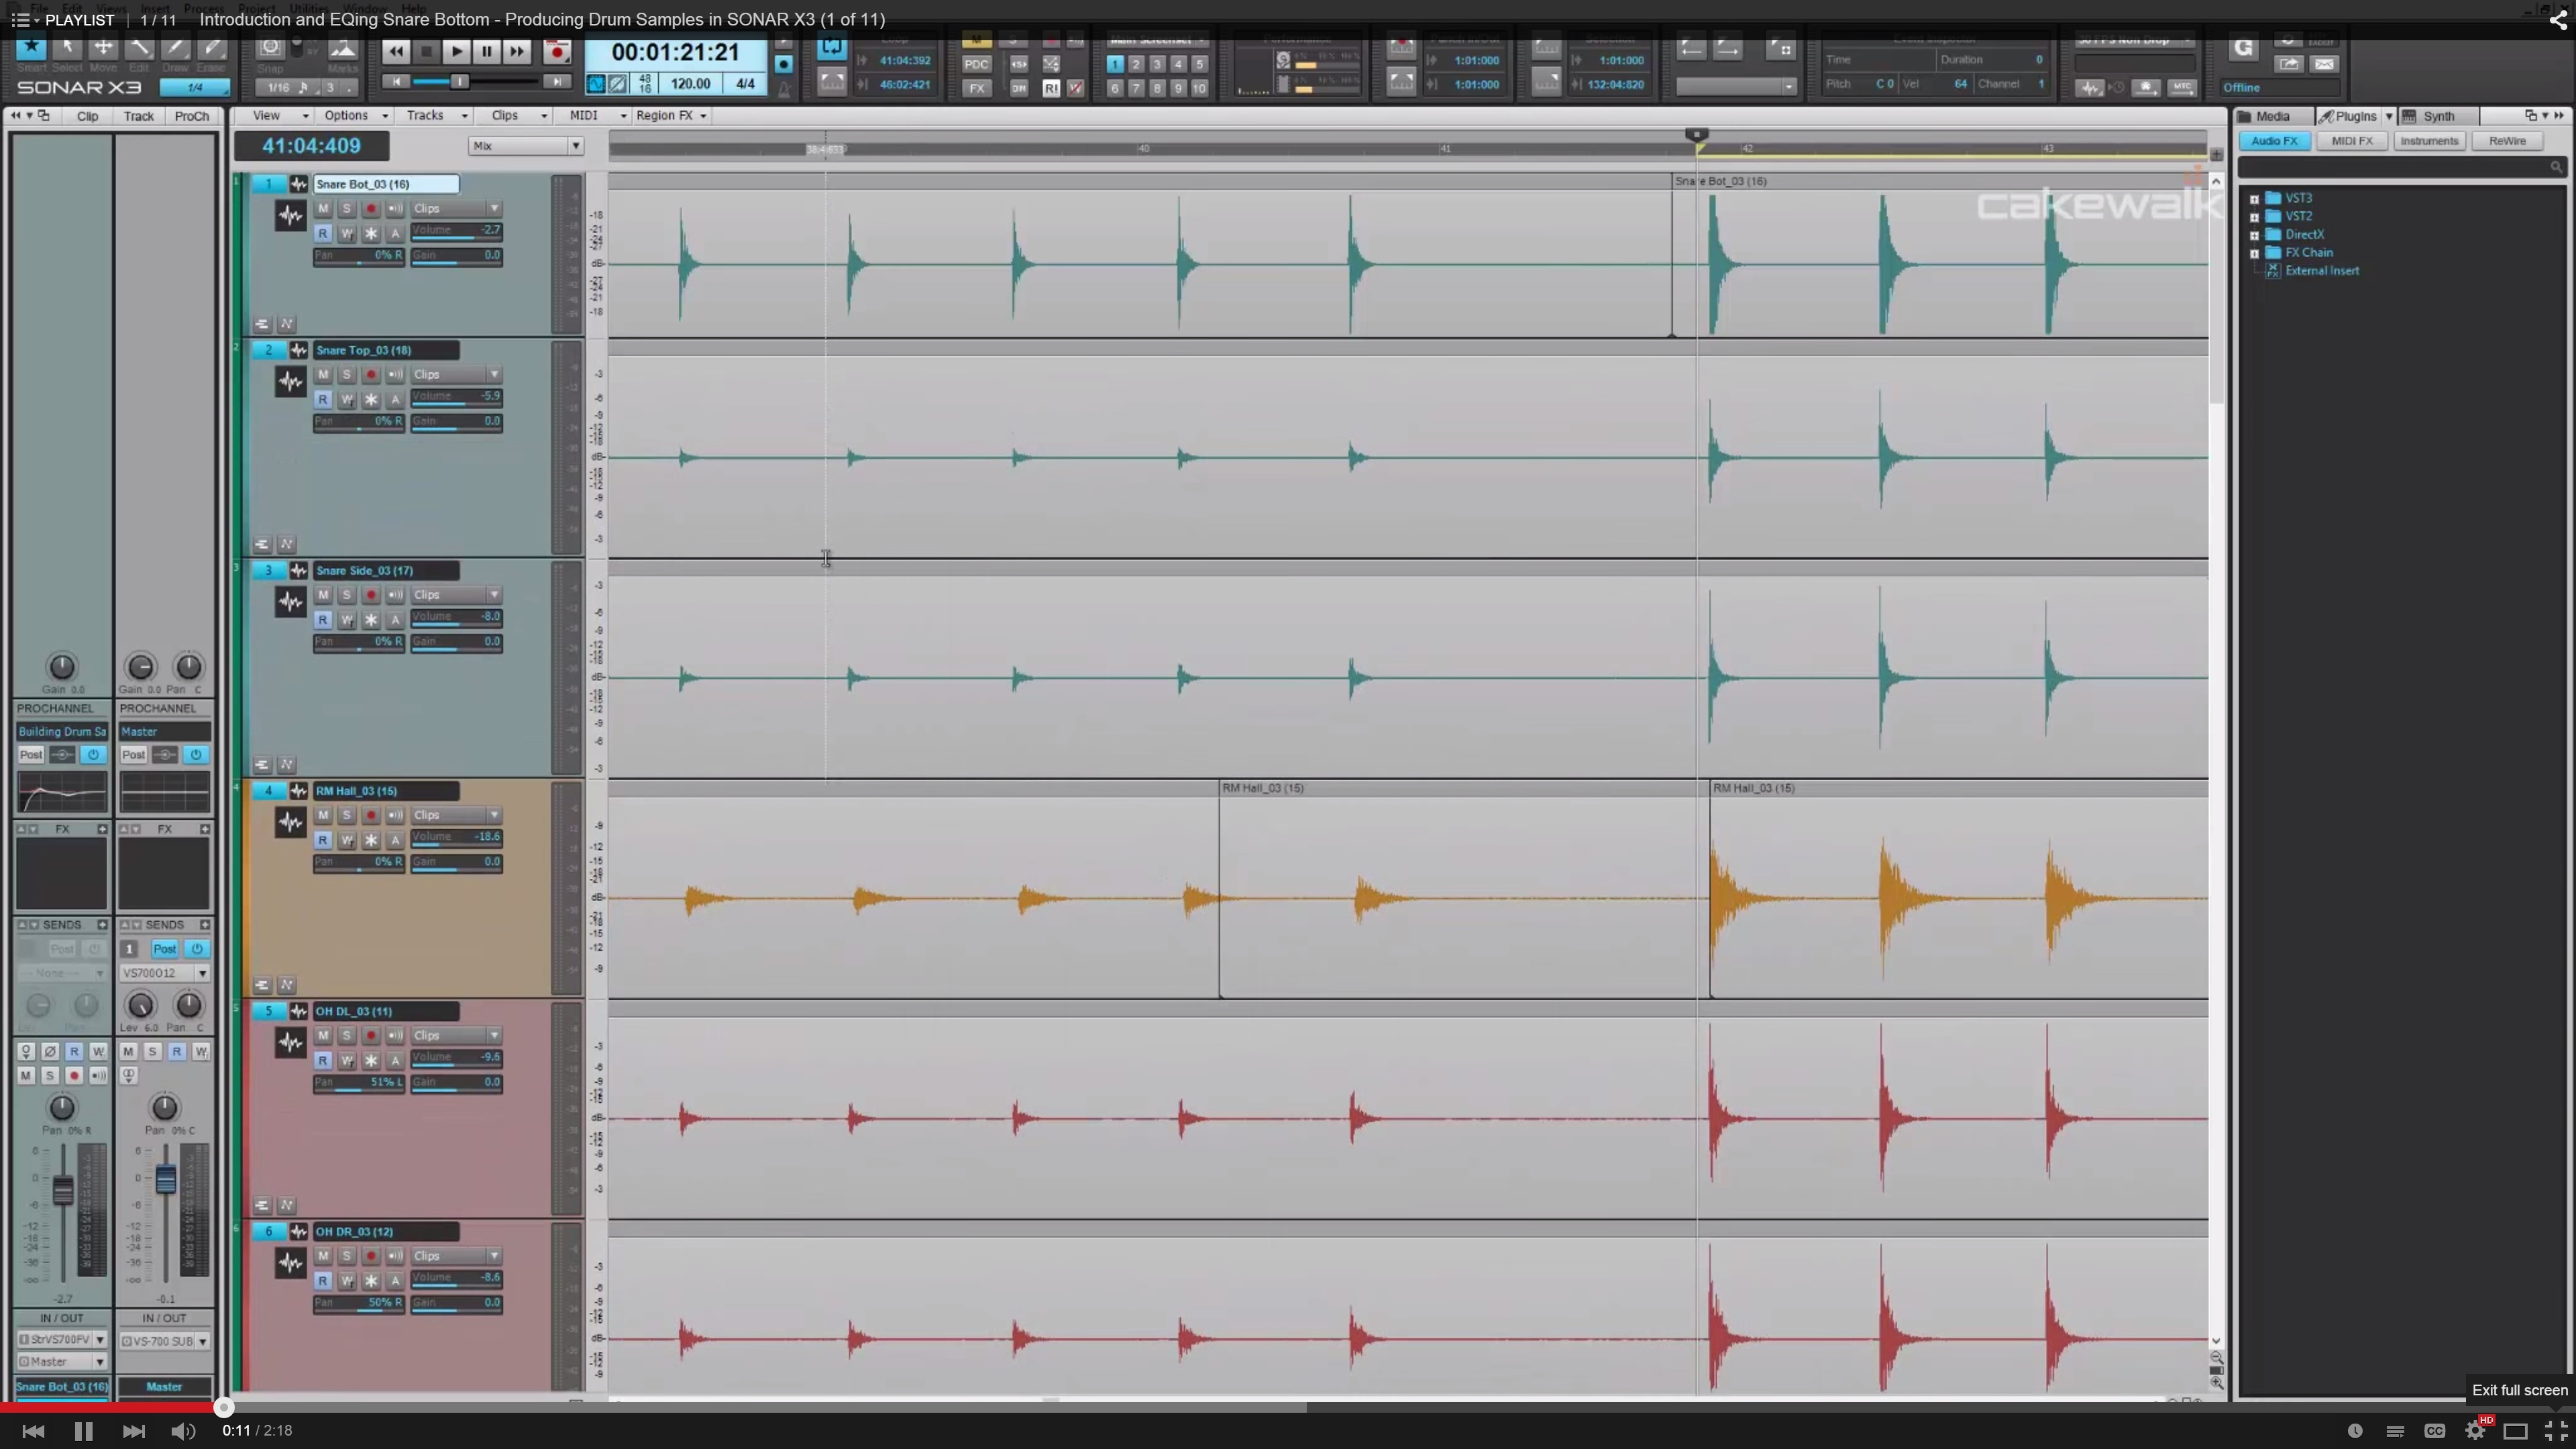
Last but not least we’ve seen that our community has really enjoyed our Producing Drum Samples video series. This video series is available to watch here and guides you through some awesome ways to mix and EQ drum samples to your liking.

If you’re looking for more Drum Production tips check out the tag for this on our blog here.

Multi-track Drum Editing – Crossfading and Critical Listening

by Dan Gonzalez

In the past 3 articles we have looked at basic tools for drum editing as well as identifying, splitting, cropping, and aligning clips. All of these techniques can be followed pretty accurately by reading along and performing the functions as I’ve written them. This portion of the blog series will require that you listen intently to what you’re doing as we work through it.

Make sure to wear headphones and get your critical listening ears on so that your drum edits are clean and not full of pops. Previously I mentioned that we would need to monitor our drums as we edit them and that erroneous edits come through the most in the cymbal microphones. In order to make this possible we’re going to mute the tom tracks and lower the volume for the kick and snare tracks. This exposes mostly high hat, ride, and overhead microphone signals. Also, make sure to pan the overhead microphone signals hard left and right too.

STEP 14: Turn on Auto Crossfade

SONAR is known for it’s streamlined feel and quick functions. One of the best examples of this is SONAR’s auto cross-fade functionality. Since we’re  putting this drum pattern back together we’ll need some speedy way of making sure the clips do not pop when overlapping.

Within the track view click on the Options > Auto Crossfade. This feature allows you to crop one clip into another and automatically yield a cross fade. Continue reading “Multi-track Drum Editing – Crossfading and Critical Listening”