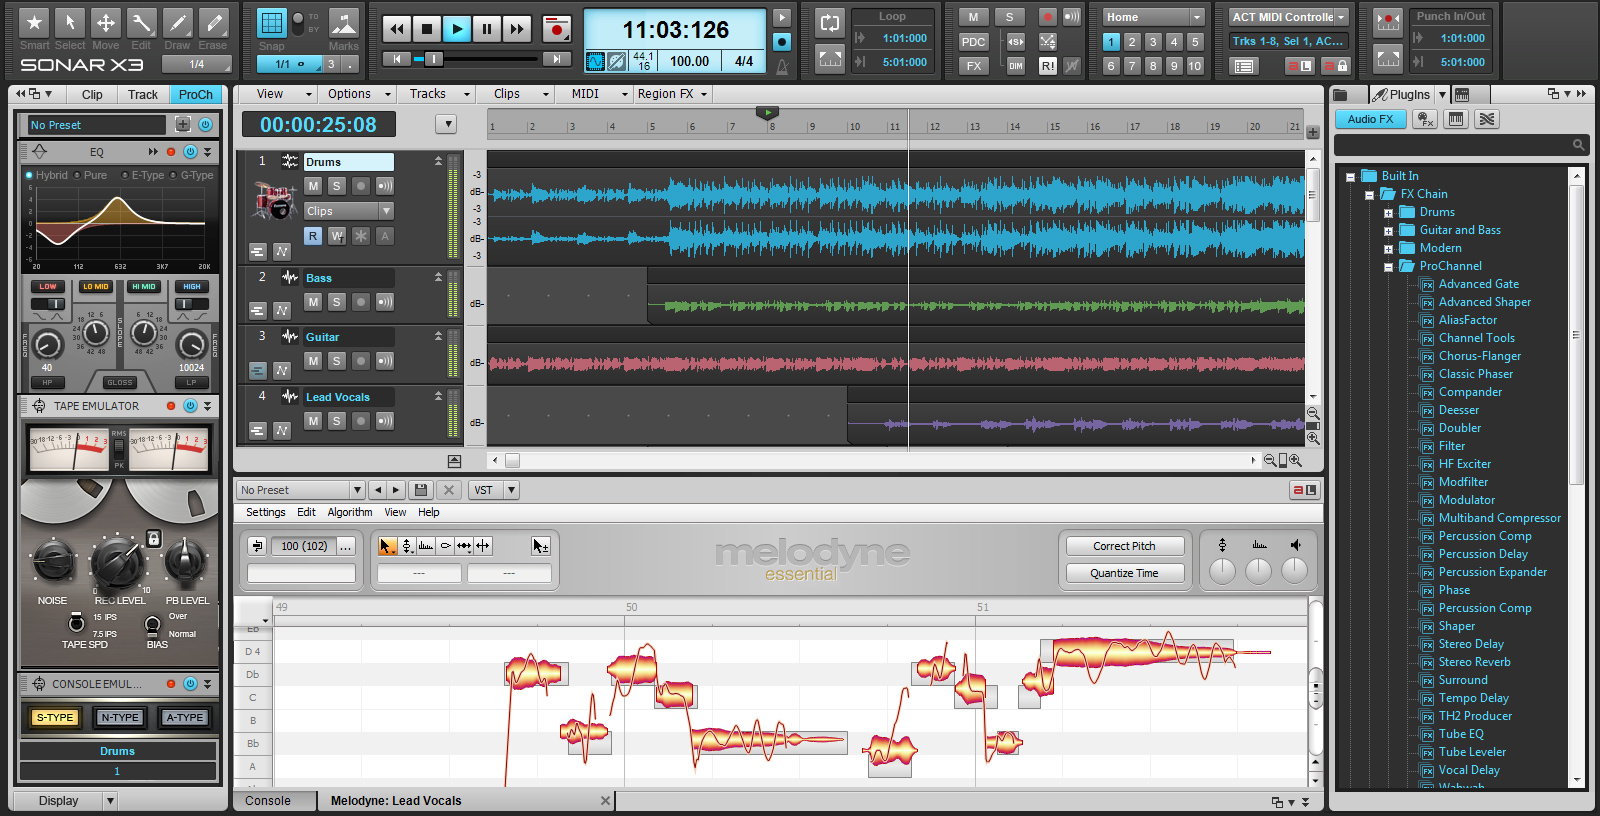
12 Resolutions For A Year of Productive Music Making

2014 is here and it’s time to make your music New Years Resolutions. In past years we have asked users what they plan to do differently in the coming year of music making. The answer is almost always the same, “Spend more time making music and/or be more productive.”

This is a great attitude to have, but it can make for a crappy resolution. It’s such a lofty goal that it can be tough to know where to start. Try following this great list of new years resolutions to make your workflow and creation process better than ever. We have broken it out by month to make it manageable help you stick to it!

January: Deep Clean your Hard Drive

We all have the one digital directory that is completely cluttered with 6-8 months worth of disorganized music, pictures, sessions, and pdfs. Why not take January to purge your hard drive of all this unwanted material? Make folders, rename important files, condense older sessions, and then throw them on a back up. If you’re into cloud backup, then get that up and running again. Hoarding massive amounts of data that you do not need can fill up your hard drive space quicker than you would think. Besides, it makes things easier to find too.

February: Brush up on your skills

Now that you’ve given your computer a good scrub-down, it’s time to seek out some inspiration. Are there some things about your DAW and other musical applications that you haven’t quite gotten a grasp on yet? Yes? Then it’s time Continue reading “12 Resolutions For A Year of Productive Music Making”

First Time DAW Users: 5 Things You Need To Know

As seen in the December ’13 issue of Regional Musician

Purchasing your first recording program is an exciting new chapter in your musical career. Now you can record your band practices and start making demos of all your songs in the comfort of your home. However, sometimes during the initial setup of your DAW, you will run into a few issues that could potentially be frustrating. Fear not, by following the right steps and optimizing your studio set-up, you will be well on your way to recording your music.

This article is meant to offer guidance on some terms and subjects that could be a bit foggy when starting out. Following these tips will help make your transition to a DAW much better and help you focus on what’s most important – making music.

1. First Things First

a. Terms you should know

Make sure you are using the correct driver mode for your audio interface or sound card. Some of these words may seem foreign to you if you are just starting out, so:

Driver Mode – When referring to digital audio we use the term “driver mode” to talk about a setting within your DAW that allows recording hardware to communicate with your computer. Continue reading “First Time DAW Users: 5 Things You Need To Know”

The Case For Getting Your Drum Sounds With Overheads First

What’s the reasoning?

Why should you get sounds with the Overhead microphones first? Well, think about the perspective of a drum set at shows, in practice spaces, at clinics, and in store demos. A drum set is perceived at a distance, so why shouldn’t that be the first thing you check when you are finding the sound of your drum set? You don’t place a microphone on every single individual person in a choir, but rather you find the right balance with suspended microphones at great distances. Afterwards you place spot microphones to enhance one section or another, but it’s the overall sound that you are attempting to capture. The same logic should apply to a drum set when finding the right tone of your drum set. Continue reading “The Case For Getting Your Drum Sounds With Overheads First”

7 Pre-Production Tips for Drum Recording

To kick off Drum Month at Cakewalk we’ve decided to include some tips about the types of pre-production topics that can come up before you enter the studio with a drummer. These tips can apply to drummers, guitarists, producers, and engineers alike.

1. Can the drummer play to a click?

This is something to consider when a band or group approaches you for a recording. Depending on the budget, you will either spend a lot of time in the studio, or a lot of time editing drums. Spending time in the studio is much easier than spending hours and hours behind an editor. Don’t be afraid to sit in on rehearsals and even record them to get an understanding of timing and how proficient the drummer is. Here are some solutions for drummers who have a hard time playing to just a click:

  • Have someone else in the group play along with the drummer
  • Use song demos as guide tracks
  • Record in shorter sections, instead of longer sections
  • Try different percussion as click tones. (Cowbell, woodblock)

The reality is that if a group wants to record themselves, then they need to have their songs ready for the studio. This brings us to number two.

Continue reading “7 Pre-Production Tips for Drum Recording”

DAW Best Practices: How To Choose The Right Audio Interface

The goal of this article is to help you shop for an audio interface. These concepts can get very deep, but for now I will keep to some of the more basic points about the subject. Here are 9 questions you should ask yourself when comparing audio interface options.

1. How many instruments do I need to record at the same time?

The first thing you should consider is the environment that you will be working in and how many instruments you need to record at once. Some people only need the ability to record 2 tracks at a time and others need a minimum of 8. This is the first and most crucial step to understanding your set-up. Continue reading “DAW Best Practices: How To Choose The Right Audio Interface”

8 Steps for Comping The Perfect Vocal Take

Comping is a term used for editing multiple instances of the same performance together into one flawless track. Cakewalk has adapted this functionality in order to bring this kind of workflow right to the fingertips of every SONAR X3 user. Within this article I am going to show you my own workflow for comping together a vocal track.

1. Create Markers for the different sections of your song. This should have been done during the actual recording. As I’ve stated in other posts, it’s really important to label your sections so that you can move from one place to another without a second thought. Fast paced environments are not very forgiving when the engineer loses their spot. It creates distractions and impedes the artist’s or group’s concentration.

2. Identify the individual sections of the song with split points so that you can understand where each section edit starts and ends. This works in tandem with Markers to help isolate the larger sections of the song. Simply expose your take lanes by using the short-cut Shift+T, expand the track height of the takes, and then click and swipe on the lower half of your audio regions to make split points.

Clicking and swiping can be viewed here Continue reading “8 Steps for Comping The Perfect Vocal Take”