Melodyne's DNA: Subtract or Isolate Instruments From an Audio File

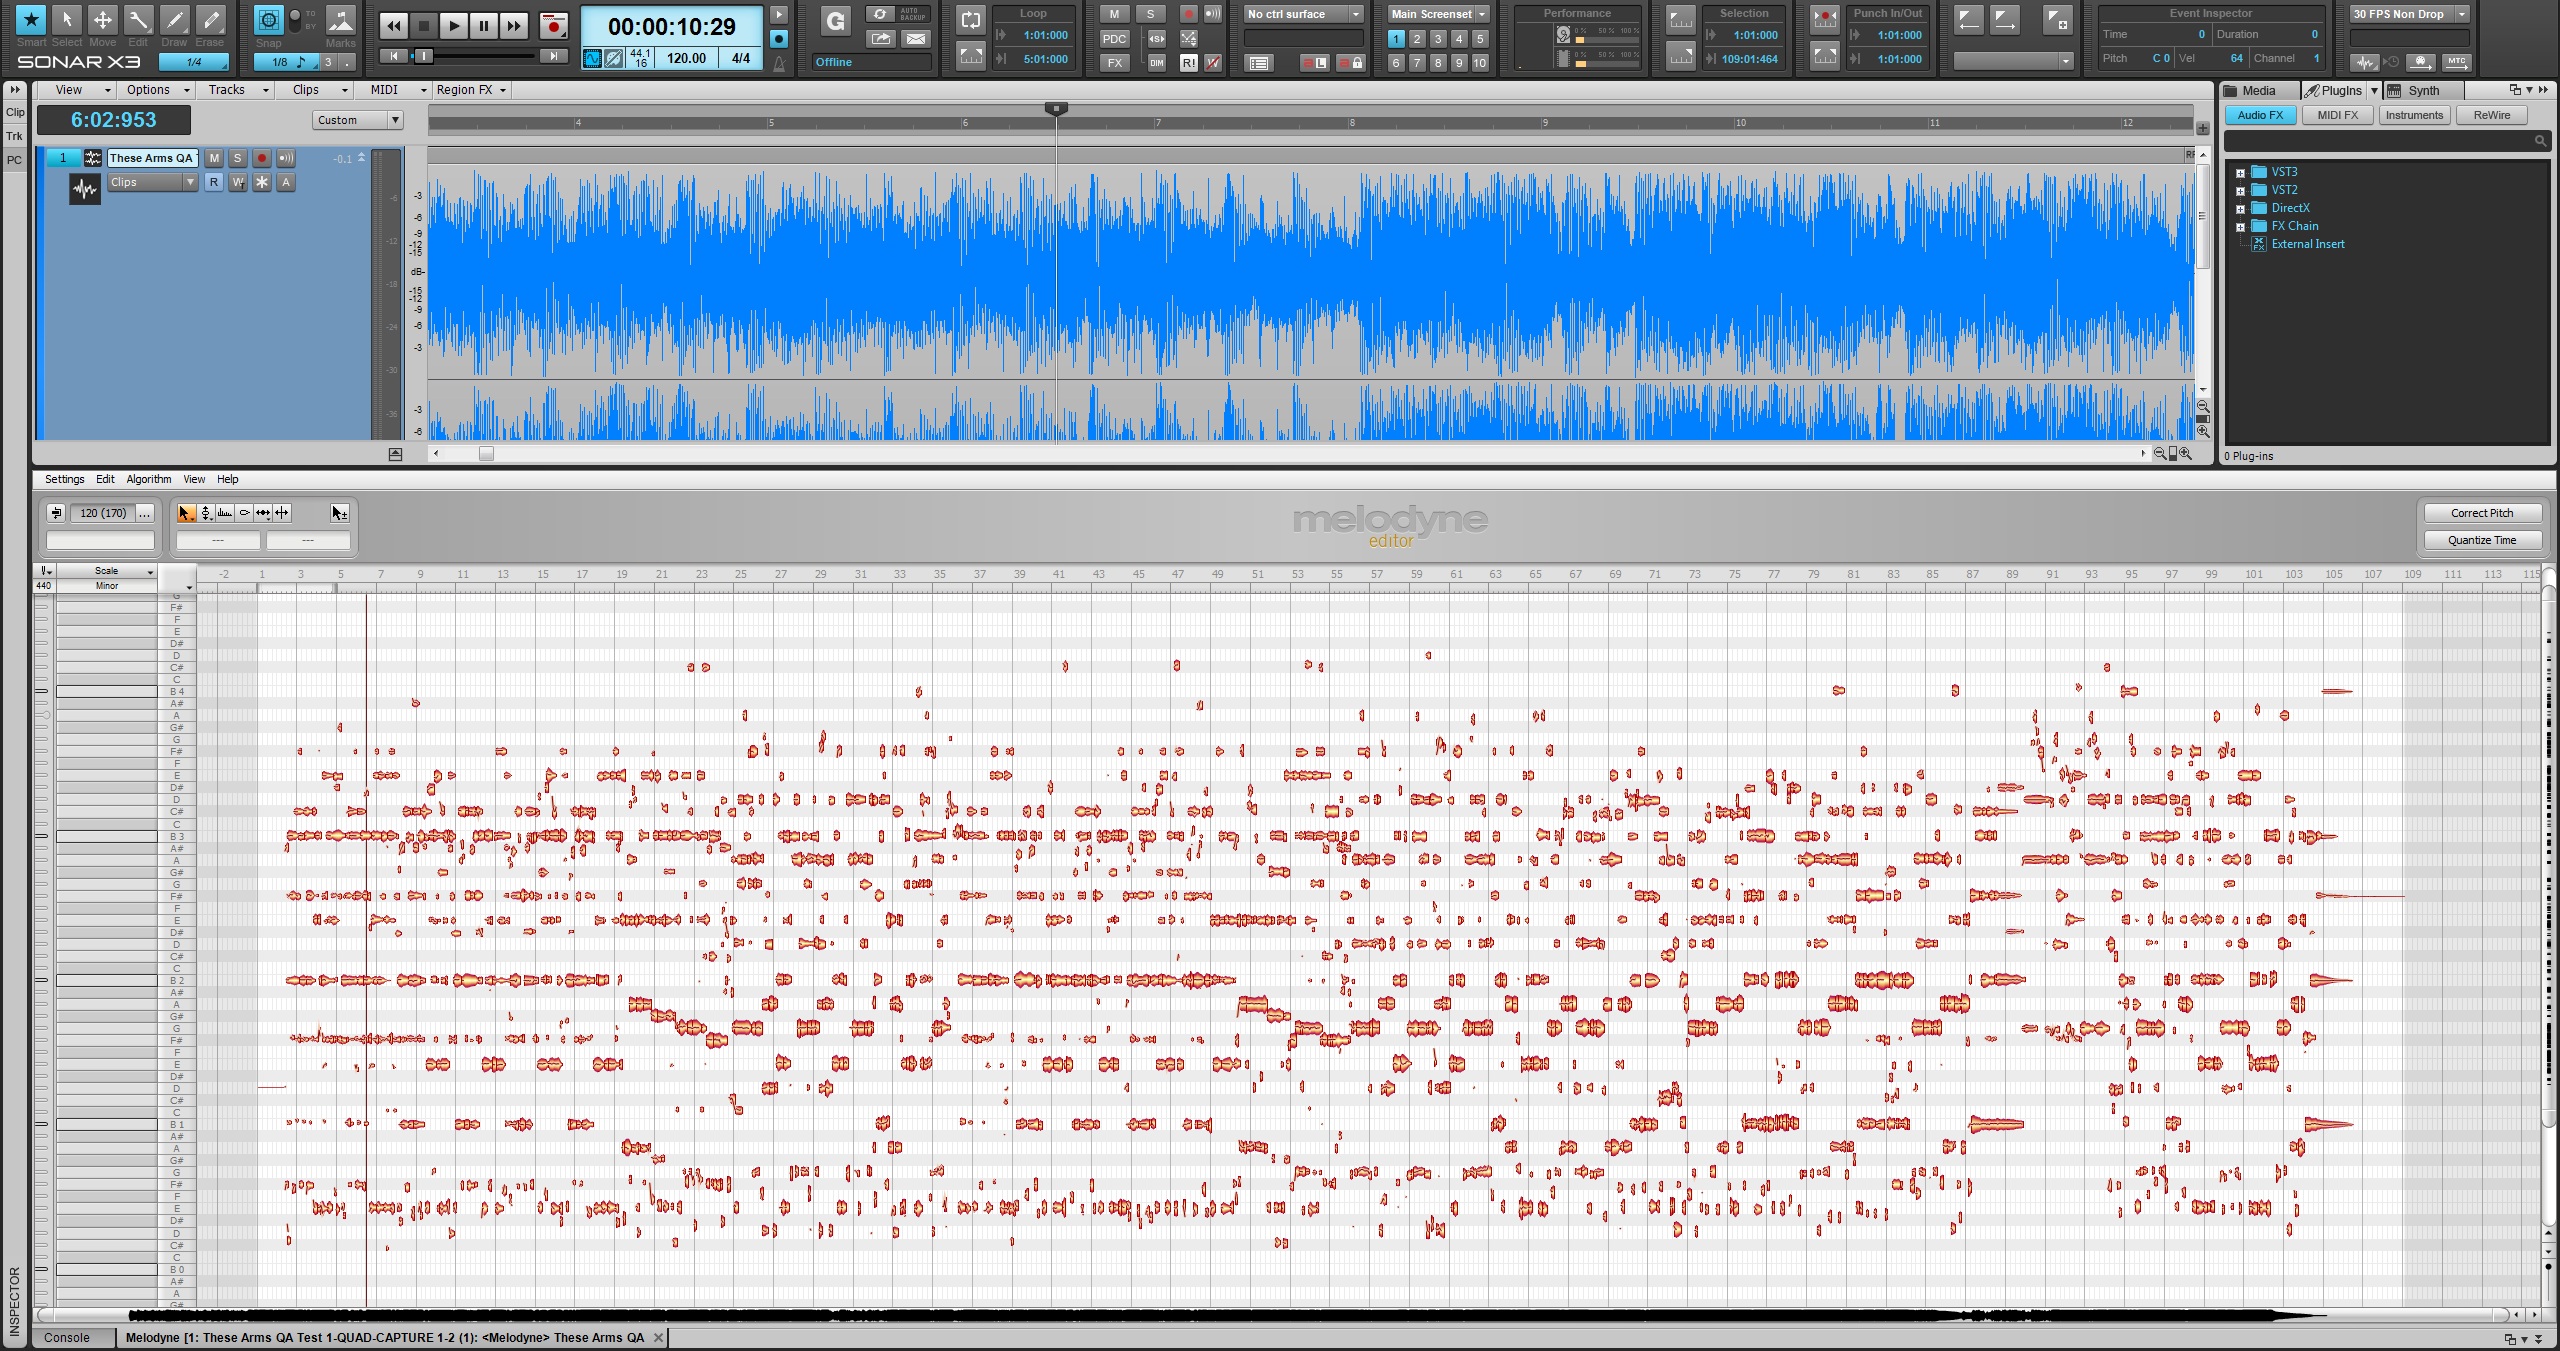
Melodyne Editor’s Direct Note Access (DNA) technology allows you to analyze polyphonic audio data and produce a visual representation of it. With this technology you can essentially drop in any polyphonic audio, even full fledged productions. This kind of technology could be used to remove vocals from a track, isolate instrumentation from mixes, or analyze the arrangement across a staff. Regardless of it’s use, the amount of time you could spend geeking out over your favorite top 40 hits is infinite. Here I will briefly show you how to isolate or subject parts of instruments from a mix.

To do this,

  • In SONAR, right-click on your audio file and go to Region FX > Melodyne > Create Region FX.
  • Make sure that you have Polyphonic Mode enabled.
  • Let Melodyne analyze the audio file.

Once analyzed, Melodyne wil Continue reading “Melodyne's DNA: Subtract or Isolate Instruments From an Audio File”

Make Your Voice Sound Like Daft Punk with Melodyne Editor and SONAR X3 Producer

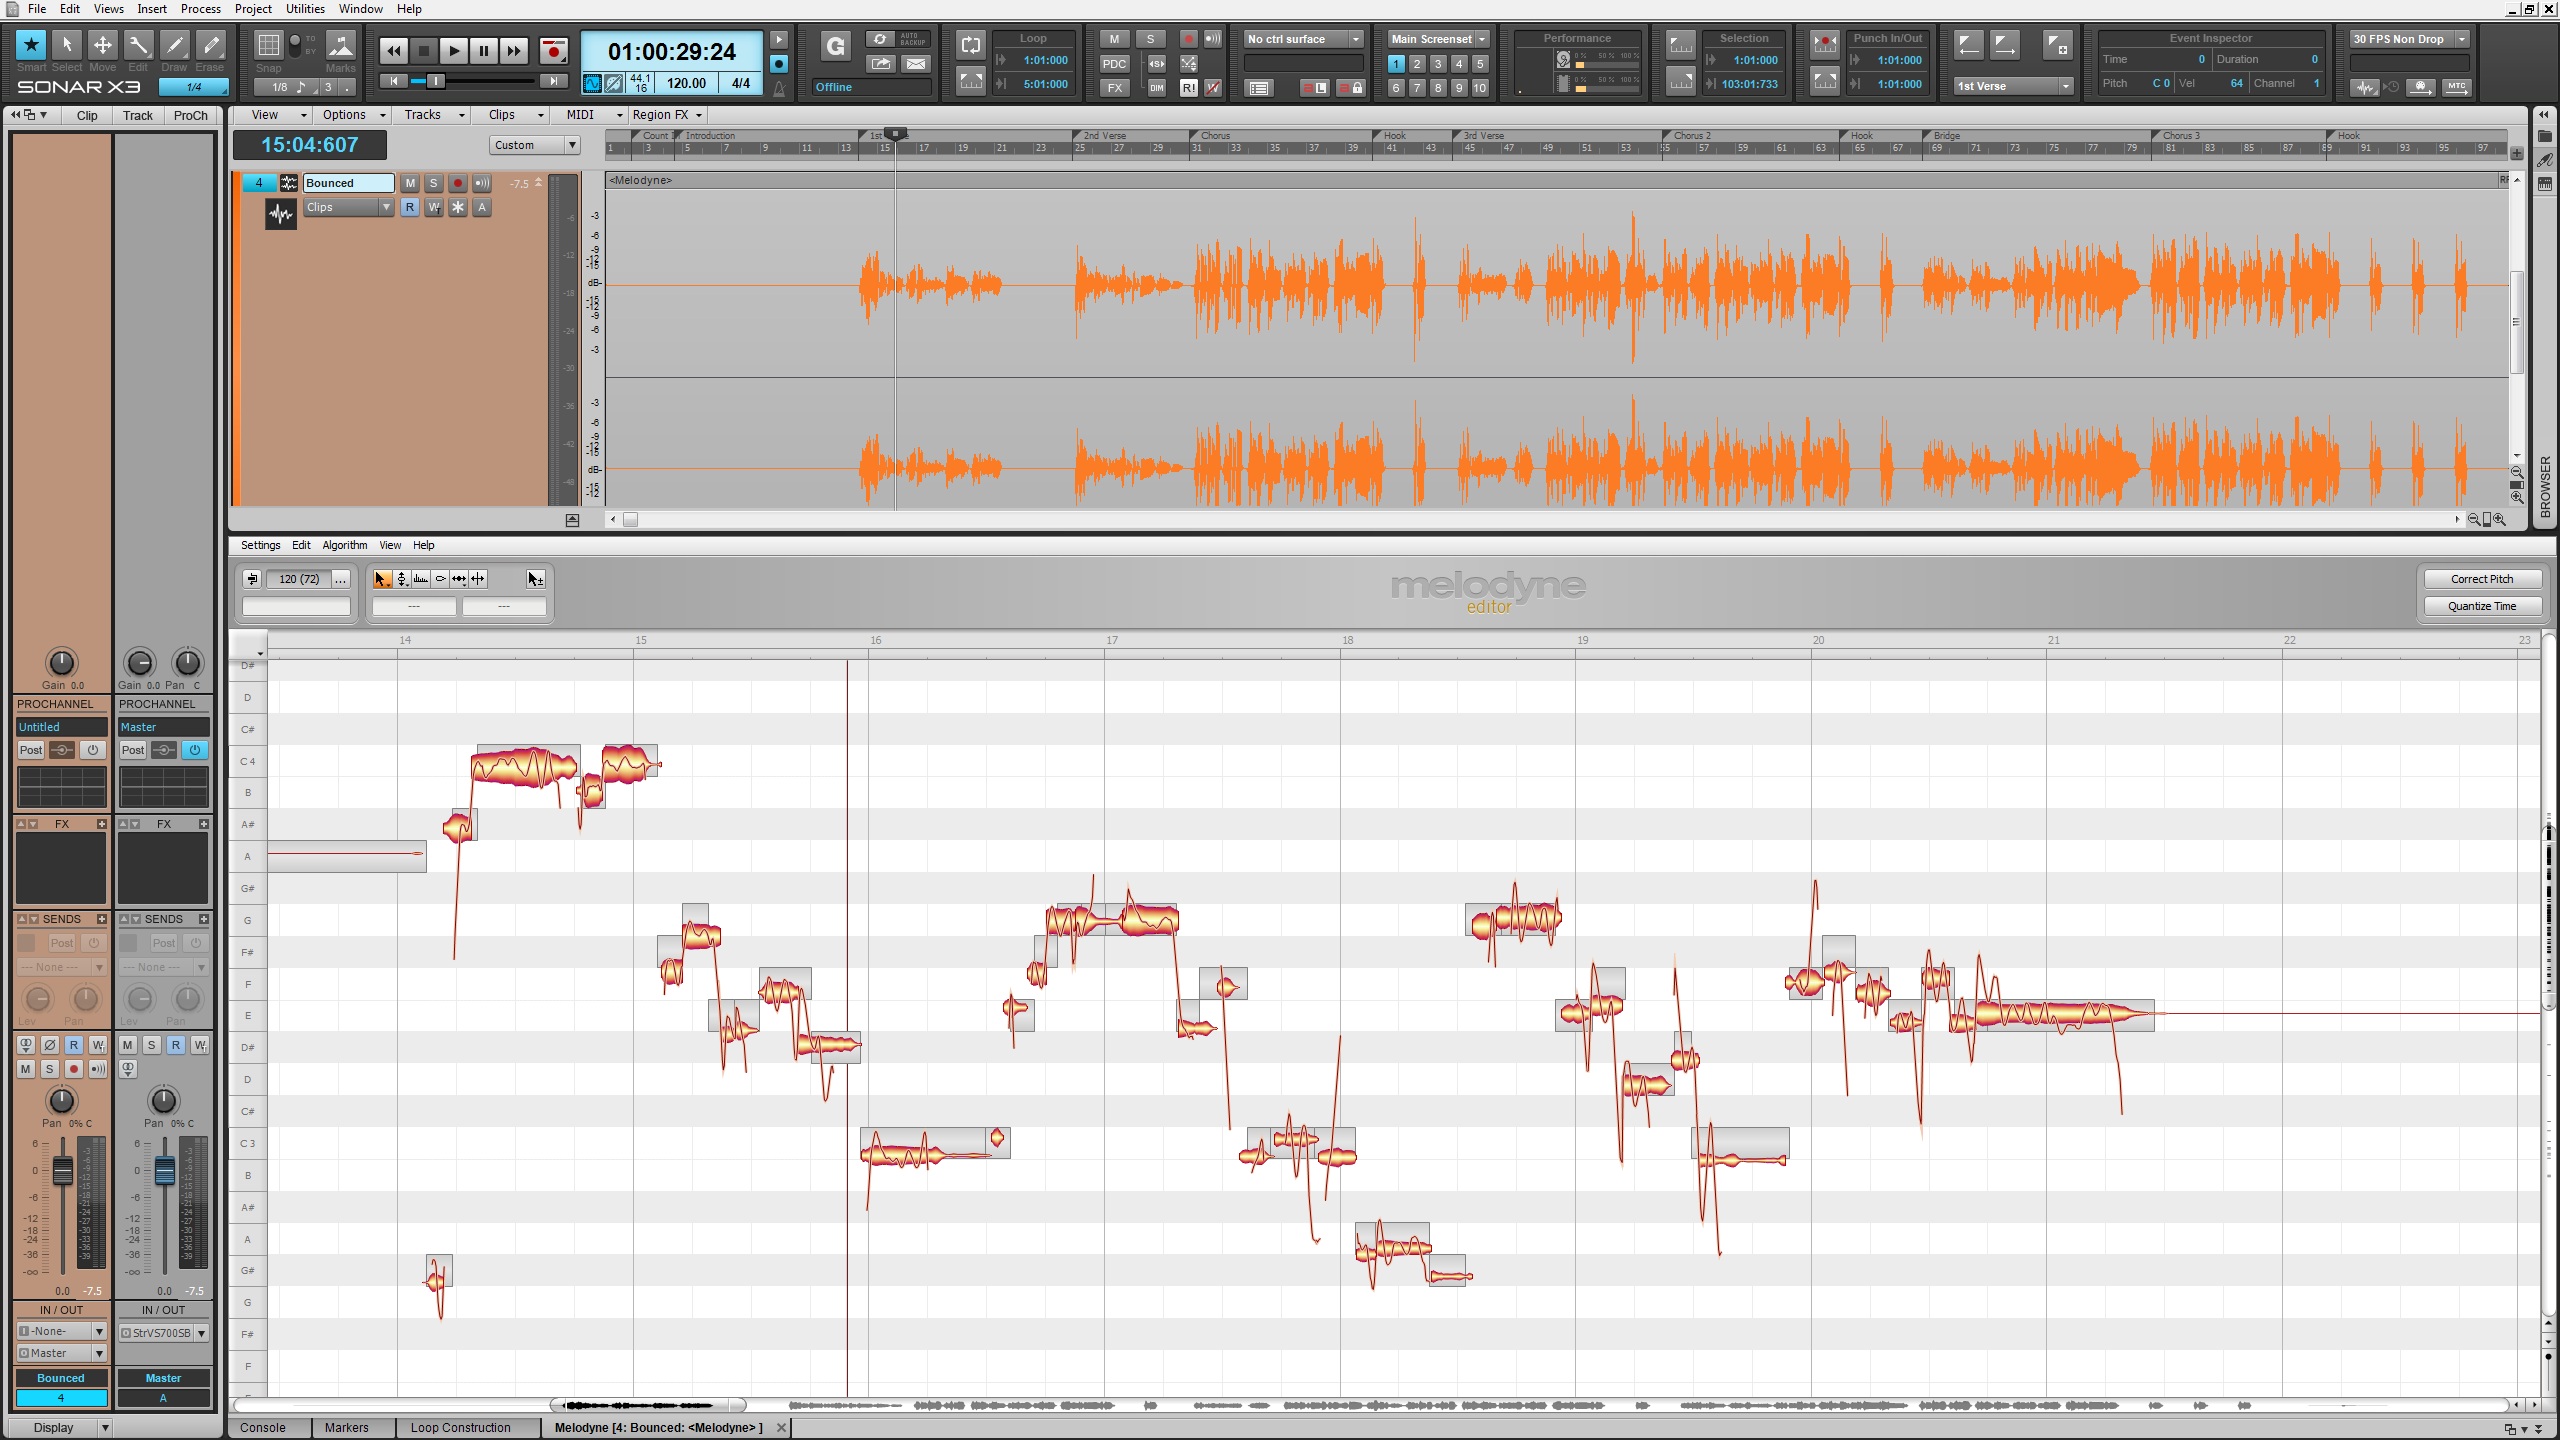
Certain effects have defined generations of music. The decade of the 80’s for example was a major era for reverb. In today’s pop music, the use of pitch correction software seems to be an effect that many artists and producers are utilizing creatively. Daft Punk has been using this effect for a number of years now, making them one of the first to bring this vocal style to the level of popularity it is today.

SONAR X3 & Melodyne

To create a Daft Punk inspired vocal effect Continue reading “Make Your Voice Sound Like Daft Punk with Melodyne Editor and SONAR X3 Producer”

SONAR X3 Quicktip – Hum a Melody and Convert it to MIDI with ARA

As a musician, inspiration can hit you on the train, during dinner, or even while you’re driving somewhere. Many musicians that I’ve worked with carry some sort of recorder around with them. I know sound designers who always have a device ready for taking samples, and guitarists that hum melodies to themselves when they feel they’ve come up with something original that they want to remember.

Given that we live in a very digitized world, it’s easy to hum and capture a melody, and then email it to yourself or import it later for inspection. SONAR X3’s ARA integration is a great tool for taking melodies and easily converting them to MIDI. Here’s a melody that I recorded off the top of my head by simply humming it to myself:

Continue reading “SONAR X3 Quicktip – Hum a Melody and Convert it to MIDI with ARA”

10 Reasons You Will Love The SONAR X Series

The SONAR X series was introduced to the world back in 2010. Since that time, we’ve continued to refine and improve SONAR. Customers upgrading from SONAR 8.5 and earlier are in for an amazing experience. Below we’ve put together the top ten reasons you will love the SONAR X series.

1. ProChannel

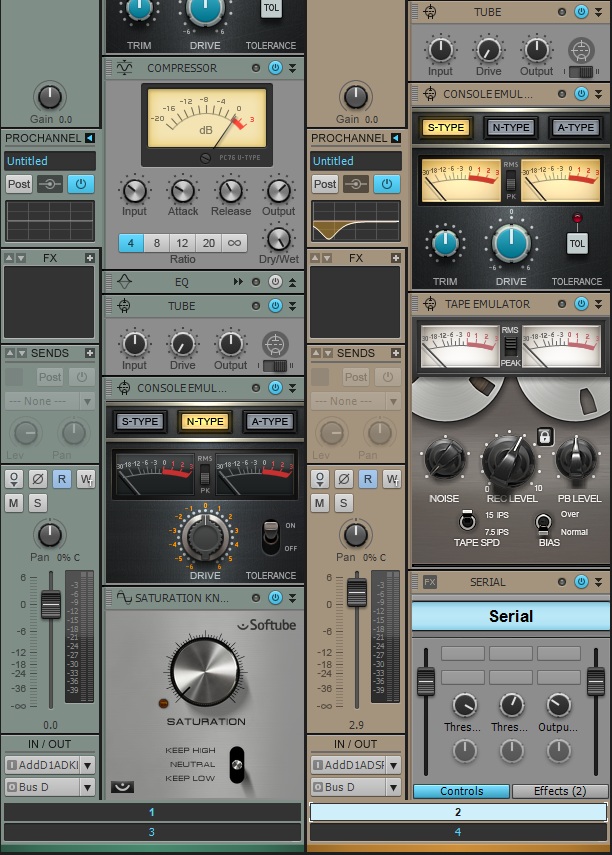
The ProChannel redefines the way you work with the Console View. Each audio track, instrument track, and bus comes with a complete modular strip of analog effects. Even the inspector allows the users to preview a selected track’s ProChannel strip right from the Track View. With the click of a button users can expand this analog mixing console and fully customize it by dragging around the modules, or loading up a ProChannel presets. Load up the Compressors, Tube Saturation, Reverb, Console Emulators, Tap Emulators, and the new QuadCurve EQ Zoom with Analyzer by simply right-clicking.

SONAR’s ProChannel lends itself to an immensely visual experience Continue reading “10 Reasons You Will Love The SONAR X Series”

DAW Best Practices: How To Choose The Right Audio Interface

The goal of this article is to help you shop for an audio interface. These concepts can get very deep, but for now I will keep to some of the more basic points about the subject. Here are 9 questions you should ask yourself when comparing audio interface options.

1. How many instruments do I need to record at the same time?

The first thing you should consider is the environment that you will be working in and how many instruments you need to record at once. Some people only need the ability to record 2 tracks at a time and others need a minimum of 8. This is the first and most crucial step to understanding your set-up. Continue reading “DAW Best Practices: How To Choose The Right Audio Interface”

Professional SONAR users weigh in on SONAR X3 – Stability, Performance, & Workflow

X3 is being hailed as the most rock solid edition since SONAR’S inception.  Beyond the new tools and features, a lot of work was put into the core functionality of the program to make sure that even top-notch music-making professionals would find performance improvements.  From the Skylight User Interface enhancements, to audio engine improvements – and everything in between, professional users who depend on SONAR day-in and day-out for their livelihood are weighing in:


Timothy Wynn (Sonic Fuel Studios / SonicFuel.net) – Los Angeles, CA

Congratulations to SONAR X3 user Timothy Wynn on winning Best Score at the CineRockom Film Festival for “The Liberator” this year.  With several globally successful franchises already to his credit ranging from blockbuster video games such as Command & Conquer, Dungeon Siege, GUN, The Punisher, Red Faction, 2K’s The Darkness II, The Simpsons and Warhawk to music in the hit television series Supernatural, Tim Wynn has gained international recognition as a leader in a new generation of highly talented and versatile composers.

Most recently, Timothy used SONAR to work on the feature films “The Starving Games” and “MK Reloaded (2014),” while also scoring EA Sports Madden 25 with Chris Lennertz.

“Cakewalk software has always been great for me in general, but this round of SONAR has really been stepped up.  SONAR X3 is the most stable DAW I have ever used.   I’m running huge projects Continue reading “Professional SONAR users weigh in on SONAR X3 – Stability, Performance, & Workflow”

6 Creative Ways to Use The VKFX Delay – Free with SONAR X3 Studio or Producer

SONAR X3 Producer’s ProChannel comes loaded with great effects for every channel like Compression, EQ, Saturation, and Reverb. Now, for a limited time, if you purchase SONAR X3 Studio or Producer before November 30th, 2013 you will also get Overloud’s incredible VKFX Delay ProChannel Module for free. Here is a description and some creative ways to utilize this wonderful new tool.

Overloud’s VKFX Delay Module is a rendition of a classic tape delay with an incredible set of parameters that virtually allows you to get just about any sound you please.

The Parameters

Feedback adjusts the amount of repetitions of the delayed signal. This has varying tonality as you increase or decrease it.

Tone adjusts the brightness of the delayed signal. Sometimes it’s important to taper off the high end of a signal so that it does not get in the way of itself. Bright acoustic strumming or picking could become engulfed by a series of shearing delays if your tone is not adjusted correctly.

Time is a crucial parameter on any delay unit. This determines the intervals of time between each delay repetition. When the time parameter is not synced to SONAR, the intervals of time range between 0.0 – 2.7 seconds.

When the sync button is enabled the VKFX Delay syncs to musical denominations ranging from 1/32t to 4 based around the tempo set within SONAR.

Mix controls how much of the delay effect makes it into the actual passing signal. Increasing this to 100% would produce the delayed effect only.

Lastly, the 8 different Modes within the VKFX Delay module control two sets of settings.

  • The panning scheme for each repetition
  • On what beat each repetition falls on

As seen in the figure, the first five different modes repeat within the mono spectrum and vary with each beat they fall on. Settings 6, 7, and 8 spread the repetitions from Left, Center, and Right making for an intense panning/delayed effect.

1. Chorus Effect Continue reading “6 Creative Ways to Use The VKFX Delay – Free with SONAR X3 Studio or Producer”

8 Steps for Comping The Perfect Vocal Take

Comping is a term used for editing multiple instances of the same performance together into one flawless track. Cakewalk has adapted this functionality in order to bring this kind of workflow right to the fingertips of every SONAR X3 user. Within this article I am going to show you my own workflow for comping together a vocal track.

1. Create Markers for the different sections of your song. This should have been done during the actual recording. As I’ve stated in other posts, it’s really important to label your sections so that you can move from one place to another without a second thought. Fast paced environments are not very forgiving when the engineer loses their spot. It creates distractions and impedes the artist’s or group’s concentration.

2. Identify the individual sections of the song with split points so that you can understand where each section edit starts and ends. This works in tandem with Markers to help isolate the larger sections of the song. Simply expose your take lanes by using the short-cut Shift+T, expand the track height of the takes, and then click and swipe on the lower half of your audio regions to make split points.

Clicking and swiping can be viewed here Continue reading “8 Steps for Comping The Perfect Vocal Take”

47 Reasons Why AAS Instruments Are Incredible (Sound Examples)

We’ve put together some sound examples of the instruments in the AAS Modelling Collection available on the Cakewalk Store for SONAR X3 Producer users. SONAR X3 Producer now includes Strum Acoustic Session and Lounge Lizard Session, but here are a whole bunch of reasons you should consider picking up the entire collection.

Listen to just a few of the stock presets from Chromaphone, Studio String, Tassman, Ultra Analog, Strum Electric, Lounge Lizard, and Strum Acoustic Continue reading “47 Reasons Why AAS Instruments Are Incredible (Sound Examples)”