DAW Best Practices: 11 Easy Tips For Project Organization

1. Categorize your tracks by Color

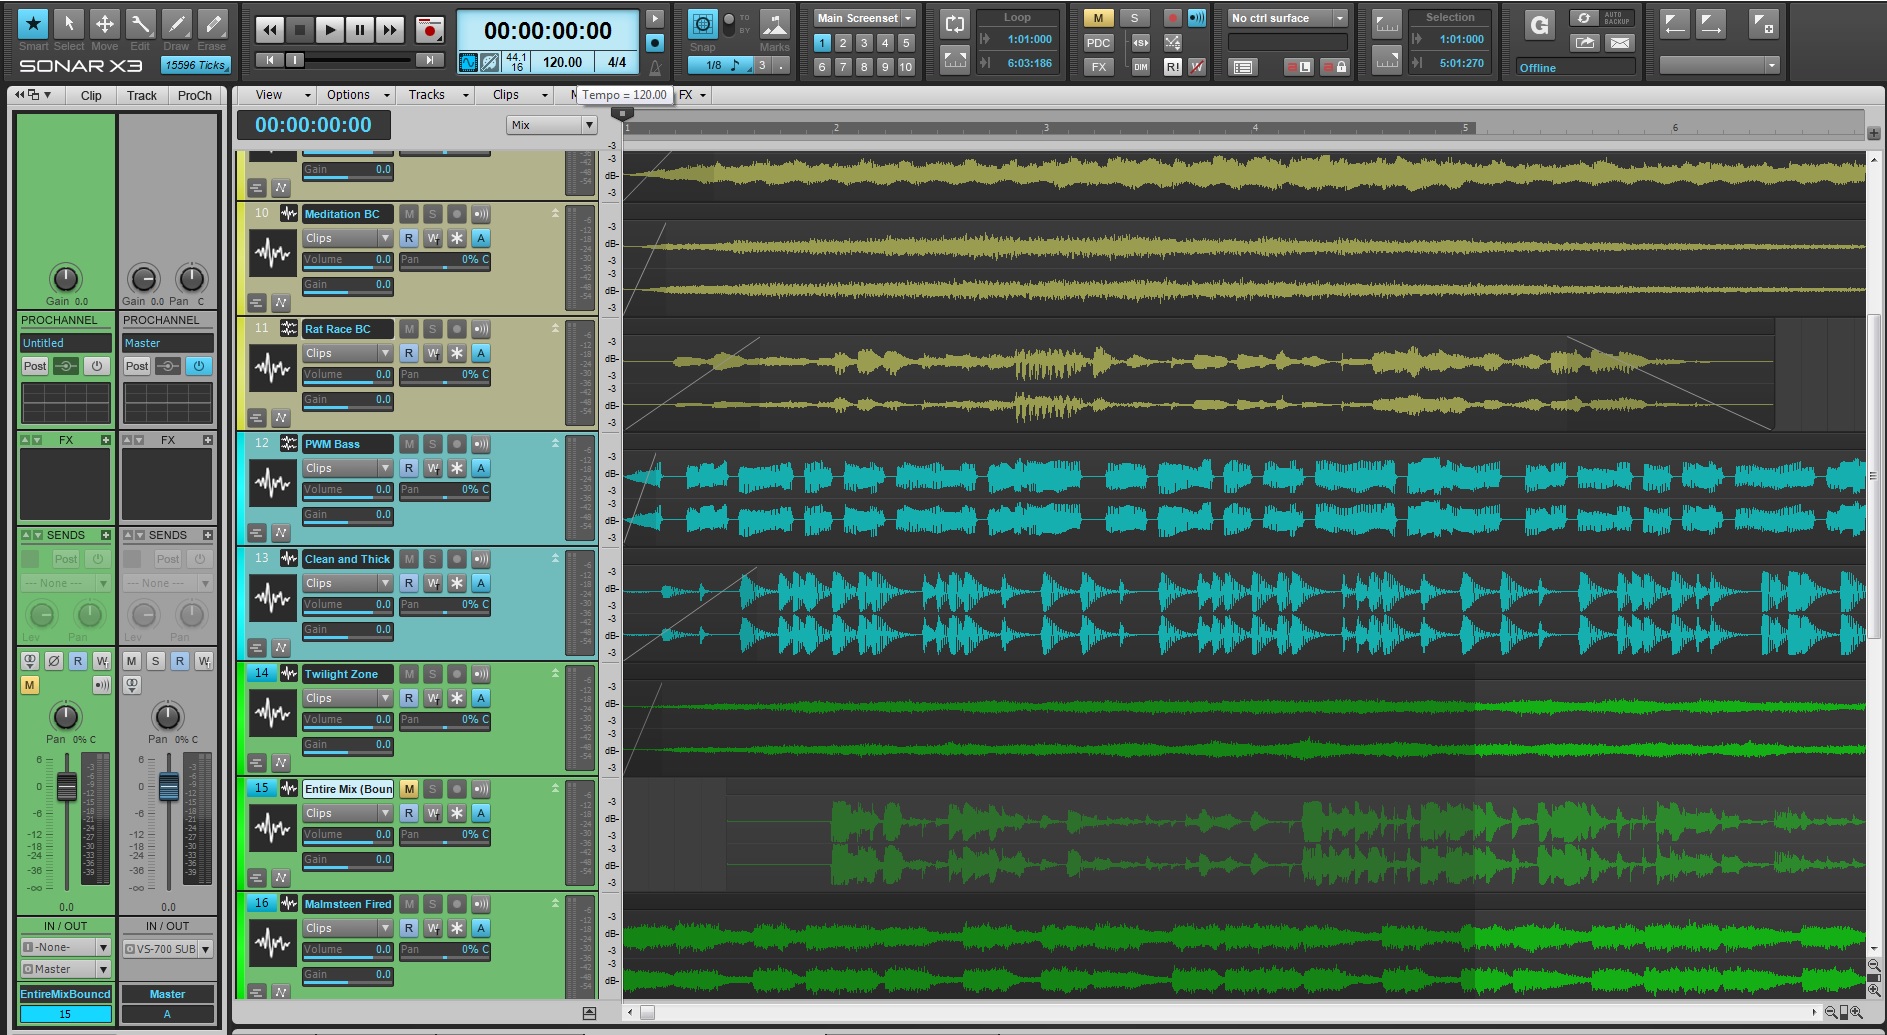
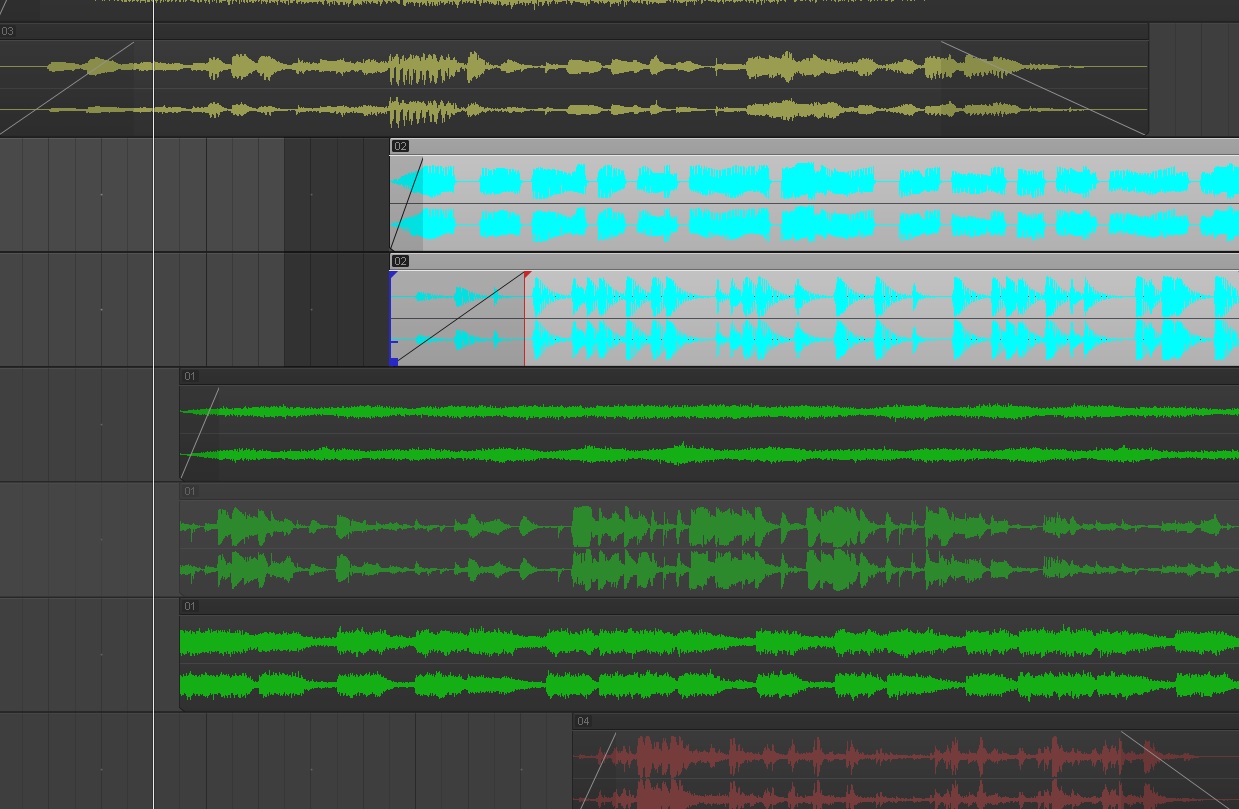
Categorizing your tracks by color can be one of the biggest advantages to keeping a solid workflow when recording or mixing. If your DAW has the ability to do this then figure it out, it should be fairly obvious where these options are located. Try dedicating color schemes to instruments, types of tracks, and the buses associated with your tracks. This makes the overall environment easier to work with, especially if you are handing your work off to another engineer or the artist themselves.

2. Dedicate a Bus to each one of your tracks or groups of tracks

Making final adjustments to your tracks will become easier and more organized once you take advantage of the bus section within your DAW. Setting your tracks to their own dedicated buses reduces them to a single track so that you can adjust an entire section of instruments with one fader, compressor, EQ, or any other plugin you feel is needed. If you are in the final stages of mixing with an artist at your side, I’ve found that typical comments can consist of “The drums could be louder.” or “Can the vocals come up a bit?” These kinds of adjustments could be difficult if you have tons of automation already laid down on your individual tracks. Sending your tracks to a bus will allow you to adjust overall levels easier and more efficiently.

SONAR X3 allows you to organize your tracks by color or choose to follow bus colors based on routing. Read more about Color Customization in SONAR X3.

3. Name your tracks in a way that makes sense

Audio files will take the names associated with the tracks they were recorded on. If your tracks are set to “Audio Track 1-16” then your audio files will be recorded as “Audio Track 1-16”. Make sure to name your tracks in a way that someone could understand them in a passing glance. My naming convention consists of the instrument type, number, amp name (if applicable) and microphone or DI box used. Here are some useful ways to name your tracks.

  • Guitar 1 Egnator 57
  • Guitar 1 5150 421
  • Bass 1 DI
  • Bass 1 Ampeg
  • Vocal 1 U47
  • Kick IN 52
  • Snare Bottom 414

Here are some examples of inefficient ways to name your tracks:

  • Mic 1 John
  • Drum 1 AWESOME
  • Guitar Right 1
  • Bass HEAVY tone 3
  • Kevin
  • Audio Track 27

Notice the difference? Figure out a system that works for you and stick with it.

4. Group tracks that have variations of mic placements

When recording or editing multi-mic’d instruments its useful to group your tracks in a way where all the tracks can be edited at once. At one point in your career you will record an amp that could have 5 microphones on it or a drum set that consists of 20 microphones. Setting up this type of group will allow you make alterations to these tracks without too much headache.

SONAR X3‘s “Region Groups” feature makes it easy to group and edit multiple audio regions at once.

5. Version your projects manually

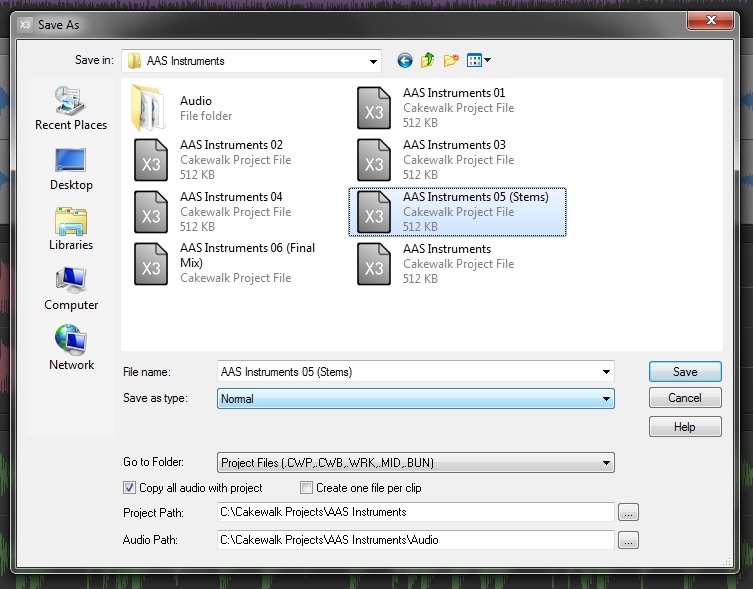
Manually versioning your projects should be second nature regardless of whether or not your DAW contains an automatic save feature. Every 5 minutes go to Save As and label your project as “Project Name” followed by a number. This keeps your projects organized in a way that allows you to recall your work at a moments notice without relying on some sort of invisible background process. It’s important to have a system in place for saving your projects. It will save you in some of the worst case scenarios.
6. Make a dedicated “Bounce” or “Stems” folder

Some DAWs perform this function by default, but you don’t have to change your platform to take advantage of this easy tip. When processing your mixes or rendering stems always make sure to save this audio data to a dedicated folder separate from your audio files folder. This will save you the headache of scrolling through your audio files folder looking for your latest mix or batch of stems.

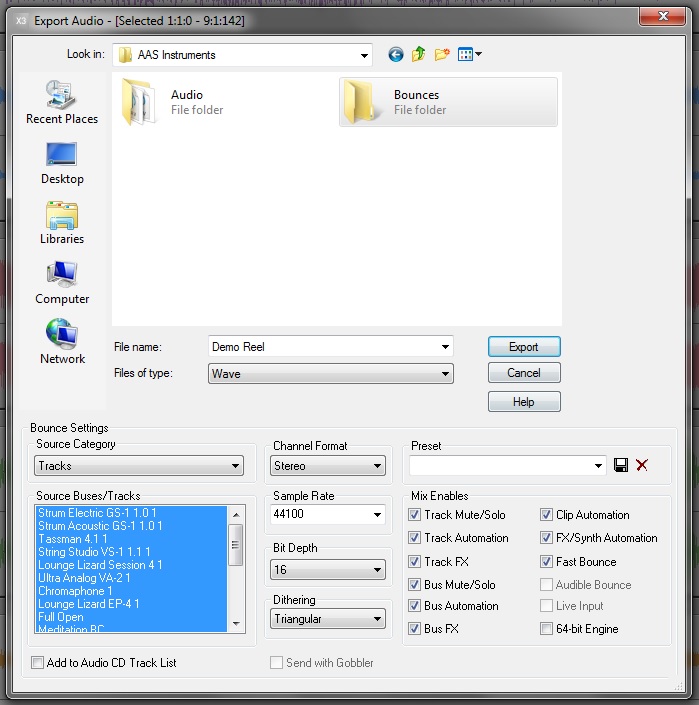
Just about every DAW has an “Export Audio” window. Change the filepath for this to your project folder and make a new folder called “Bounces” or “Stems”.

  • PC shortcut is CTRL+SHIFT+N for a new folder

  • Mac short is Cmd+Shift+N for a new folder

Once you make the new folder, make another new folder within your Bounce or Stems folder with the current date. Save your audio accordingly.

Now as you send mixes out for review you, will know what mixes were sent and when they were sent. Obviously you can use email for this information, but why not have this data available right in your project folder?

7. Save your plugin presets

This might come as an obvious detail to some, but to others it doesn’t sound so obvious. Saving your plugin presets is definitely worth your time and effort. Everyone eventually switches to another computer or needs to rebuild a project. Having a folder with your presets saved as separate files can be useful in the event your presets do not load or load incorrectly. Never assume that your presets will stay intact, especially with projects that are a few years old.

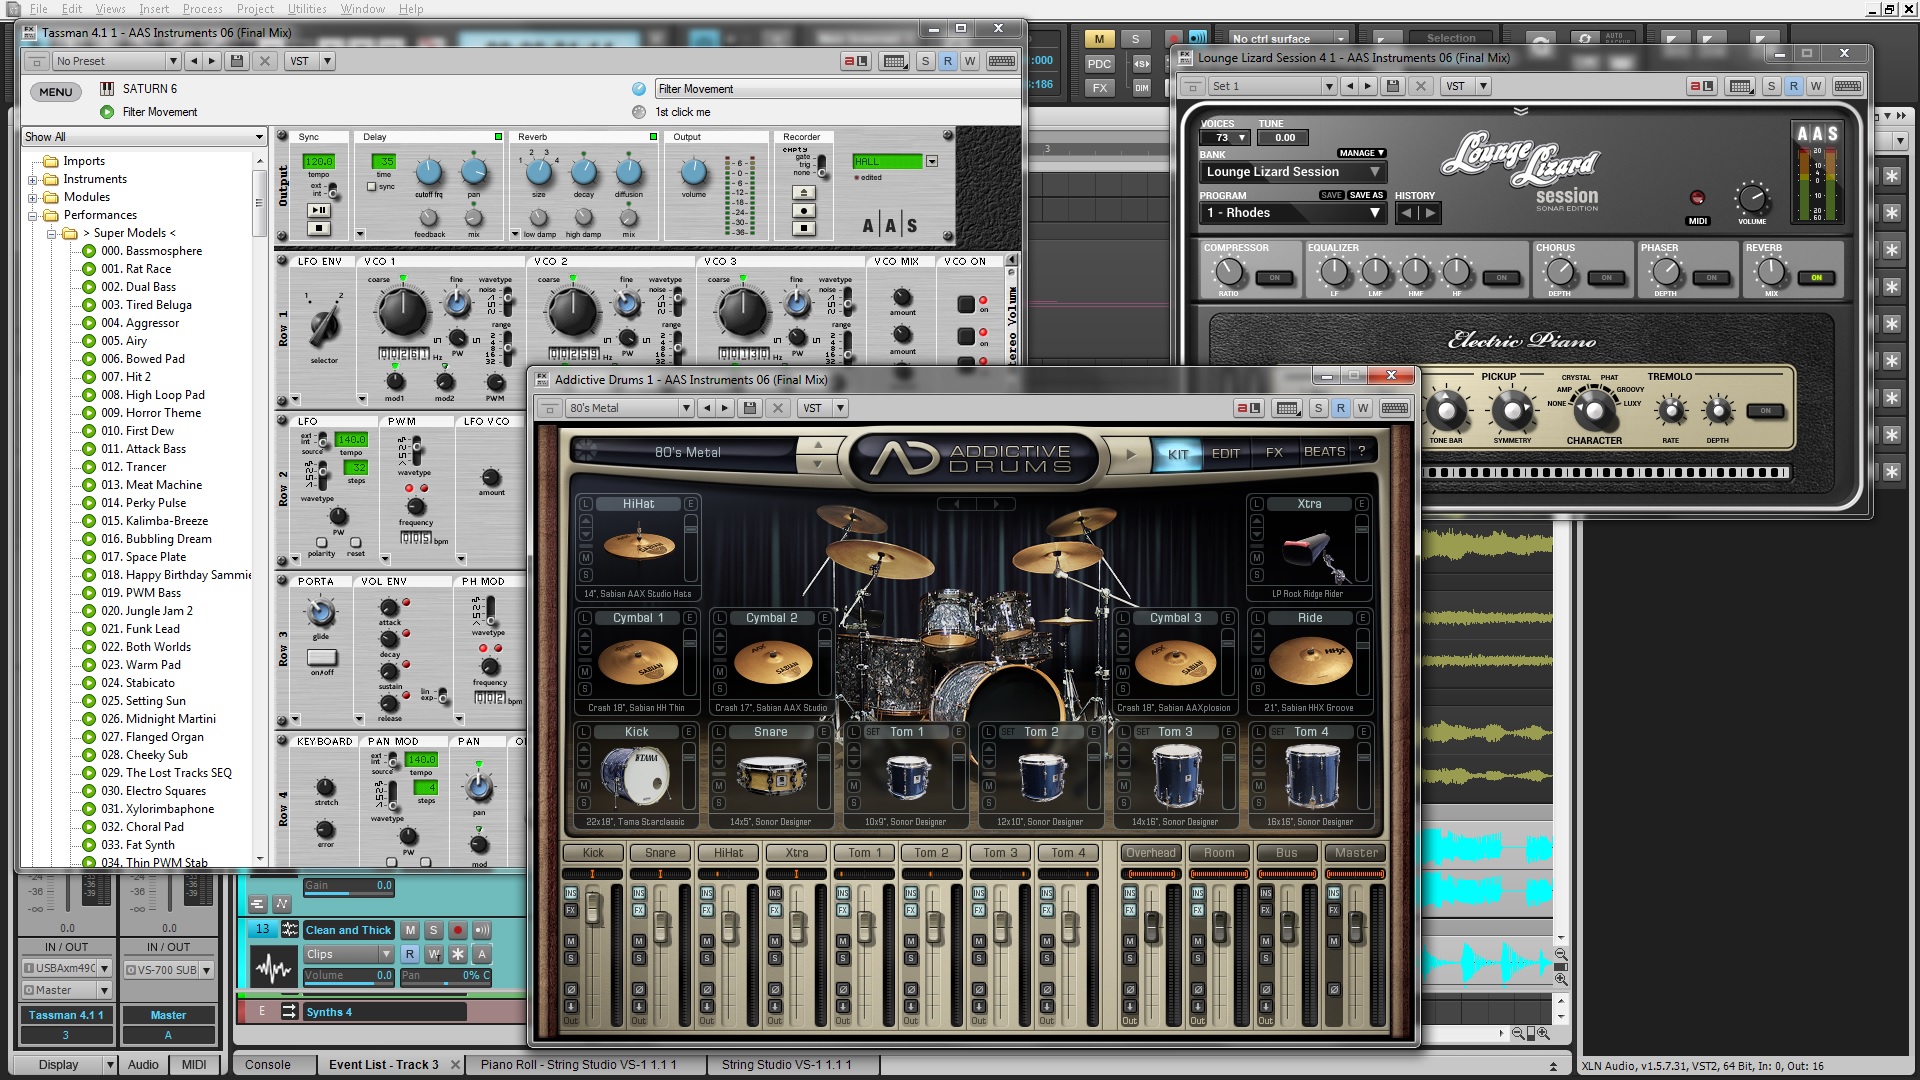
Learn how to set up your Addictive Drums in SONAR X3.

8. Always render your instrument tracks

Make a decision and stick with it. Once you find a sound you like, render it, or mix it down so that idea is encapsulated in an audio file. Loading large sample libraries or syncing external sound generators slows down your session flow. It’s hard to hit the creative ground running when your computer and DAW are constantly keeping you waiting and waiting for unneeded reasons. Do not be afraid to make a decision about a sound. It boils down to knowing your tools and how they work. If you achieved a specific sound once, then you can definitely do it again and better than before.

Rendering your instrument tracks has other benefits too. You don’t need to worry about the MIDI sequencing misaligning with your project tempos, or other computers not having the same plugins you’ve purchased. Saving your data as workable stems or mixes will keep your ideas flowing without any technical speedbumps in the way.

SONAR X3 has been using Fast Bounce capabilities for over 10 years. Choose to bounce your tracks in place, bounce your tracks with buses, bounce tracks to a new track, bounce through your mixbus, or just simply freeze your audio in place.

9. Create templates

Templates will save you time and keep your session organized. Working on full length records can be tedious depending on the style of recording that needs to be done. Some albums start with the drums, move to the guitars, and then vocals, etc. Other albums can be made one song at a time regardless of instrumentation. In the end it’s the engineer’s job to make sure that transitioning from project to project is an easy task with quick setup. Making templates with plugins, routing, and naming conventions already inputted will allow you to move faster than you would think.

The same kind of logic can be applied to the mixing world. Make a template of your typical 2Mix bus, audio buses, and favorite processing plugins so that you can just drop in audio files and begin working. Time saving is important, but being organized is what makes or breaks your session flow.

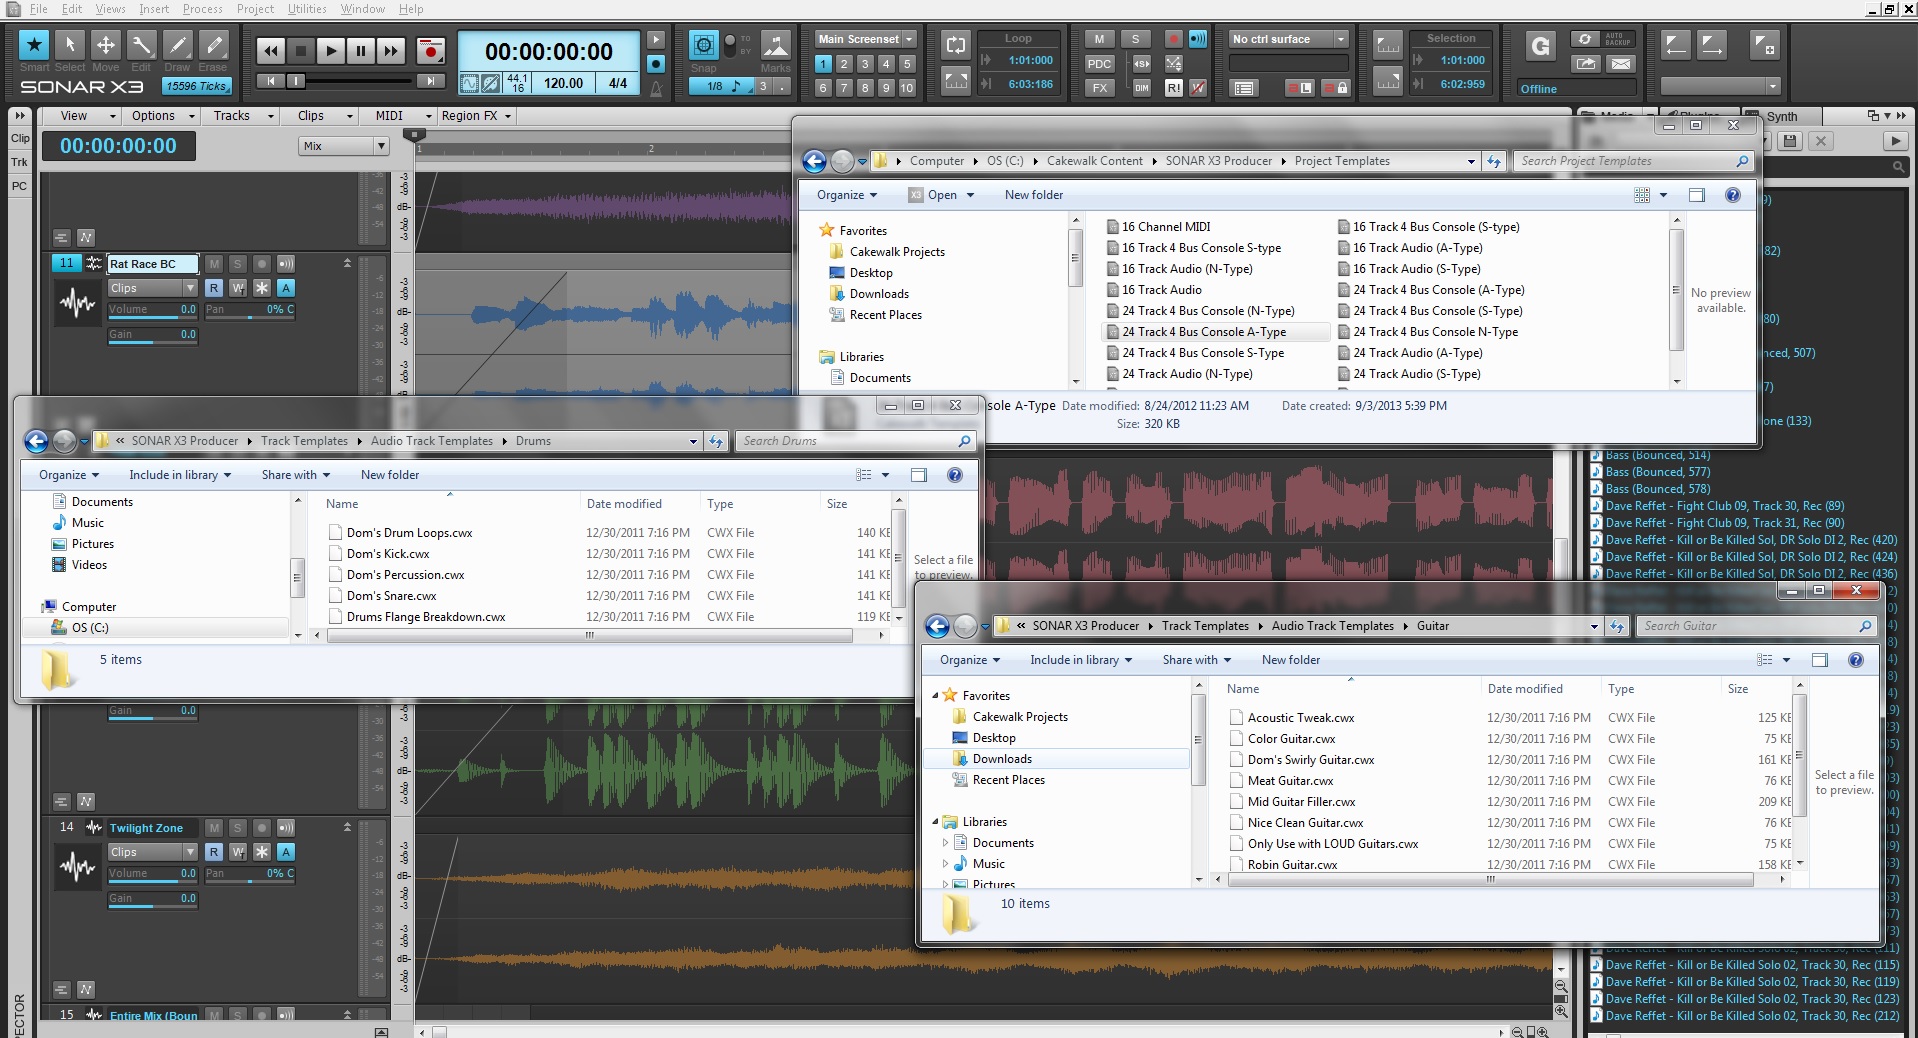
SONAR X3‘s powerful track and project templates allow users to fully customize a project for any environment.

10. Master your keyboard shortcuts

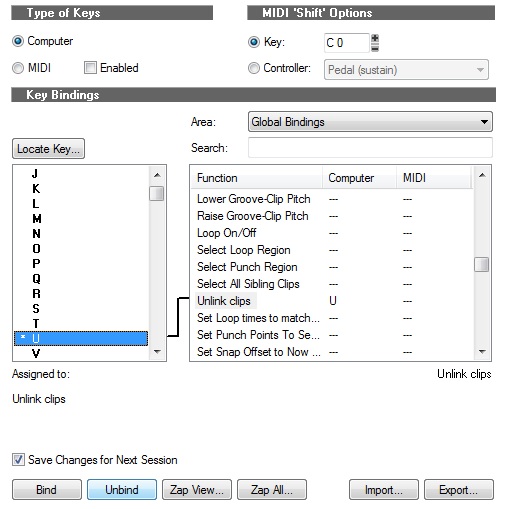
Everyone should have a set of their favorite keyboard shortcuts within their DAW. Know them and master them so that your workflow does not suffer from mis-clicking or awkwardly sensitive mouse scrolling configurations. Some DAWs allow for customizable keyboard shortcuts and the ability to import and export shortcut libraries. Get to know these types of features because speed and efficiency is what will save you time in the studio and allow you to focus on the music. Create shortcuts for recording, mixing, composing, or even audio editing so that you can fly between different workflows without fumbling around in menus and with mouse clicks.

SONAR X3 comes with keyboard shortcuts from other DAWs and allows it’s users to make their own and save them externally.

11. Use Markers and name them accordingly

Markers can be overlooked by aspiring engineers and producers, so make sure to understand how to generate them and modify their names. Mark the verse, chorus, lead section, bridge, intro, outro, and possible punch points so that you know exactly where to go when the artist or producer needs to jump to different sections. You are never going to know exactly where every small important detail of the track starts or even its timestamp unless you are very close to the music. Markers are there to be used, so use them!

\

SONAR X3 was used in these pictures, click here to find out more.

Setting Up Gobbler in SONAR X3

Setting up in Gobbler in SONAR X3, SONAR X3 Studio, and SONAR X3 Producer is easy. Here is a quick step by step on how to do it.

  • Go to Gobbler’s website and make an account.

https://www.gobbler.com/

  • Make sure to use the code that was given to you when you purchased SONAR X3. This will give you 20GB of additional free storage on their servers.
  • Download the Gobbler app from here:

https://www.gobbler.com/download

  • Once downloaded, install Gobbler.
  • Open up the Gobbler app and sign into your account that you created.

Once this is done simply open up SONAR X3, SONAR X3 Studio, or SONAR X3 Producer and click on the “G” on the Gobbler module in the control bar to turn on Gobbler.


If you do not see the Gobbler module then you may have to rearrange your Control Bar.

You can do this by right-clicking on the it and unticking some modules that you don’t use.

Gobbler will probably say (Offscreen).

Why is Gobbler awesome? Check this out this article to find out.

Find out more about Gobbler and SONAR X3 here.

8 Reasons Why Gobbler Cloud Collaboration Is Awesome for Musicians

Cloud collaboration has become the new standard within today’s music industry. Before this, artists, engineers, and producers would collaborate through the mail and other various delivery systems. Here are 8 reasons why collaborating with Gobbler is awesome for musicians.

1. Saves You Time

Gobbler saves you the time and exhaustion of gathering files, uploading files, and sending files to someone on the other side of country or world. Within SONAR X3, Gobbler acts as a native component right within the control bar so that you don’t even have to export your ideas from the program to send them. Think about the time you spend bouncing your ideas to an audio file, accessing your email, uploading to an FTP site, and then making sure that the person on the other end can gain access to your one idea. That’s time you could have spent creating another great idea.

2. Distance Doesn’t Matter

Let’s say you wanted to collaborate on a track with someone that you met at a festival or a trade show. Your studios are 2500 miles away from one another and your budgets don’t include that kind of airfare for one on one collaboration anytime soon. The beauty of cloud based collaboration is that your idea can be in someone else’s studio almost immediately, regardless of distance. You don’t have to send a package through customs for it to get to another country, or worry about it getting lost in transit. Creativity shouldn’t have that kind of baggage and Gobbler makes sure of that.

3. Easy to Use

One of most important things to note about Gobbler is its ease of use. This service requires minimal setup with very few concepts to get tangled up in. With the service now completely integrated into SONAR, it’s a matter clicking one button and entering the email address of the recipient. It doesn’t get much easier than that.

4. Saves You Money

Something that could be overlooked in a home studio is having a dedicated method for delivering products to your clients. This method should not incur too much spending on your business and should be highly effective. For as little as $4/month, you can send as many files as you like to anyone you want. Situations where you need to deliver upwards of 200GB to someone across the country would involve buying hard drive (plus tax), spending money on the gas to get to the FEDEX shipping store, paying for parking (if you’re in a big city), paying for boxes, shipping, and the handling. All of that would come out to more than $30 – which is what Gobbler offers for 250GB of storage on their servers per month.

5. Worry Less

Integrating a product like Gobbler into SONAR X3 comes with more perks than just collaboration. Within the Gobbler module there’s an auto-backup feature. When activated, Gobbler will automatically save your changes as you work and includes versioning, just in case you ever erase something by mistake. You can work and collaborate on your music with confidence in knowing that Gobbler has you backed up.

6. Collaborative Status Icons

Gobbler’s advanced file transfer window keeps you in-the-know on your projects once they are sent to a recipient. Within this window there are 5 different icons under the status column to look for:
 Closed Envelope. File sent, but unopened.
Open Envelope & Checkmark. File has been downloaded successfully.
Closed Envelope & Green Arrow. File is currently being downloaded..
Exclamation Point.  File sent has failed.
Red X-Mark. Email address is not valid.

Having real-time feedback on the files you send to your collaborators is one of the most useful benefits to working with Gobbler. These help you understand if something has gone wrong on the other end of your file transfer and is especially useful if your recipient gives you an incorrect email address.

7. Your collaborators don’t need Gobbler to receive your files

You may have taken the plunge into the Gobbler world but some musicians haven’t for various reasons. You can still send your work to other people regardless of them having the service or not. Each recipient will get regular browser based emails with a link to the files that you send them. These links could be private or public. Using the public link will allow anyone with that link to download it. You can send a revision or a mix to your client and then that client can forward that link to the rest of the band. Public links will expire after 7-days or 20 downloads for security purposes.

8. Upgrade before Dec. 31st and you get an additional 20GB of space for 6 months

If you’re looking to get started on your next Single, EP, or Full-Length record then now is a great time to upgrade to SONAR X3. That upgrade gets you 20GB of space on Gobbler’s servers for the next 6 months. That is in addition to the free 5GB available for all SONAR X3 users to use as long as you like. Gobbler will make collaborating easier so that you can stay focused on your creativity.

SONAR X3 Quicktip: Drum Replacement with ARA Integration and Addictive Drums (Producer)

Within SONAR X3 converting Audio to MIDI has never been easier thanks to our deep ARA integration. This opens up many doorways for users to convert their mono audio tracks to MIDI. One great use case for this is replacing drums or adding samples to your drum tracks to enhance their sound.

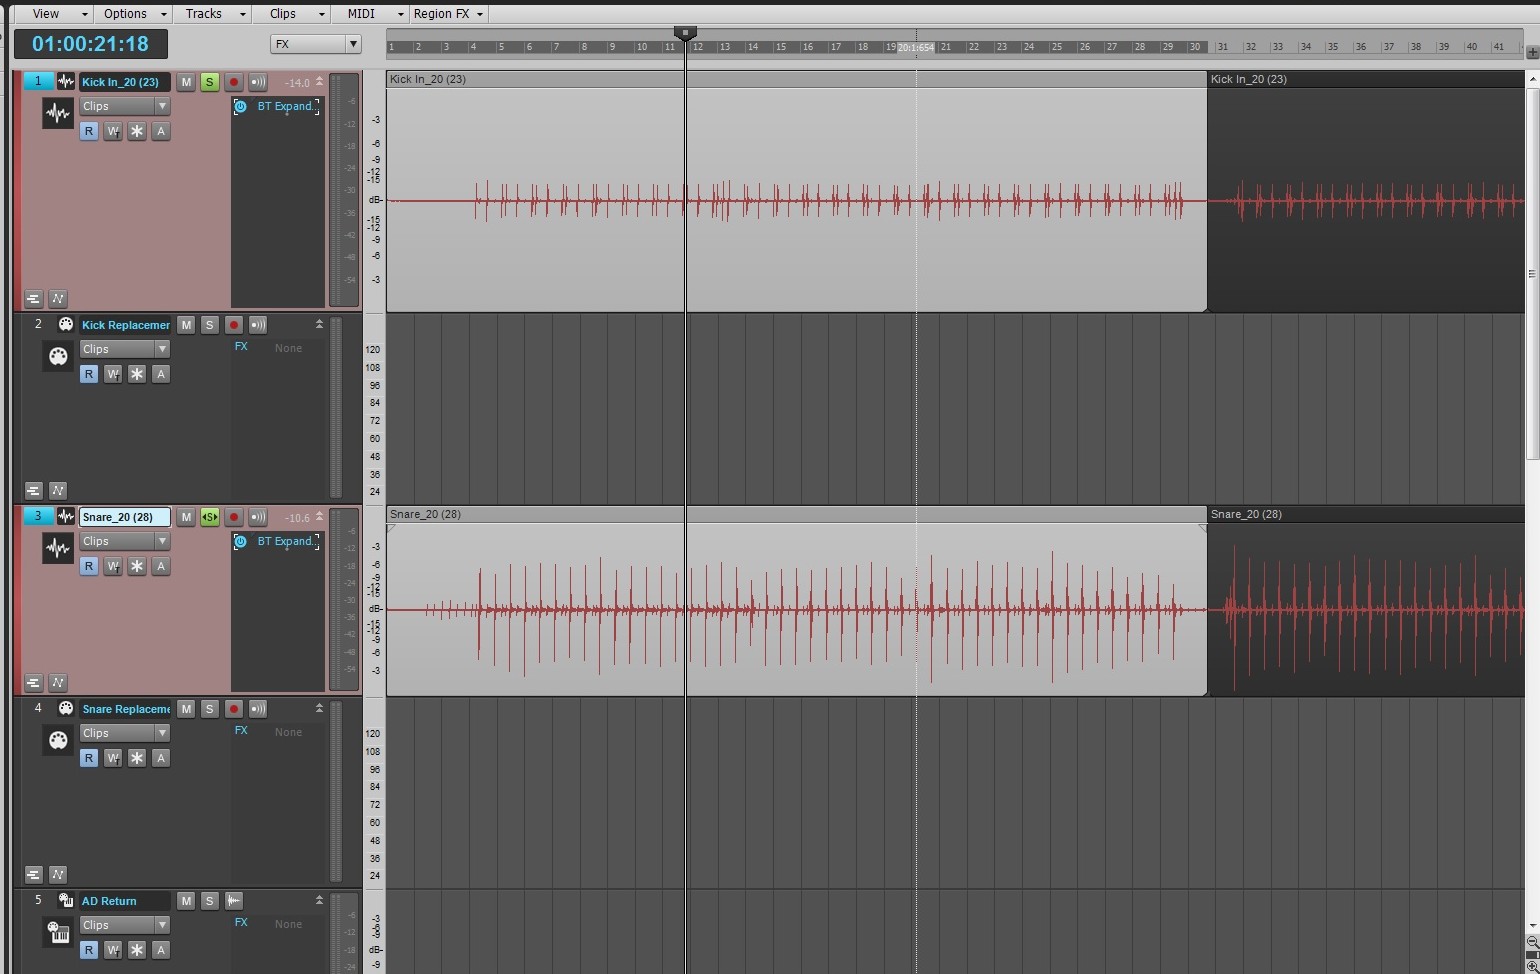
Within SONAR open up your Kick and Snare tracks.

Add a MIDI track below each audio track that you wish to replace.

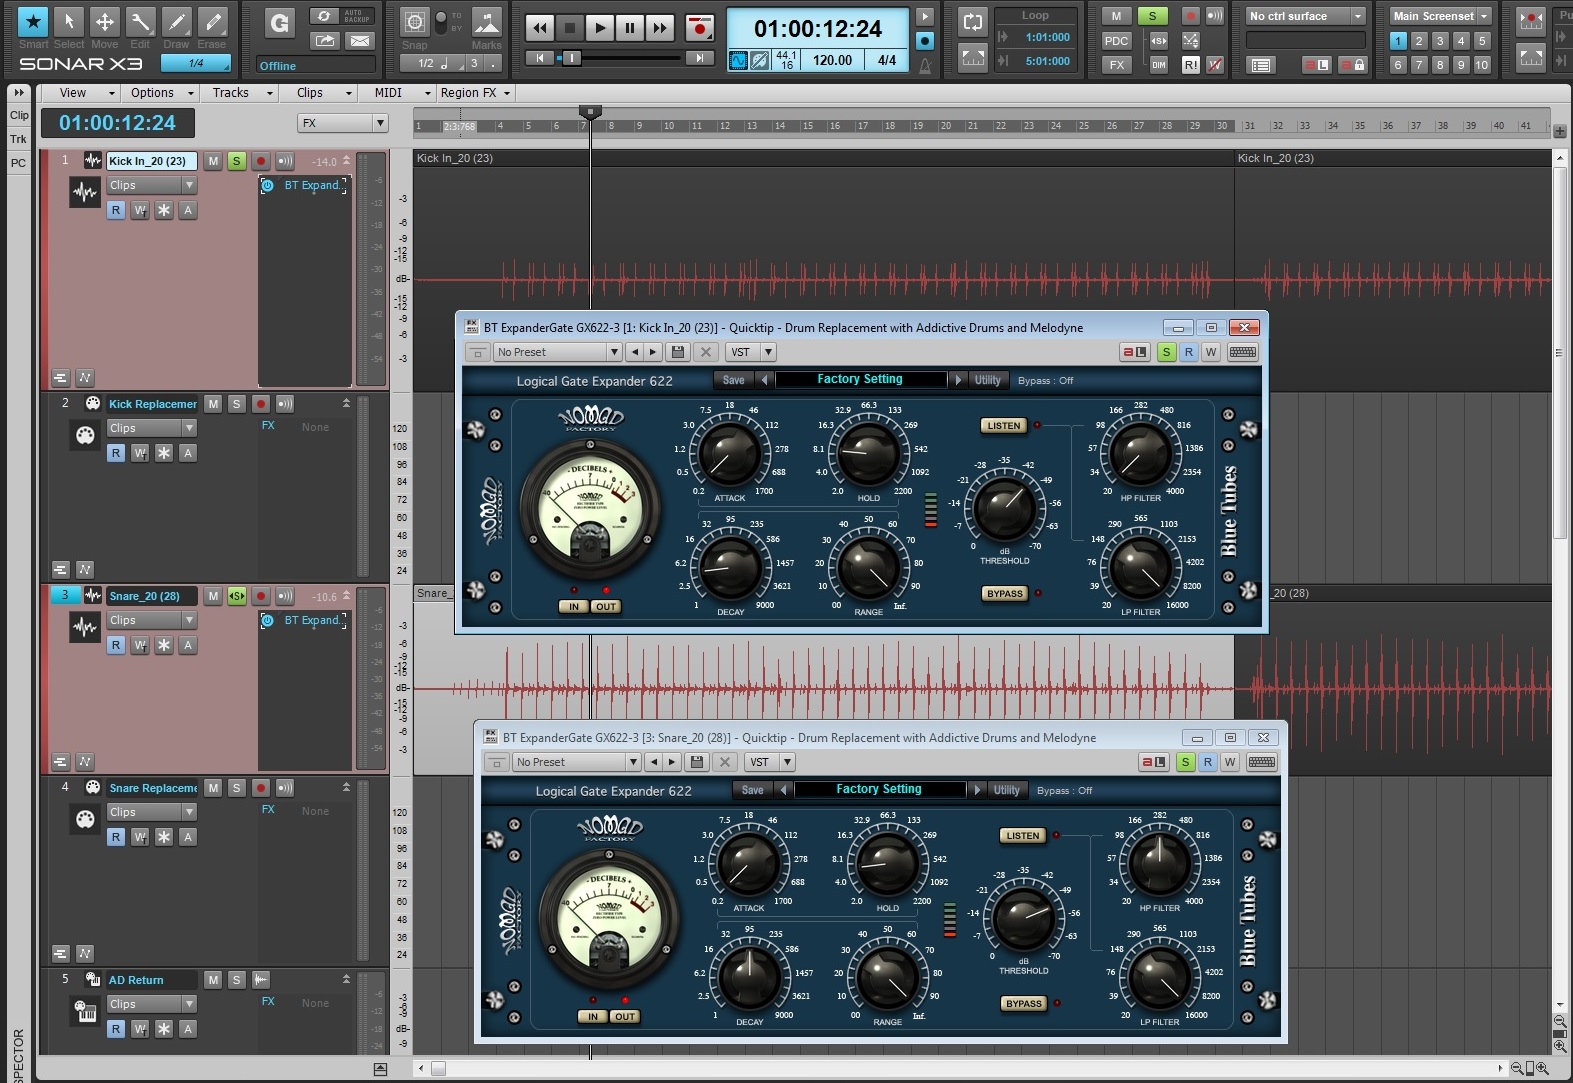
Add our new Logical Gate/Expander to both the Kick and Snare and adjust the effect so that instruments are heavily gated and sound like the following:

After this, Freeze both tracks.  This is going to render the Kick and Snare tracks with the gates embedded in the audio tracks.

Next, latency.  Let’s drop the latency to the lowest settings. Go to Edit > Preferences > Driver Settings and set your latency low. This will help with timing.

  • If you are using MME (32bit) set your latency closer to [Safe].
  • If you are using ASIO then select [ASIO Panel] and set your buffer size very low.

Drag and drop your kick and snare tracks to their associated MIDI track. Conversion will occur.

Next up, open the PRV and move your MIDI Clips to the drum you wish to use. You can highlight the entire row of MIDI clips by selecting their associated piano key and transpose them easily by going to Process > Transpose.

Once this is done insert Addictive Drums. Make sure to have the following ticked after selecting Insert > Soft Synth > Addictive Drums:

  • First Synth Audio Output
  • Synth Property Page
  • Recall Assignable Controls
  • Ask This Everytime

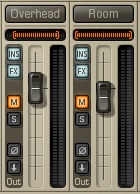
Mute the Room and OH microphones within Addictive Drums.  This reduces any additional ambiance.

Workflow Tip: It’s good practice to do this type of replacement section by section at first so that you can get an idea of how it works.

Mix these drums in behind your current mix.

Learn more about ARA Integration, Addictive Drums, and SONAR X3 Producer here.

SONAR X3 Quicktip: Make Your Voice Thicker (Studio & Producer)

Vocal production can lead to many different types of processing. Sometimes subtle enhancements to your vocals can make all the difference in the final mix.

SONAR X3 Studio and Producer introduces Melodyne Essential as a fully integrated and pitch correction editor.  This easy to use software allows users to access their Melodyne right from the Multi-Dock without needing to perform any special tricks within the software.

One great way to process vocals is to add low end to them without using EQ. Thickening up a vocal can be a tricky task but now with the use of Melodyne you can take advantage of it’s pitch correction abilities.

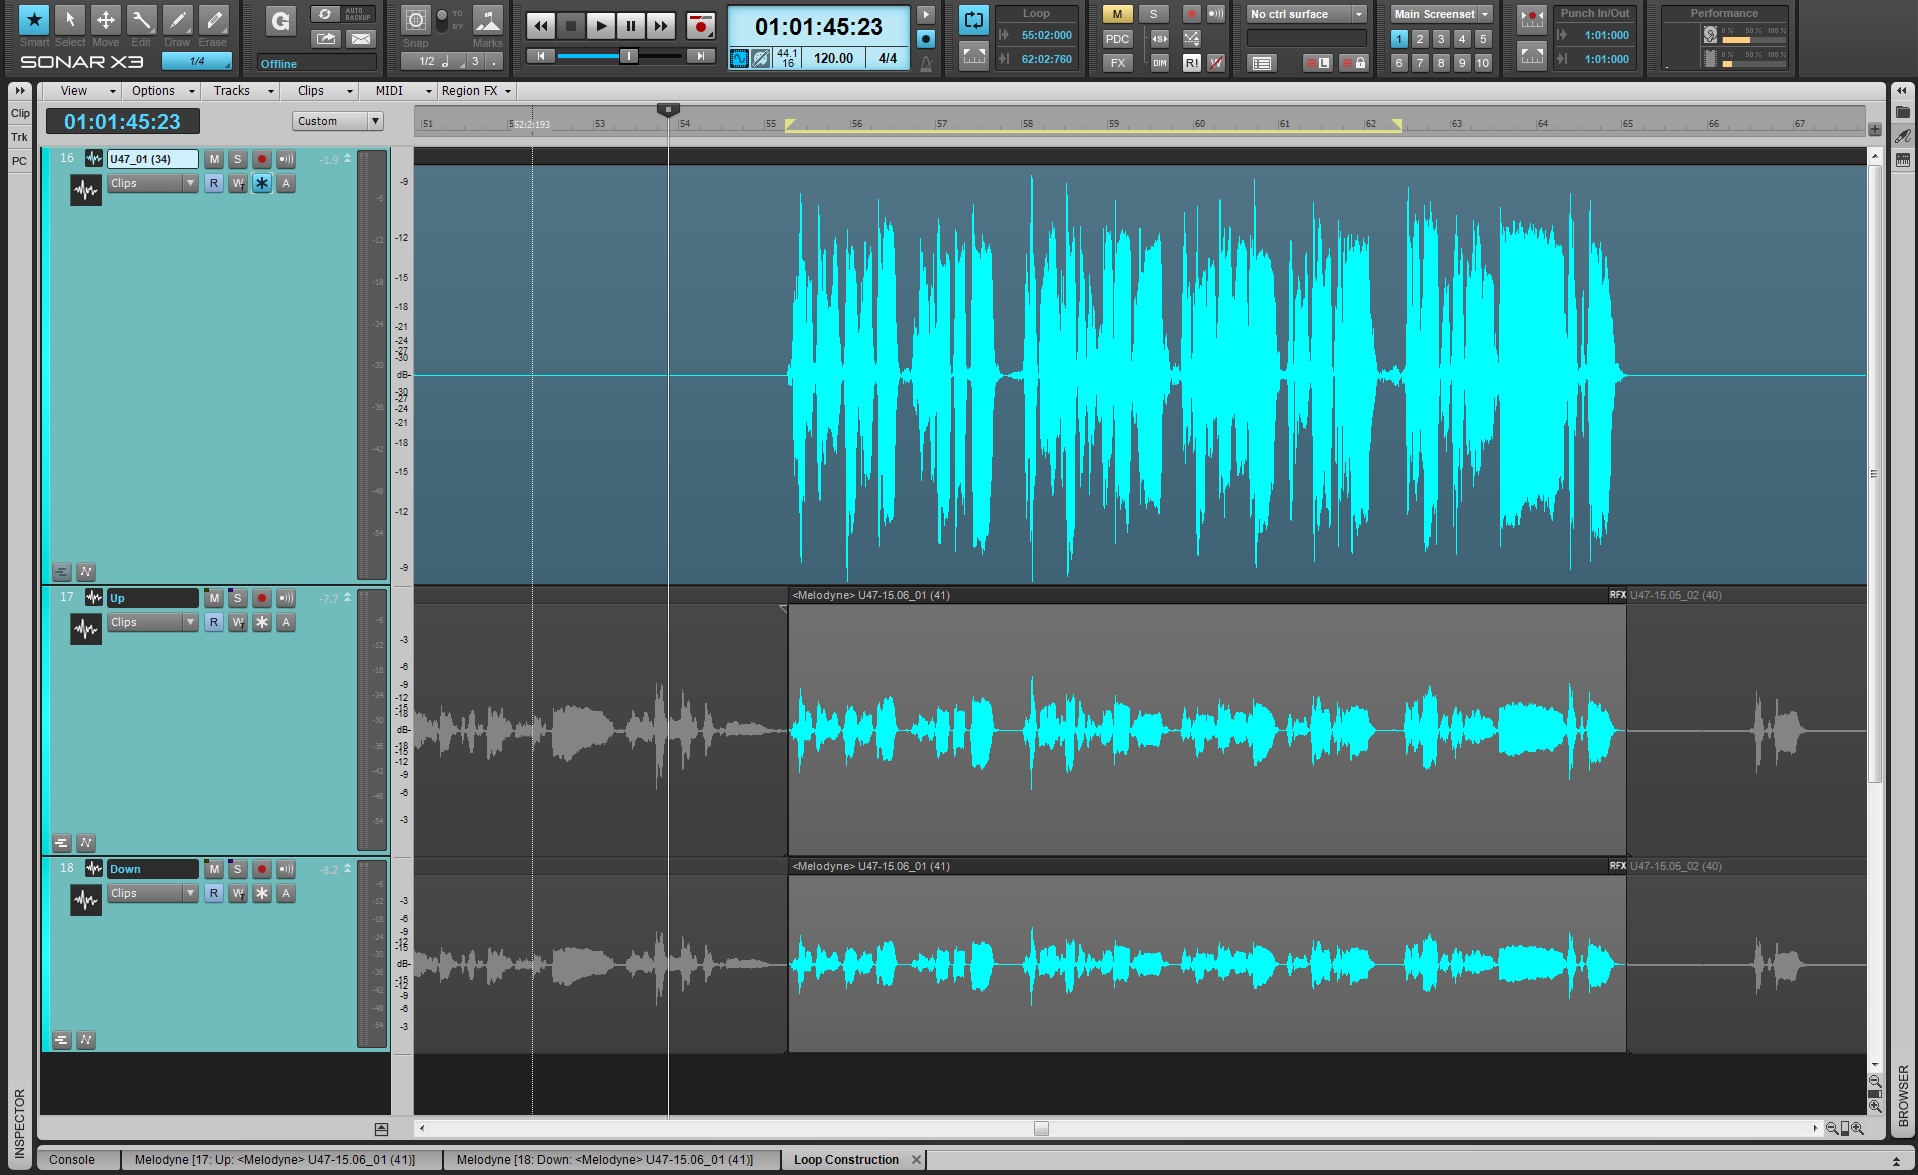
With the deep integration of ARA technology simply do the following to edit pitch:

  • Insert a vocal track that needs some help in the lower register.

  • Highlight the desired audio region

  • Go to Region FX and highlight Melodyne

  • Melodyne will appear in the Multi-Dock

Minimize the Melodyne Editor for now and do the following in the Track View

  • Highlight your audio track and right-click on the Track Pane

  • Select [Clone] and make sure to enter 2 in the selection for “repetitions”

This will load two tracks with the same Melodyne region enabled.

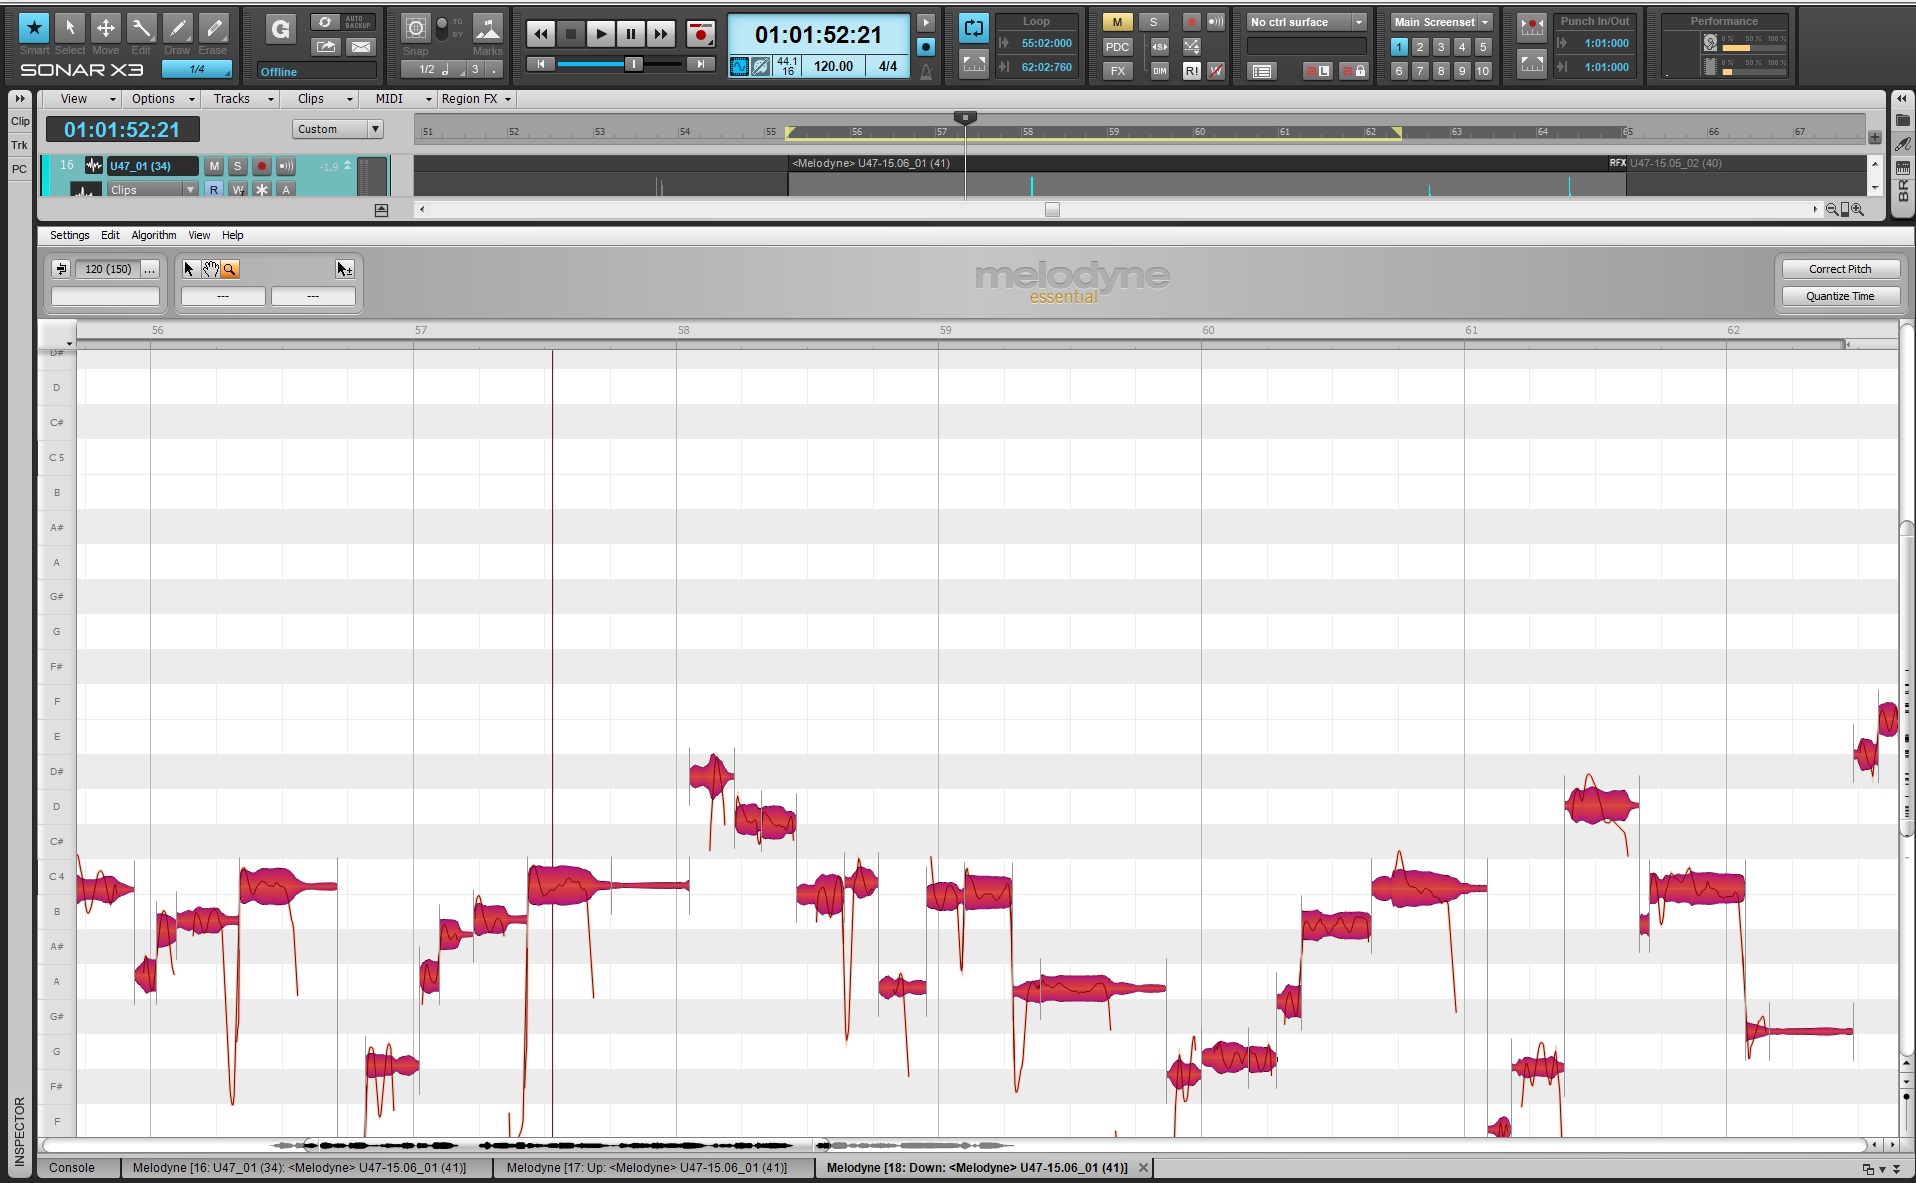
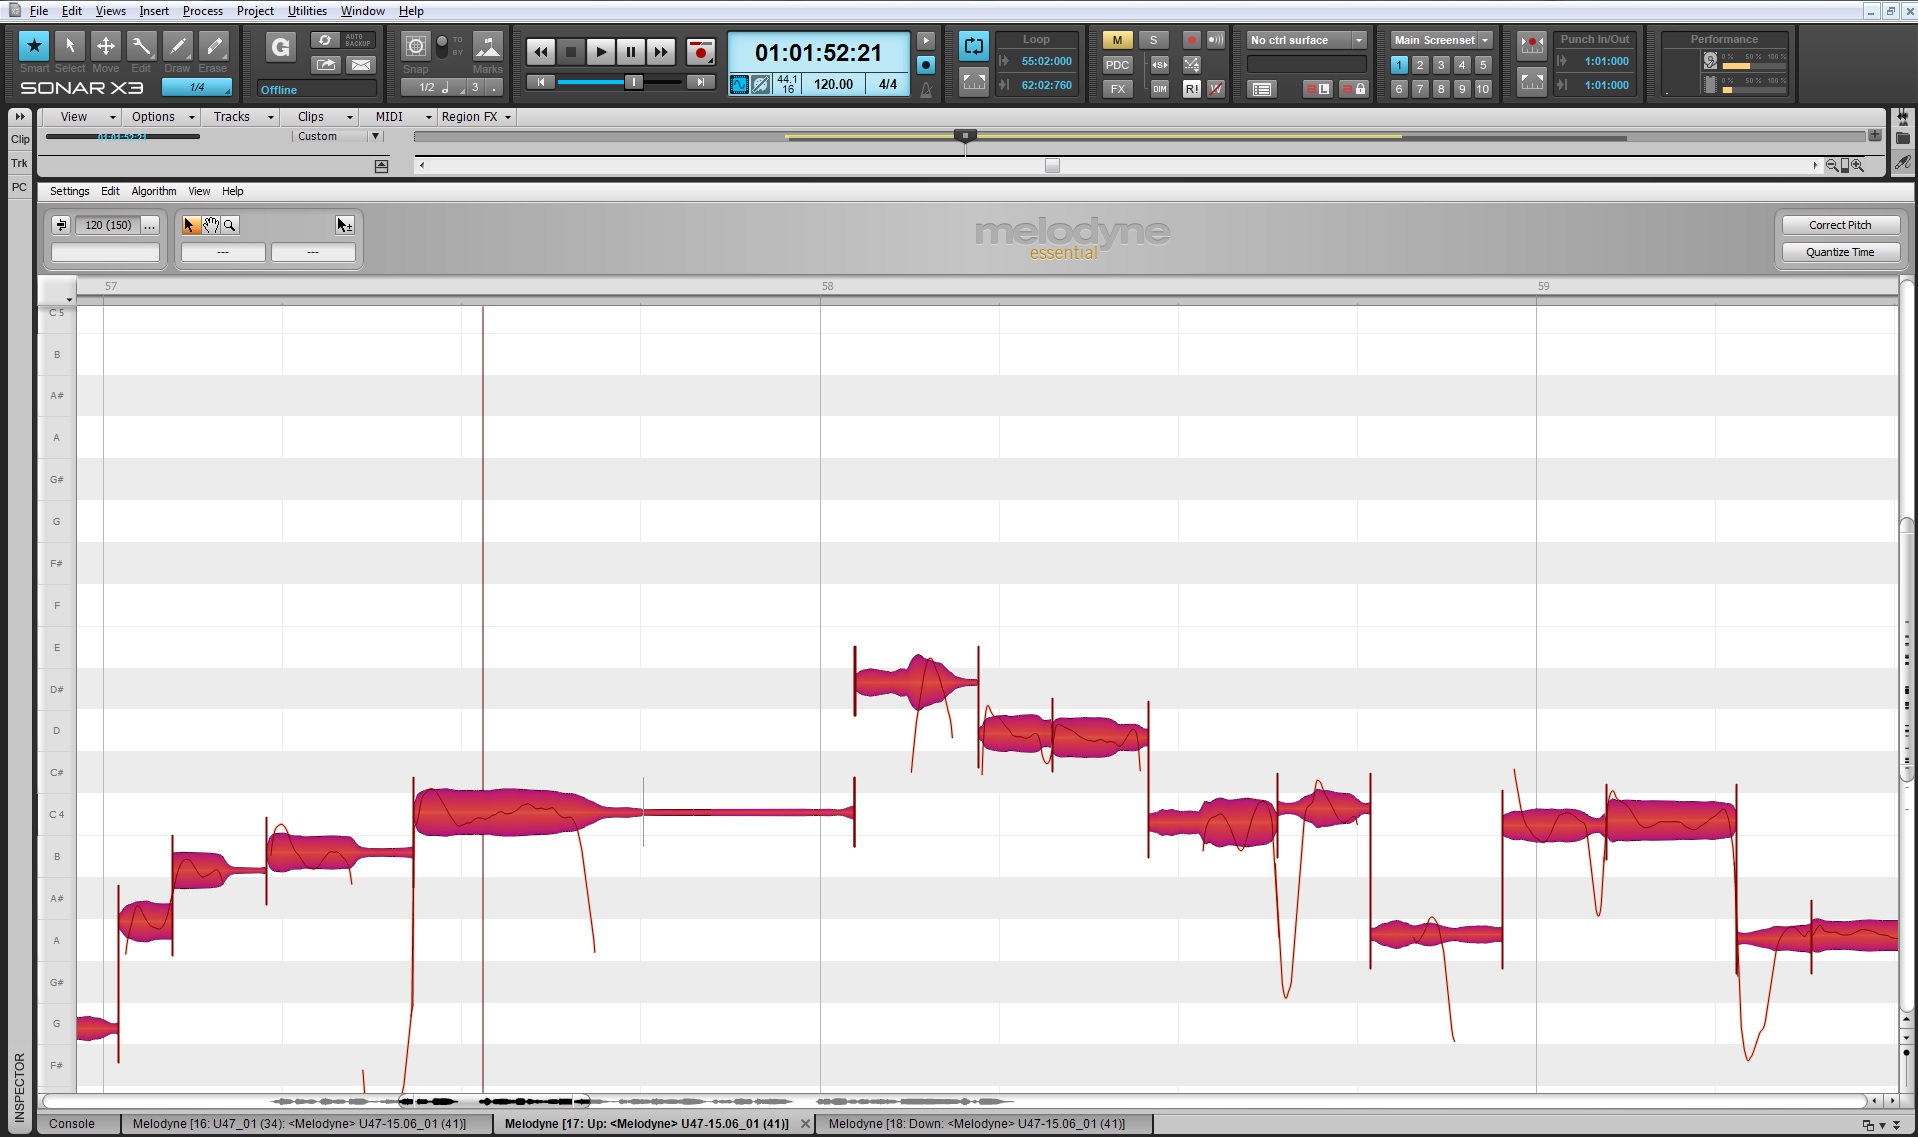
  • Open up the first region within Melodyne

  • Go to Edit > Select All or simply hit CTRL+A

  • Within Melodyne use the magnifying glass tool to zoom in on one specific blob

  • Within Melodyne go to Edit > Pitch Grid and select No Snap

  • Using the “Main Tool” click and drag the entire selected track down every so slightly

  • Do the same with the second cloned track but in the opposite direction

  • Now pan both tracks somewhat out in width and mix them underneath your main vocal track

  • Apply a Low Pass Filter to both and any other processing you want to experiment with, here I added some saturation to both tracks

The goal here is to create a parallel thickness underneath your track so that your vocal becomes more present in the lower and punchier frequencies.

Try it out, and experiment with more parallel DSP effects and you’ll start down a route of unlimited effects.

Learn more about SONAR X3 here.

Did You Know SONAR X3 Comes with a Dual Phaser and Chorus?

SONAR X3 Studio and Producer have included the mind-bending Dual Analog Phaser and Dual Analog Chorus units from Nomad Factory.  As you might know both units are time based effects and are variations of delay units. Both types of effects split the signal into two parts and then combine them again after the signal passes through the unit.


  • Phaser – When the audio passes through the unit the signal is flipped out of phase and then a LFO-controlled notch filter sweeps through this signal’s frequency spectrum.

  • Chorus – One part of the signal is unaffected and the other is delayed anywhere from 20ms-50ms and then it’s pitch is modulated by a Low Frequency Oscillator


The included LFO on both units has Square, Sine, Triangle, and Sawtooth options for even more sound design options. Within the Chorus users have the ability to control each side of the stereo audio signal independently as well as change the different LFO rates.

Check out the destruction done to a simple jazz drum loop. There really are not limits to the sounds that these plugins can produce.

Learn more about these plugins and SONAR X3.

SONAR X3 Quicktip: Focus the Low end of your Kick and Snare with a Program EQ

Program Equalizers have been around since the 1950’s and in SONAR X3 Studio and Producer users will receive two of these incredibly emulated modules.

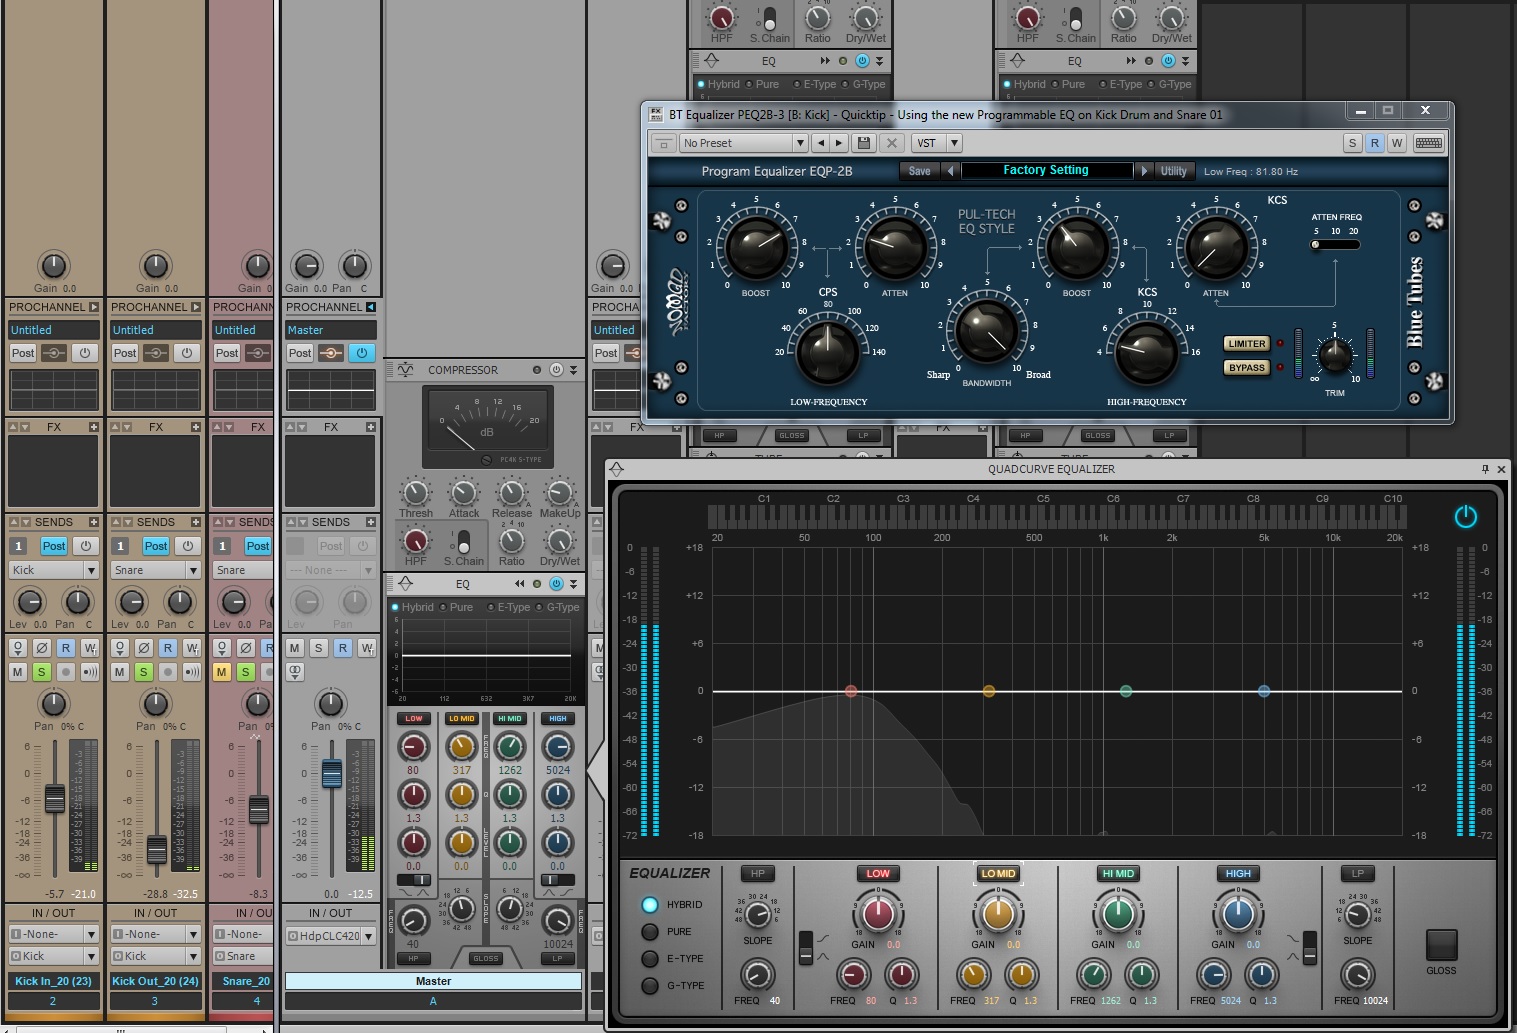
Let’s take a look at what the new Program Equalizer EQP-2B can do for our kick drum. You’ll notice that we have the ability to both boost and cut the same frequencies on this EQ. Choose a low frequency from the variable adjustment and then begin increasing the Boost parameter.  Increase it all the way and your kick drum signal will become quite overpowering. Adjust the Attenuate knob and the signal will begin to smooth out and focus your signal a bit better.

For this country kick drum I picked 80Hz for the low end and boosted the signal to it’s ceiling.  Next, I adjusted the Attenuate knob to it’s lowest setting. This effectively sharpens out the boosted signals and gives the signal a unique focus in the lower spectrum. After that, I adjusted for clarity and the end result is very useable.

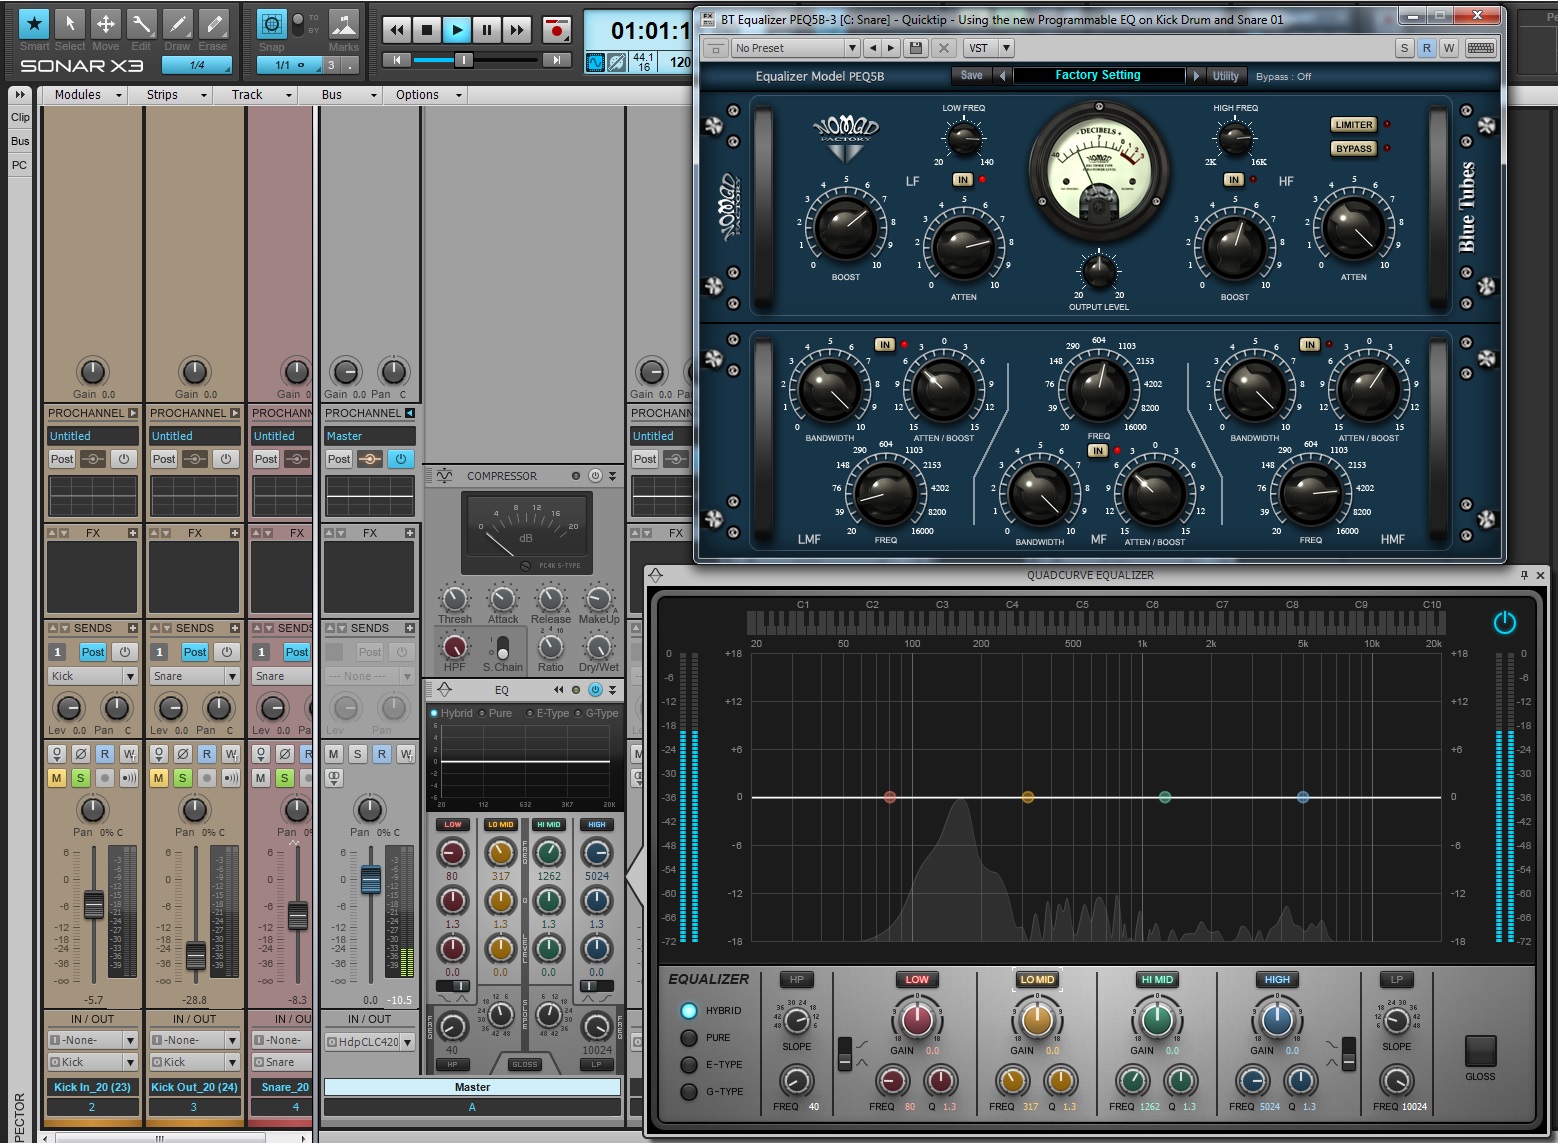
Moving to the snare, user’s can get the same effect using the PEQ5B.  This has some of the same algorithms as the EQP-2B but with an added EQ section in the bottom of the plugin. At first listen the Snare sounds a bit boxy and grainy in the low and mid-range.

I applied a sharp reduction around 50HZ with the Low Shelving EQ and then another sharp cut around 800Hz.  This seemed to make all the difference. Afterwards, I moved to the upper half of this EQ and applied the same thinking that I did to the Kick but instead I focused the EQ to around 122HZ.  This will allow the snare to get out of the way of the Kick.  Next, boosting and then attenuating the signal seemed to focus the shape of the Snare right where I needed it.

Learn more about these plugins and SONAR X3 here.

Developer Notes – SONAR X3 Gobbler Integration

Gobbler is a cloud based service for backup, transfer and organization of media project files. SONAR X3 adds tight, project-oriented integration with Gobbler.  You can initiate automatic Project backup, and Gobbler will locate and upload the project file and all of its assets (audio and video).  Furthermore, as the Gobbler service runs in the background, it will detect any further project saves and automatically upload any changes in the background.  Gobbler also allows you to send projects and media to another user or client, and you can do this all from within SONAR X3.

SONAR X3 adds a new control bar module dedicated for Gobbler communication.

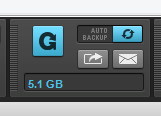
The [G] button causes SONAR to connect to Gobbler and its client applet.  Once connected, it will display the remaining available Gobbler storage quota. The [Auto Backup] switch will initiate (or pause) a backup of the currently loaded project.  Once started, it will continue to backup as long as the Gobbler client is running even if SONAR X3 is not connected to Gobbler.  You can pause an automatic backup by clicking Continue reading “Developer Notes – SONAR X3 Gobbler Integration”