Reader's Choice: Most Popular Drum Production articles in 2014

by Dan Gonzalez

Free Quick Kit Project Templates for SONAR X3 Users


Yes, we’re bringing back the freebie post from last December. Our Free Quick Kit Project Templates made a big splash with the community as one of our top posts over the last 12 months. These pre-mixed project templates load right from quick start menu in all three versions of SONAR X3 without any assembly required. Open a quick kit, drop in your sequence, and you’re ready to rock with great sounding drums. Now we’re opening it up to anyone who has Session Drummer 3 in their arsenal.  Download the free pack here.

9 Microphone Techniques for Recording a Snare Drum
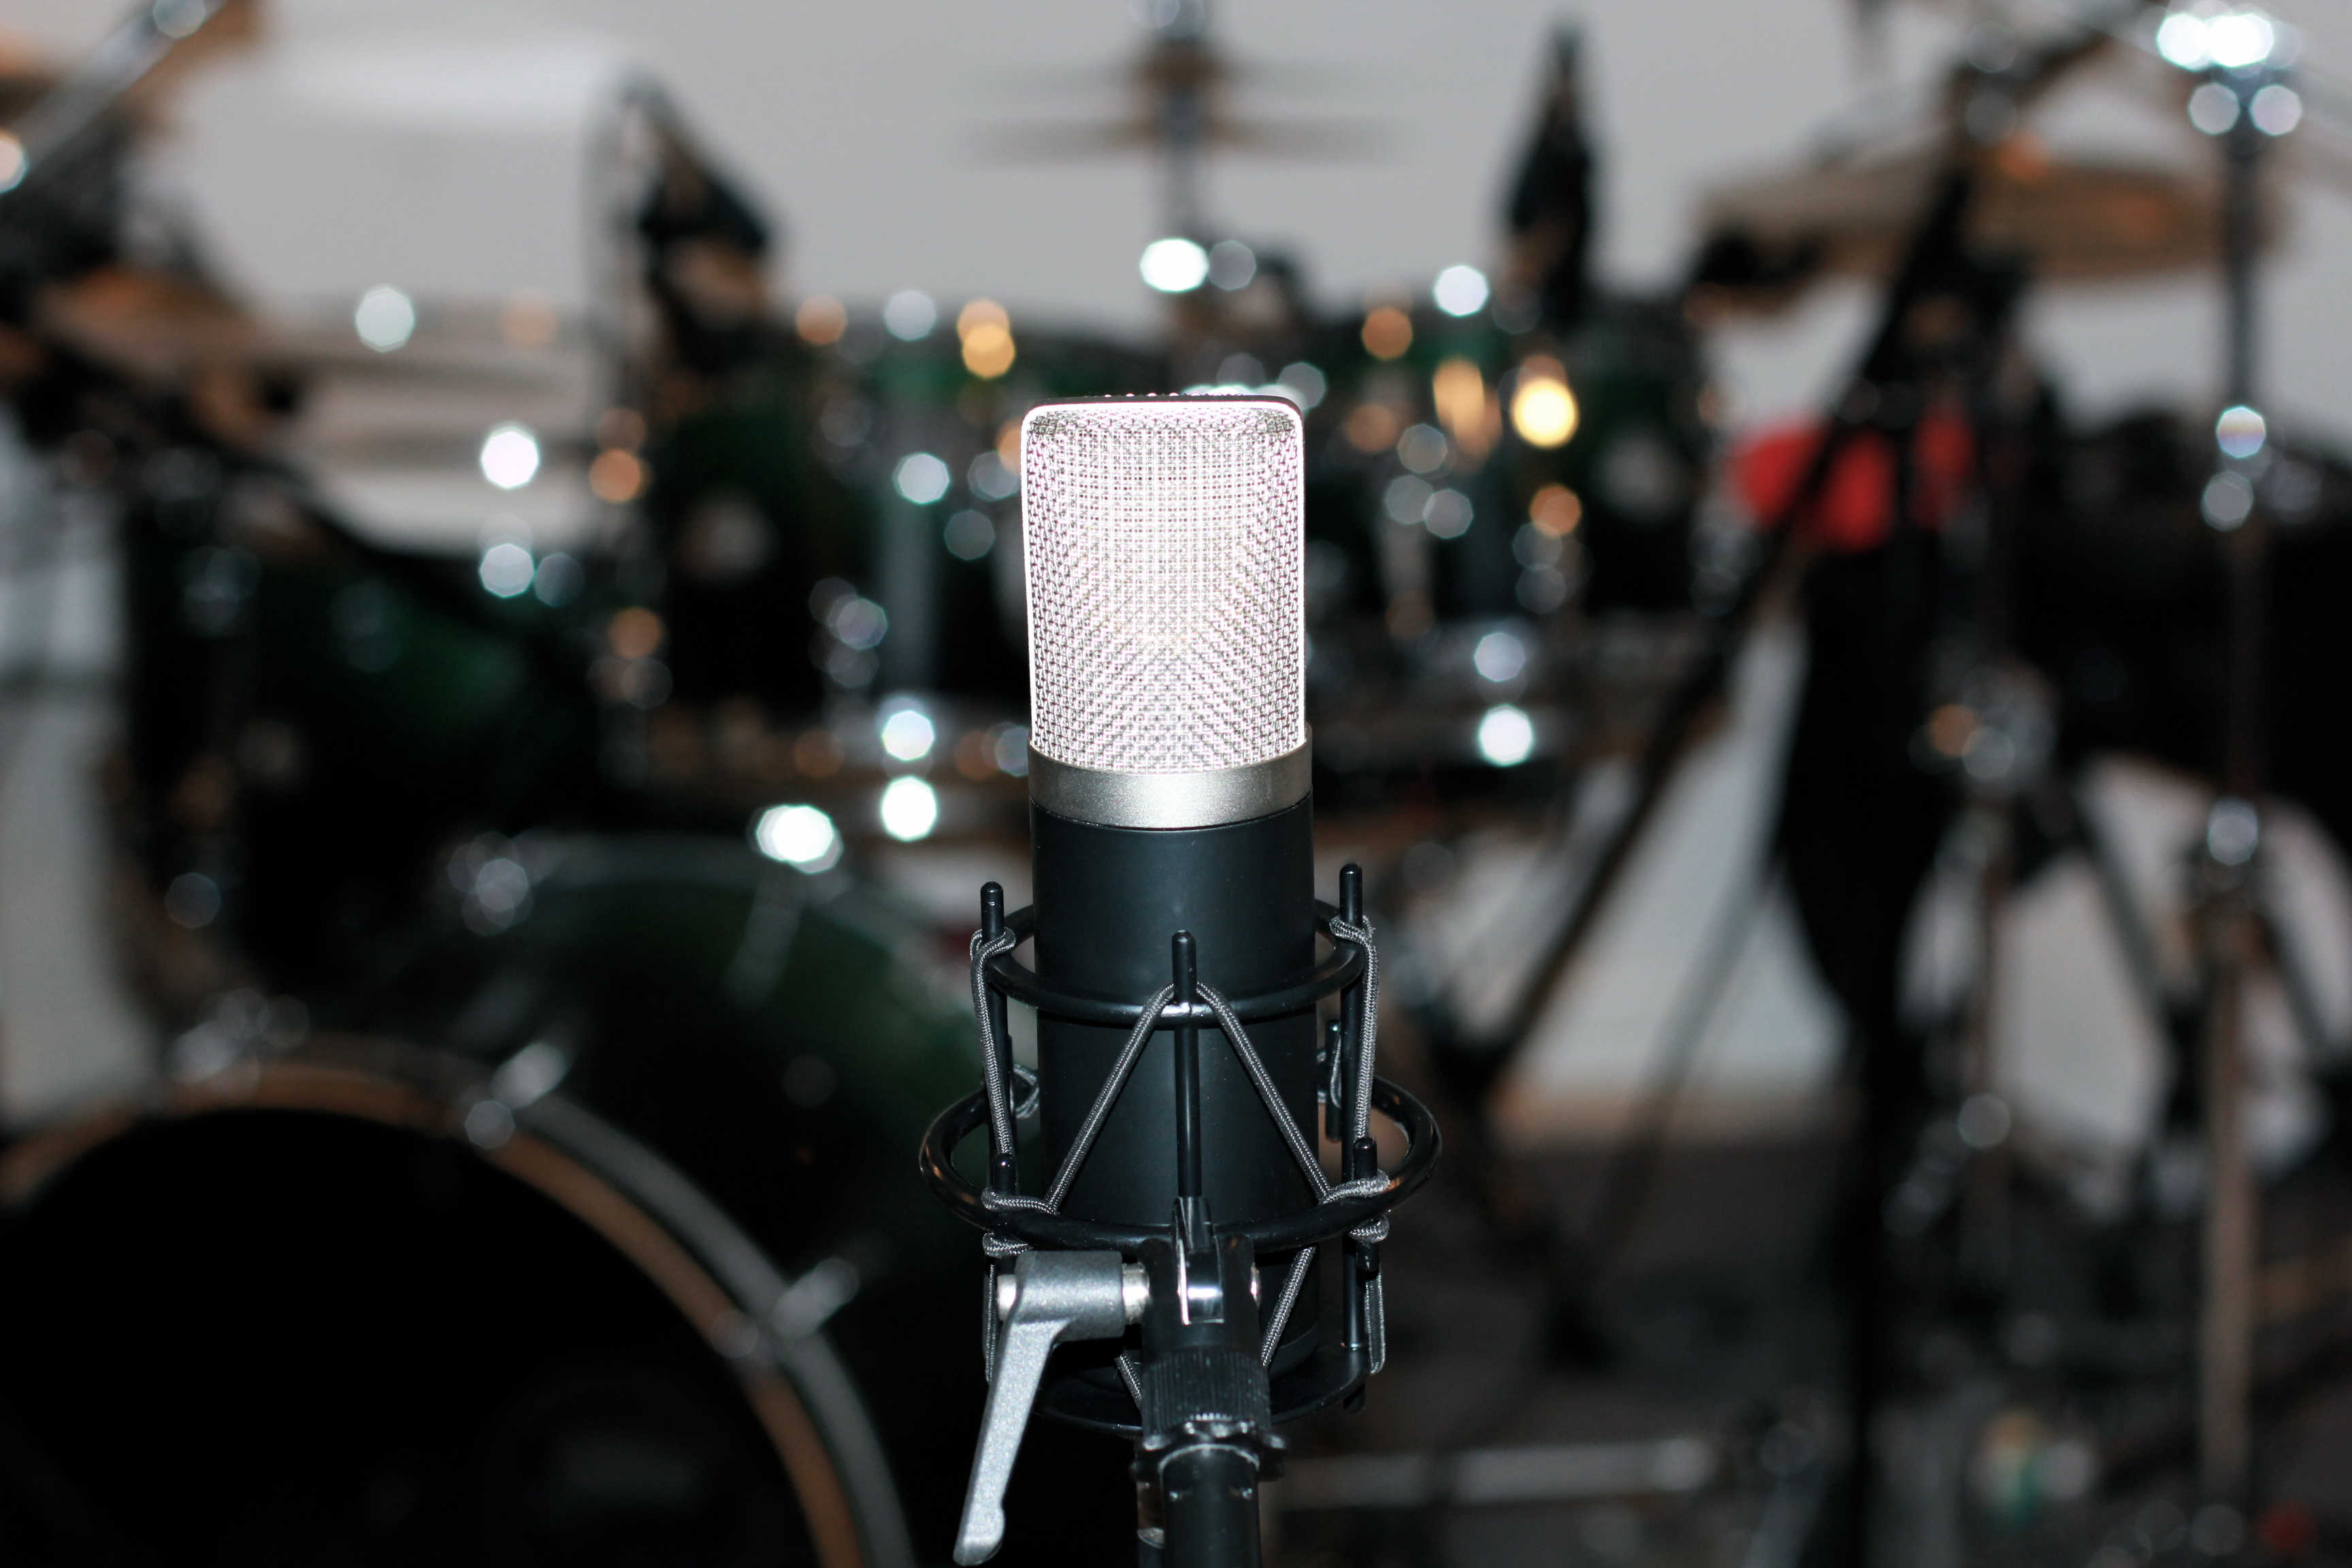
Ever wanted to know how to mic up a snare drum? Well we wrote a comprehensive article about 9 different ways to do it. This article is brought to you by the community of Cakewalk readers that follow the blog and read it regularly. Check out the article here.

What’s New in Addictive Drums 2?
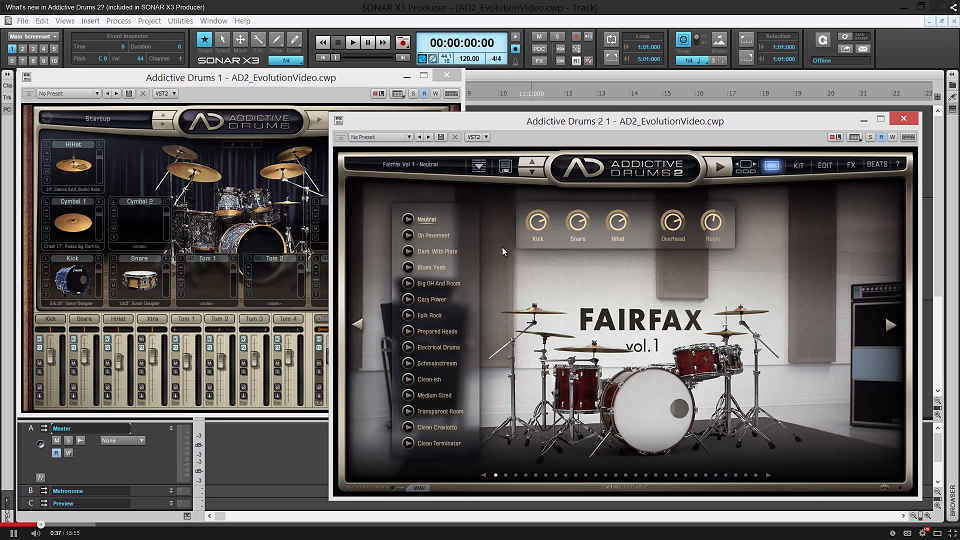
2014 brought us more than just content, it brought us Addictive Drums 2. Ever since we’ve posted our extensive video about XLN Audio’s new instrument we’ve heard nothing but great reviews. Here’s our most popular video chosen by the readers of The Cakewalk Blog. Check it out here.

Subtractive EQ Part 1: Snare Drum
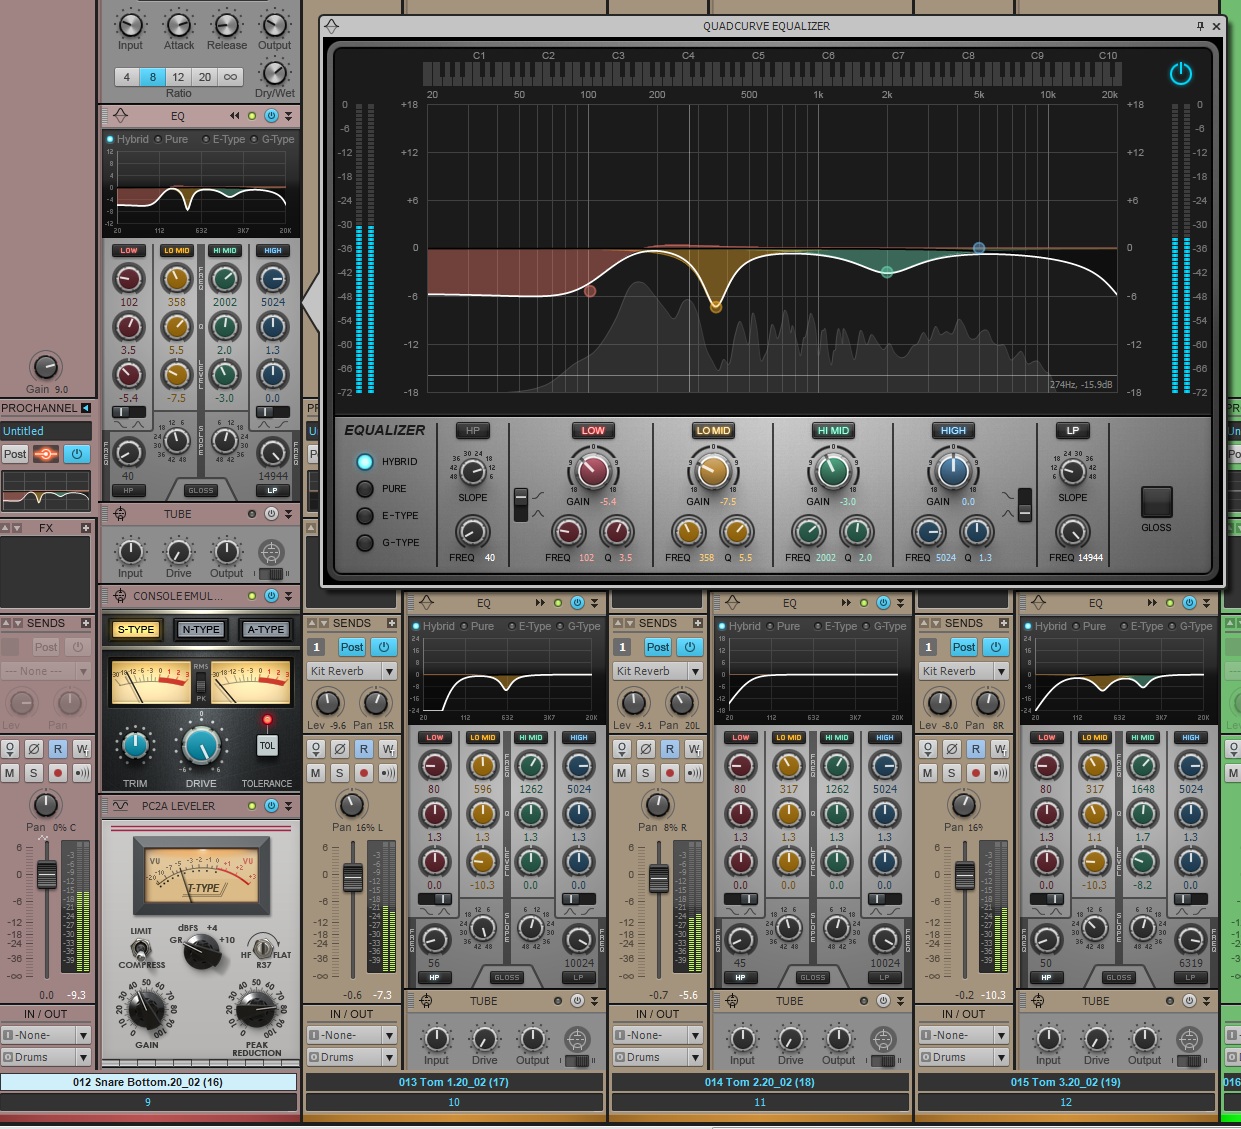
Here’s one of our most popular posts this past year in case you missed it the first time around. There are a ton parts to this series, but the first part has seemed to win over the rest. Here’s a nice thick article about how to apply subtractive EQ to a snare drum. Check it out here.

Setting up your Addictive Drums
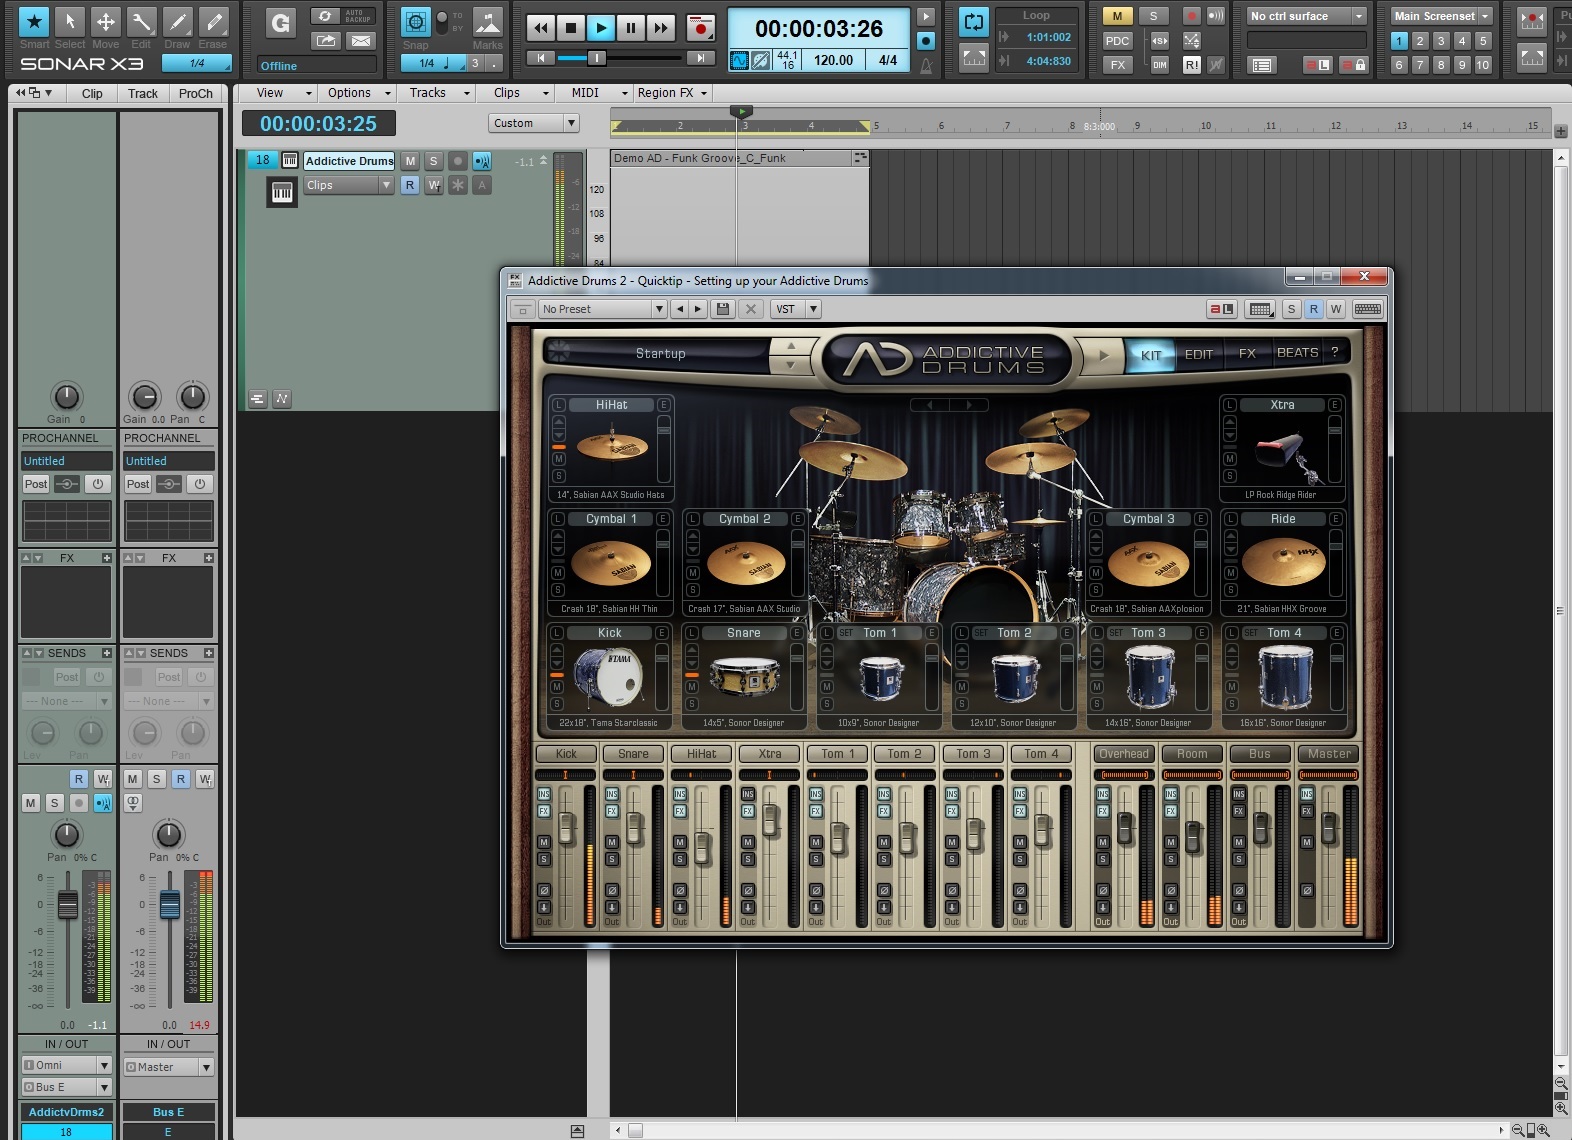
Check out how you can easily setup Addictive Drums (1 & 2) to accommodate multiple different working environments within SONAR X3 Studio and Producer. This one of kind drum synth is the best of the best. Check out the article here.

How to use Compression on Snare Drum in SONAR X3
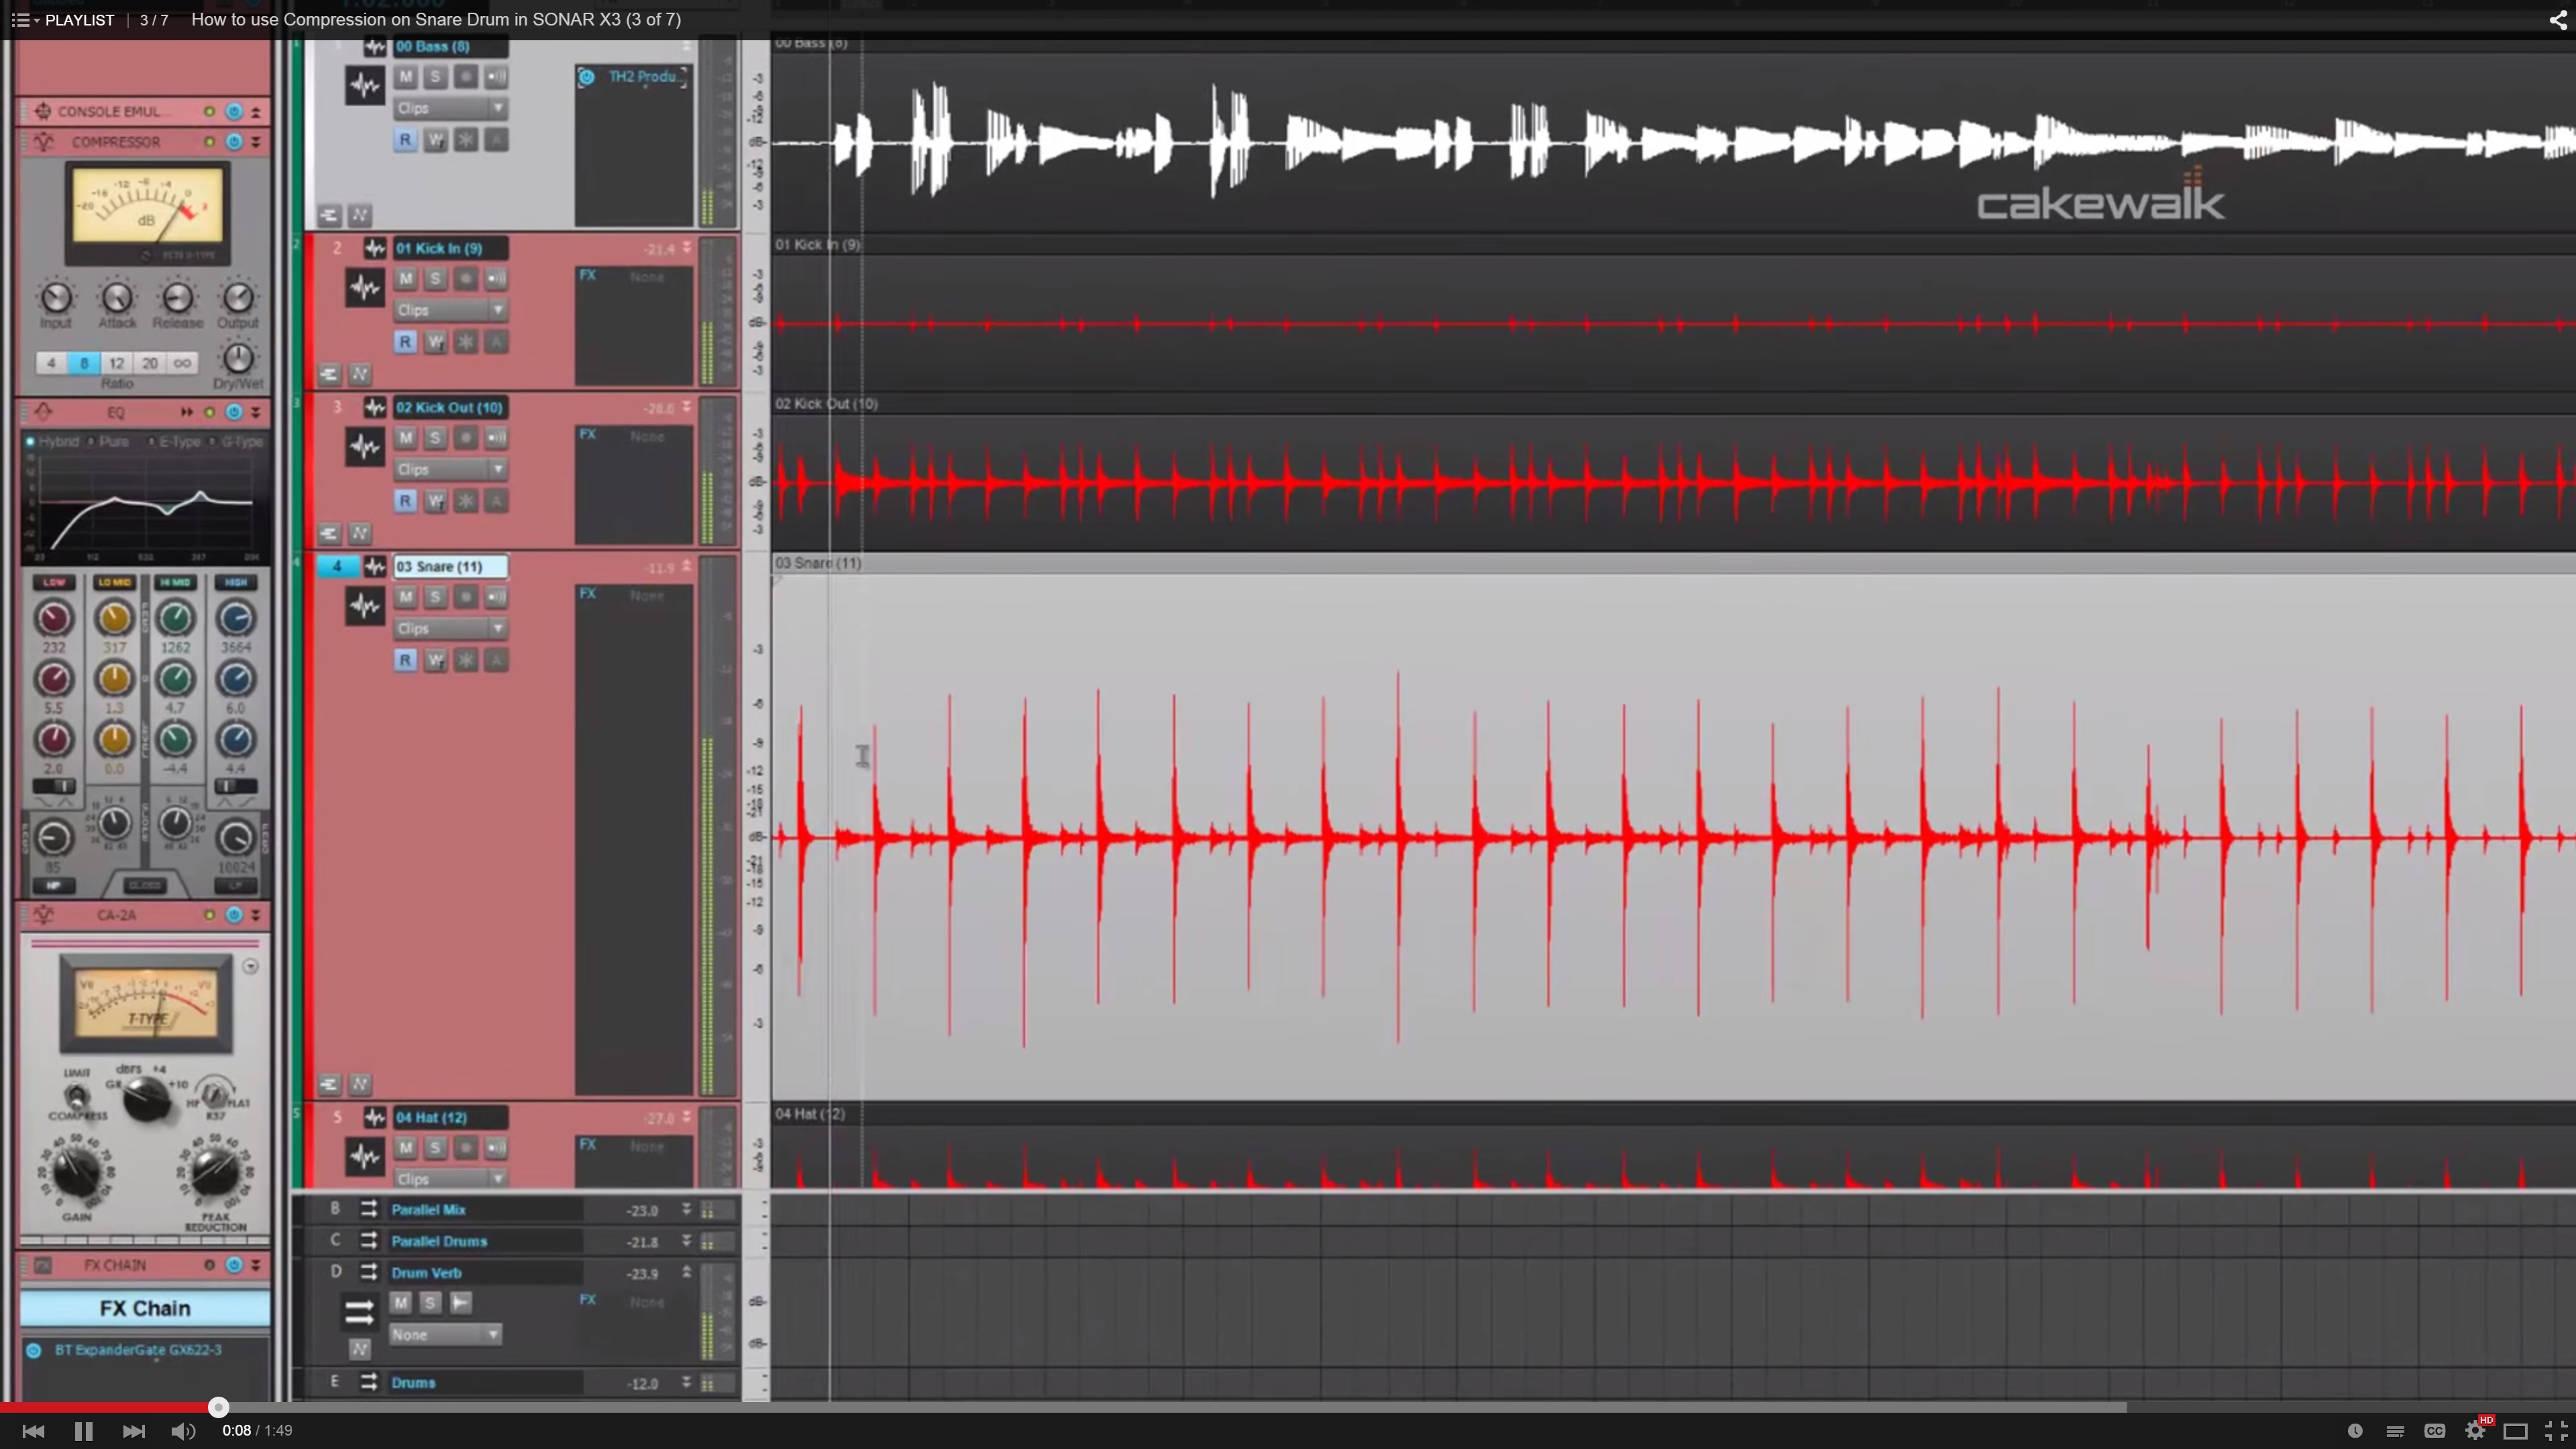
Using compression is one of those tools that is tricky to understand if you’re not familiar with how the different audio signals in your mix. Check out our most viewed video from the extensive video series about using the CA-2A Leveling Amp on snare drum. Check out the video here.

How to Compress Drum Reverb in SONAR X3
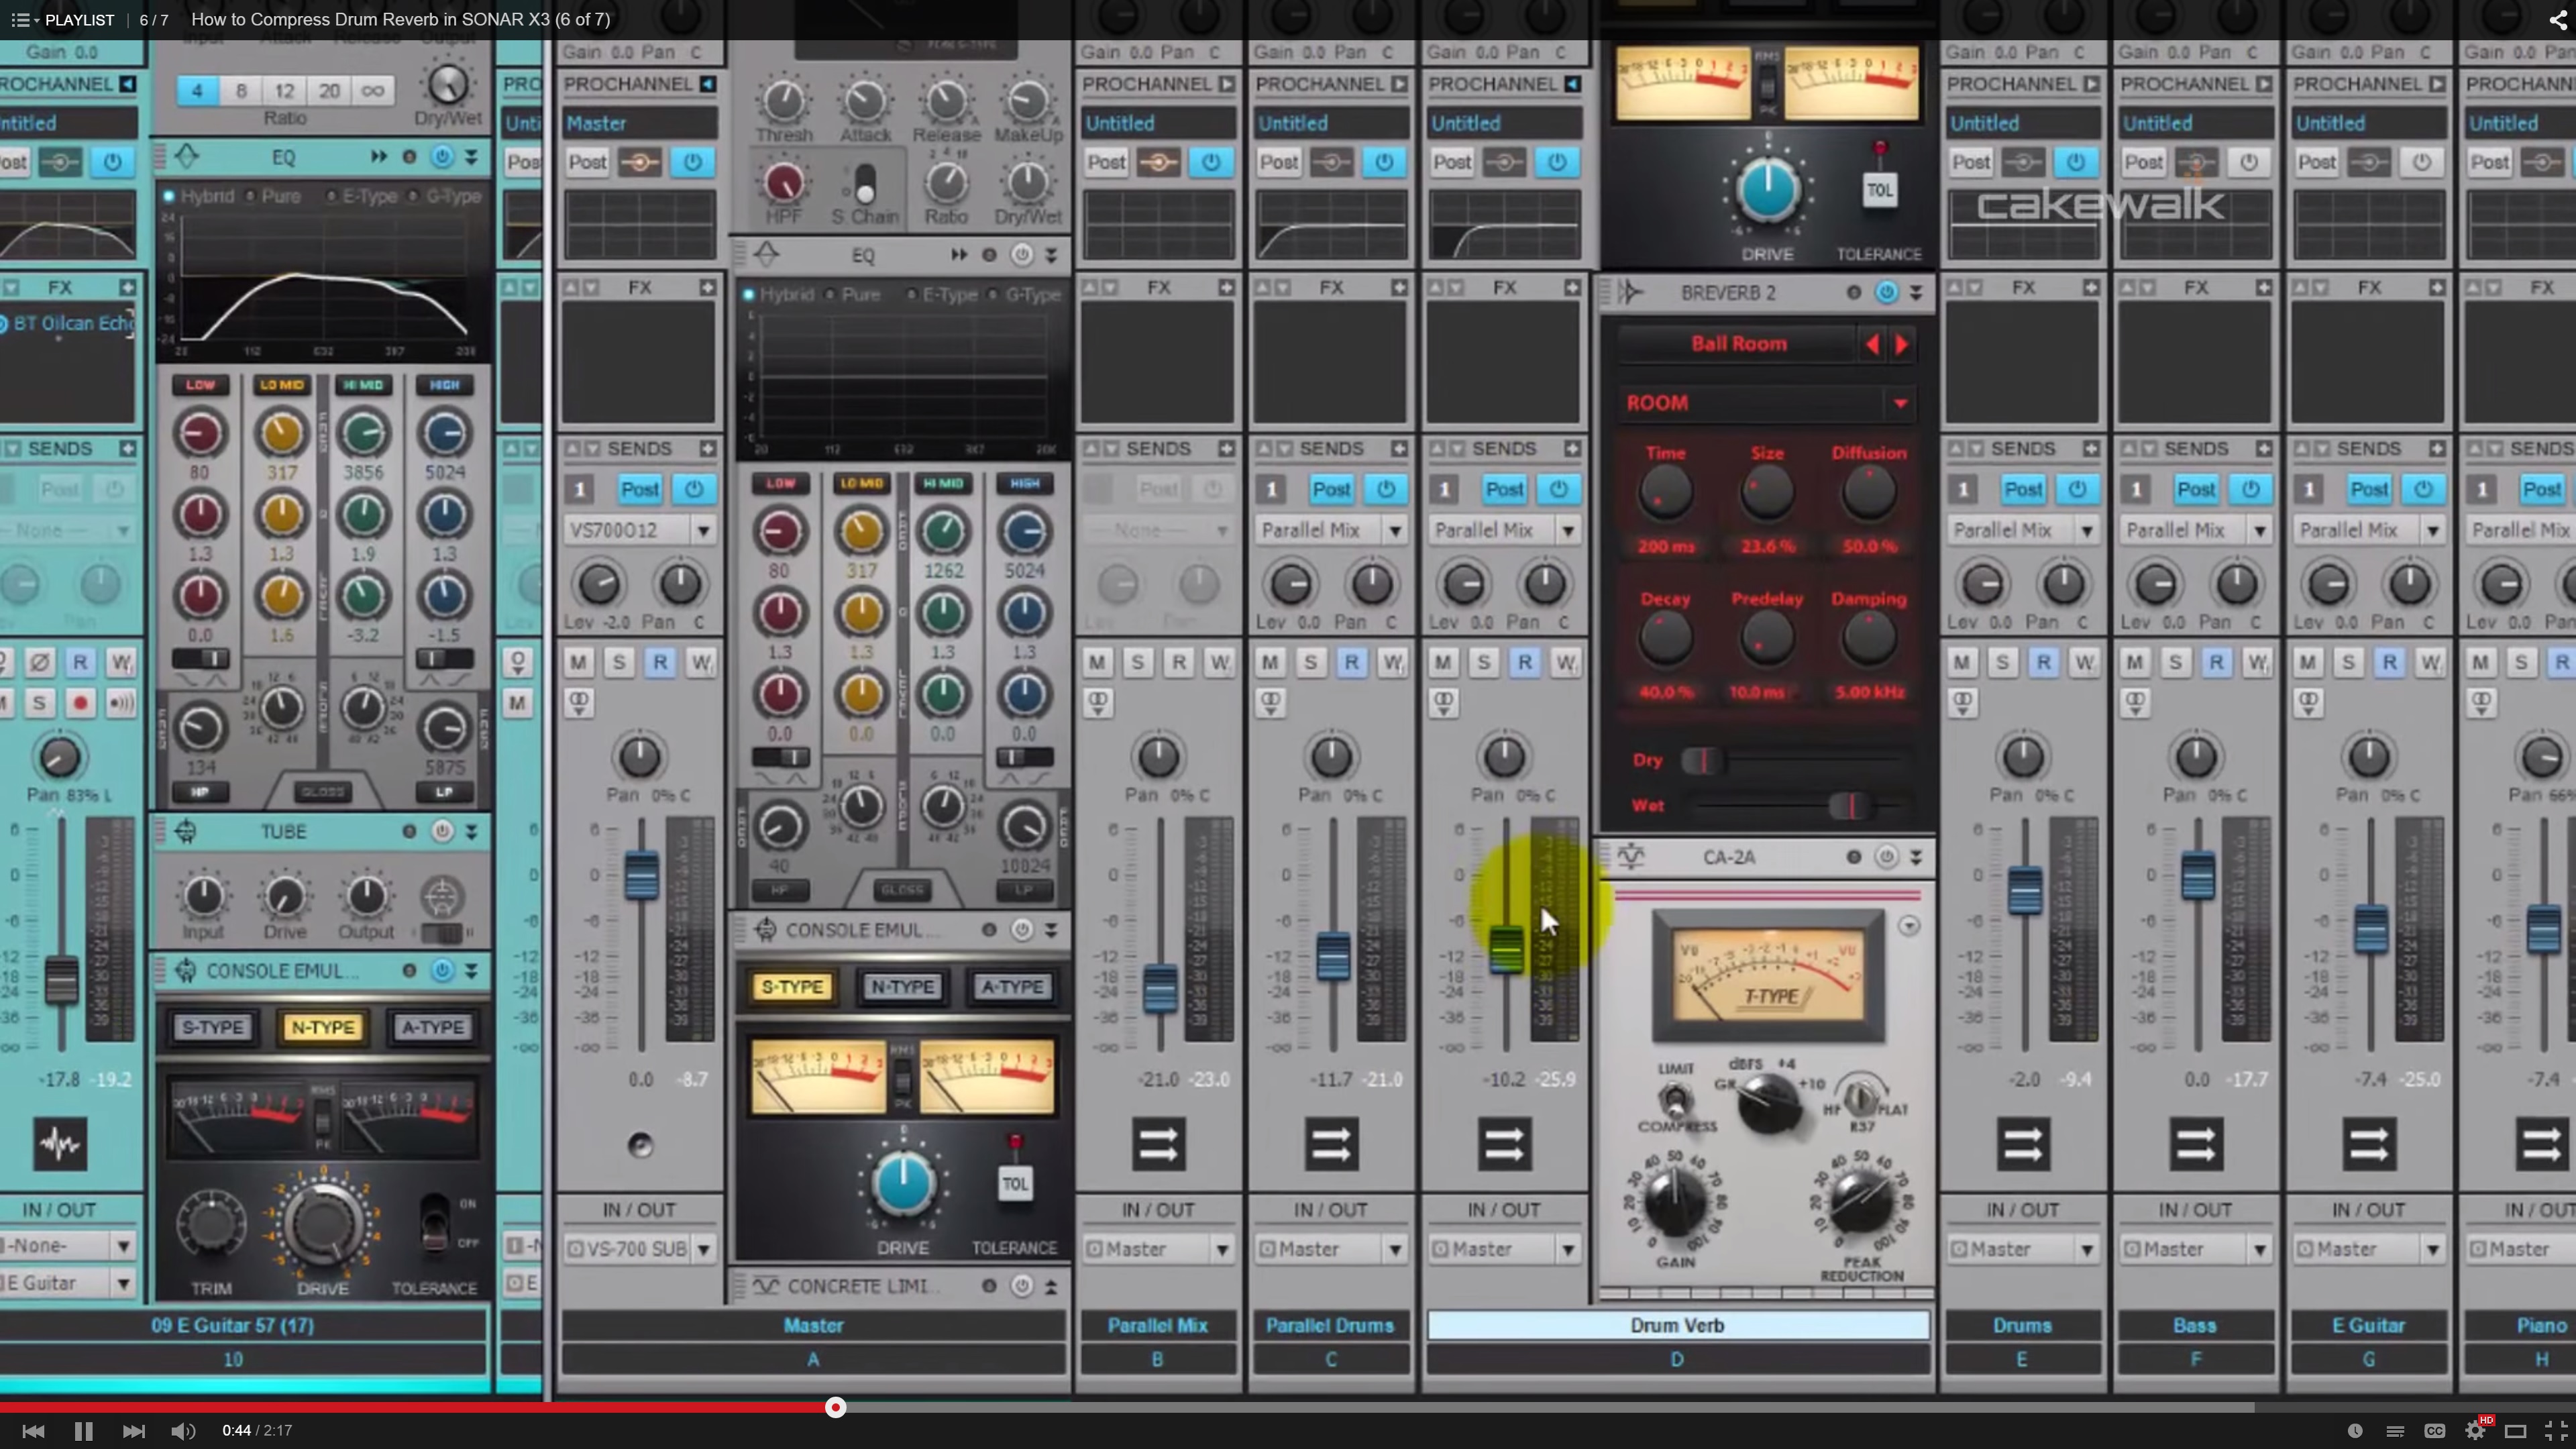
Another popular drum related video from the Compression video series is #6 where I give some tips on using compression on drum reverb. You can see the video here.

Producing Drum Samples in SONAR X3
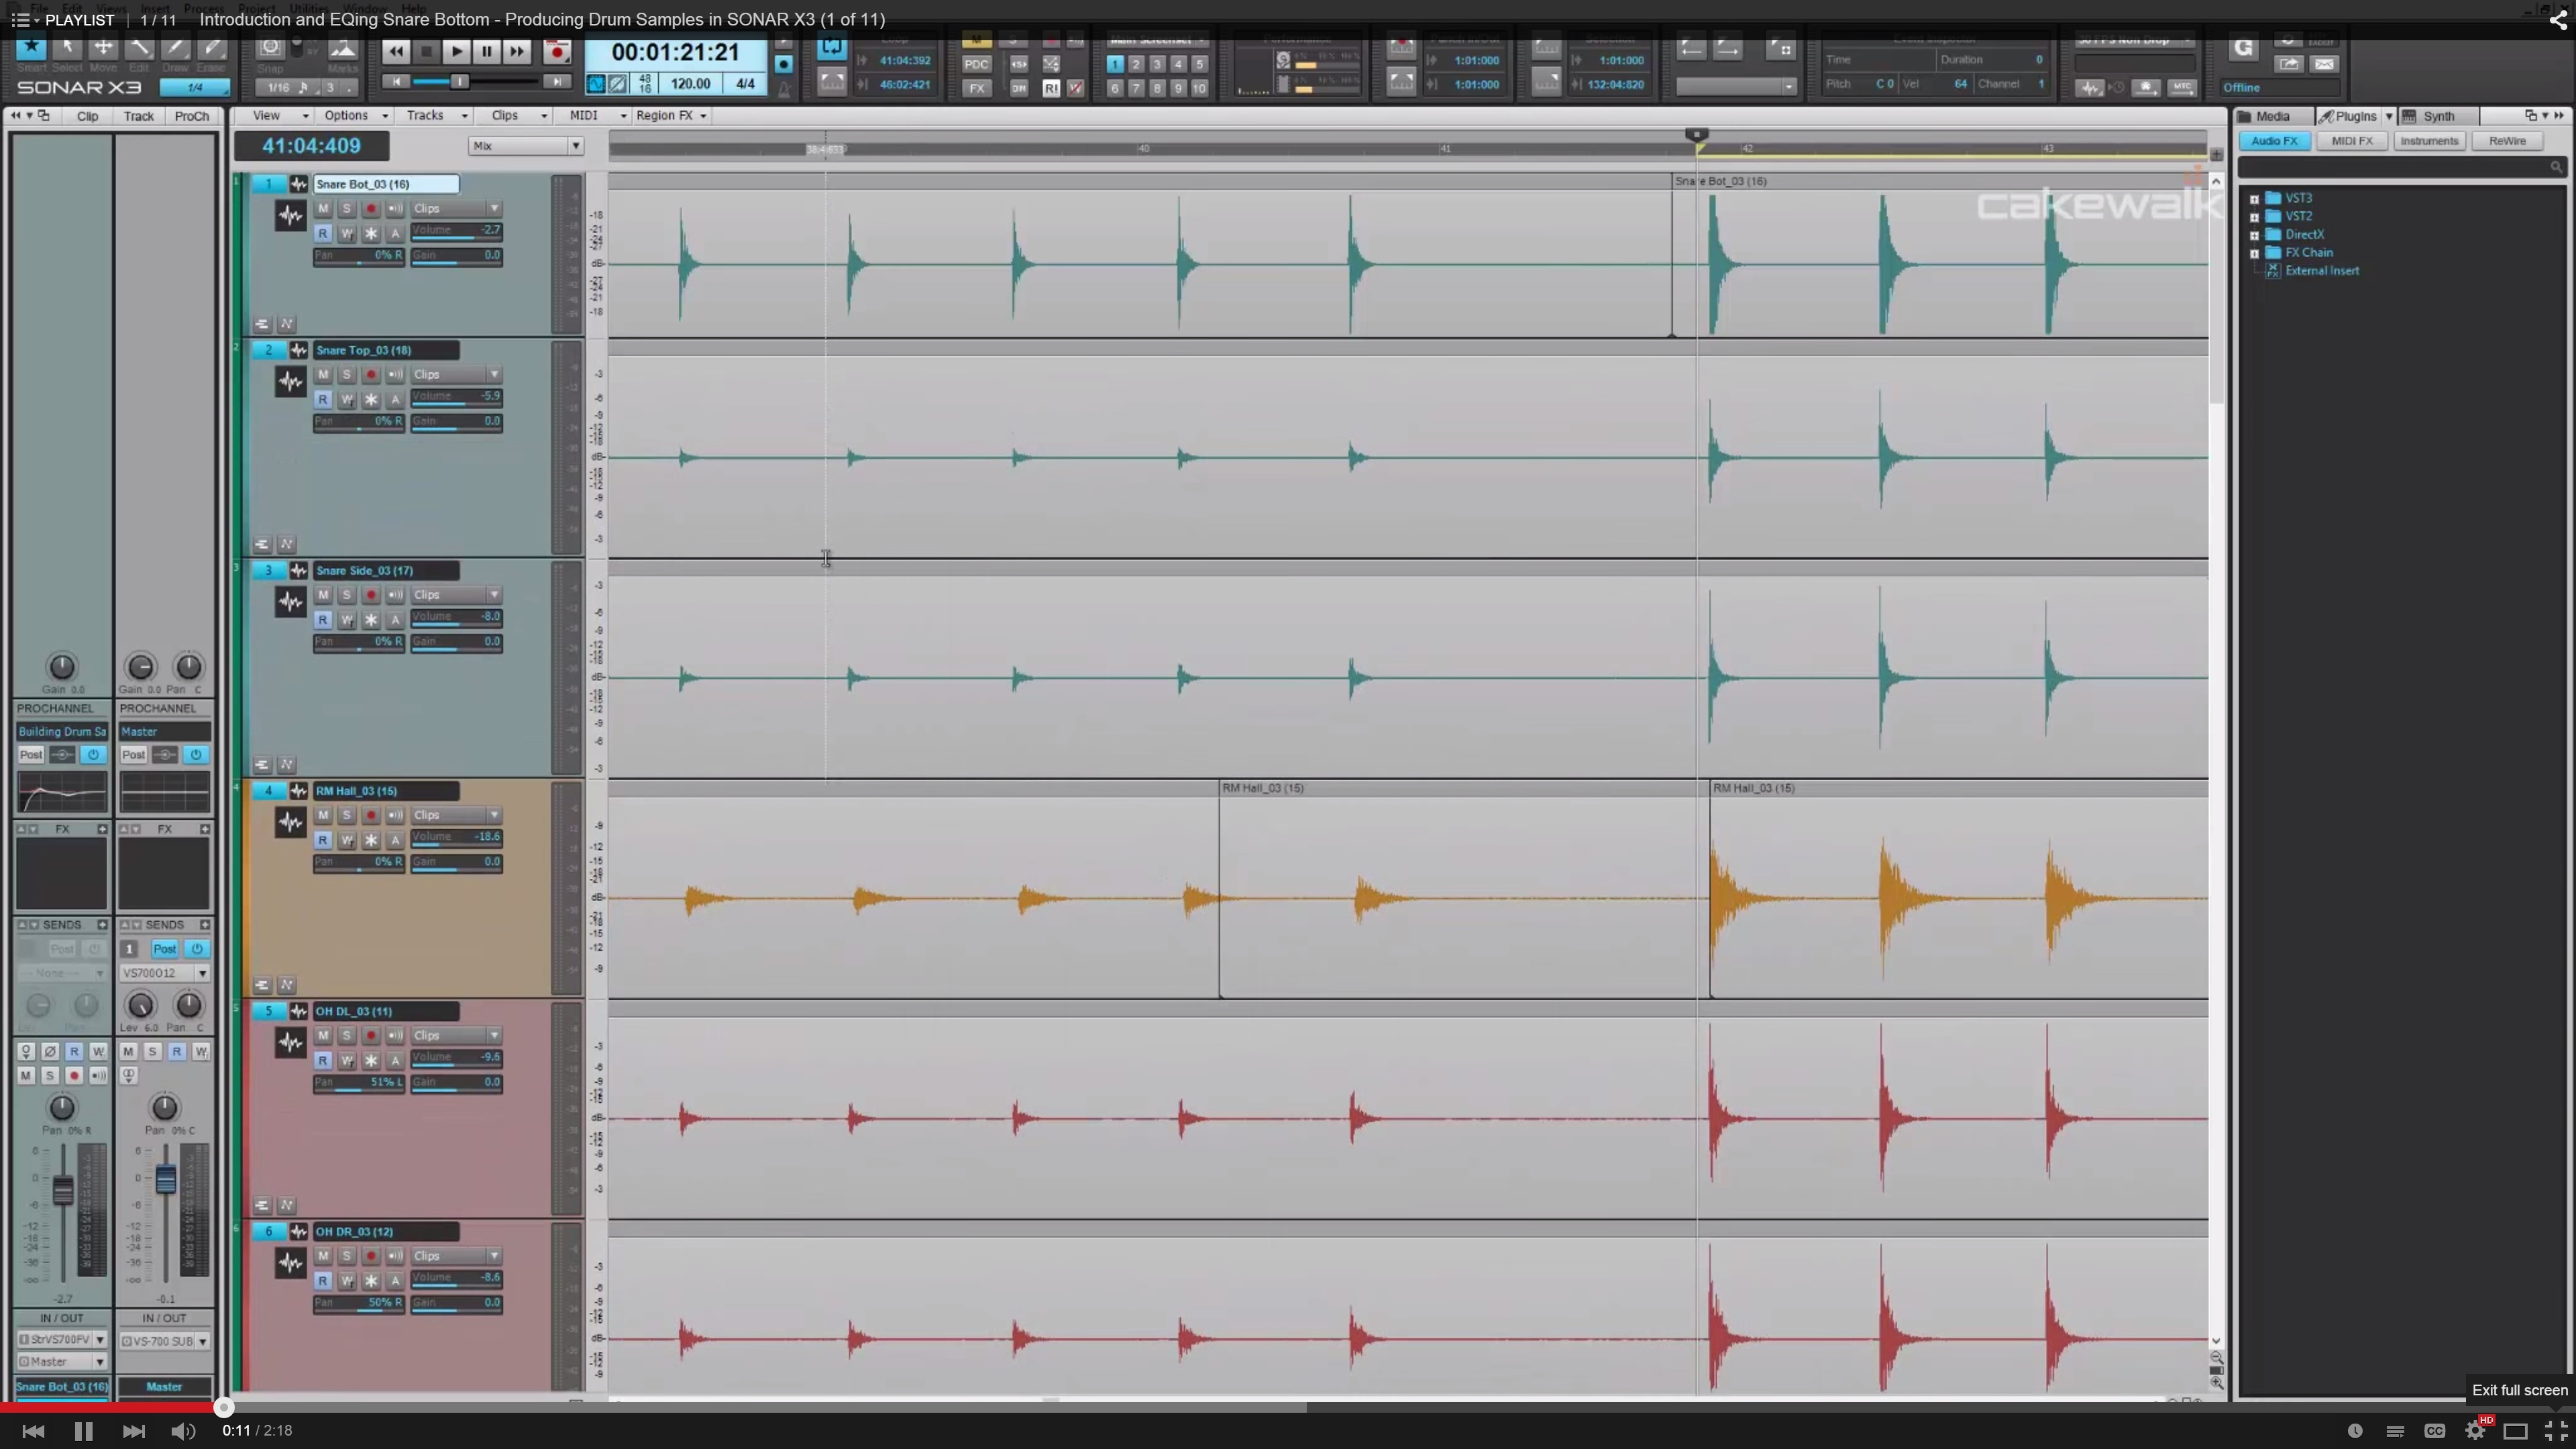
Last but not least we’ve seen that our community has really enjoyed our Producing Drum Samples video series. This video series is available to watch here and guides you through some awesome ways to mix and EQ drum samples to your liking.

If you’re looking for more Drum Production tips check out the tag for this on our blog here.

Multi-Track Drum Editing – Identifying & Splitting Drum Hits

You need to start with a great performance

Before you begin to edit drum stems you have to make sure that you are working with tracks that were recorded close to a click. They need to be consistent. Tightening up the performance is something that is very invasive and requires a lot of time. If the drummer can’t put in the time to learn the parts then you should wait until they are ready to record their parts properly. Having this knowledge will make your life easier and should be something you think about during the preproduction stages of any record.


A note about the editing process.

The purpose of this type of editing is to identify the strong hits of the drum beat, split them into tiny parts, and then crop and align those small parts. The splits will depend on which part of the drum falls on each down beat.

In this tutorial Kicks happen every 1/4 note, snares every 2nd and 4th beat, and high hats on every 1/8th note. This happens for about 20 measures with various fills here and there and then it switches to a different pattern. We’ll move in measure by measure increments so that we don’t bite off more than we can chew at first.

Engage the metronome so that you can hear the pulse.  This will help you check your work as you edit. Download the project files here (if you didn’t download them from our previous post)  to get started:

Multi-Track Drum Editing Tutorial

Multi-track drum editing requires you to listen intently to the audio you’re editing. I recommend using headphones for this tutorial so that you can hear subtle edits. Erroneous edits are most exposed in the overheads, high hat, and cymbal frequencies so we’ll need to solo those as well as the kick and snare track while we work through this project.

As we work through the session the high hat and ride will need to be solo’d due to the spot mics that were placed on these. Everything else will follow suit with your editing.

You can also adjust your Track Height in the Track View by dragging the borders of the Continue reading “Multi-Track Drum Editing – Identifying & Splitting Drum Hits”

Multi-Track Drum Editing – DLC and Basic Tools

The need for perfect drum production is at an all time high.

In today’s world there is a huge need for all types of drum production. Everything from VST instruments to advanced drum replacement software has been growing in popularity. For the most part, records that require the tracking of live drums always have some sort of drum editing applied. This process is meticulous, long, and can be frustrating if you have never done this much in depth editing before.

Downloadable Content:

Let’s start by getting you the files you need to follow along with this tutorial.

Multi-Track Drum Editing Tutorial

Once downloaded, they should open just fine inside of SONAR X3.

Understanding the basics.

Before diving in, let’s take a look at some essential tools that we’ll be using for major drum editing. These tools may be basic to some, but are definitely the right functions we’ll need in SONAR to edit down these drums.

Creating selection groups

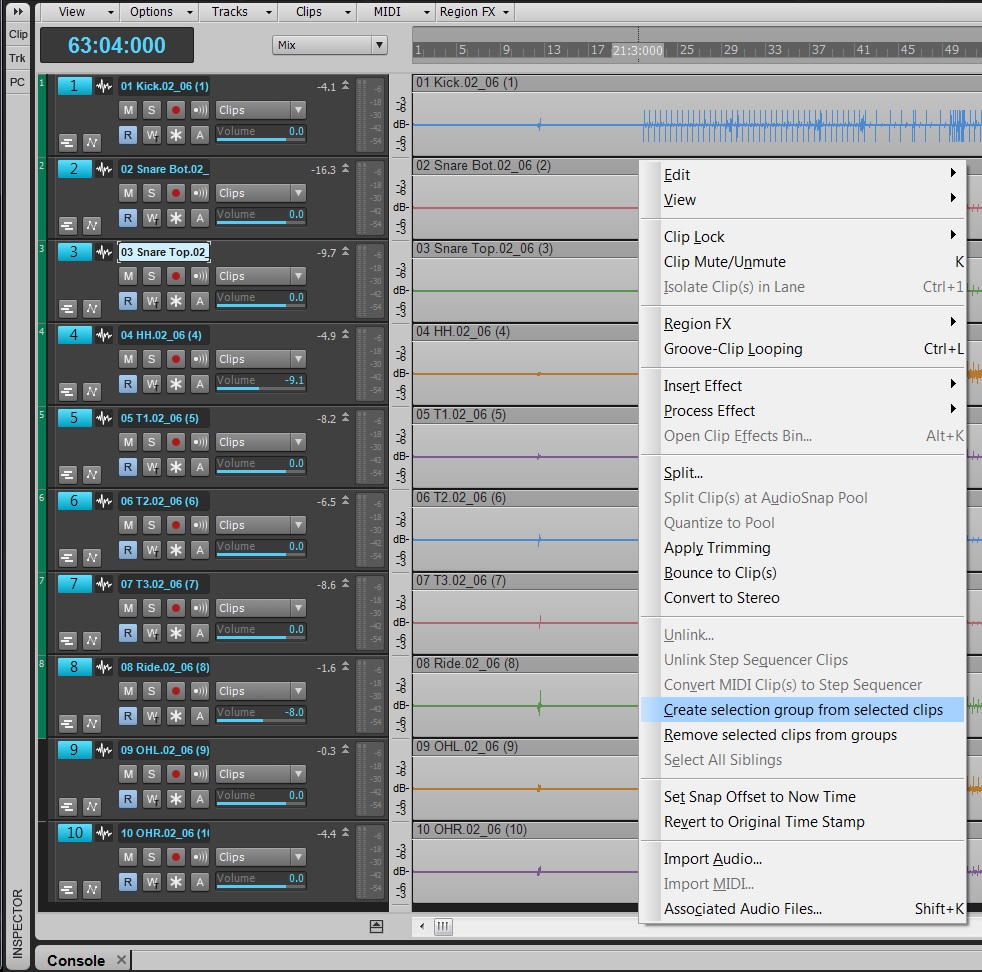
The first step in editing multi-track drums is making selection groups. Once created, these clips will be synced to one another for batch editing tasks – like multi-track editing. During the course of this tutorial we’ll be relying heavily on splitting clips – grouping will make this faster and more efficient.

To create these, choose CTRL+A within the Track View and then right-click on your clips. Near the bottom of the menu there will be an option that says Create Selection Group from selected clips. Select this and a number will appear in the header of your clips indicating that your clips are all in a group now.

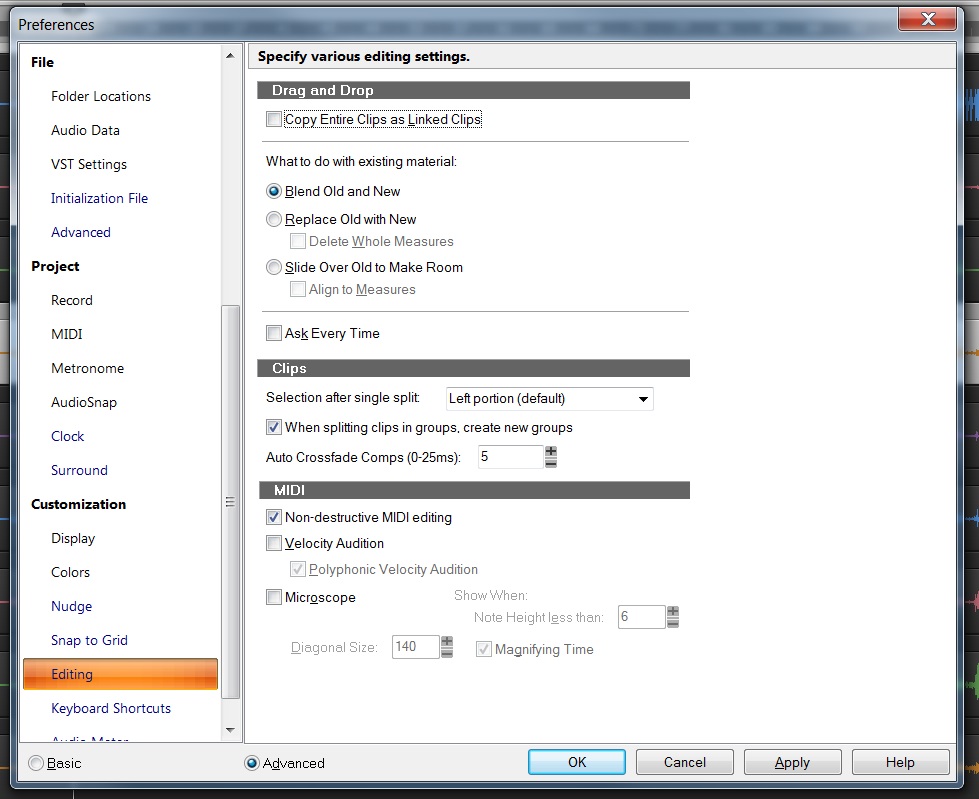
As we work through the song the different Split edits will cause the group number to increase. This indicates that a new group has been made. You can change whether or not this occurs within the Preferences here:


Tab to Transients

Tabbing to transients locates strong transients and moves Continue reading “Multi-Track Drum Editing – DLC and Basic Tools”

Knowing Your Effects in Addictive Drums Part 1 (SONAR X3 Producer)

Intro

XLN Audio has mastered the art of sampling with their flagship program Addictive Drums. Not only have they been able to capture three incredible kits (standard in full version), but they allow the user complete control over the samples with an in depth effects engine. At first listen the provided presets speak for themselves, but as a power user you should not rely on the presets to define your sound. Let’s take a look at how much control you, as the user, have over the Snare drum and how that can benefit you.

First off, where does a great Snare sound come from?

The answer is easy, it comes from a great snare drum. A drum that is in tune, has a good balance of midrange and high-end, and is properly in phase with the rest of the drum set will always produce good results. A “great” snare sound can be subjective in the music world because many people have their own ideals and opinions about styles. The tactics and techniques used for capturing that snare drum is where the “magic happens” so to speak. XLN Audio provides three solid drum sets with three different kinds of Snare Drums.

Control, Control, Control!

Open up Addictive Drums, solo the Snare, and drop in a simple set of 4 hits and set them to loop mode. Like so:

Let’s take a look at the different options you have within Addictive Drums for creating a great Continue reading “Knowing Your Effects in Addictive Drums Part 1 (SONAR X3 Producer)”

EDM Production: Creating Industrial Drums with Session Drummer 3

SONAR X2 Producer’s versatile drum production tools allow you to get creative with your sound. Want to push the limits of EDM or get that mid-90’s industrial vibe from your tracks? Check out this Quick Tip on how to process your drums utilizing the stock ProChannel effects and Session Drummer’s Tune Parameters.

  • On your Session Drumer track, load PC76 – U-Type Compressor
  • Set Input to 18db
  • Attack 0.5-1.0 ms
  • Fast Release 500 ms
  • Ratio set to Infinite or “All Buttons in Mode”
  • Set Output so that you are not overloading
  • Activate Console Emulator for more saturation
  • Activate the Softube Saturation Knob set this to 2-3 o’clock and set the type of saturation to “Keep Low”
  • Activate Breverb Prochannel. Set the parameters to a rather short Room Reverb

Drums are now over-saturated and over-compressed

Now that you have the basic foundation for a distorted/saturated/pumpy/electronic drum sound lets Mangle it.

  • Activate Write Automation on the Session Drummer Track in the Track View
  • Open the interface for Session Drummer  and go to the Mixer View
  • Activate the Write Automation within the Session Drummer VST Plugin
  • Play the track and move the “Tune” knob (with your mouse or your MIDI controller) for the High Hat in rhythm to create tuning aliasing. This will be labelled “Tune 03” in your automation.
  • Once this is done minimize the interface for Session Drummer  
  • Within the Track Pane using the Edit Filter go to Automation > Session Drummer x64 1 > Tune 01 (Kick Drum Tune Knob)
  • Select the Draw Tool and draw in some nodes that closely match the same curves and structure as the automation we just laid down.
  • Open the Automation Lanes to see the automation data side by side

Deactivate the Write Enable buttons just incase you are no longer going to automate any more parameters

  • As you do this feel free to adjust your compression, saturation, tuning, tempo, and automation to fully customize

Approaching Drums Left of Center with AudioSnap and Session Drummer – Norman Matthew [MURDER FM]

So Last “NorMonday” I went on a little (ok a lot) about how I approached tracking guitars, before that we tapped on my signature vocal techniques. Now it’s time to get into the foundation of it all, drums. Again, prepare yourself for some left of self-centered techniques.

THE KICK DRUM SUCKS…NO WORRIES, THERE’S AN APP FOR THAT

Seems there’s an app for EVERYthing these days. In the recording world, I like to think of plugins as the “apps.” I’ve been part of approximately 16.25 trillion sessions and not a-one has gone by that I haven’t run into a horrible kick drum sound – clicks, flaps, slaps, flops or just generally sounding like a basketball being dribbled through my mic. The flip-side to these tones of course, is that Gawd-awful weak kick drum that sounds like an egg-beater hitting a pillowcase.

Well I have found a Godsend when it comes to such atrocities….SESSION DRUMMER and AUDIO SNAP!

Drum replacement happens EVERYwhere, ALL the time, so don’t let anyone fool you… the key is knowing how to keep the feel and dynamics alive. I learned a lot about drum replacement from producer Beau Hill (Ratt, Eric Clapton, Alice Cooper, etc.), who took me under his production wing and mentored me on many techniques. In music production, we all strive for the best drum sounds because after all, that is what the rest of the music sits on. Unfortunately, we can’t all afford fancy tracking rooms where the walls move to adjust to the natural reverb. So, many of us at one point or another are slaves to the machine: tracking drums in the jam room, or in mom’s garage next to the washing machine (which is constantly on for some reason). Continue reading “Approaching Drums Left of Center with AudioSnap and Session Drummer – Norman Matthew [MURDER FM]”

CakeTV Live – Larger Than Life Drums

For your pleasure and edification the latest CakeTV Live webinar is now available for viewing on CakeTV. In this latest installment of CakeTV Live Brandon Ryan and I walk through the process of taking recorded, live drums from sounding, ‘meh’, to ‘larger than life’ using SONAR X1.

We explain everything from how to setup and organize a project to mixing, rout tracks to buses, fix timing with AudioSnap, setup and use parallel compression with the ProChannel, and much, much more.

Continue reading “CakeTV Live – Larger Than Life Drums”

Parallel Compression in SONAR

A common question I get asked when doing J.A.M. Sessions, webinars, and other events, is how to setup parallel compression in SONAR. The next asked question is usually what parallel compression  is and why it should be used.

Parallel compression is a mixing technique most commonly used on drums where one signal is split into two allowing them to be processed separately, or in parallel, and mixed together.

Typically a drum bus will be split into two drum buses where one drum bus will be compressed heavily and the other drum bus will be compressed lightly, if at all.

The reason for doing this is that heavy compression on drums can sound good but can also cause a major loss of transients and attack. Blending heavily and lightly compressed drum buses yields the best of both worlds.

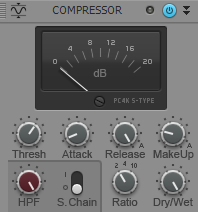
There are a few ways to set up parallel compression in SONAR X1 Producer Expanded so I will show you how I do it using quick grouping, effects sends, multiple busses, and the ProChannel’s PC4K S-Type Bus Compressor.

SONAR: Master Class on Drum Productions

SONAR 8.5 includes world-class tools, instruments, and effects that will allow you to achieve amazing drum tracks. We have put together a SONAR: Master Class video series that shows off these amazing features. This Master Class explores writing, arranging and mixing drums in SONAR. Spotlighted are production techniques and workflow using Session Drummer 3, Step Sequencer 2.0, and PX-64 Percussion Strip.

Watch the videos here.

MasterClass_468x60