Mixing Pop with SONAR Platinum – Synths, Bussing, and Ducking

by Dan Gonzalez

SONAR Platinum is the newest, greatest, and most advanced version yet. It contains all the tools and accessories that anyone would need in order to produce, mix, master, and compose their own music. In this mixing tutorial I’ll be using SONAR Platinum exclusively to show you the various ways I went about mixing this track.

You can download this project here and following along.

Synths

There are a total of 6 synth tracks in this song. All of them are quite trance-y and bring a unique dance flavor to this song. Let’s take a look at a few of the things I did to the more prominent synth tracks. For the most part this song reminds me of bands like The Killers. Maybe it’s the voice of the singer and the style of drumming but it has that kind of feel to it.

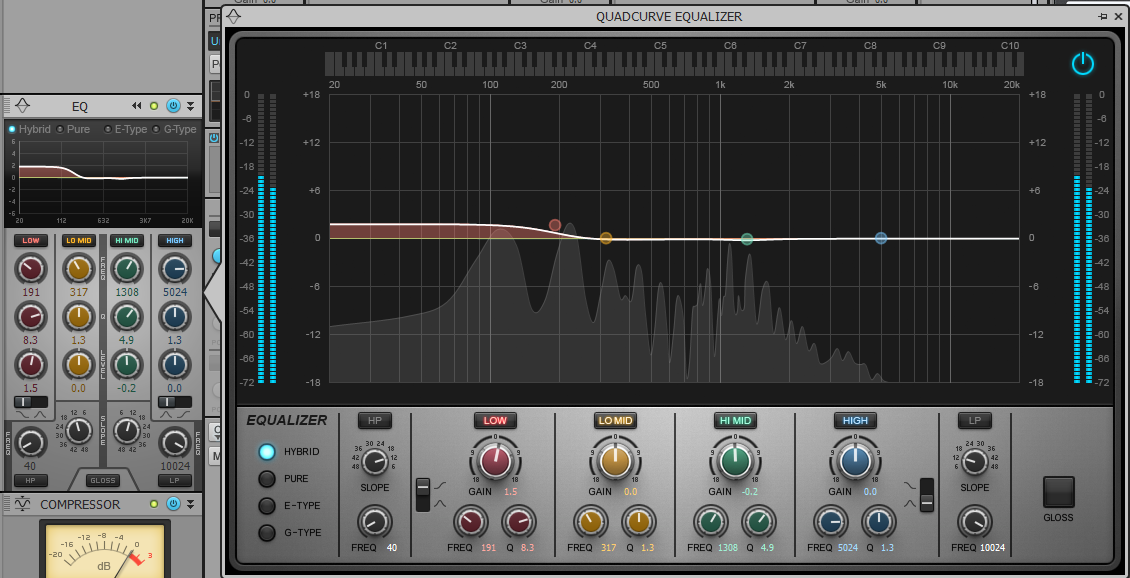
The first synth track that you hear running in the background behind the marching tom hits is a pretty dry track to start with. It’s already processed to some degree but in my opinion needs a little bit of low end and an equal amount of space in the mix. Taking this into consideration I add a low shelf on the Quad-Curve EQ at about 191Hz. This thickens it up a bit so that the song has a strong entrance with the pounding toms.


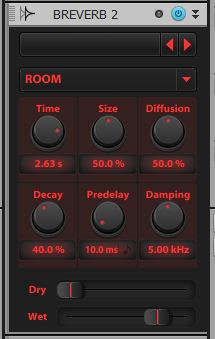
Next, I sent this synth to Continue reading “Mixing Pop with SONAR Platinum – Synths, Bussing, and Ducking”

Basics: Five Questions about Latency and Computer Recording

Get the lowdown on low latency, and what it means to you

By Craig Anderton 

Recording with computers has brought incredible power to musicians at amazing prices. However, there are some compromises—such as latency. Let’s find out what causes it, how it affects you, and how to minimize it.  

1. What is latency? When recording, a computer is often busy doing other tasks and may ignore the incoming audio for short amounts of time. This can result in audio dropouts, clicks, excessive distortion, and sometimes program crashes. To compensate, recording software like SONAR dedicates some memory (called a sample buffer) to store incoming audio temporarily—sort of like an “audio savings account.” If needed, your recording program can make a “withdrawal” from the buffer to keep the audio stream flowing. 

Latency is “geek speak” for the delay that occurs between when you play or sing a note, and what you hear when you monitor your playing through your computer’s output. Latency has three main causes: 

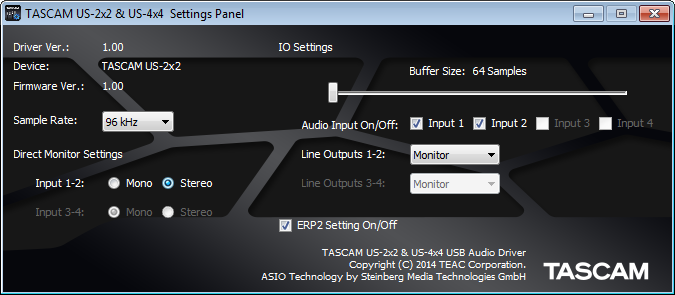
  • The sample buffer. For example, storing 5 milliseconds (abbreviated ms, which equals 1/1000th of a second) of audio adds 5 ms of latency (Fig. 1). Most buffers sizes are specified in samples, although some specify this in ms. 

 Fig. 1: The control panel for TASCAM’s US-2×2 and US-4×4 audio interfaces is showing that the sample buffer is set to 64 samples. 
  • Other hardware. Converting analog signals into digital and back again takes some time. Also, the USB port that connects to your interface has additional buffers. These involve the audio interface that connects to your computer and converts audio signals into digital signals your computer can understand (and vice-versa—it also converts computer data back into audio).
  • Delays within the recording software itself. A full explanation would require another article, but in short, this usually involves inserting certain types of processors within your recording software. 

2. Why does latency matter? Continue reading “Basics: Five Questions about Latency and Computer Recording”

Choosing the right compressor in SONAR X3 (Producer & Studio)

What is Compression?

Compression is a massively useful tool for pro audio applications. As a simultaneous corrective and creative utility suitable for both tonal shaping and controlling levels,  a compressor is one of the most important pieces of gear in your sonic toolbox.

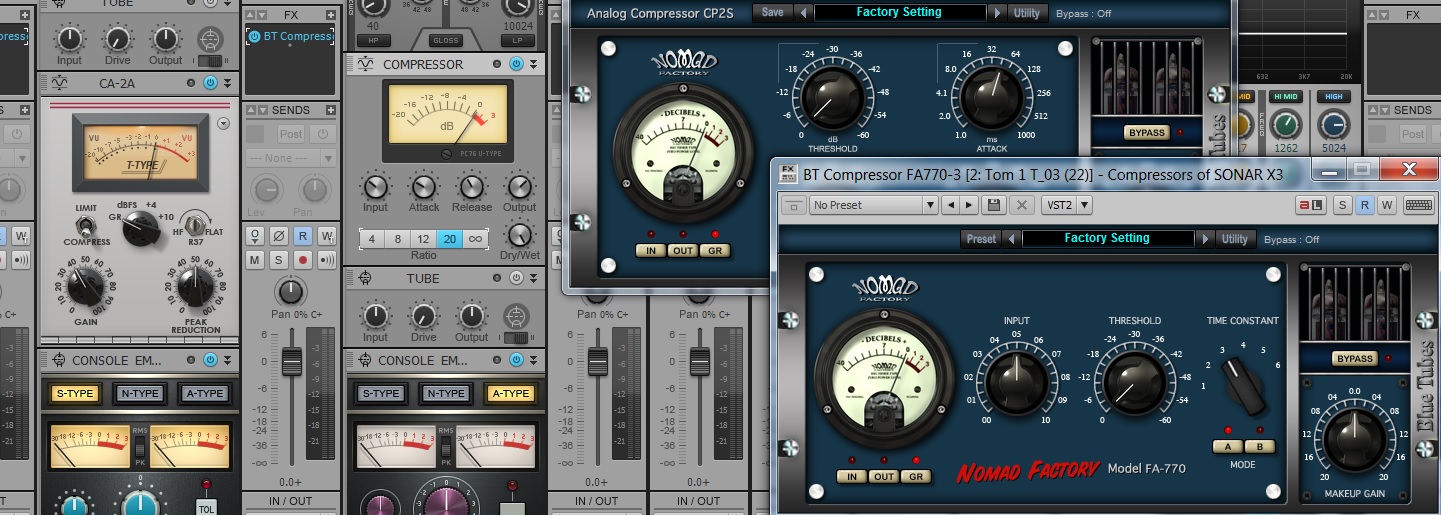
Instead of explaining the history and value of knowing all the different types of compressors that exist, we’re just going to dive in and show you how to get results. Once you understand this you’ll be able to grasp the larger picture of compression and the many different circuits and types. SONAR X3 Studio & Producer come packed with quite a few different types of compressors, so let’s open them up and take a look.

PC76 U-Type

Modeled after one of the most classic leveling amplifiers in history, the PC76 U-Type is a go-to compressor for Continue reading “Choosing the right compressor in SONAR X3 (Producer & Studio)”

6 Tips for Songwriters in SONAR

by Dan Gonzalez

SONAR helps songwriters improve their creativity and workflow by offering tons of features that are engineered specifically for them. In this video we’ve outlined some of our favorite tools to that save you time while you’re developing your next musical idea.

 
Try SONAR X3 free for 30 Days.

Mixing Tips: Know Your Signal Flow in SONAR

Signal Flow is an important concept to understand, and it may be easier to think about when presented with a diagram of how audio is passes through SONAR.

Inputs and Outputs – Easier than you think!

The first concept to understand is the relationship between Inputs and Outputs. There isn’t anything complex about the subject unless you over-think it.  It is the underlying theme to just about anything within your Digital Audio Workstation. Always remember the following:

  • Outputs: Always feed Inputs
  • Inputs: Always fed by Outputs

Sometimes Outputs can be named “Outs or Sends” and sometimes Inputs are labelled “Ins or Returns.” If you’re a guitar player then you can associate this concept with the FX Loop that exists on the back of your amp. You use this to Send audio to your effects pedals and then back to your Amp’s Return.

First, let’s start where audio starts. Typically it begins with an instrument or audio file:

Upon opening SONAR many users will head straight to their Media Browser and Continue reading “Mixing Tips: Know Your Signal Flow in SONAR”

Subtractive EQ Part 5: When Should I Boost EQ?

Missed Part 1? Read it here.

When should I boost?
Some of you may read this and field this very question.  Boosting is something that you can do any time you want with any given instrument.  Obviously it is your own choice in the matter but if you find yourself constantly pulling your faders up and down because your master level is clipping then you may want to apply these EQ techniques to your workflow. In my world it is always a matter of reducing first and then boosting later.

Conclusion
Mixing is as much of an art as it is understanding the logical ways that instruments interact with one another. Continue reading “Subtractive EQ Part 5: When Should I Boost EQ?”

Subtractive EQ Part 4: Bass

Miss part 1? Read Subtractive EQ – Snare Drum.

Bass
The bass in this track caters to fans of the early Metallica era.  Bassist Cliff Burton popularized this distorted sound on such tracks as (Anesthesia) Pulling Teeth.  It’s important to blend this type of bass tone into the bottom of the guitars.  In this mix the guitars and the bass become a single unit ebbing and flowing with one another at certain points through the song.

Understandably one can assume that there was much processing done to this track before it’s transfer into SONAR.  It’s important to capture the sound before you start mixing so that your mixing process is not a patch-job.

This tone is aggressive and piercing to the ear.  A significant way to know that this instrument needs attention is by the aural fatigue that you may experience while soloing this track and listening to it rather loudly for more than 10 seconds.  I aimed to adjust the bass track to fit like a glove under the mix by applying a HPF at 78Hz with a steep bandwidth setting.  The amount of bass here needs control. Using a compressor to control the sound would be redundant because of how much overdrive was applied to this track.  The overdrive has ultimately eliminated any trace of strong transients.

Lastly, there is another dip in the EQ around 2.2kHz.  This adjustment reduces some of the aforementioned piercing sound. Any harsh tones in this register will be too overbearing in the mix.