Five Reasons Why Patch Points Rock

By Craig Anderton

Looking for some advanced, interesting, or downright weird ways to use the new Patch Points feature? Here you go:

Signal Splitter

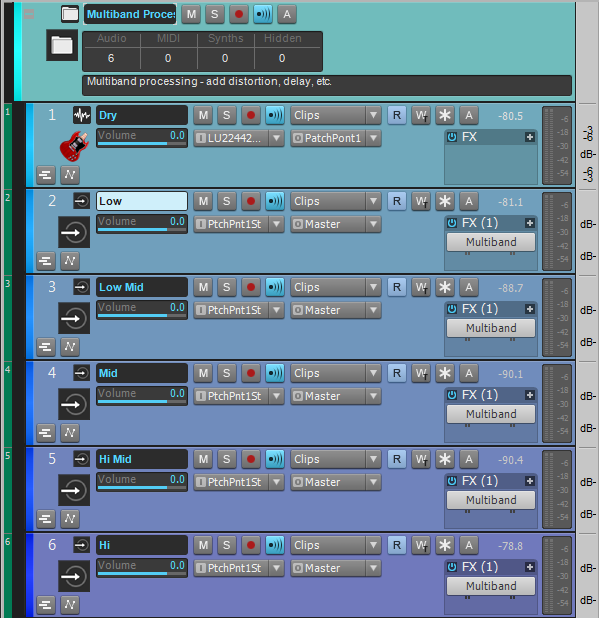
Suppose you want to split one track to several outputs, for example to do multiband processing. Here’s how:

SONAR Patch Points Splitter

The Dry track output goes to Patch Point 1 instead of the master bus. Five tracks, each of which filters a different band of frequencies, have their inputs set to Patch Point 1. The Dry track now feeds all five channels simultaneously. Placing all these tracks inside a track folder makes it easy to fold them up when you want a tidier setup.
Continue reading “Five Reasons Why Patch Points Rock”

5 Tools To Get "That Analog Sound" From SONAR

With the advent of digital audio, some feel a certain quality associated with the analog signal path has been lost. While that may have been true at one point, analog emulations have come a long way since first introduced. Let’s find out how to add that “analog sound” using some of SONAR’s plugins. (Note: Many of the following examples use features are exclusive to SONAR Platinum, so if you don’t already have this version, you can try a free demo by clicking here.)

#5 – ProChannel Tape Emulation

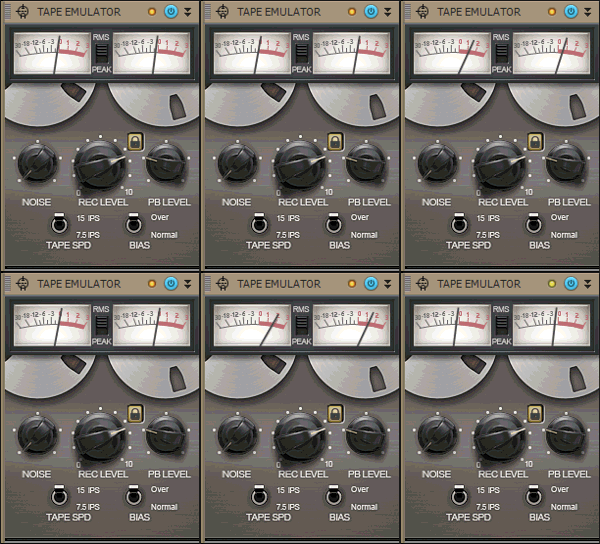
Tape Emulator Gif

Tape does some pretty magical things to audio, so SONAR Platinum includes tape emulation as a ProChannel module. Best  of all,  you can use it as much as you like without having to clean the heads!

Here’s how tape emulation enhances the sound:

  • Emulates the “head bump” of analog tape to enrich the low end, adding subtle warmth
  • Smooths response by slightly rolling off lowest lows and highest highs
  • Increases sustain by smoothing peaks
  • Saturates the signal in a non-linear, analog manner
  • Optionally introduces high-frequency hiss

For a basic application, insert the Tape Emulator in the Master Bus ProChannel. You’ll immediately hear a more cohesive mix. Increasing the REC LEVEL increases the overall saturation. The REC LEVEL knob, TAPE SPD switch, and BIAS switch all interact in unique ways, so try out different combinations to hear how they affect each other.

After hearing how the Tape Emulator affects your sound, try applying it to individual tracks (your drums will sound particularly fabulous). This will be a more subtle effect, adding a sense of depth to the overall mix.

Continue reading “5 Tools To Get "That Analog Sound" From SONAR”

Using Cakewalk Drum Replacer: The “Right” Way and The “Other” Way

The “Right” Way:

There’s more than one way to use Drum Replacer to trigger your drum sounds. Which of these you choose will depend on the material, as well as your preferred outcome and workflow. First, let’s take a look at some of the intended, more traditional uses of Drum Replacer.

A mixed drum track or loop

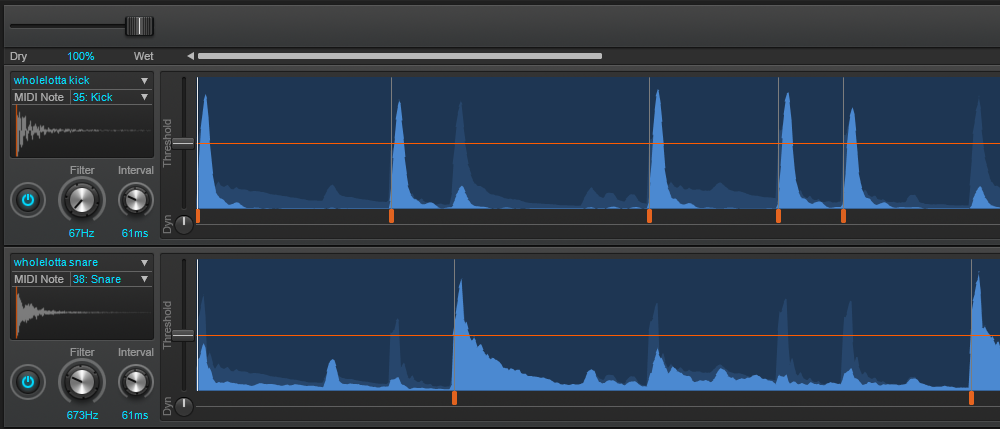
A fairly standard Drum Replacer use is to augment or altogether change the drum sounds on an already-mixed drum track. The examples below play an unprocessed SONAR drum loop, followed by the same loop reinforced by Drum Replacer.

Filtered Drum ReplacerWith the built-in filter mechanism, it’s easy to isolate each piece of the drum kit and replace it individually. For this particular loop, focusing the filters to 67 Hz for the kick and 673 Hz for the snare ensured replacing the right sound. I wanted to soften this already-punchy loop by replacing the kick and snare sounds with something a little more “airy,” then blending these with the original. I chose the included WholeLotta Kick and WholeLotta Snare samples for their lighter, more pillowy qualities and blended them roughly 70/30 with the original drum track. Combined, they create a pleasantly complex, tight-yet-sustained sound.
Continue reading “Using Cakewalk Drum Replacer: The “Right” Way and The “Other” Way”

Speed Up Your Workflow With 5 (Rather Hidden) SONAR Features

SONAR has a LOT of features. So many, in fact, that it’s easy for some of them to fly right under the radar. The list below contains five of my favorite SONAR features that can really speed up your workflow!  Download the latest SONAR Free Demo and follow along.

#5 – Clip Coloring

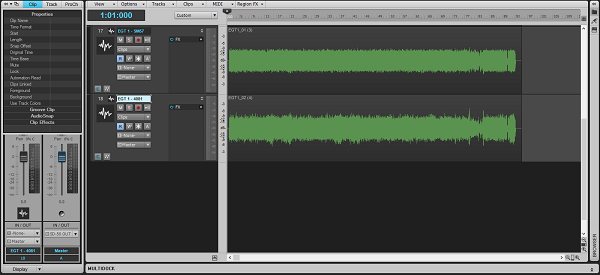
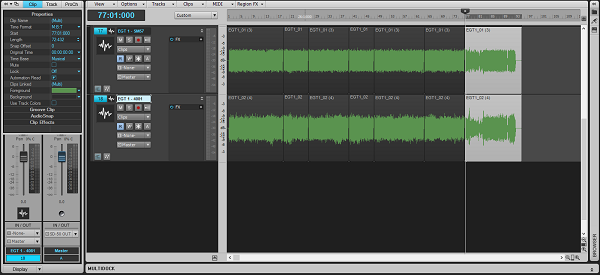
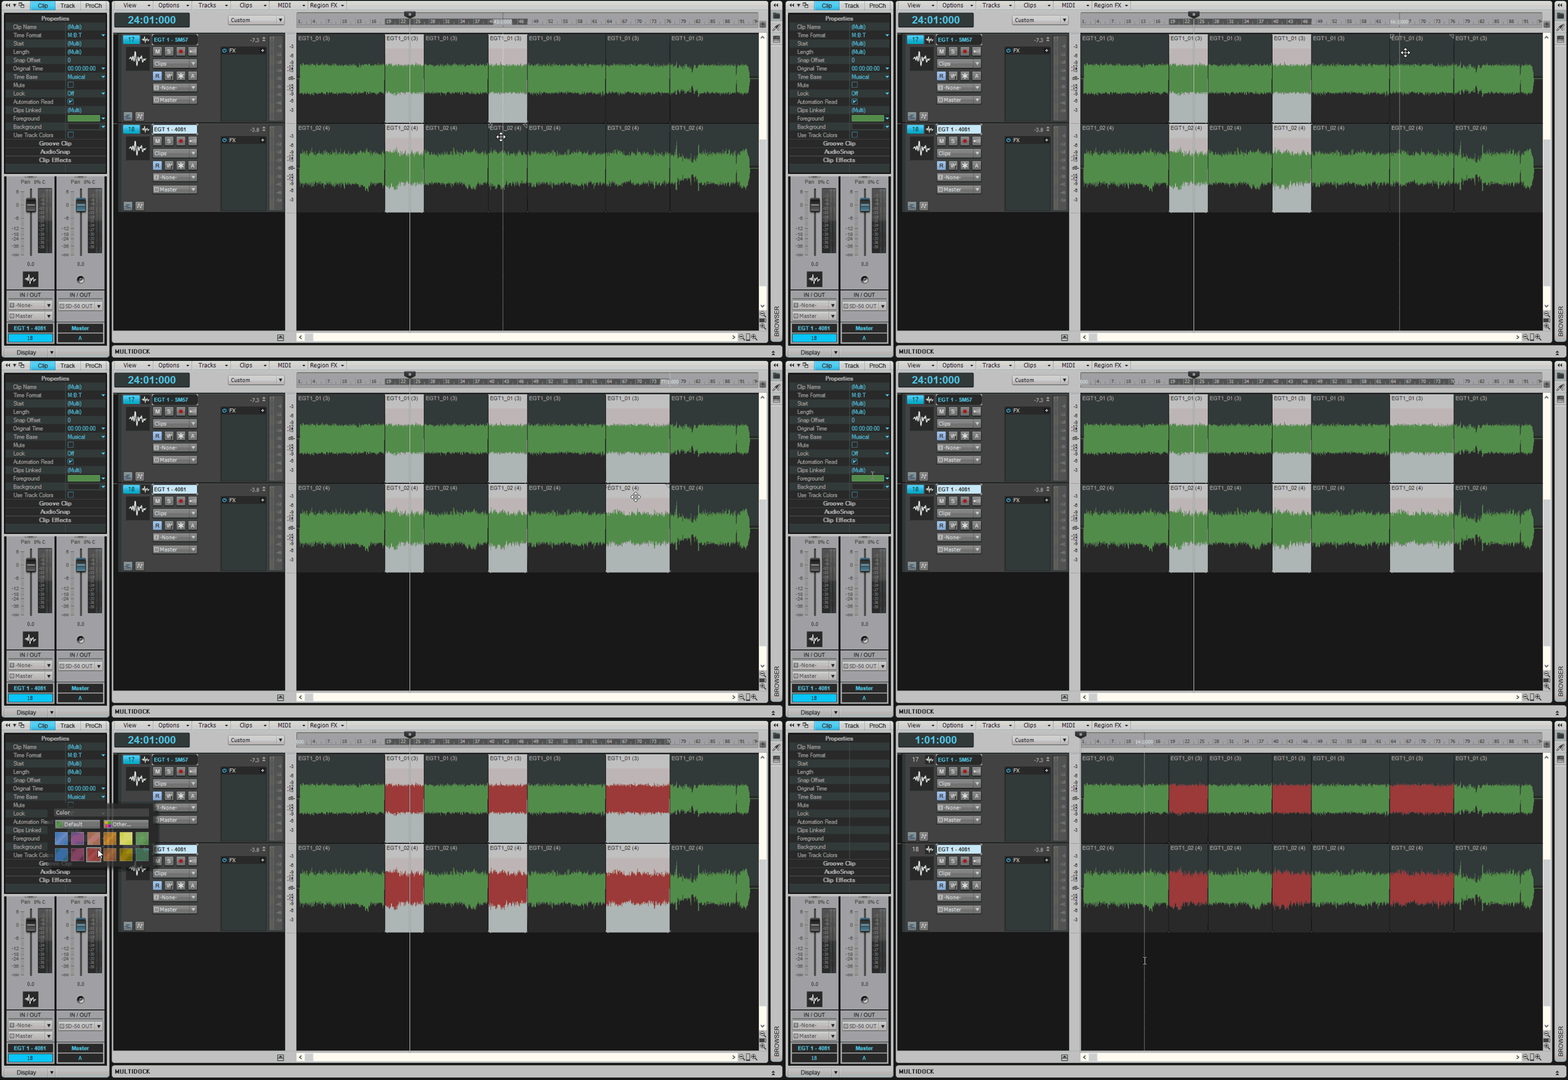
Let’s say you’ve recorded a couple of guitar tracks, and the guitar player changed tone in certain parts of the song. You may want to identify these parts easily during the mixing process. Markers can work, but I typically use those to indicate sections and turning points in the song, and the tone change doesn’t always line up with arrangement changes. Instead, you can change the clip color in these sections to make the parts easier to find.

Here are the clips in their original state:
Clips Before Editing

Make some splits where the pickup change happens:
Clips Have Been Split

Now, select the parts with Shift+Click where the guitarist changes his tone, and using the Foreground selector in the Clip Inspector, color these red:
Clip Coloring GIF

You can now see all the sections where the guitar player used an alternate tone by the red waveform, which can come in very handy while mixing.

Continue reading “Speed Up Your Workflow With 5 (Rather Hidden) SONAR Features”

Cakewalk at Gearfest 2015 with iLan Bluestone

On Friday/Saturday June 12th and 13th, Cakewalk and Gibson will be part of a great music event in Fort Wayne, IN called “Gearfest 2015.”  What once started out as a smaller “musician’s conference,” has now transformed into a collective gear-fanatic affair where music equipment enthusiasts from all over the U.S. and beyond converge upon this mid-sized mid-west town.  It’s certainly impressive and appreciated by many that Sweetwater has put this much care and effort into bringing together over 400 manufactures along with hundreds of presenters to this world-class event.

On Friday June 12th 11:15am at Gearfest, Cakewalk will be presenting a very interesting panel with U.K. based SONAR Platinum user iLan Bluestone.  In the last year, Bluestone has gone from newcomer, to one of the most in-demand new acts on the international dance music scene.  This presentation will be an exclusive interview geared [no pun intended] towards a day in the life of a successful touring electronic musician/DJ in today’s industry.  The interview will be followed by a demonstration of iLan’s approach to music production on SONAR Platinum.

Also presenting on 2 panels at Gearfest will be Gibson’s own Craig Anderton.

Friday, June 12th, 11:30am – Everything You Need to Know About Dynamics (Craig Anderton) [Conference Hall 2, Room A]
Saturday, June 13th, 9:45am – How to Master in Your DAW (Craig Anderton) [Conference Hall 2, Room A]
Saturday, June 13th, 11:15am – A Conversation with EDM Producer iLan Bluestone (Jimmy Landry/iLan Bluestone) [Conference Hall 2 Room A]

Details:
Sweetwater Gearfest 2015

Sweetwater Campus
5501 US Hwy 30W
Fort Wayne, IN 46818

We hope to see you there!

Making The New York Impulse Pack for the SONAR "Braintree" Release

by Dan Gonzalez

Impulse responses (IRs) are small bursts of audio data that represent the frequency response of a real life space. By using convolution reverbs we can use them creatively in our productions to increase depth and ambience.


The concept

To accurately represent a real life space, you need to excite it with a frequency sweep or a loud sound rich in complex frequencies like a starter pistol or snare drum hit. For my IR samples in the New York Impulse Pack I used a sine sweep. The sine sweep is the easiest way to make sure you get an accurate representation of a space.

Once you capture that space, you must process it with a utility that shortens the
frequency sweep into a state that convolution reverbs can use. Typically this audio data is no more than a split second long.

I used this workflow to produce the Impulse Responses you’ll receive in our content for users that are a part of the Braintree Release for SONAR Platinum and SONAR Professional.

The equipment you’ll need, and what I used
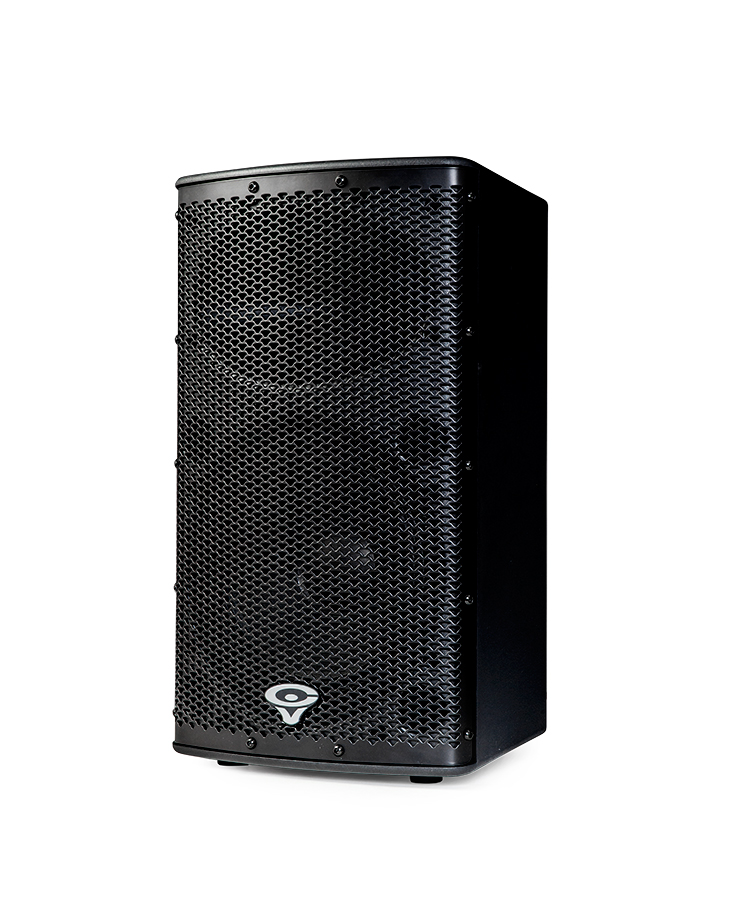
– Speaker, Studio Monitor, or Full Range Flat Response Speaker. I used a Cerwin Vega P1000.

The P1000X is a two-way, bi-amped, full-range bass-reflex speaker. It employs a 10-inch woofer and a high-frequency compression driver, powered by a custom Class-D amplifier. With a power rating of 1000 watts, the P1000X is one of the most powerful PA product in its class. A proprietary hemi-conical horn provides premium sound clarity over an even and wide coverage area. A built-in mixer with convenient I/O connections allows for simple and fast setup, while Enhanced EQ, VEGA BASS boost and High-Pass Filters enable exact tuning and exceptional performance for any application. The P1000X is a versatile product that can be used as a single speaker for small venues, set in pairs or installed with threaded hang points, and combined with the P1800SX Sub for a larger venue needing more coverage and SPL. Its compact size makes it ideal to operate as a floor monitor as well.”

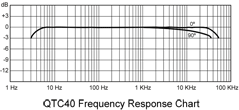
– Pair of microphones, the flatter response the better. I had the benefit of borrowing a pair of Earthworks QTC40s.

– The ability to create a sine sweep. I used this free utility and then bought the license for $40.

– An audio interface to simultaneously play the sine sweep and capture sound of the excited space. My RME UFX worked out wonderfully because it has very clean preamps and multiple inputs and outputs.

– Of course, SONAR Platinum

The Microphones

The Microphones I used are pretty high-end reference microphones that have a frequency range from 20Hz-40kHz. These are great because they represent the sound of the room without any color. Since we’re in the business of capturing the sound of room – they make a perfect companion for this type of project.

Setting up the spaces

I setup the microphones in a few initial spots to get an idea of how the space sounded. On my first try it was clear that the space was going to sound good no matter where I placed the microphones and the source speaker. Both spaces are not highly reverberant, they just have quality sounding early reflections – which makes them great for getting initial sounds of drums and vocals.

The goal was to capture the room in various positions. I setup the microphones in close stereo pairs, distant stereo pairs, and subsequently moved the source speaker around them to bounce the sine sweep off different walls. During the processing stage, I then split these stereo IRs out into mono signals so that users could have a choice between stereo or mono processing. For example, here’s a rough diagram of how I setup the microphones in the center with various speaker locations for one set of IRs.


The IRs themselves

To excite the space I created a sine sweep with Voxengo Deconvolver.

BE CAREFUL WHEN PLAYING THESE, THEY ARE LOUD

Once the signal played through the room it sounds like this:

Large Room IR Example

Not very exciting on first listen, but when you process the tracks and apply some instruments you start to understand their sound. Here is a drum passage without the impulse response:

Now, here’s the same drum passage with the ambience of one of the “Big Room” IRs that I captured. You can hear how it doesn’t necessarily add reverb, but more an ambience.

Lastly, here’s just the ambience:

Small Room IR Example

Here’s a synth passage without any IRs applied:

Here’s the same patch with one of the SmallRoom IRs applied:

Reader's Choice: Most Popular Drum Production articles in 2014

by Dan Gonzalez

Free Quick Kit Project Templates for SONAR X3 Users


Yes, we’re bringing back the freebie post from last December. Our Free Quick Kit Project Templates made a big splash with the community as one of our top posts over the last 12 months. These pre-mixed project templates load right from quick start menu in all three versions of SONAR X3 without any assembly required. Open a quick kit, drop in your sequence, and you’re ready to rock with great sounding drums. Now we’re opening it up to anyone who has Session Drummer 3 in their arsenal.  Download the free pack here.

9 Microphone Techniques for Recording a Snare Drum

Ever wanted to know how to mic up a snare drum? Well we wrote a comprehensive article about 9 different ways to do it. This article is brought to you by the community of Cakewalk readers that follow the blog and read it regularly. Check out the article here.

What’s New in Addictive Drums 2?

2014 brought us more than just content, it brought us Addictive Drums 2. Ever since we’ve posted our extensive video about XLN Audio’s new instrument we’ve heard nothing but great reviews. Here’s our most popular video chosen by the readers of The Cakewalk Blog. Check it out here.

Subtractive EQ Part 1: Snare Drum

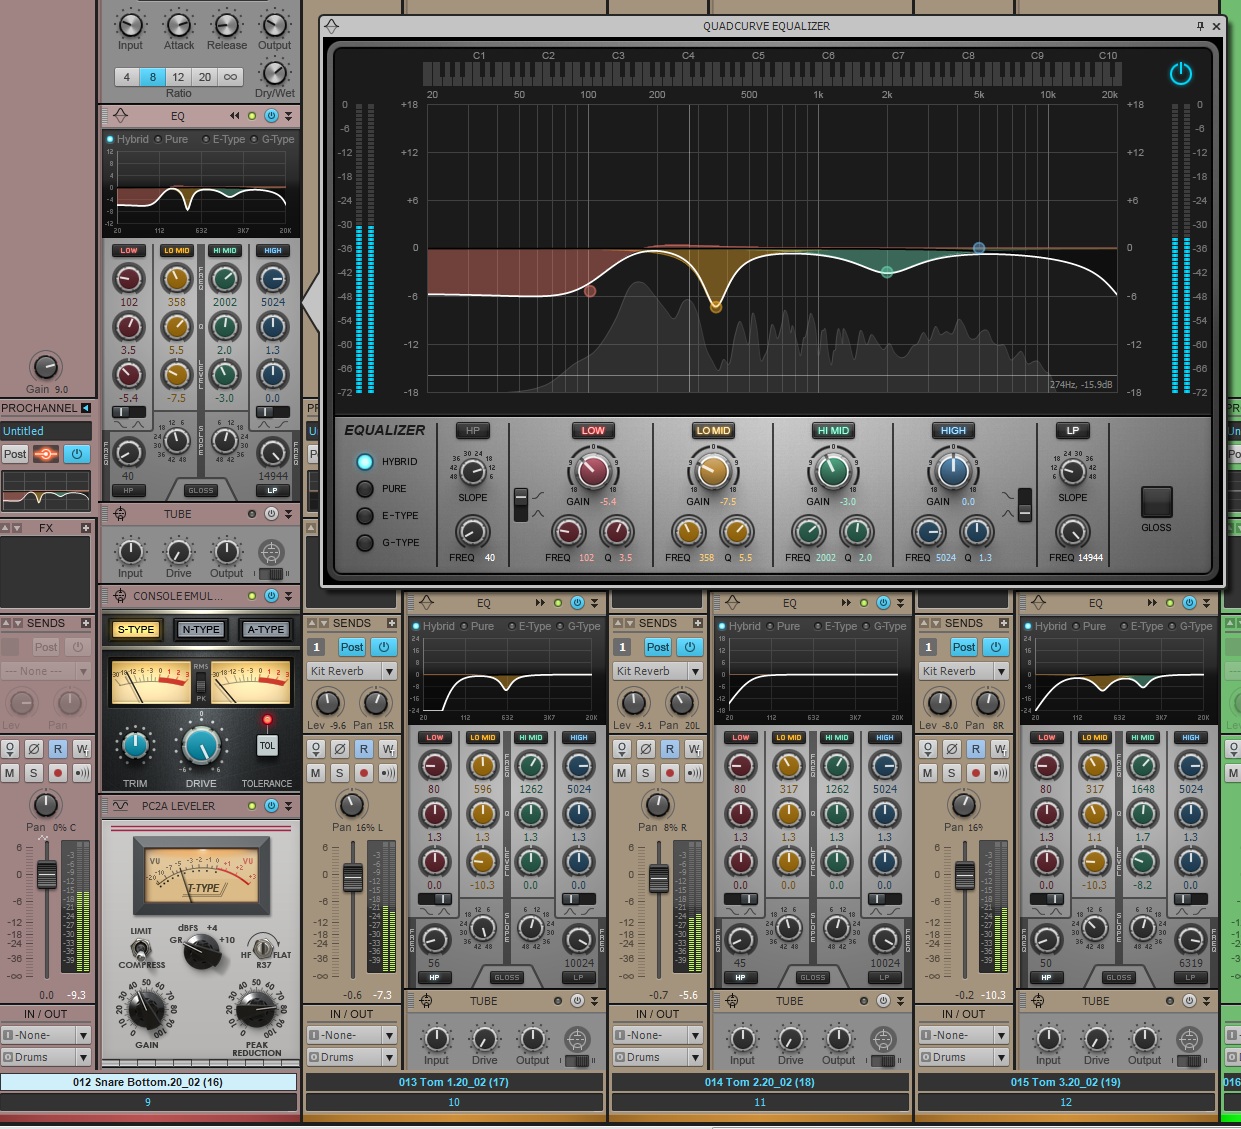
Here’s one of our most popular posts this past year in case you missed it the first time around. There are a ton parts to this series, but the first part has seemed to win over the rest. Here’s a nice thick article about how to apply subtractive EQ to a snare drum. Check it out here.

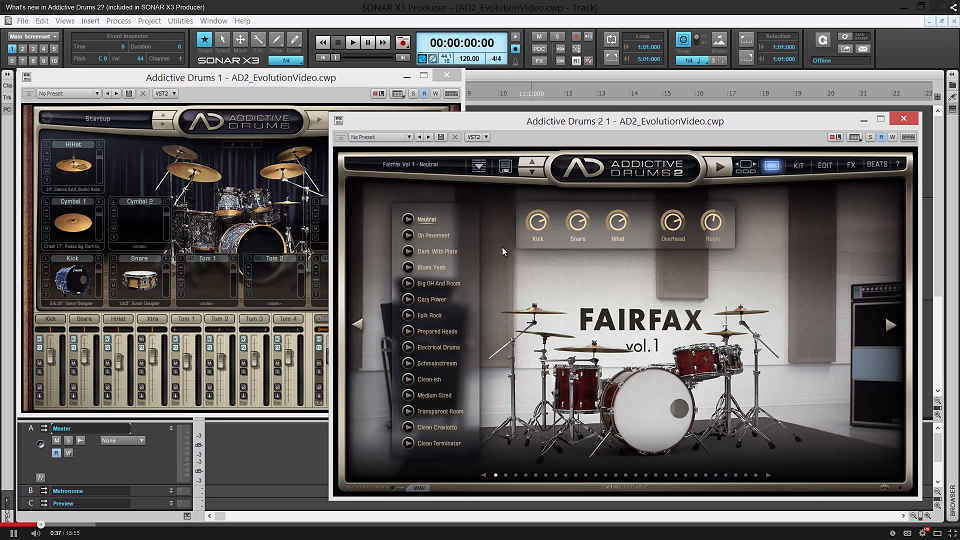
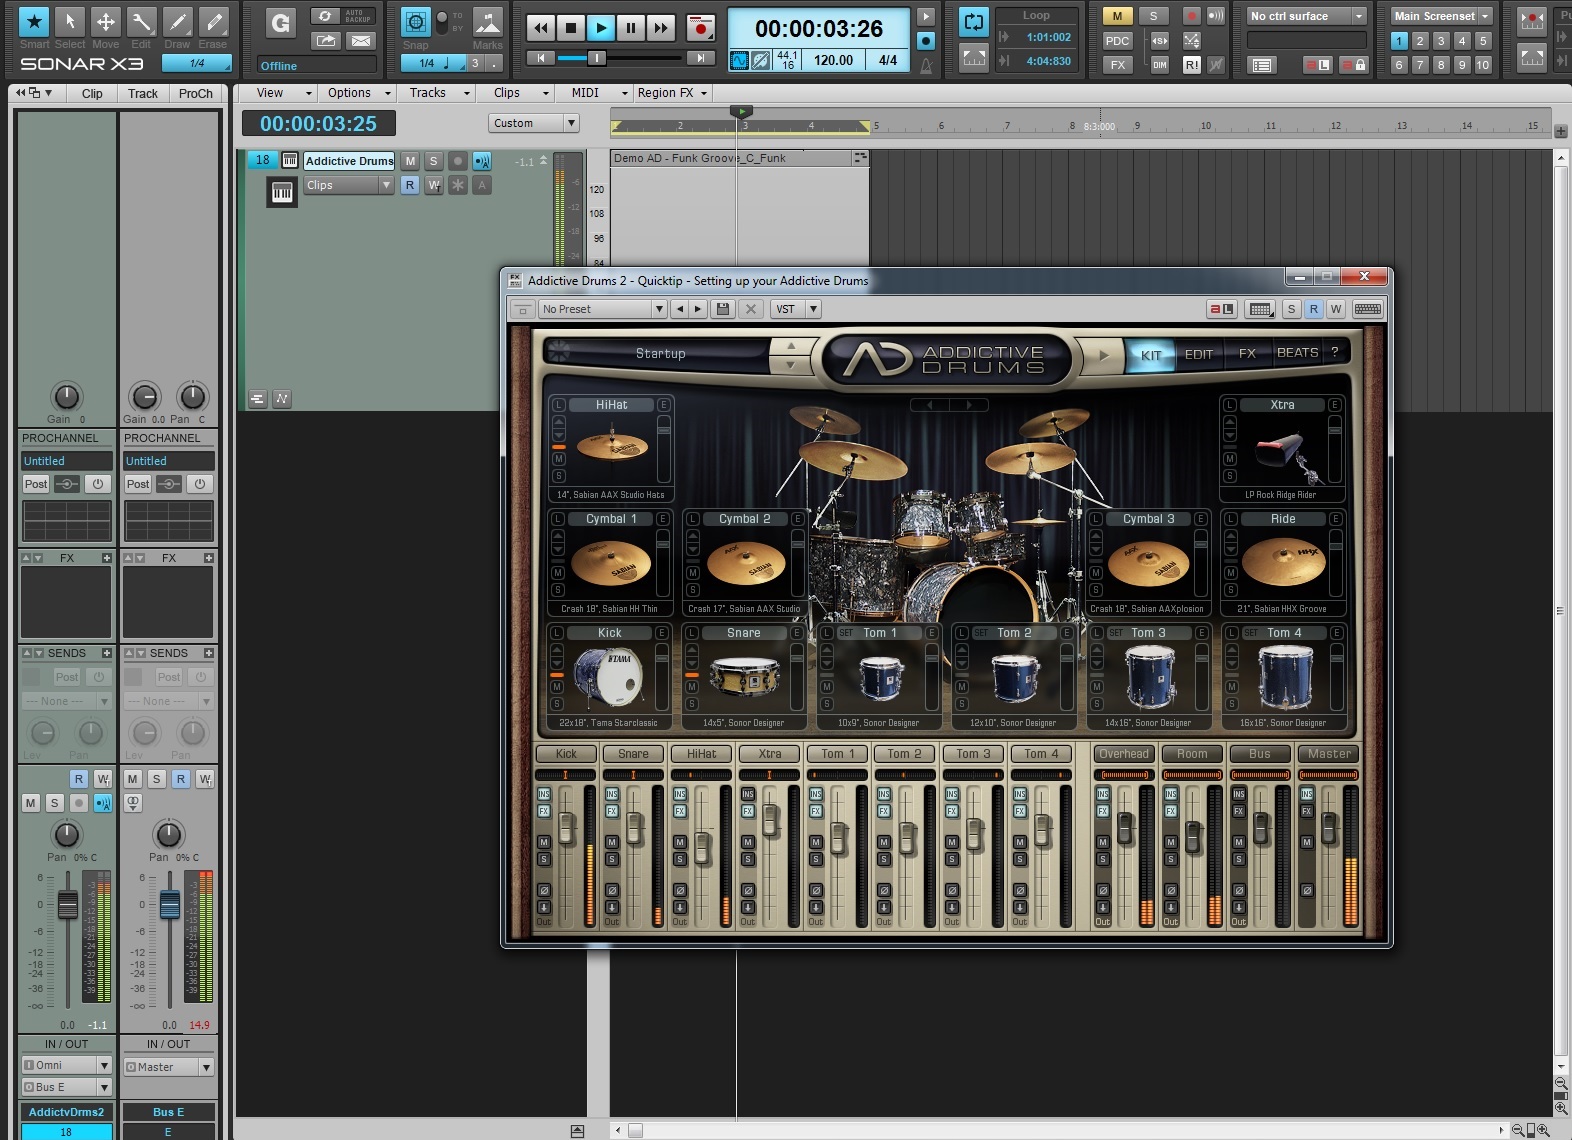
Setting up your Addictive Drums

Check out how you can easily setup Addictive Drums (1 & 2) to accommodate multiple different working environments within SONAR X3 Studio and Producer. This one of kind drum synth is the best of the best. Check out the article here.

How to use Compression on Snare Drum in SONAR X3

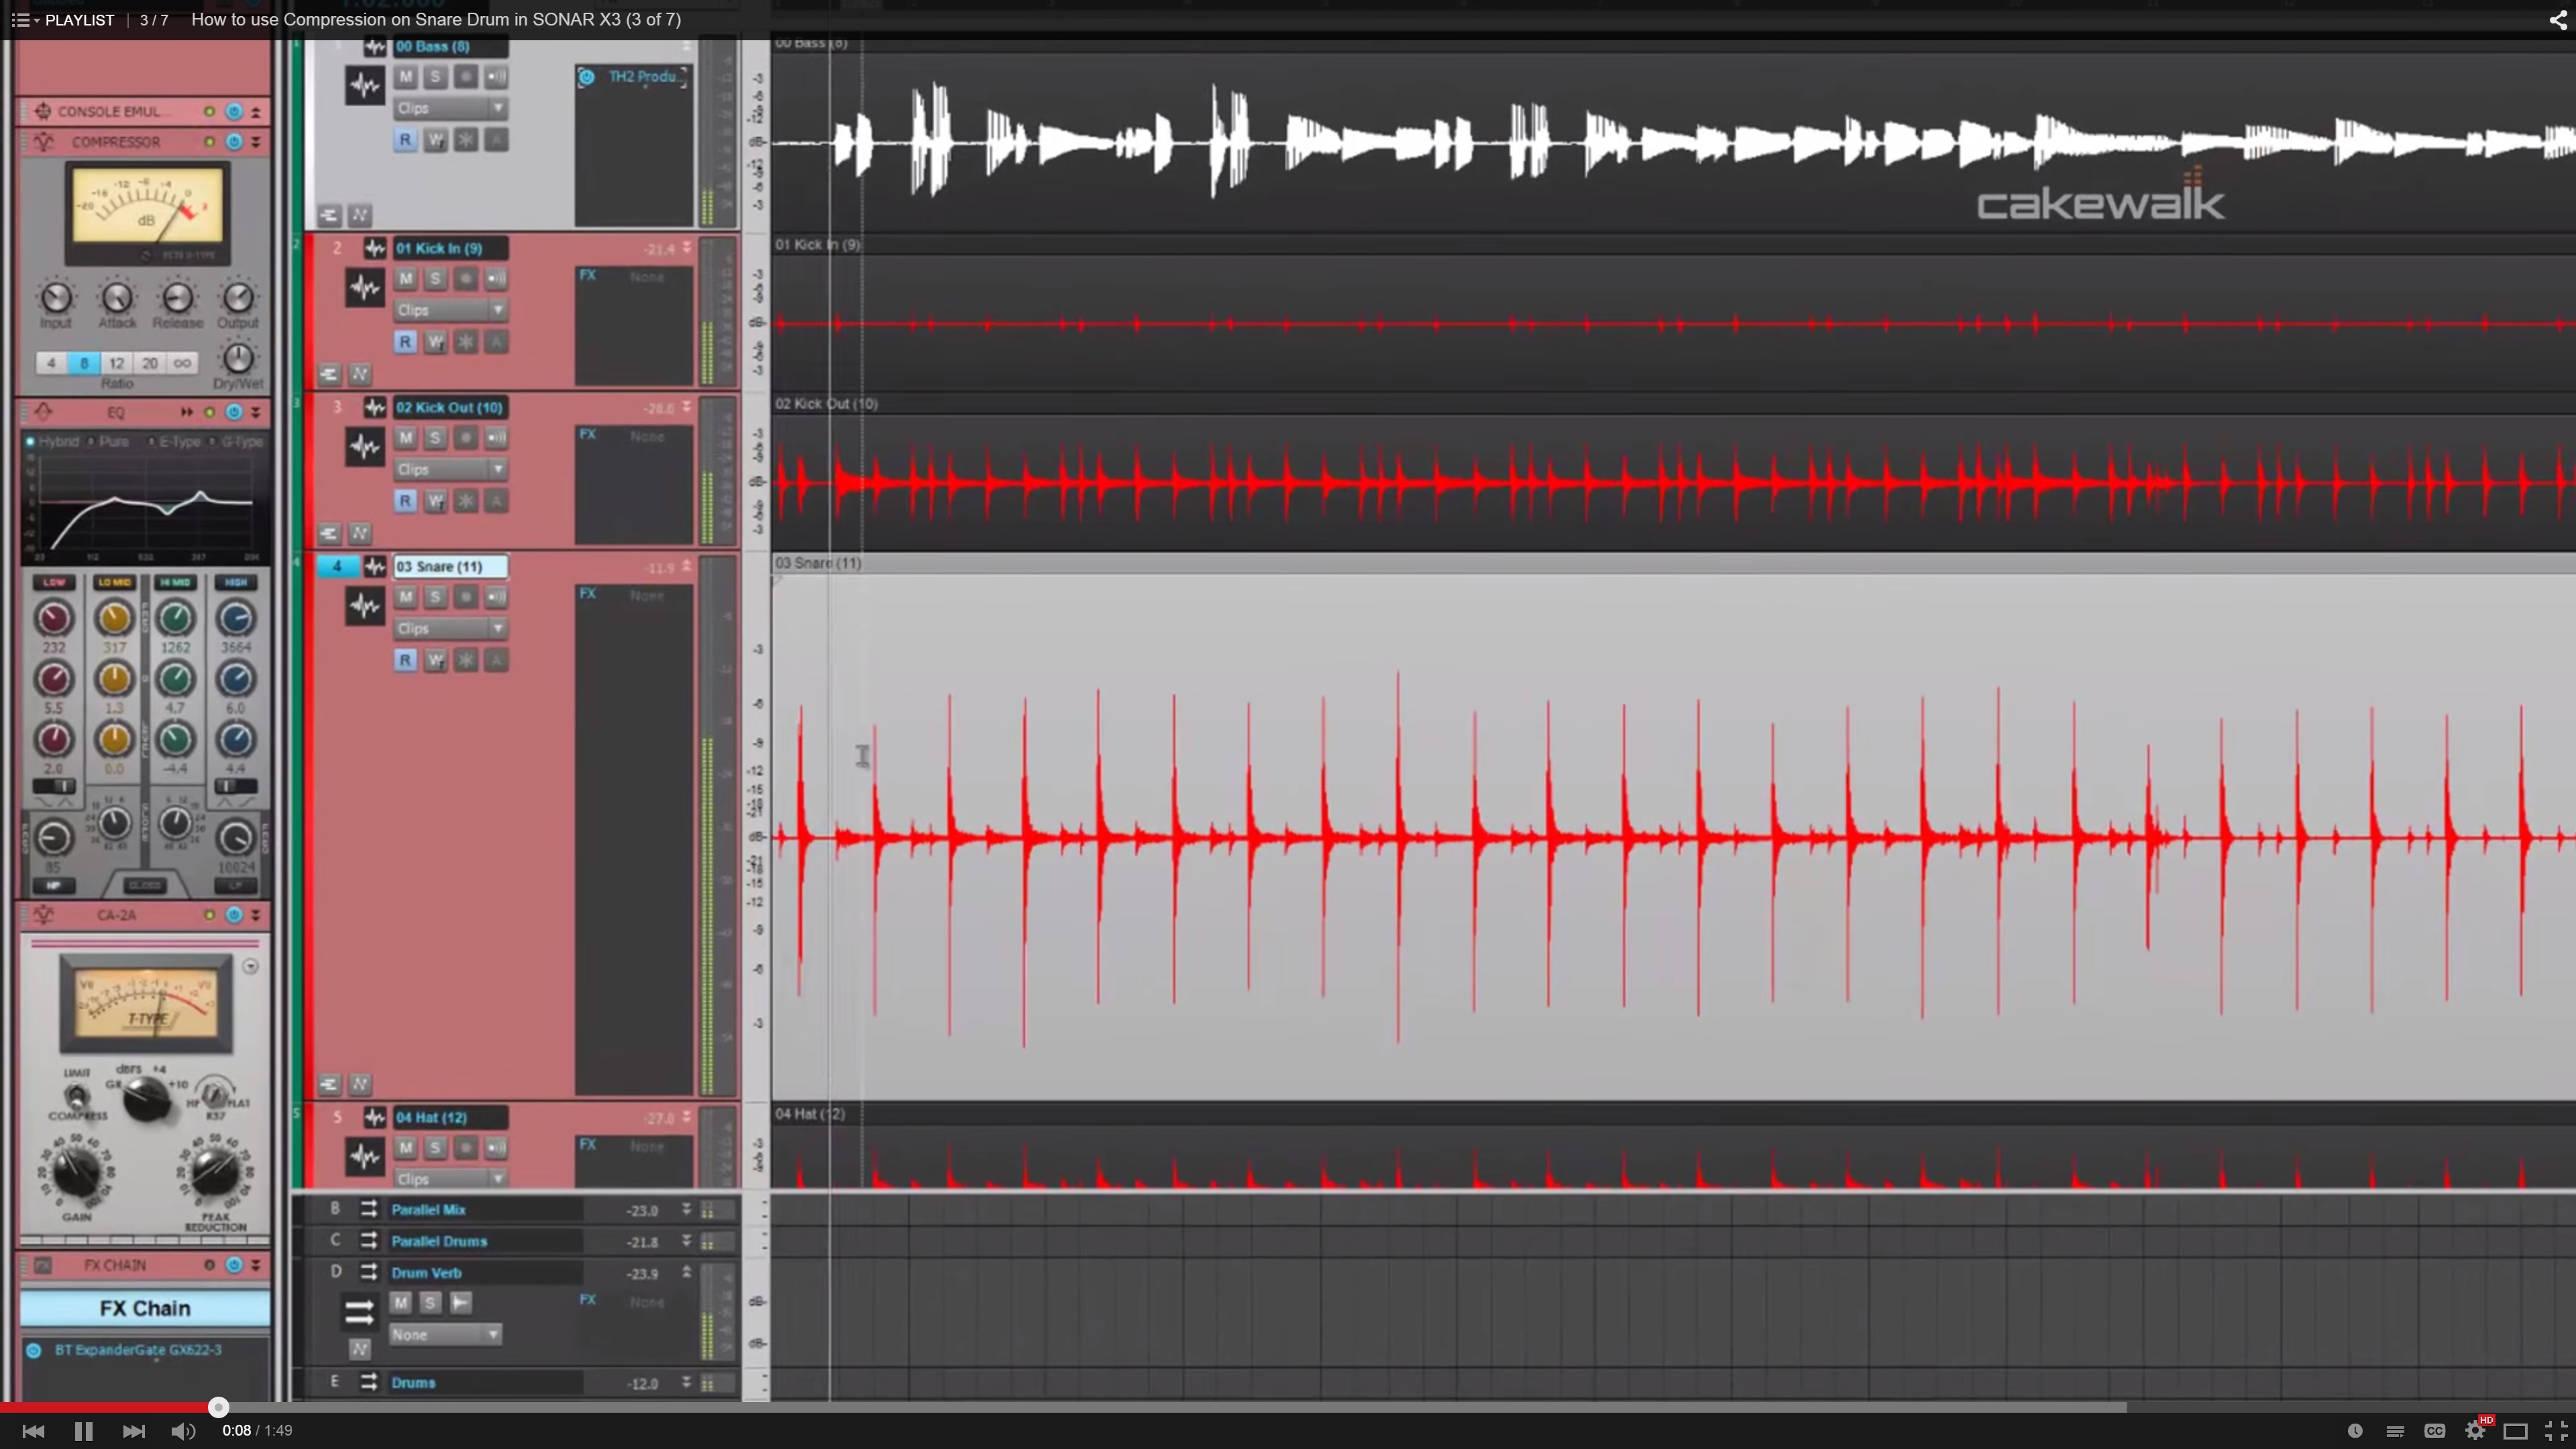
Using compression is one of those tools that is tricky to understand if you’re not familiar with how the different audio signals in your mix. Check out our most viewed video from the extensive video series about using the CA-2A Leveling Amp on snare drum. Check out the video here.

How to Compress Drum Reverb in SONAR X3

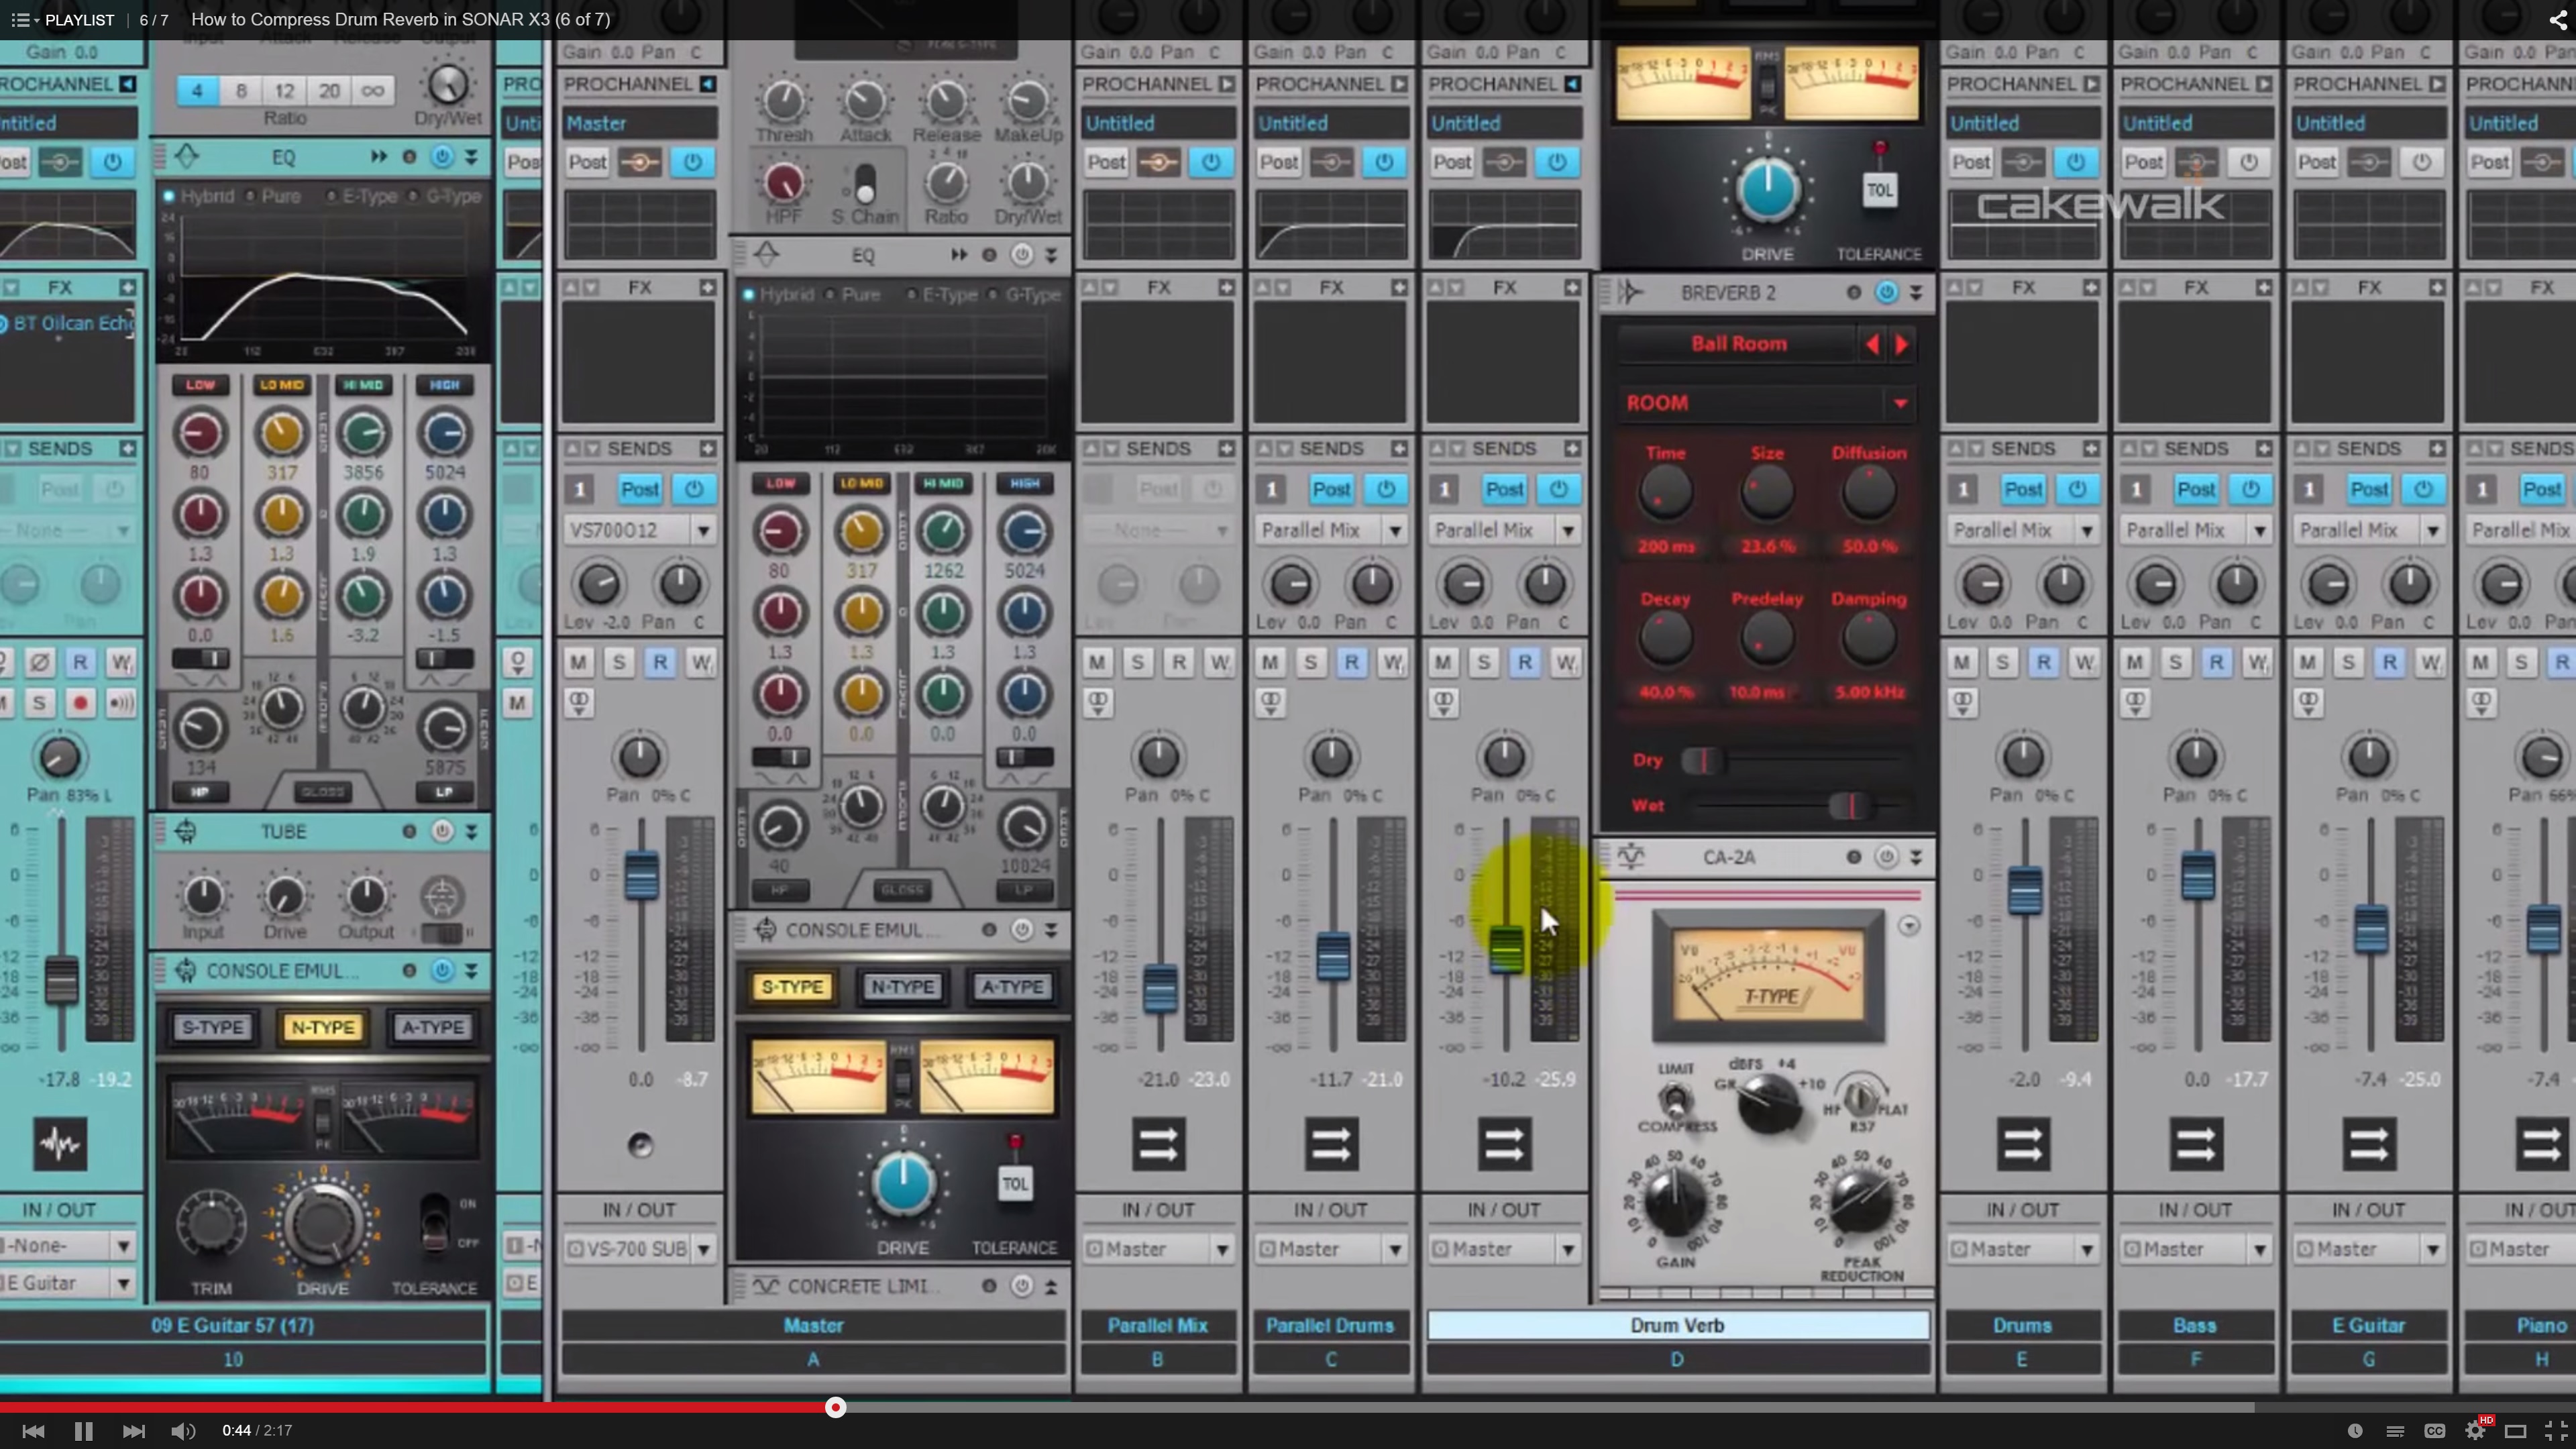
Another popular drum related video from the Compression video series is #6 where I give some tips on using compression on drum reverb. You can see the video here.

Producing Drum Samples in SONAR X3

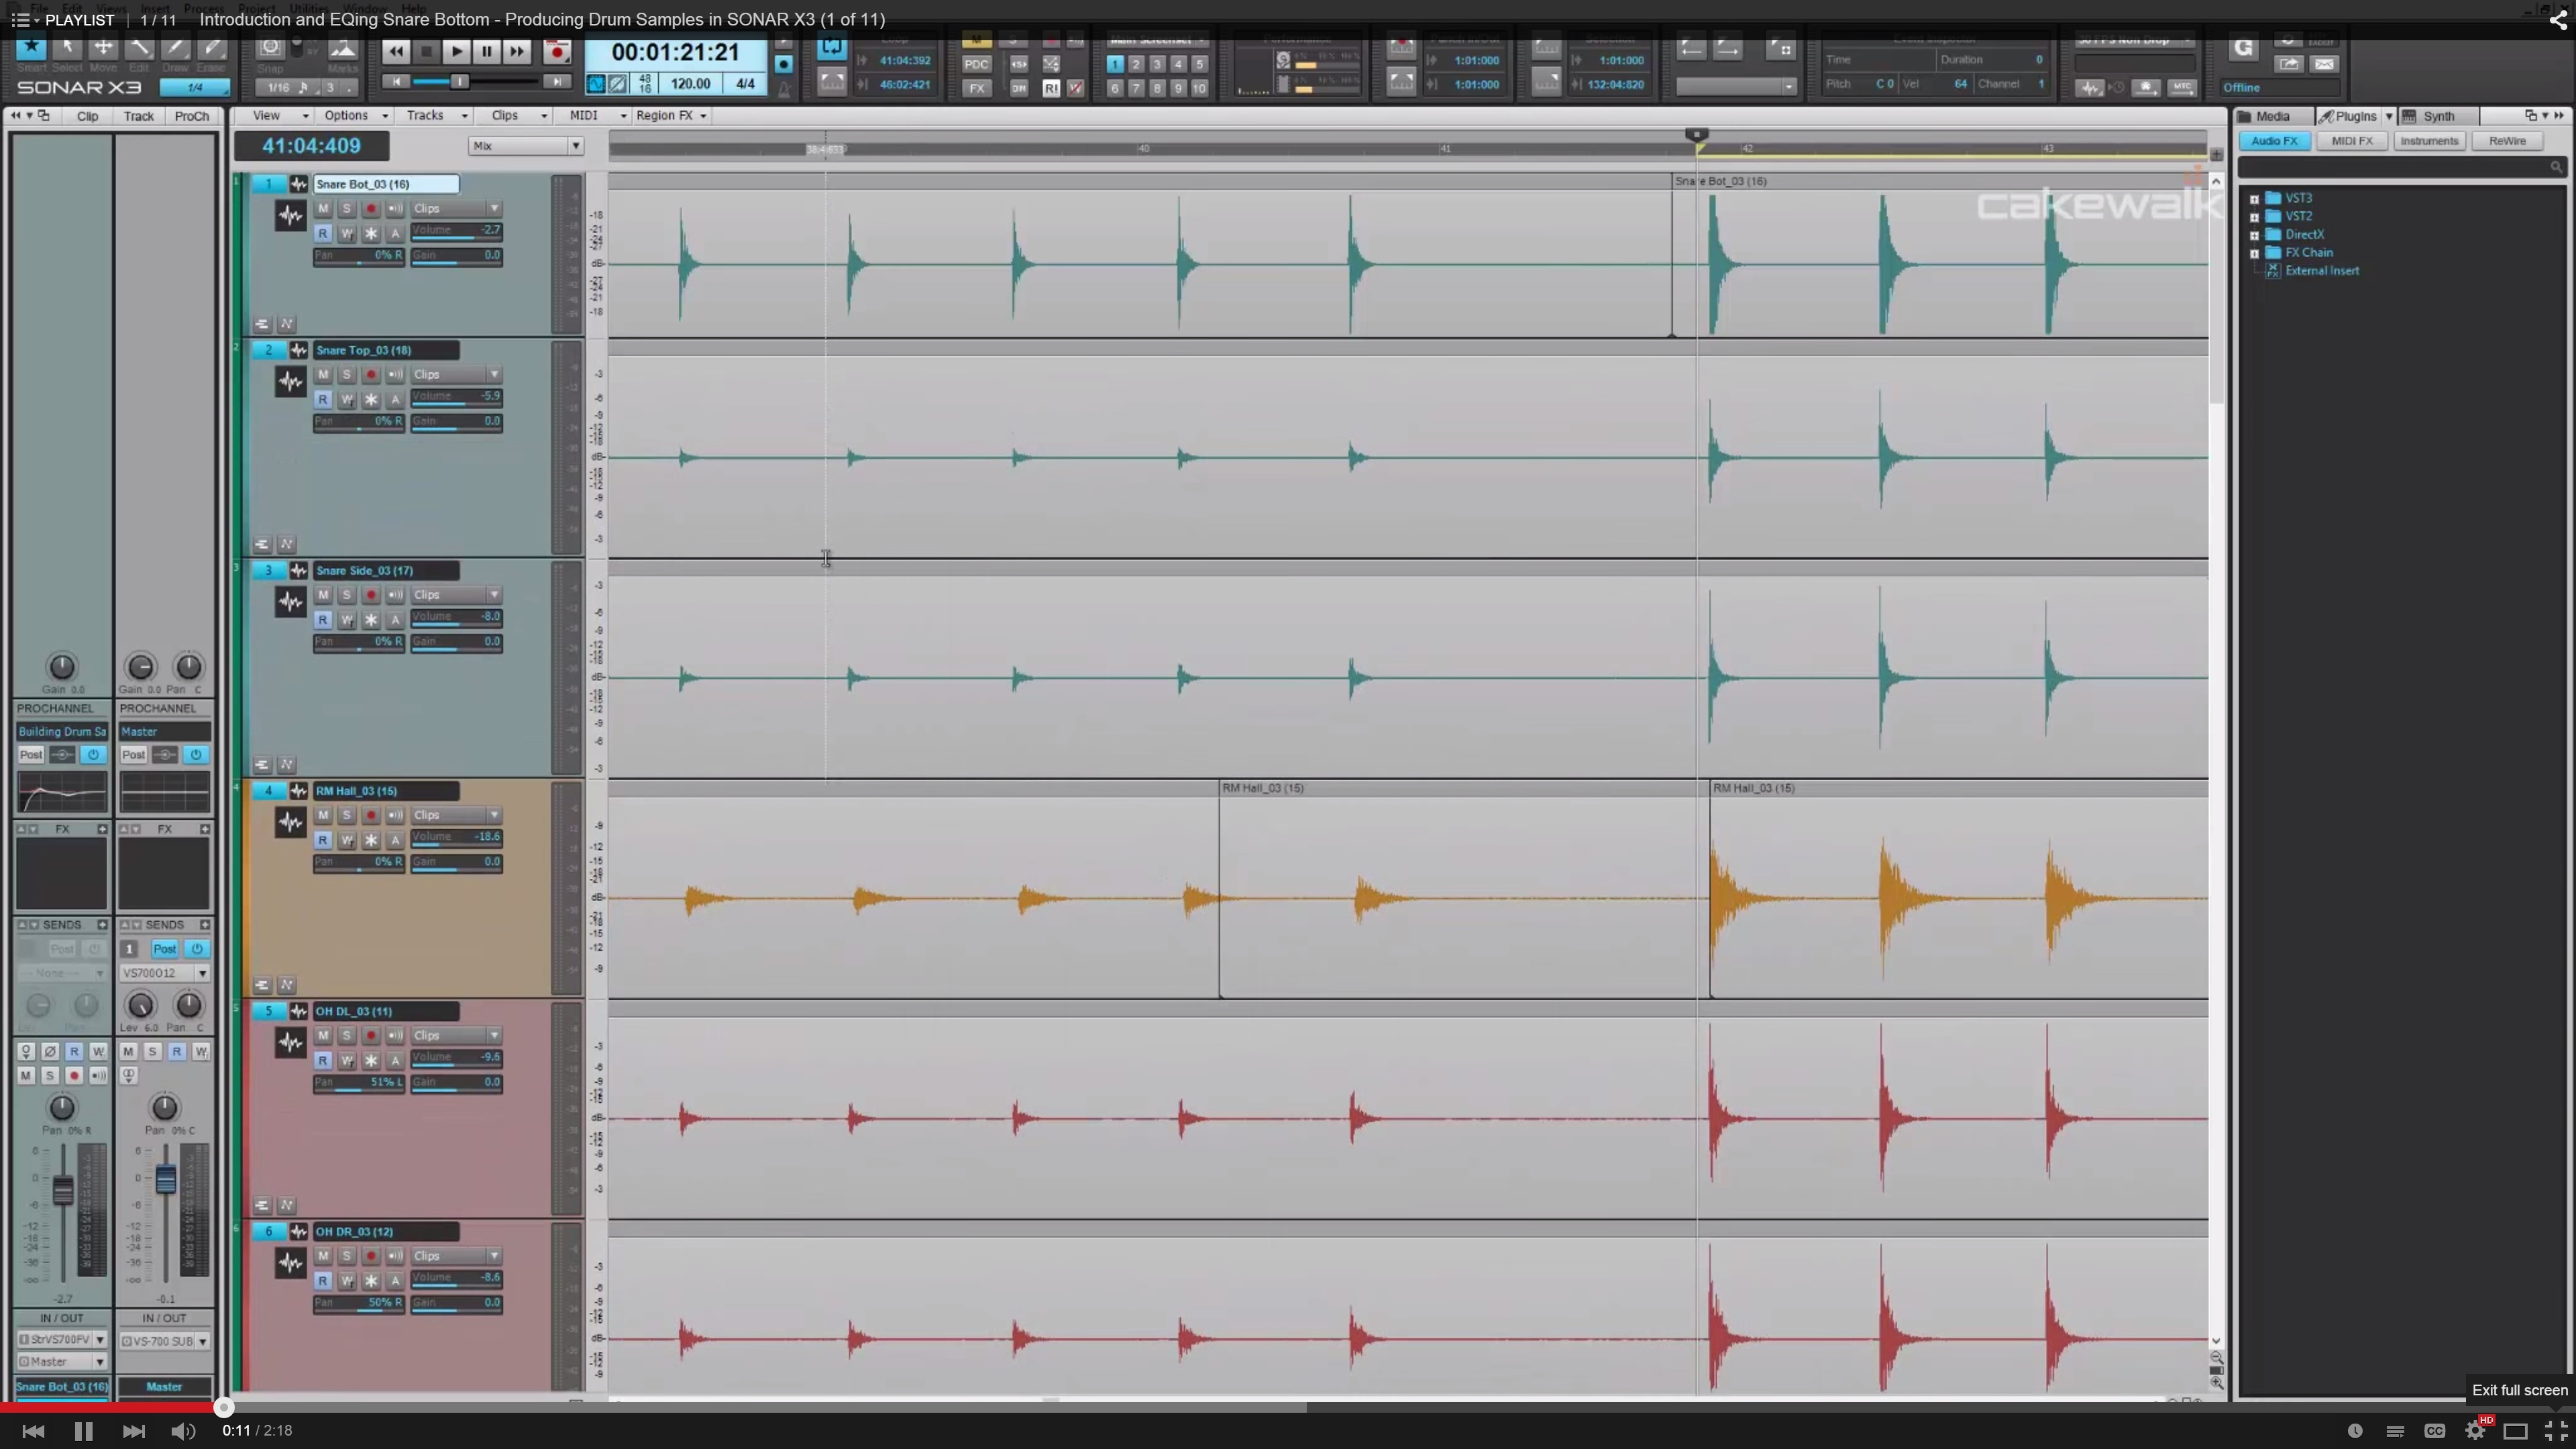
Last but not least we’ve seen that our community has really enjoyed our Producing Drum Samples video series. This video series is available to watch here and guides you through some awesome ways to mix and EQ drum samples to your liking.

If you’re looking for more Drum Production tips check out the tag for this on our blog here.

Basics: Five Questions about Effects Placement

By Craig Anderton

There are plenty of places in SONAR where you can process the audio signal, but you need to know how to choose the right one.

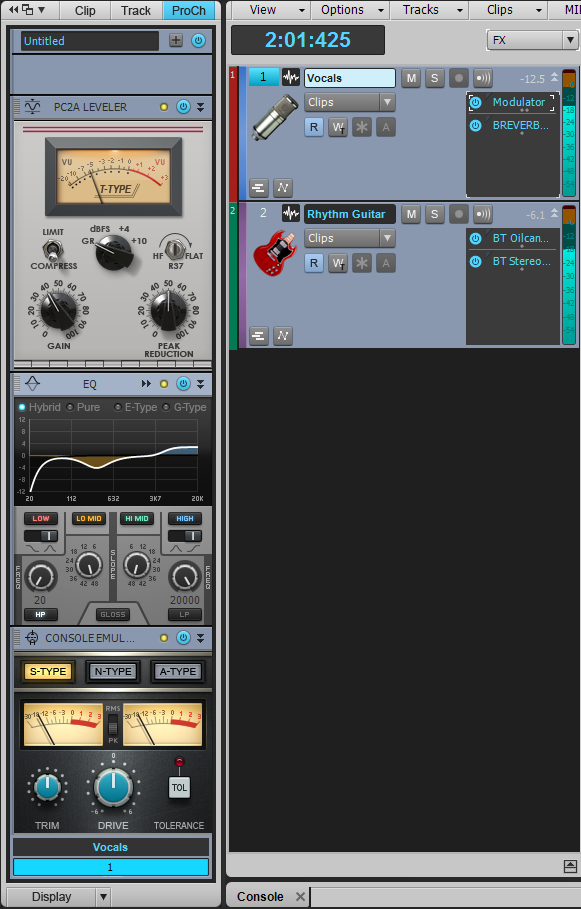
What’s an “insert” effect? Don’t you always “insert” an effect? You indeed “insert” effects, but there’s a specific effect type usually called an Insert effect that inserts into an individual mixer channel. In SONAR, this inserts into a channel’s FX Bin or the ProChannel (Fig. 1).

Fig. 1: The FX bin for two channels have insert effects, as does the ProChannel for the Vocals channel.

Insert effects affect only the channel into which they are inserted. Typical insert effects include dynamics processors, distortion, EQ (because of EQ’s importance, it’s a permanent ProChannel insert effect), flanging, and other effects that apply to a specific sound in a specific channel.

Then what’s a “send” effect? Also called an Continue reading “Basics: Five Questions about Effects Placement”

Basics: Five Questions About Panning Laws

By Craig Anderton

It’s not just a good idea, it’s the law…panning law, that is. Let’s dispel the confusion surrounding this sometimes confusing topic.

What does a panning law govern? When a mono input feeds a stereo bus, the panning law determines the apparent and actual sound level as you sweep from one side of the stereo field to the other.

But why is a “law” needed? Doesn’t the level just stay the same as you pan? Not necessarily. Panning laws date back to analog consoles. If a pan control had a linear taper (in other words, a constant rate of resistance change as you turned it), then the sound was louder when panned to center. To compensate, hardware mixers used non-linear resistance tapers to drop the level, typically by -3 dB RMS, at the center. This gave an apparent level that was constant as you panned across the stereo soundstage. If that doesn’t make sense…just take my word for it, and keep reading.

Okay, then there’s a law. Isn’t that the end of it? Well, it wasn’t really a “law,” or a standard. Come to think of it, it wasn’t a specification or even a “recommendation.” Some engineers dropped the center level a little more to let the sides “pop” more, or to have mixes seem less “monoized” and therefore create more space for vocalists who were panned to center. Some didn’t drop the center level at all, and some did custom tweaks.

Why does this matter to a DAW like SONAR, which doesn’t have a hardware mixer? Different DAWs default to different panning laws. This is why duplicating a mix on different DAWs can yield different results, and lead to foolish online discussions about how one DAW sounds “punchier” or “wimpier” than another if someone brings in straight audio files and sets the panning and faders identically.

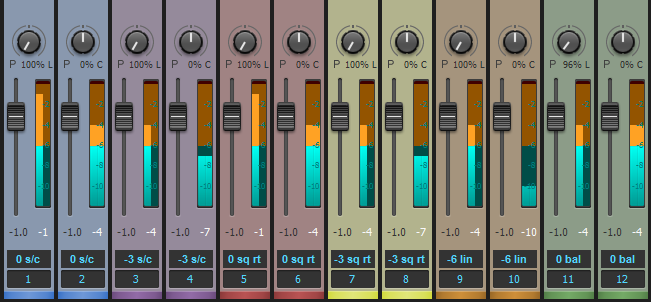
A mono signal of the same level feeds each fader pair, and each pair is subject to different SONAR panning laws. Note the difference in levels with the panpot panned to one side or centered. The tracks are in the same order as the descriptions in SONAR’s panning laws documentation and the listing in preferences. Although the sin/cos and square root versions may seem to produce the same results, the taper differs across the soundstage between the hard pans and center.

This sounds complicated, and is making my head explode—can you just tell me what I need to do so I can go back to making music? SONAR provides six different panning law options under Preferences, so not only can you choose the law you want, the odds of being able to match a different DAW’s law are excellent. The online help describes how the panning laws affect the sound. So there are really only two crucial concepts:

  • The pan law you choose can affect a mix’s overall sound if you have a lot of mono sound sources (panpots with stereo channels are balance controls, which is a whole other topic). So try mixes with different laws, choose a law you like, and stick with it. I prefer -3 dB center, sin/cos taper, and constant power; the signal level stays at 0dB when panned right or left, but drops by -3 dB in each channel when centered. This is how I built hardware mixers, so it’s familiar territory. It’s also available in many DAWs. But use what you like…after all, I’m not choosing what’s “right,” I’m simply choosing what I like.
  • If you import an OMF file from another DAW or need to duplicate a mix from another DAW, ask what panning law was used in creating the file. One of SONAR’s many cool features is that it will likely be able to match it.

There, that wasn’t so bad. Ignorance of the law is no excuse, and now you have answers to five questions about panning laws.


Basics: Five Questions About Using Stompboxes with SONAR

by Craig Anderton

Plug-in signal processors are a great feature of computer-based recording programs like SONAR, but you may have some favorite stompboxes with no plug-in equivalents—like that cool fuzz pedal you love, or the ancient analog delay you scored on eBay. Fortunately, with just a little bit of effort you can make SONAR think external hardware effects are actually plug-ins.

1. What do I need to interface stompboxes with SONAR? You’ll need a low-latency audio interface with an unusd analog output and unused analog input (or two of each for stereo effects), and cords to patch these audio interface connections to the stompbox. We’ll use the TASCAM US-4×4 interface because it has extra I/O and low latency, but the same principles apply to other audio interfaces.

2. How do I hook up the effect and the interface? SONAR’s External Insert plug-in inserts in an FX bin, and diverts the signal to the assigned audio interface output. You patch the audio interface output to a hardware effect’s input, then patch the hardware effect’s output to the assigned audio interface input. This input returns to the External Effect plug-in, and continues on its way through the mixer. For this example, we’ll assume a stompbox with a mono input and stereo output.

3. What are correct settings for the External Insert plug-in parameters? When you insert the External Insert into the FX bin, a window appears that provides all the controls needed to set up the external hardware.

  • Send. This section’s drop-down menu assigns the send output to the audio interface. In this example, the send feeds the US-4×4’s output 3. Patch this audio interface output to your effect’s input. (Note that if an output is already assigned, it won’t appear in the drop-down menu.)
  • Output level control. The level coming out of the computer will be much higher than what most stompboxes want, so in this example the output level control is cutting the signal down by about -12 dB to avoid overloading the effect.
  • Return. Assign this section’s drop-down menu to the audio interface input through which the stompbox signal returns (in this example, the US-4×4’s stereo inputs 3 and 4). Patch the hardware effect output(s) to this input or inputs.
  • Return level control. Because the stompbox will usually have a low-level output, this slider brings the gain back up for compatibility with the rest of the system. In this example, the slider shows about +10 dB of gain. (Note: You can invert the signal phase in the Return section if needed.)

4. Is it necessary to compensate for the delay caused Continue reading “Basics: Five Questions About Using Stompboxes with SONAR”