Reader's Choice: Most Popular Drum Production articles in 2014

by Dan Gonzalez

Free Quick Kit Project Templates for SONAR X3 Users


Yes, we’re bringing back the freebie post from last December. Our Free Quick Kit Project Templates made a big splash with the community as one of our top posts over the last 12 months. These pre-mixed project templates load right from quick start menu in all three versions of SONAR X3 without any assembly required. Open a quick kit, drop in your sequence, and you’re ready to rock with great sounding drums. Now we’re opening it up to anyone who has Session Drummer 3 in their arsenal.  Download the free pack here.

9 Microphone Techniques for Recording a Snare Drum
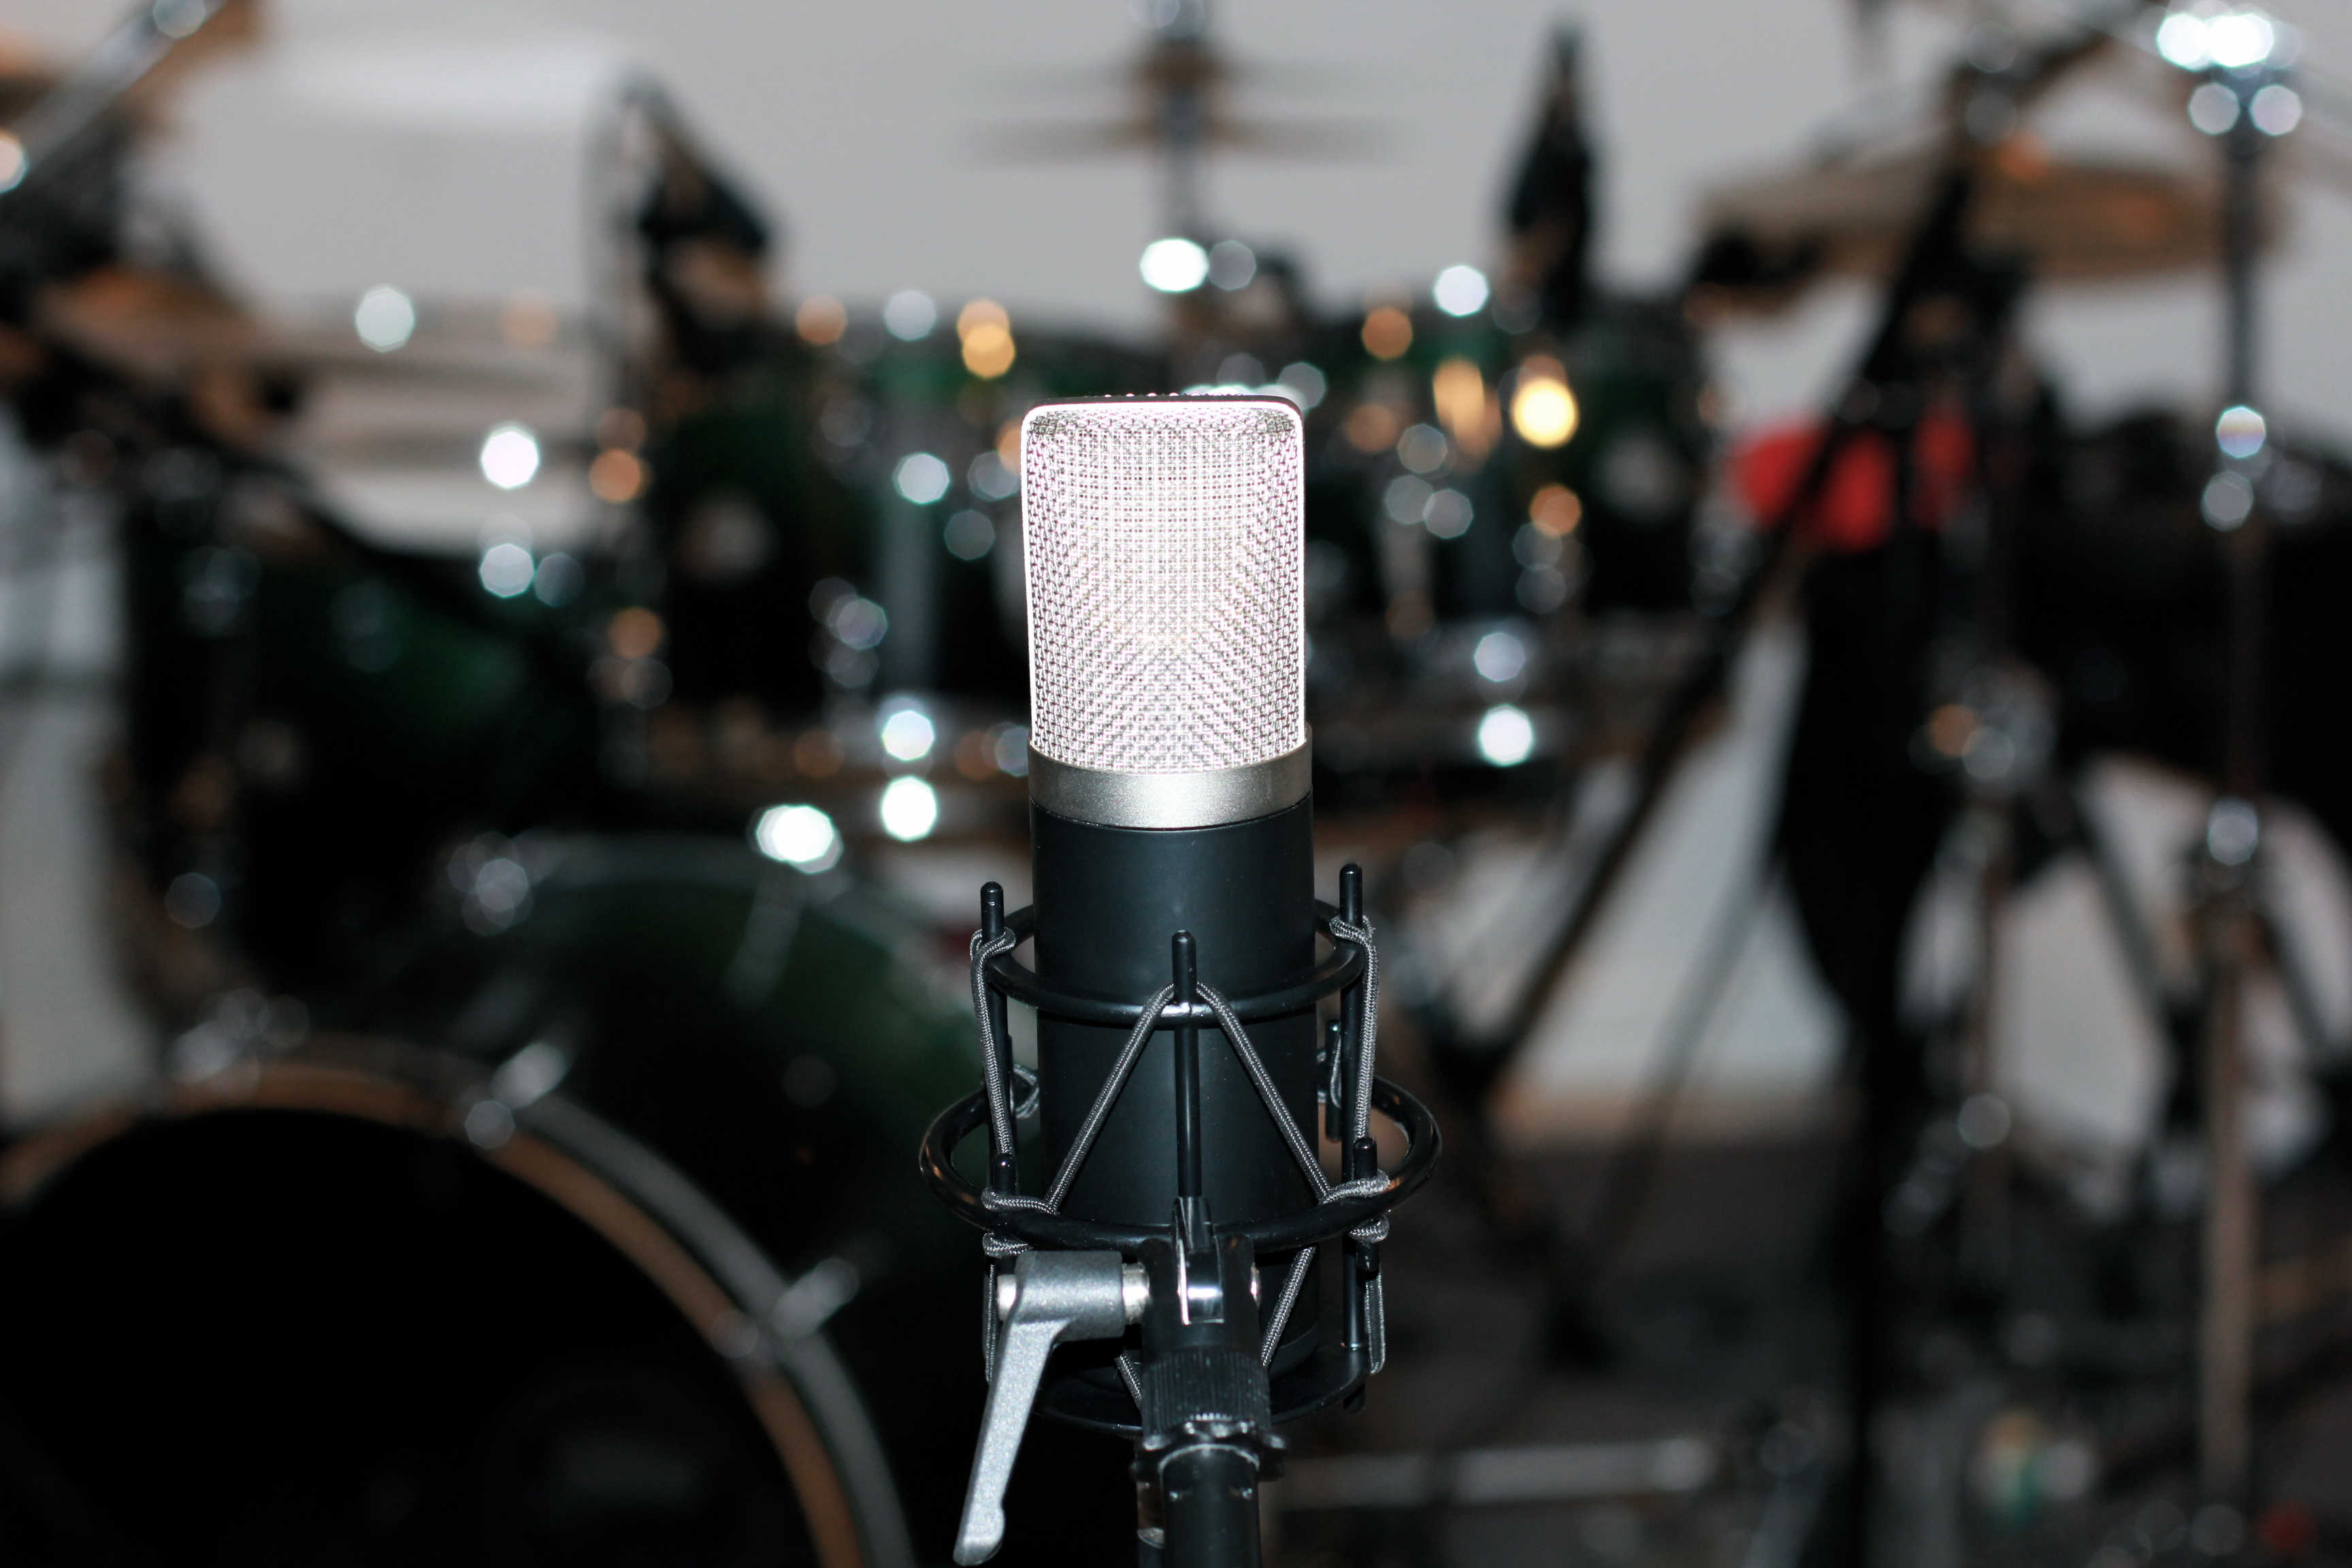
Ever wanted to know how to mic up a snare drum? Well we wrote a comprehensive article about 9 different ways to do it. This article is brought to you by the community of Cakewalk readers that follow the blog and read it regularly. Check out the article here.

What’s New in Addictive Drums 2?
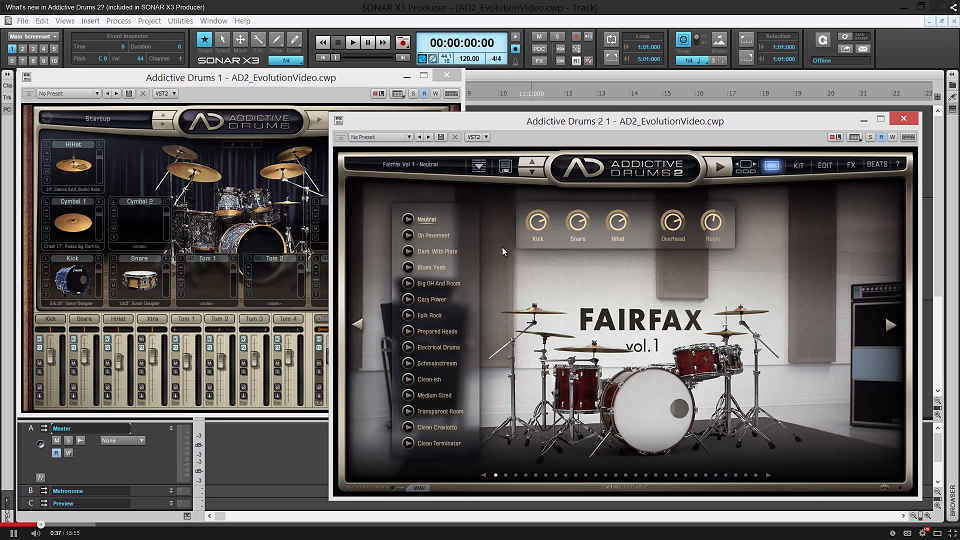
2014 brought us more than just content, it brought us Addictive Drums 2. Ever since we’ve posted our extensive video about XLN Audio’s new instrument we’ve heard nothing but great reviews. Here’s our most popular video chosen by the readers of The Cakewalk Blog. Check it out here.

Subtractive EQ Part 1: Snare Drum
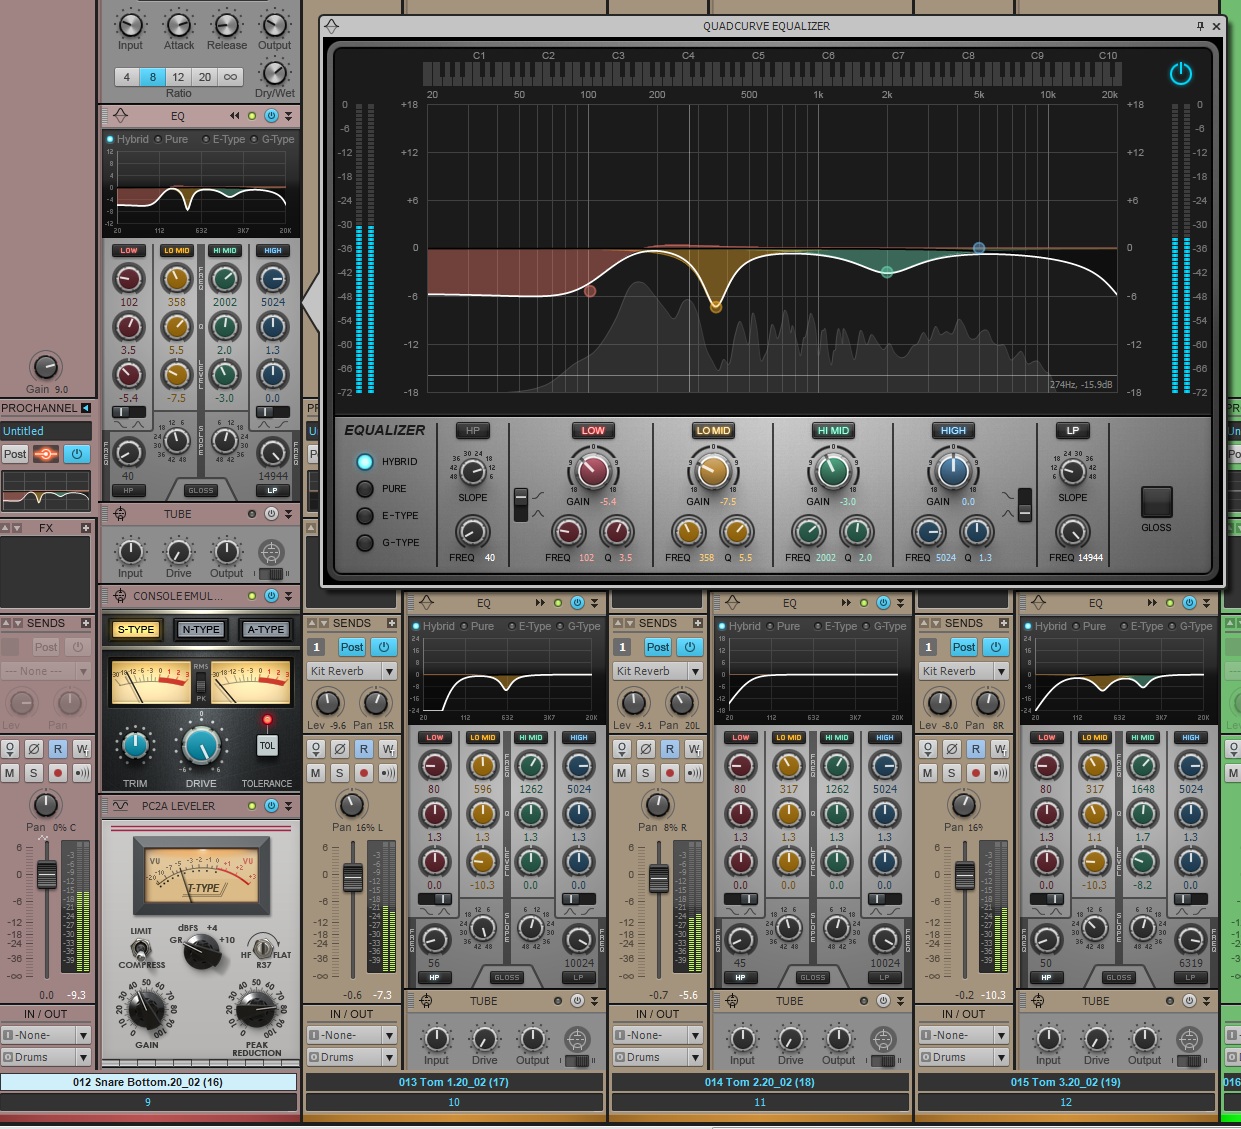
Here’s one of our most popular posts this past year in case you missed it the first time around. There are a ton parts to this series, but the first part has seemed to win over the rest. Here’s a nice thick article about how to apply subtractive EQ to a snare drum. Check it out here.

Setting up your Addictive Drums
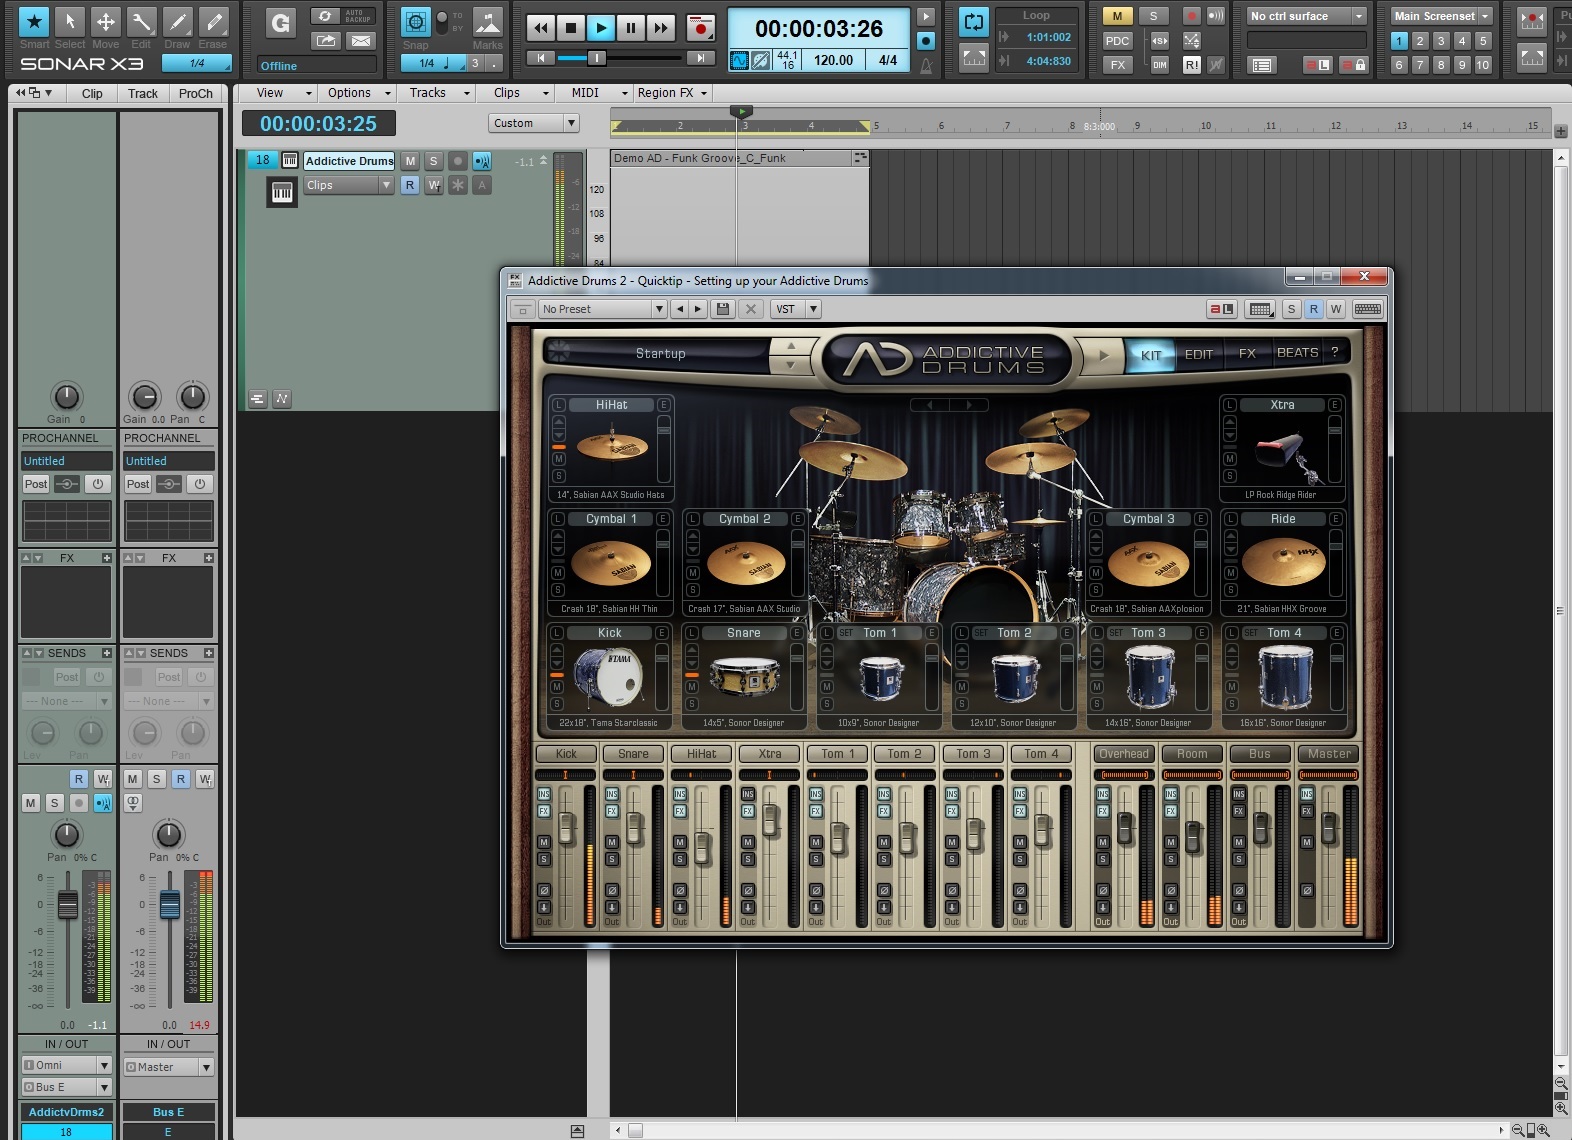
Check out how you can easily setup Addictive Drums (1 & 2) to accommodate multiple different working environments within SONAR X3 Studio and Producer. This one of kind drum synth is the best of the best. Check out the article here.

How to use Compression on Snare Drum in SONAR X3
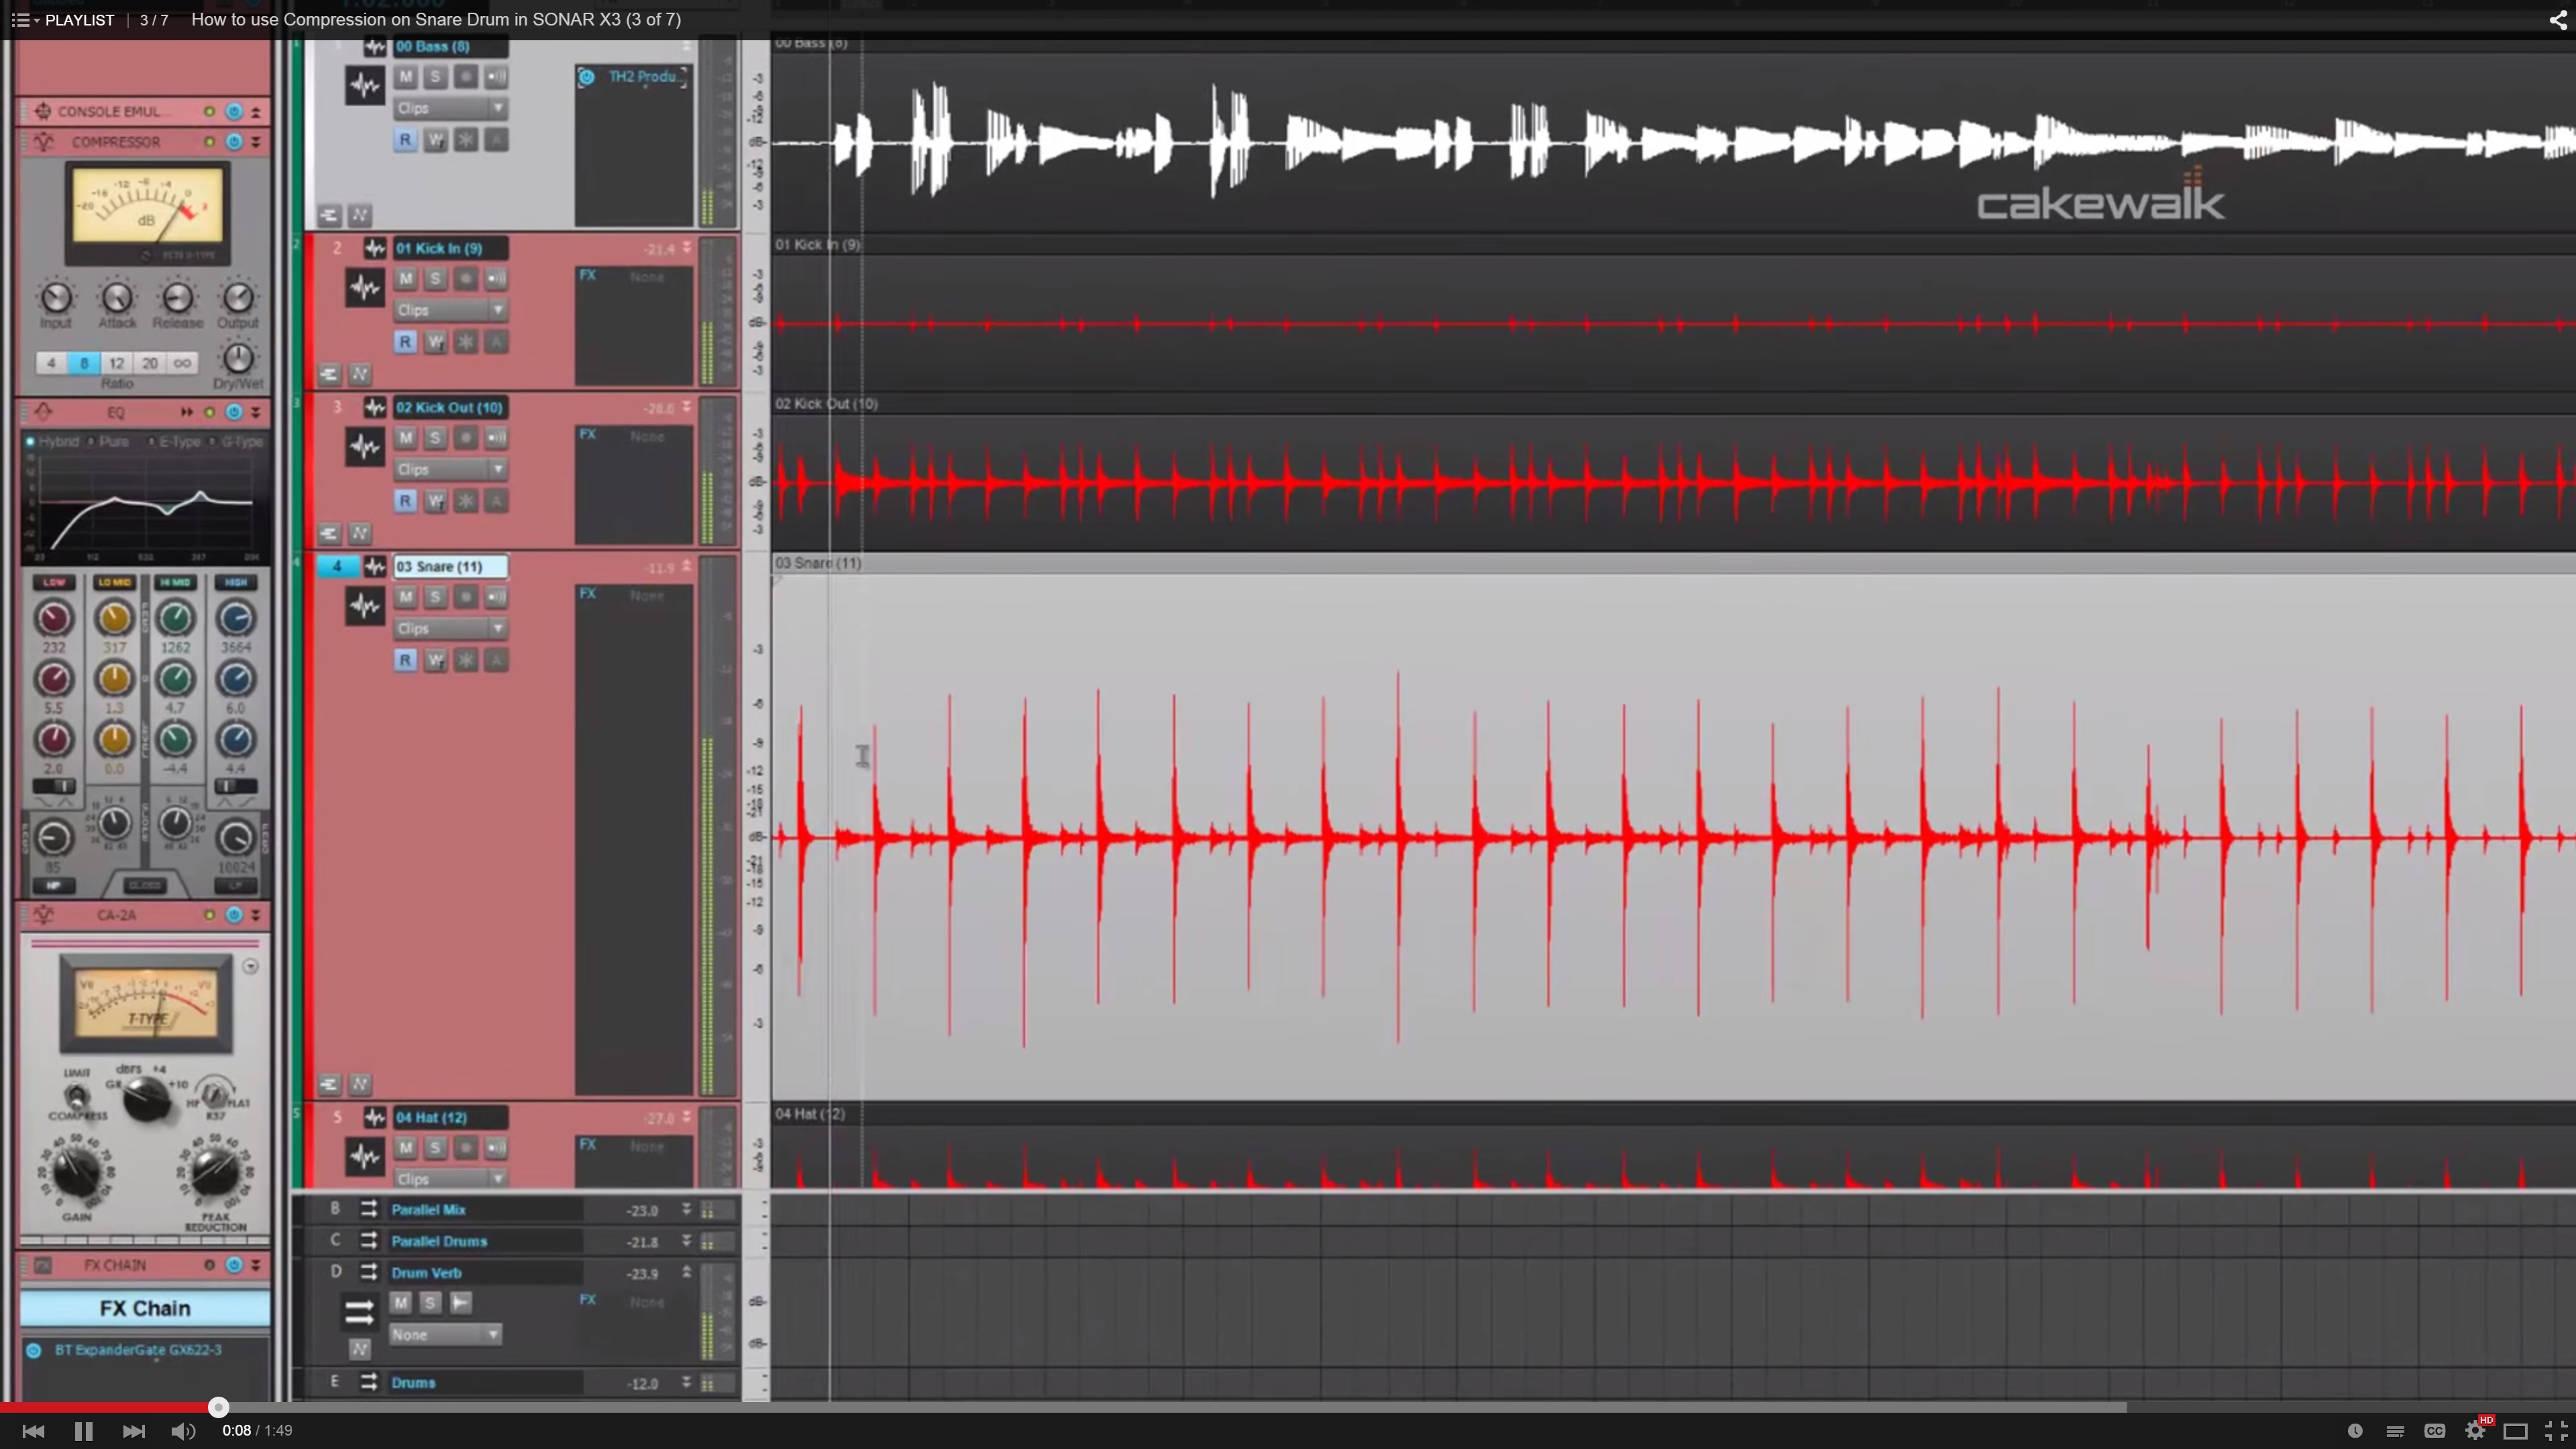
Using compression is one of those tools that is tricky to understand if you’re not familiar with how the different audio signals in your mix. Check out our most viewed video from the extensive video series about using the CA-2A Leveling Amp on snare drum. Check out the video here.

How to Compress Drum Reverb in SONAR X3
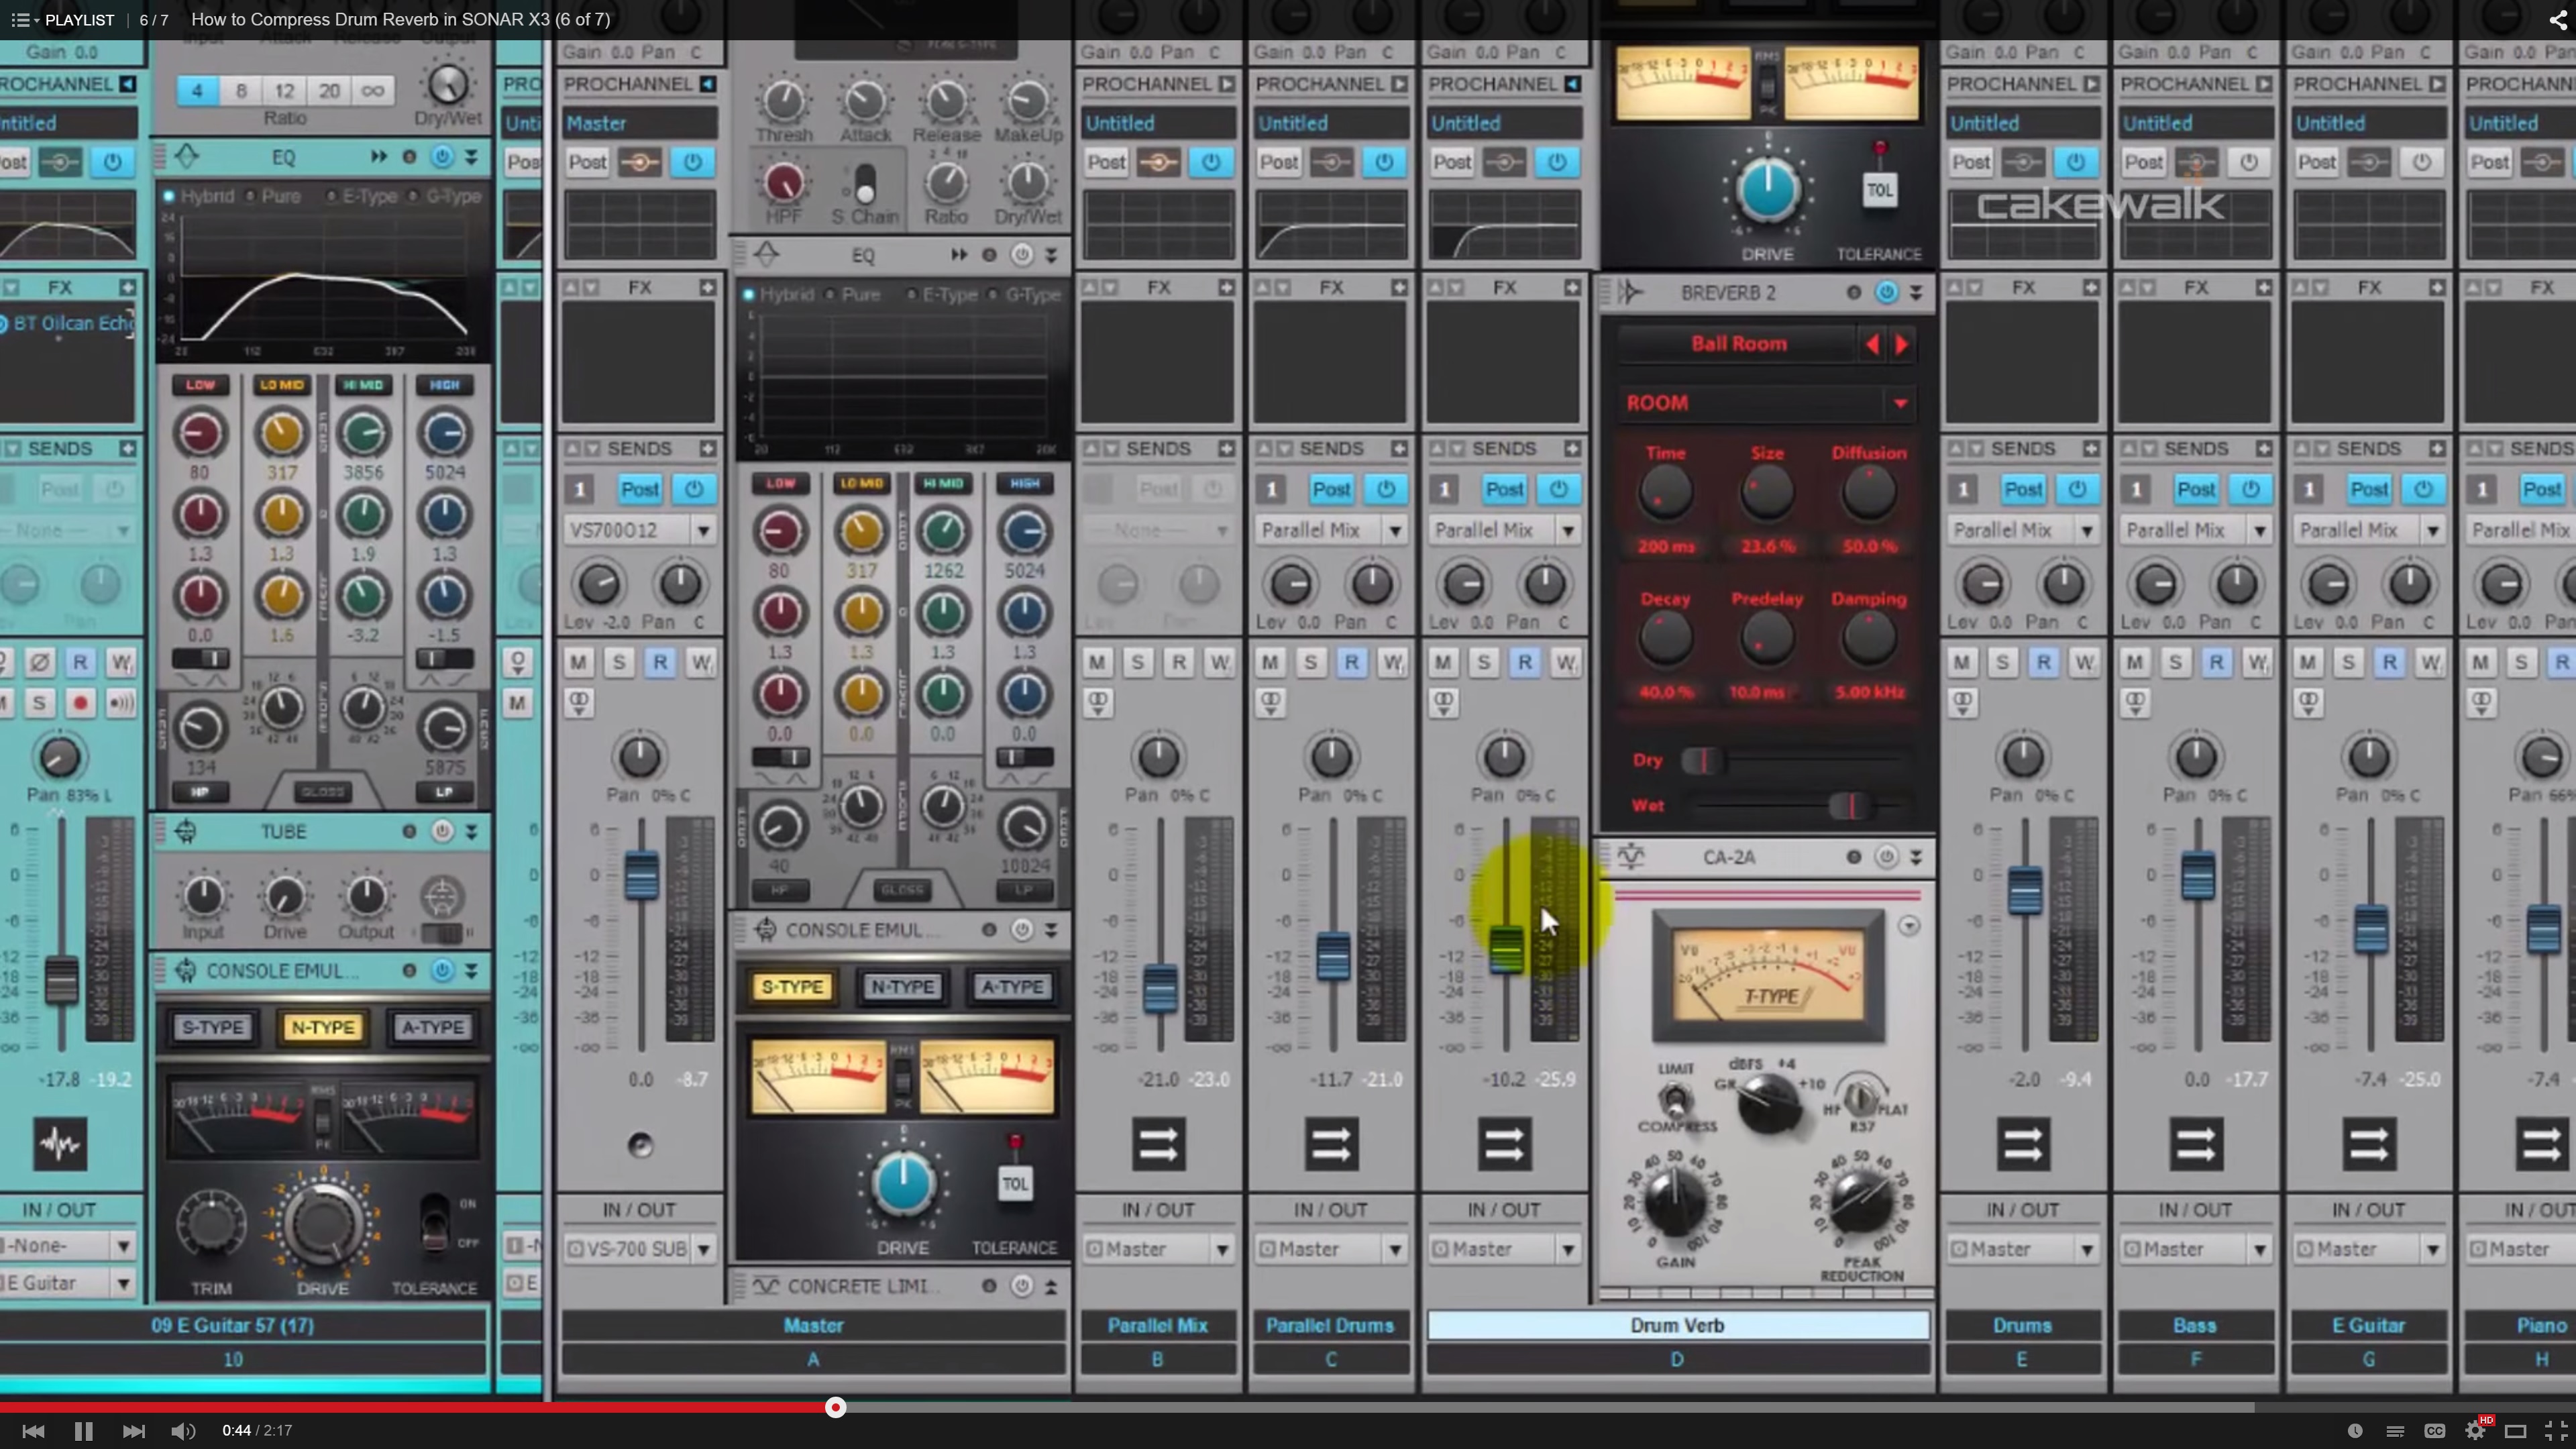
Another popular drum related video from the Compression video series is #6 where I give some tips on using compression on drum reverb. You can see the video here.

Producing Drum Samples in SONAR X3
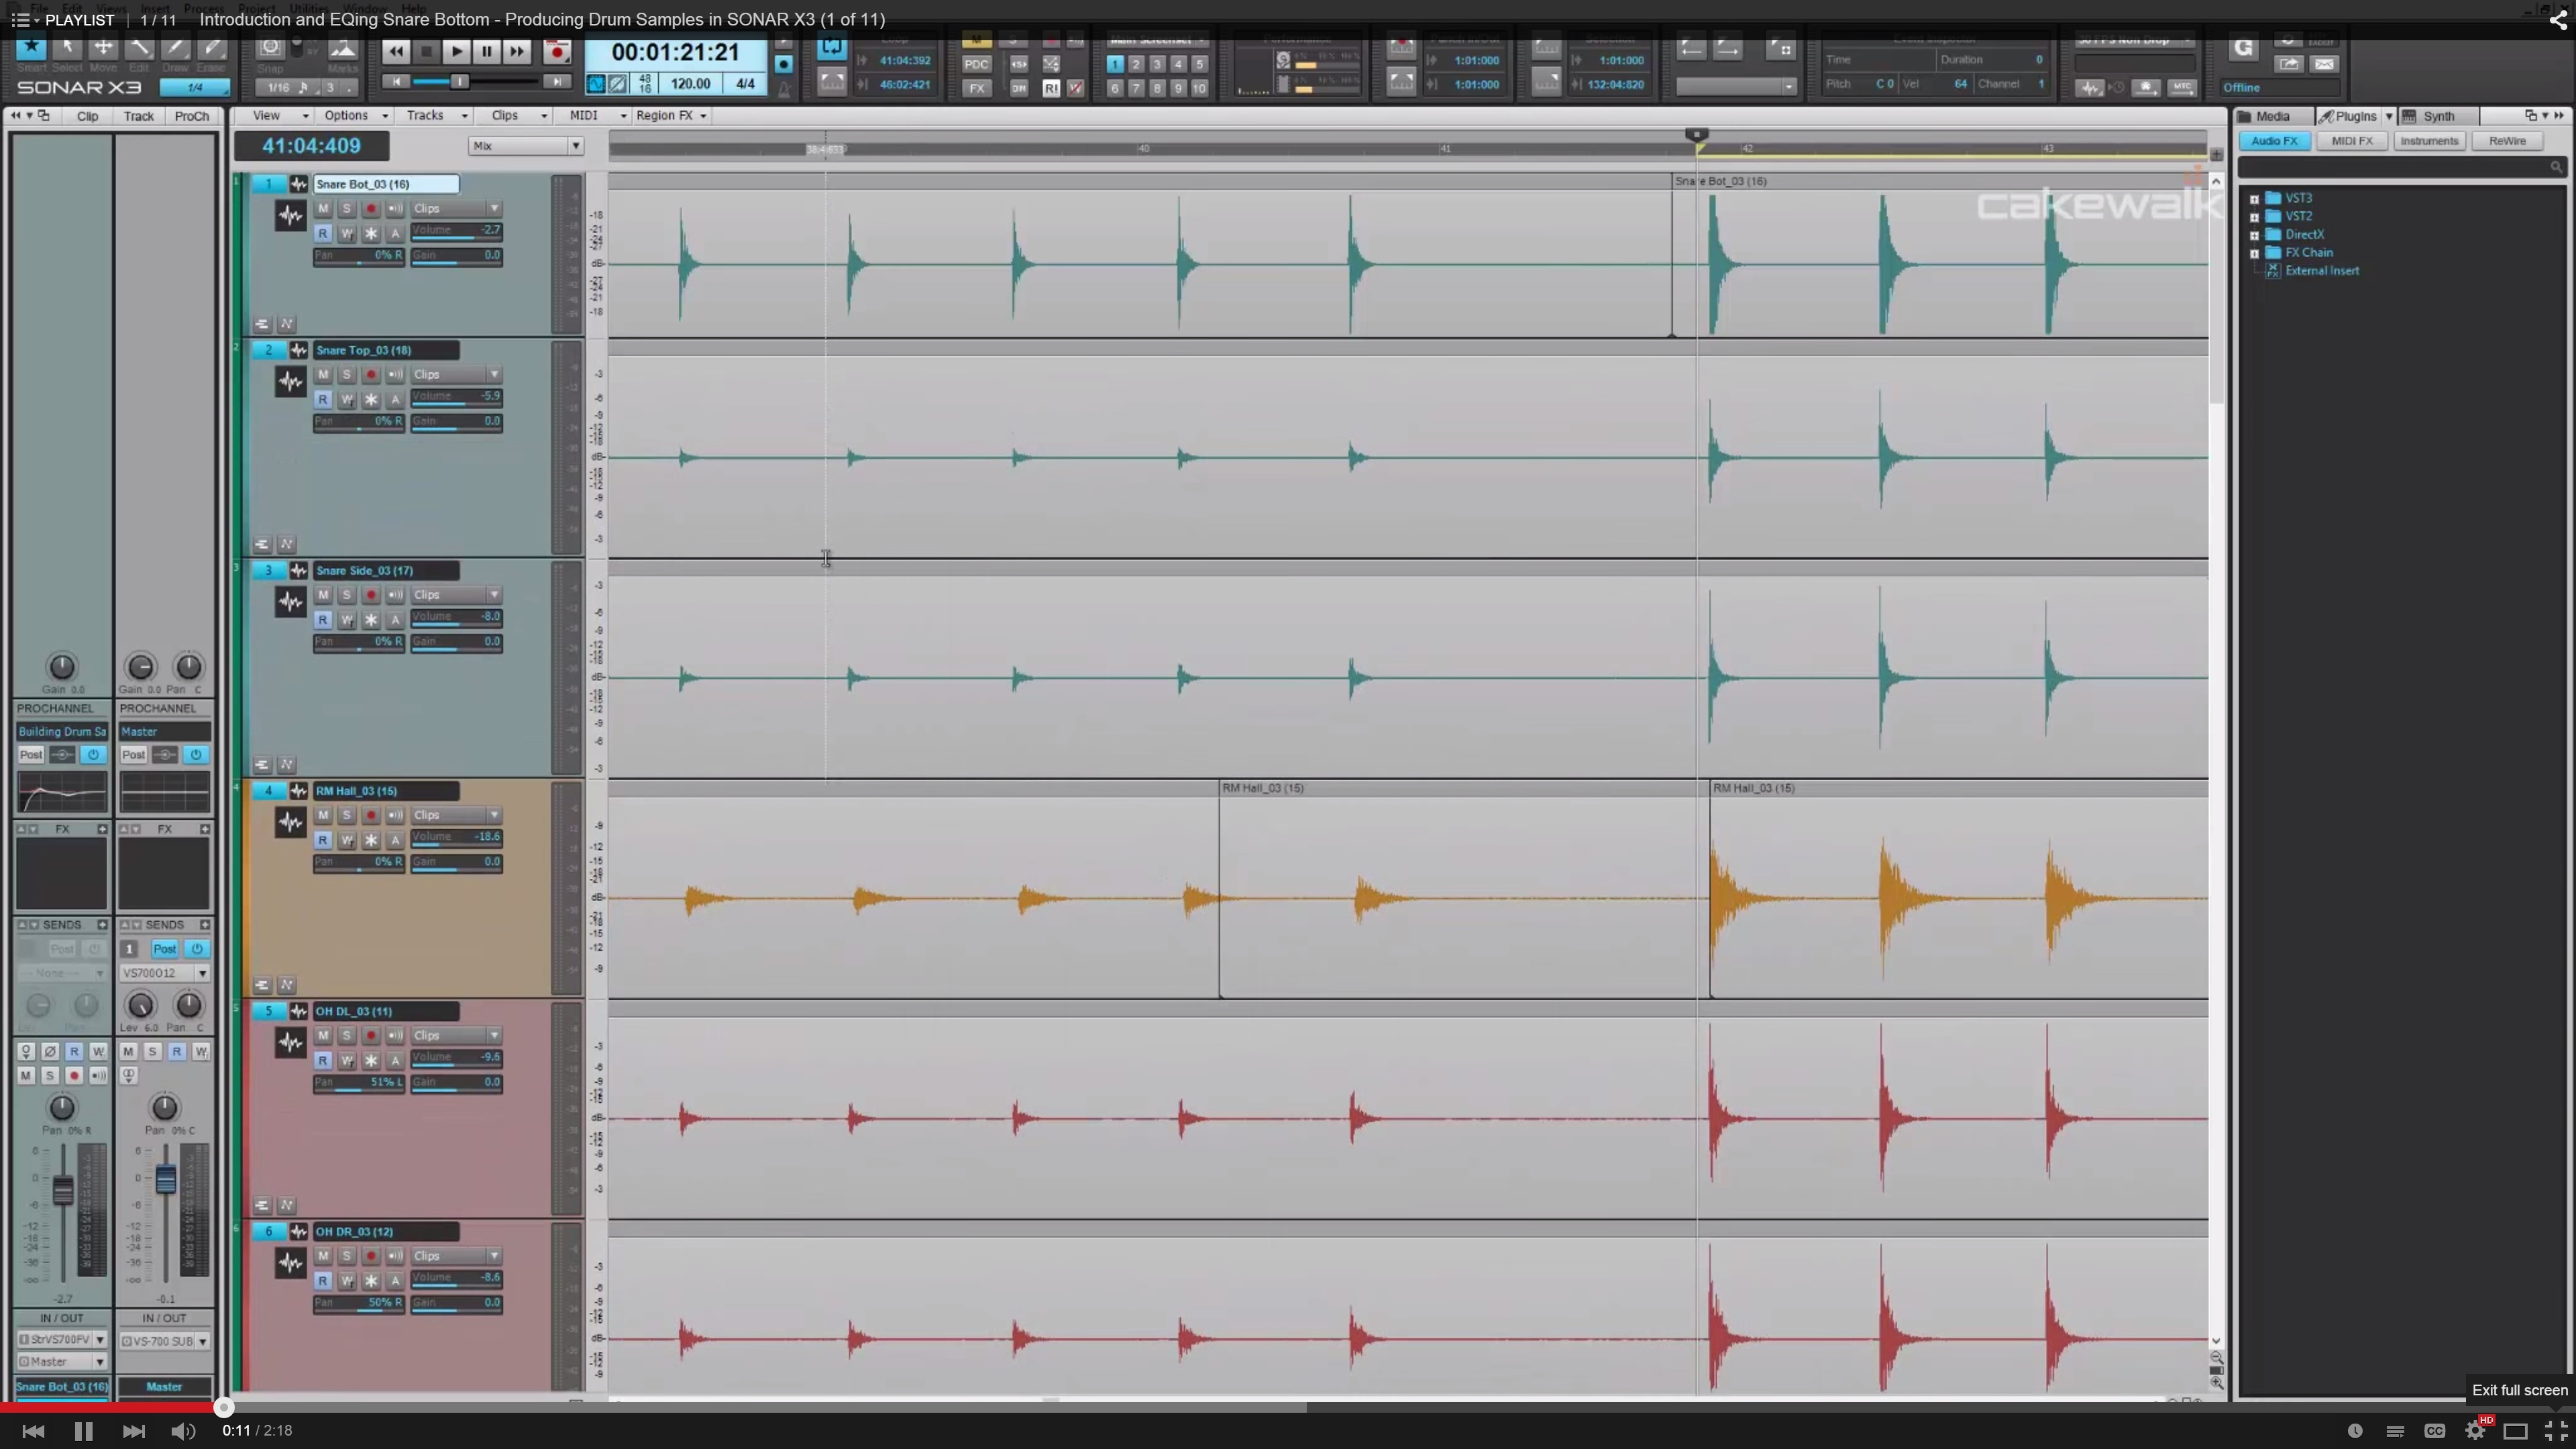
Last but not least we’ve seen that our community has really enjoyed our Producing Drum Samples video series. This video series is available to watch here and guides you through some awesome ways to mix and EQ drum samples to your liking.

If you’re looking for more Drum Production tips check out the tag for this on our blog here.

How to use a vocal-double to enhance lead vocals

One of the toughest things about working with a lead vocal track is getting it to pop out, while allowing it to still sit in the track nicely in context with its surroundings [other tracks].  Every mixing engineer has her/his bag of tricks, but here are a few ideas to utilize a “vocal-double” which may help support and embellish the lead vocal track.  For this demonstration I am using the lead vocal track of NBC’s The Voice Season 1 winner Javier Colon.  Note that you can click on images to get a bigger perspective.

Continue reading “How to use a vocal-double to enhance lead vocals”

Highlights from April: Tips to Help You "Mix it Right"

Cakewalk presents “Mix it Right” month
We have been busy this month creating new resources to help you craft better mixes. Check out all the tips, tricks, and video from experts like Craig Anderton, Dan Gonzalez, and Jimmy Landry who have all worked professionally in studios and bring decades of mixing knowledge to the table (and console)
.

EQ: Carving Out The Right Sound For Your Mix
One of the most important aspects of mixing is using EQ to “carve out” a specific frequency range for instruments so they don’t conflict with each other. If instruments have their own sonic space, it’s easier to hear each instrument’s unique contribution, which increases the mix’s clarity. Learn more

When To Break The “Rules” Of Digital Mixing
Sometimes you need a mix to have a certain sound and the so-called rules of digital mixing go out the window. Recently Cakewalk’s Jimmy Landry was hired to produce a song with some “grit” and “acoustic-oriented authenticity,” so he grabbed his 5-Year Old’s harp out of a toy chest, his acoustic guitar, and got to work in SONAR X3. Learn more

“Object-Oriented” Clip Mixing in SONAR
When you need to get really detailed, object-oriented mixing is a convenient solution. Craig Anderton explains how to approach this in SONAR. Learn more

How to Use Reverb to Create Depth
Applying the proper Reverb requires more time than just scrolling through the presets of the basic Hall, Room, and Plate algorithms. Cakewalk’s Dan Gonzalez covers the dos-and-don’ts of Reverb for guitars, vocals, drums, and more. Learn more

Video: How to Use Compression
Mixing with Compression is an essential part to shaping and creating a great sounding track. In this video series Dan Gonzalez shows you how to use compression on various types of instruments in SONAR X3 with the CA-2A T-Type Leveling Amplifier. Learn more Continue reading “Highlights from April: Tips to Help You "Mix it Right"”

Mixing Video Series: How to use Compression with the CA2A in SONAR X3

Mixing with Compression is an essential part to shaping and creating a great sounding track. In this video series I take you through a track-by-track video that shows you how to use compression on various types of instruments in SONAR X3 with the CA-2A T-Type Leveling Amplifier. You can use compression to control levels, enhance dynamics, and much more. Subscribe to our YouTube Channel and check out this series today.


Try SONAR X3 Producer
Try the CA-2A T-Type Leveling Amplifier

Recording and Mixing Our Signature Vocal Sound in SONAR X2 – Norman Matthew [MURDER FM]

Hey world, forget your Monday-hate and dive in with me to make the first day of the week a little less sucky and a bit more murderous. Henceforth, it’s NorMonday. So if you find crawling back into the grind a bore, let’s get board–maybe a little chitty-chat about production techniques, tricks, voodoo, esoterica and sleight-of-hand. No blahs here, just blast.

MURDER FM has been blessed with some really nice response to our sound both here at home and the U.K. and the Cakewalk folks were kind enough to ask me to talk a little about the things that go into producing our sound. Hahhh! The real trick’ll be to shut me up, let’s get to it—hopefully it’s helpful.

The nuts, bolts and screams of “We The Evil.”
Coming back from our Sold Out UK Tour, I really wanted to push the envelope with MURDER FM’s new record, so when SONAR X2 arrived, I immediately went to work on using it to shape what would become MURDER FM’s heavier and darker sound.

I recorded the Vocals for “We The Evil” using a Cakewalk UA-101 as my interface into X2. Using a Nady condenser mic, I always track as direct and flat as possible, including no preamps for multiple reasons, 1.) I have the cleanest signal for optimal mix options and preamps will color the signal nicely, which leads to reason number 2.) Cleaner signals force me to have to be a better singer and really develop my character versus letting the effects and preamps shape my tone. It’s a bit more work in the end, but much better for what I am trying to do with my own signature production techniques.

Oh yeah, screamage. There’s a lot of textures in the vocals on “We The Evil”. You don’t “hear” some, but you “feel” them and that’s what I’m going for. It’s a lot more orchestral in the arrangement than one might think when it comes to creating “big dark vocals” that feel huge, but are still intimate. There are some lower octave vocal accents in the verses and lots of doubles and harmonies in the chorus to create that arena sing along vibe. To really make the screams punch, I cranked the SOFTUBE “saturation knob” about 40% of the way to get my point across!

Mic, pre and chain (or not).
Here is where I would sing the praises of the Nady SCM-1000 Wired Cardioid Studio Condenser Microphone. For it’s price, this thing is a beast and has yet to let me down. It captures my voice perfectly and really accentuates things without me having to going into a preamp. On “We The Evil” I used and abused X2’s ProChannel feature for everything I needed vocal wise. It’s such an amazing and powerful tool from the PC2A and Console Emulator Channel/Bus to the Compressor and Saturation Knob, it really gave me everything I needed for the vocal track and is perfect for drums and my master bus.

Getting my grit on: Not a perfect science.
For FX, I used VX-64 Vocal Strip. The doubler really helps the chorus vocals pop out, especially in the gang vocal sections and the Compander in the vocal strip really brings out the “throaty” tone in verse vocals, so much so, when mixing I cranked the tracked and could literally feel the grit in my throat in my stomach, it’s really a powerful tool. TheDeesser in the strip helps to clean up the throaty “s and p” mishaps. The “tube equalizer” allows me to bring out that mid range punch. I used the Delay within the VX-64 on my main chorus vocal help to create the hugeness of the chorus vocal by putting it just a tad out of time with the backup vocals and harmonies. That way, everything isn’t hitting directly at you–but more at slight little milliseconds off of one another, much like the natural movement of a choir…Too perfect is tooo bland in my opinion.

Scene of the rhyme.
All of the new MURDER FM record was tracked at my studio, THE SOUND FOUNDATION in Dallas. I’ve got multiple amp setups, drum isolation booth, a collection of different mics and all the latest Cakewalk plug-ins. One of my new faves for guitar tones is OVERLOUD. I track a mic’d amp tone and a clean DI signal for both post production and editing purposes. Heavier sounds such as MURDER FM’s tend to brickwall with distorted tones. Having a clean signal helps to view the transients gives me the flexibility to plug in anything missing in the mic’d amp tone to obtain the fullest guitar tone I possibly clean and avoid that “thin” one dimensional tone.

I told you—get me going and I don’t stop. But hey—God is in the details and I don’t wanna make him mad, so I spend a lotta time there. Besides, who wants to think about how far it is to the weekend when you could be thinking interfaces and plug-ins. ‘Tis the diff between a mere Monday and a NorMonday.

Updated ProChannel Pack: Now Includes 4 ProChannel Modules & CA-2A T-Type Leveling Amplifier

ProChannel Pack

We are pleased to announce that we have updated the ProChannel Pack to include the new CA-2A T-Type Leveling Amplifer.

Through May 23rd, you can download the new ProChannel Pack for only $149/£119/€149 (regular price if purchased separately is $276). Here’s everything you get with the ProChannel Pack:

  • CA-2A T-Type Leveling Amplifier: Faithfully modeled after one of the most sought after studio compressors in history, the CA-2A T-Type Leveling Amplifier puts the silky, smooth sound of this highly desirable unit right into SONAR X1 Producer Expanded or SONAR X2 Producer. It includes a VST and ProChannel version.
  • ProChannel Concrete Limiter: Tame rogue peaks and get punchier, in your face, mixes with the ProChannel Concrete Limiter. Advanced DSP combines highly transparent, look-ahead, limiting with low-latency performance and is suitable for peak limiting of individual tracks and level maximization of mix buses.
  • PC4K S-Type Expander/Gate: Expertly crafted by the Cakewalk DSP team, this ProChannel module rounds out our legendary, vintage-style, ProChannel modeling. The PC4K S-Type Expander / Gate Module features a classic design providing gate function to remove unwanted sound from a signal and upward expansion, employed by countless engineers to expand the dynamics of vocals and instruments.
  • PC4K S-Type Channel Compressor: A must-have addition to your effects arsenal, the new PC4K S-Type Channel Compressor adds vintage-era, console-style, channel compression to every ProChannel strip in SONAR X1 Producer Expanded and SONAR X2 Producer.

Download the ProChannel Pack


Get a tour of the new modular ProChannel – exclusive to SONAR X2 Producer.

Upgrade to SONAR X2 Producer to start using the expandable ProChannel and new modules.

Remixing in SONAR: An MGMT inspired remix using SONAR X2 Producer and Z3TA+ 2

While working as a Quality Assurance Engineer for Cakewalk I have the privilege and duty to test the latest builds before they are available to the public. While testing SONAR X2a and the CA-2A T-Type Leveling Amplifier I decided to work on an MGMT inspired remix of new song written by Cakewalk Graphic Designer Dan Kaplan.  Dan gave me the stems from his studio sessions and from there I remixed the song using SONAR X2 Producer, the CA-2A, and Z3TA+ 2.


When I first listened to Dan Kaplan’s song Sink or Swim one of my favorite things about the song was the dynamic between the male and female vocals. I thought it would be interesting to try and approach the song more as a duet or at least feature the female vocal more than in the original. I started by putting the original stems in one folder in SONAR and began setting up tracks for the remix in another. I created some instrument tracks for Session Drummer 3, Studio Instruments Electric Piano, and Z3TA+ 2. I then brought in sections of the bass and piano stems and began working on the first chorus trying to get the vocal dynamic working. I added Kick samples and built a pad to fade between chords using Z3TA+ 2. The Bass needed to be a lot more aggressive and the saturation knob in combination with some EQ got the sound I wanted. I used a synth sample from the original stems for the instrumental sections that reminded me of a MGMT riff and layered some different snares and claps to add more energy. Things were already moving well towards the end of the song but I needed to figure out how to get to the first chorus. I found a great background vocal sample from the end of the original track that reminded me of something the band FUN might do and thought that it would be a cool way to start the song. Using 4 different instances of SD3 I built the giant drum circle intro and added some of my own guitars using TH2. I put some rhodes and strings in the intro as well which to me kept the space that was there but left some nice texture. The strings also really helped the transition into the first chorus when the pad comes in and takes over.


I’ve always liked well planned vocal arrangements in pop music and wanted to build a 3 or 4 part vocal section for the end. I copied and moved the original chorus to the end and began playing around with other vocal samples to see where other phrases could come in without hurting the melody. It started with the female sample “There’s one more step” which besides adding to the context of the song helped setup the lead vocal when Dan repeats the same lyrics. I then used it for the bridge as well. I cut up the lyrics “Sink or Swim” that Dan sings and also layered that in a few choice spots.


I added some splashy electronic cymbal hits for added effect throughout the song and chopped some of the kick and snare samples to give it some life and not be too repetitive. I found a great long kick hit in the included sample library that I reversed for the sub swells along with reversing some other samples and sections of the guitar. Each track went through the A-Type console emulator which I think adds more air to the track and used a lot of the BREVERB SONAR plug-in for reverb on tracks and busses. To get the weird watery effect on the female vocals in the bridge I pulled out the original Z3TA+ which can be used as an audio plug-in also and found a preset to start with and tweaked it so the words were still understandable.


Listen to Dan Kaplan’s original version of Sink or Swim.

Sink or Swim

Testing the CA-2A in the Real World: Three Reasons it's a Must-Have Plugin for Mixing

I was recently hired to burn the ole midnight oil and produce, mix, co-write and play just about every instrument on an EP for an artist out of NYC.  The record is pretty cool, definitely fun to make, and it falls somewhere between Fiona Apple and Taylor Swift.  Considering the genre, I figured it was a great time to try out our new CA-2A T-Type Leveling Amplifier in the field and in a practical situation.

From testing the beta out briefly during development, I knew I was going to like the outcome of using the CA-2A, but what I didn’t expect was the versatility of the plugin.  I ended up using it on a lot more than what I expected.  From smoothing out vocals to arpeggiated guitars to piano tones, I really loved what I was getting from the CA-2A.  I also had the benefit of A/B’ing it with another branded Leveling Amplifier that I use, and I found the Cakewalk CA-2A thicker sounding in general and also more versatile due to the R37 screw [knob.]   Here are the reasons I found myself going to the CA-2A instead of my other comparable leveling amplifier.

1.)    R37 Adjuster on Vocals – This adjustable screw is interesting.  The physical appearance of the screw does not give off the importance of its usefulness.  Basically, this parameter allows you to adjust the compression on the high frequencies.  Since my other Leveling Amplifier does not have this adjustment, I always started out by keeping the screw all the way to the left (0%) and then dialing it in until I found the sweet spot.  The result was amazing especially on vocals.  I was able to always get a warm yet transparent sound but without the harshness on most of the “ess” words.  Since this project is with a female vocalist, I found it especially helpful.  I was also able to work the QuadCurve EQ into the mix and combine it with the CA-2A nicely.  By tweaking the hi-end frequencies on the EQ along with the R37 screw, I was able to get a more present vocals without any harshness.

2.)    “Limit” Mode on Bass Guitar – I’m not sure if it will be like this for every song, but for this track the CA-2A on the bass guitar in “Limit” mode was a magic bullet.  I always run the bass into its separate bus, so I ended up using the limiter on that stage.  I played the bass guitar (as you can hear from the track on this post) with a pick for this song.  The CA-2A in limiting mode on the bass bus really allowed me to fatten up the sound of the low end, but also kept the attack of the pick in focus.  It leveled out the attack of the pick hitting the string but also kept it present.  I had the EQ running on the bass track, and then the limiter on the bass hitting the peak reduction at about -3db.  I kept the R37 at 0% as you can see from the image.

3.)    “Compress” Mode on Piano and Whirlie – fortunately for this track I had the benefit of having David Cook (keyboardist and MD for Taylor Swift) play on the track – the guy is a genius.  I’m pretty much a hack at keyboards so my usual piano editing (to make myself sound decent enough) was not going to cut it.  As you can hear from the attached track, there is a lot going on in the song, so I had to figure out a creative mixing strategy to make room and carve frequencies.  To say that the CA-2A helped me achieve this on the track would be an understatement.  Using the plugin in compress mode on the piano enabled me to really place it in the mix correctly.  It also helped dial in the frequencies to get it out of the way of all the other things that were in the same frequency range.  To get the piano to sit correctly, I hit the compressor pretty hard, used the R37 at 50%, and then notched up the highs of the QuadCurve EQ.  I also used the Channel Tools plugin to give it some more width and depth and get it out of the way of the guitars.  The more I use this, the more I understand the importance of the R37 screw.  It’s almost an oxymoron, but by combining the R37 with the high-end frequencies on the QuadCurve EQ it seems like I am able to get a warm top end sound out of instruments.

On the rest of the track I also ended up using the CA-2A on some acoustic guitar tracks as well as one of the clean electric guitars.  I’m psyched about the performance and versatility of this plugin – instantly you can hear the difference wherever you use it.  I also think this is a plugin that would be a great benefit to folks who are just getting into mixing.  The simplicity of the unit basically makes it fool proof for obtaining professional results without a lot of technical worries – basically just use your ear and turn the knobs;)

Try the CA-2A T-Type Leveling Amplifier for free

Thanks for reading and be sure listen to the mix posted below.

The song on this post uses the CA-2A on exactly the following tracks:
Lead Vocal track (Compress Mode)
Bass bus (Limit mode)
Piano track (Compress Mode)
Whirlie track (Compress Mode)
B3 track (very lightly) (Compress Mode)
Left acoustic guitar track (both mics)  (Compress Mode)
Arpeggiated Electric Guitar track (Compress Mode)
1 of the backing vocal tracks (Compress Mode)
Tom drums bus (Limit mode)
Hi Hat (Compress Mode)
Mandolin track (Compress Mode) (doubled – CA-2A only on 1 of the tracks)

Why Cakewalk’s CA-2A Made a Big Impression at NAMM 2013

Every January, thousands of gear companies, PR professionals, artists, and gear-junkies converge in Anaheim, CA for what is known as one of the world’s biggest music festivals; The NAMM Show.  If you have never been, it’s a playground for the musician where one can find everything from the latest boutique guitar amp to the newest beta software development.
As a software company that participates at the NAMM show year after year, one pattern we have seen which holds true for all companies is that you just know when you have a great product on your hands.  This year was no exception when we unveiled the new CA-2A leveling amplifier to the press, artists and gear-heads; the feedback was beyond our expectations.

The CA-2A had 3 primary points of contact with the public at NAMM:

1. On the show-floor where SONAR X2a was being demonstrated on three machines.

2. The main-stage demonstration area where Cakewalk’s Seth Perlstein (along with other artists) showed off all the features of our software.

3. The Cakewalk V.I.P suite at the Hilton where we set up a studio atmosphere to show off our newest software combines with Roland’s integrated hardware.

While the show-floor and main-stage demo area served as a platform to show our customers and retail buyers our new products, the Hilton suite was where we were able to get the CA-2A in the hands of some well-known artists, along with seasoned experienced gear-savvy journalists.  The beauty of these meetings was that we were not looking for pats on the back or hot air; this was a chance for us to get straight feedback from professional users other than our beta developers for the first time.  After 4 days filled with over 50 meetings, here are a few quotes directly from the demonstrations:
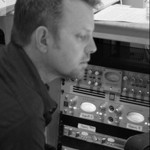
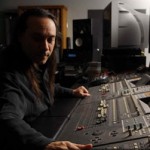
TC Spitfire (producer/songwriter/engineer – Paul Oakenfold, Cher)

“With the style of music I produce on a daily basis, I’m excited to put the CA-2A to work next week.  I absolutely have to have side-chaining capabilities with dance music, so to have that feature in this type of leveling amplifier is huge for me.”


Tim Wynn (producer/composer/musician – co-owner of SonicFuel studios specializing in Film, Television and interactive media music)

“On any given week I could be writing and producing music for feature films, TV shows or mixing music for some of the biggest titles in video games.  I think the CA-2A is going to be a big part of my plugin arsenal.  From what I just heard in direct comparison to the other leveling amplifiers, I can’t see why anyone would not pick this up.  The fact that it’s lightweight on DSP and you don’t need an external card to run many                                              instances will be a big plus for me; for anyone for that matter.”

Shawn Clement (producer/composer/musician – Clemistry Music at Paramount Studios, Hollywood, CA)

“Anyone looking for a fat classic vintage compression sound will love this thing.  It’s great that you [Cakewalk] guys modeled the R37 screw as well which works miracles on vocals.” [The R37 screw helps control the high-frequency compression.]


These were just a few out of the many folks that stopped in to hear the CA-2A up against other leveling amplifiers.  In the next week I will be uploading another blog here exemplifying the sonic capabilities of the CA-2A as I put it to the grind here in my studio in NYC.

A quick look at the CA-2A Feature Highlights:

  • VST, Audio Units & ProChannel compatible (Mac/PC)
  • Meticulously modeled.
  • With only a few simple controls, it’s easy to use and provides instant gratification.
  • Warm, smooth and natural sounding compression characteristics.
  • Frequency-dependent gain reduction.
  • Compressor and Limiter modes.
  • Up to 40 dB of smooth gain reduction.
  • Sidechain input for ducking, de-essing and pumping.
  • Gain reduction CV output to modulate other effects.
  • Zero latency for real-time tracking and mixing.
  • Fully modeled “R37” HF Pre-emphasis control.

See all CA-2A T-Type Leveling Amplifier features

Availability and pricing:

The CA-2A T-Type Leveling Amplifier is now available for $99/£79/€99 and includes VST, AU, and ProChannel Module formats.  Customers who previously purchased the PC2A (ProChannel Module) format can upgrade for $19.99/£15.99/€19.99 on the Cakewalk Store.

Download the CA-2A T-Type Leveling Amplifier