SONAR X3 Clinic by Craig Anderton – Berklee Online

In case you missed the Berklee Online Webinar with Craig Anderton (March 31st, 2014) – here is the video in it’s entirety! Craig outlines some of his favorite topics including:

  • The MIDI advantage for songwriting
  • Using loops for both songwriting and EDM
  • Speeding up workflow to prevent “inspiration atrophy” (effects chains, track templates, browser techniques, etc.)
  • Creating your own mixer architecture
  • Using “spot” timing correction to tighten timing without destroying feel
  • How to make amp sims sound great (e.g. effects chains)
  • Mastering in SONAR

Learn more about SONAR X3

SONAR X3: Producing Drum Samples (Video Series)

In the midst of recording a whole record it’s always a good idea to take some samples of the drum set so that you can replace and reinforce the drums later on in mixing. Here is an 11-part video series that shows you how to apply some basic EQ, Compression, and Editing techniques to get your drum samples to sound pro within SONAR X3.

Subtractive EQ Part 4: Bass

Miss part 1? Read Subtractive EQ – Snare Drum.

Bass
The bass in this track caters to fans of the early Metallica era.  Bassist Cliff Burton popularized this distorted sound on such tracks as (Anesthesia) Pulling Teeth.  It’s important to blend this type of bass tone into the bottom of the guitars.  In this mix the guitars and the bass become a single unit ebbing and flowing with one another at certain points through the song.

Understandably one can assume that there was much processing done to this track before it’s transfer into SONAR.  It’s important to capture the sound before you start mixing so that your mixing process is not a patch-job.

This tone is aggressive and piercing to the ear.  A significant way to know that this instrument needs attention is by the aural fatigue that you may experience while soloing this track and listening to it rather loudly for more than 10 seconds.  I aimed to adjust the bass track to fit like a glove under the mix by applying a HPF at 78Hz with a steep bandwidth setting.  The amount of bass here needs control. Using a compressor to control the sound would be redundant because of how much overdrive was applied to this track.  The overdrive has ultimately eliminated any trace of strong transients.

Lastly, there is another dip in the EQ around 2.2kHz.  This adjustment reduces some of the aforementioned piercing sound. Any harsh tones in this register will be too overbearing in the mix.

Subtractive EQ Part 3: Kick Drum

Miss part 1? Read Subtractive EQ – Snare Drum.

The Kick Drum
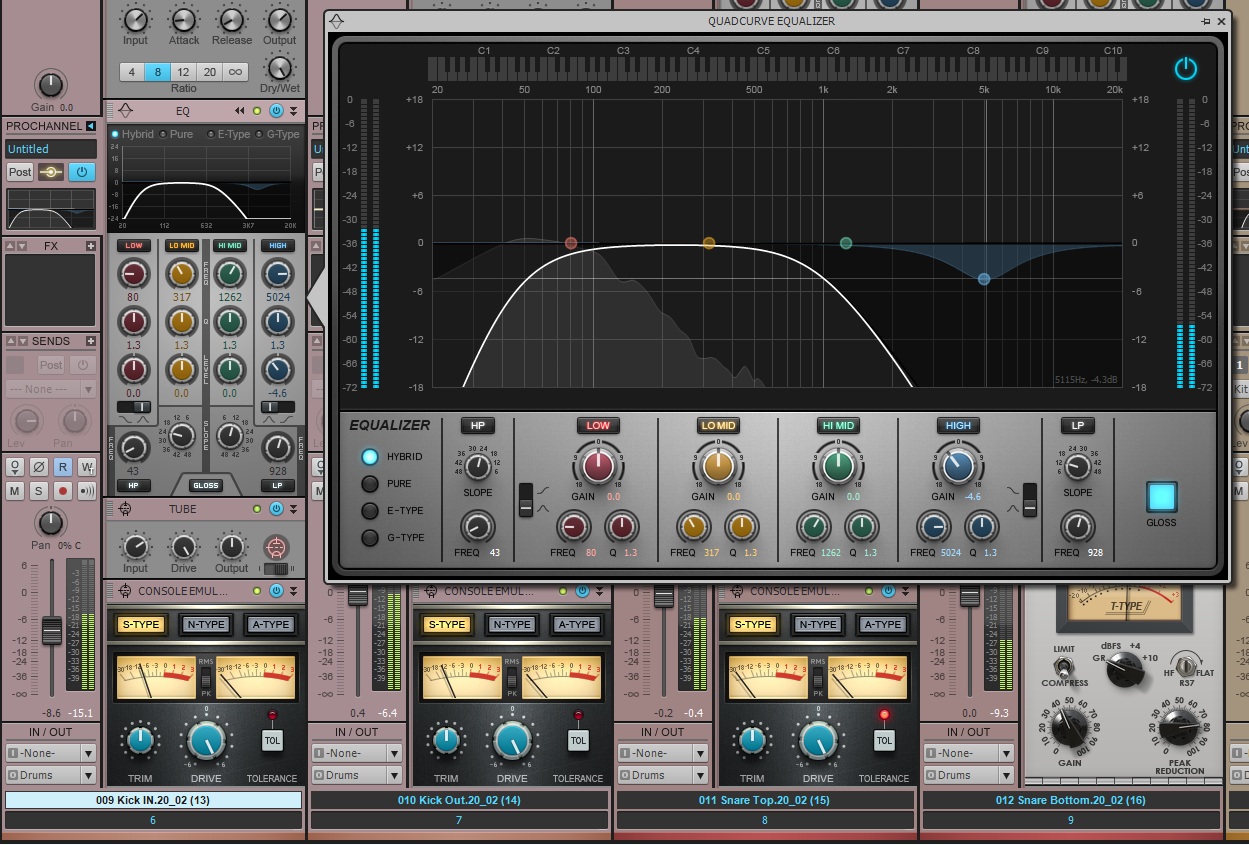
If the snare was the primary listening point for Rock music then the kick drum is the second most important. By working in the guitars in over the snare I was then met with the challenge of working in a solid kick drum sound. This kick drum was tracked using two different kick drum microphones, one deeper into the drum than the other. For reference, the first kick signal is called the “Kick-In” microphone and the second is the “Kick-Out” signal. (This is one example of the nomenclature used by many engineers to differentiate between the different microphones placed on a drum set)

Kick In

I started by blending the two signals Continue reading “Subtractive EQ Part 3: Kick Drum”

Subtractive EQ Part 2: Heavy Rhythm and Lead Guitars

Did you miss Part 1? Read Subtractive EQ for Snare Drum.

Guitars
Your guitar tone can change significantly by carving out the correct frequencies and reducing those that introduce unwanted noise. Distorted electric guitars tend to occupy most of the mid-range based on their nature of their sound. This mix was tricky because the band is instrumental and their music relies heavily on the layering of multiple guitar tones.

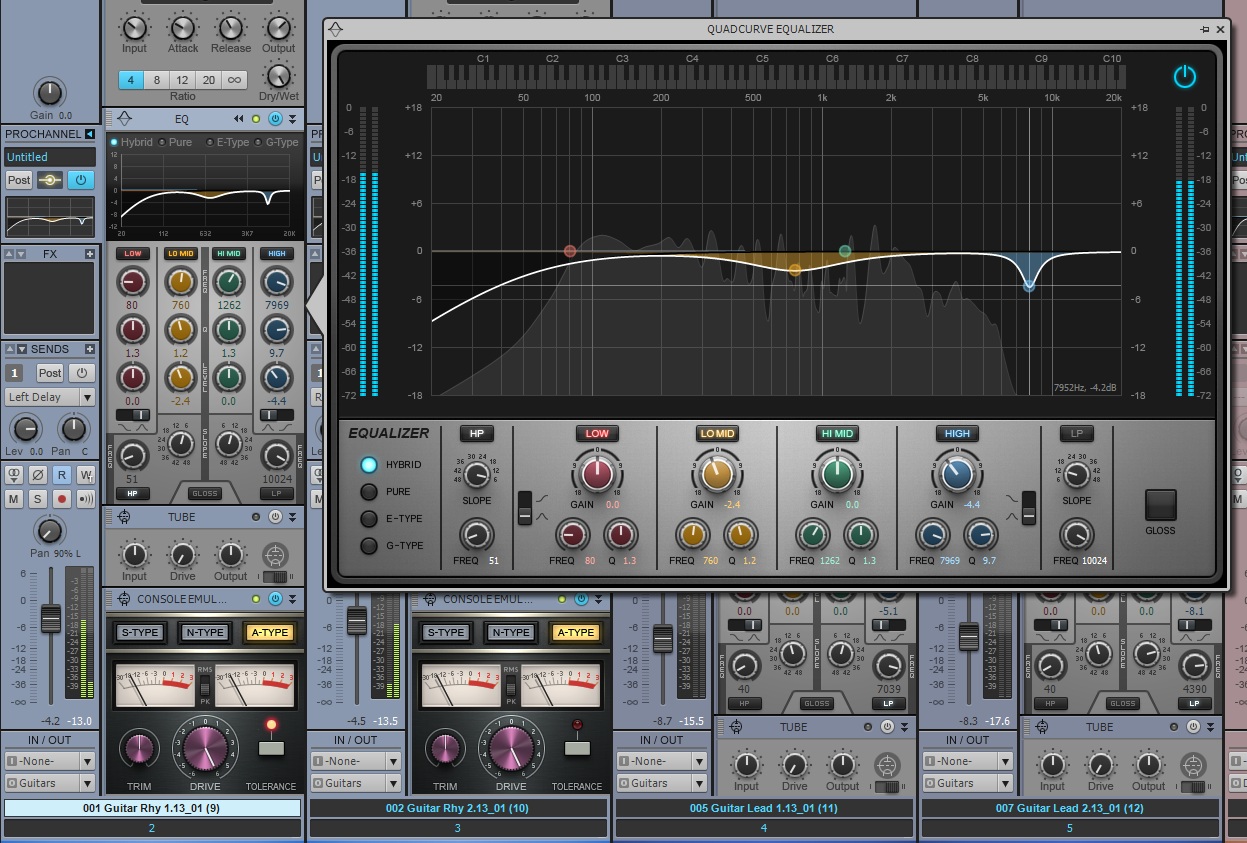
Rhythm Guitar 1

Here I have chosen to attenuate the unwanted rumbling of the of the low end of the rhythm guitars using the supplied HPF. The bass guitar is rather guitar-like in this song therefore it is important to make room for that. The HPF for Guitar 1 was applied at 50Hz and similarly to Guitar 2 at 47Hz. Why not the exact same frequency you ask? Having the slightest Continue reading “Subtractive EQ Part 2: Heavy Rhythm and Lead Guitars”

Better together: Try SONAR X3 and Melodyne For Free!

What could be better than Melodyne Essential included with every copy of SONAR X3 Studio & SONAR X3 Producer? Only full integration of Melodyne in SONAR through ARA technology.

The future is here folks! This means the best pitch correction, time stretching, and audio to MIDI conversion in the business are at your command in SONAR X3 Studio & Producer. Whether there’s a flat note in a vocal, or you want to adjust phrasing, Melodyne makes it a snap to polish your recordings.

By adding support for ARA technology (Audio Random Access), we were able to seamlessly integrate Melodyne Essential into SONAR’s Skylight interface. This means no waiting for data to transfer into the Editor. Simply click to open the audio clip and get to work. To convert audio to MIDI, simply drag and audio clip onto a MIDI track and Melodyne takes care of the rest. And if you are using any other version of Melodyne or plan to upgrade, you get to enjoy the same level of integration automatically.

Best of all, ARA integration is available in the SONAR X3 Free Trial!  Download the 30-day Melodyne Trial to experience both together and see Continue reading “Better together: Try SONAR X3 and Melodyne For Free!”

Free Quick Kit Project Templates for SONAR X3 users

Quick Kit Project Templates

In celebration of Drum Month, Cakewalk has put together the first ever collection of Session Drummer 3 Quick Kits. These pre-mixed project templates load right from quick start menu in all three versions of SONAR X3 without any assembly required. Open a quick kit, drop in your sequence, and you’re ready to rock with great sounding drums. Happy drumming!

Quick Kit Highlights:

  • Free download for all SONAR X3, Studio, & Producer customers (thru Dec. 31st).
  • 65 pre-mixed Project Templates featuring Session Drummer 3.
  • 3, 6, & 12 channel templates in 13 genres.
  • Includes simple install instructions to add them to your Quick Start menu in SONAR X3.

How to Download SONAR X3: You can now Download SONAR X3 on the Cakewalk Store for just $105. SONAR X3 Upgrades start at just $49.

How to Download Quick Kits Project Templates: If you already purchased SONAR X3, you can download the free Quick Kits from your My Account page on the Cakewalk Store.  If you have not yet created an account, you will need to use the same email address as your SONAR X3 registration. Then proceed to the My Account section and under “Free Offers” you will see the Free Quick Kit Project Templates.

Knowing Your Effects in Addictive Drums Part 2 (SONAR X3 Producer)

Quick Review

In the first part of this article we went through some of the primary effects every user should be aware of inside of Addictive Drums. To review, these effects were the Sampler, Pitch, Volume, and Snare sections of the EDIT section. Read Knowing Your Effects in Addictive Drums Part 1.

As I’ve stated in Part 1, Addictive Drums is a power-house when it comes to the amount of mixing options that are available within it’s mixing engine. Don’t let the small interface deceive you.

What is Compression?

Compression is a tool that has two main uses – controlling levels, and dynamically shaping the volume of a signal over time. Within Addictive Drums there is a compression section that outlines four basic parameters for compression: Threshold, Attack, Release, and Ratio.

Threshold

This parameter is the first part of the compressor that the signal hits Continue reading “Knowing Your Effects in Addictive Drums Part 2 (SONAR X3 Producer)”

First Time DAW Users: 5 Things You Need To Know

As seen in the December ’13 issue of Regional Musician
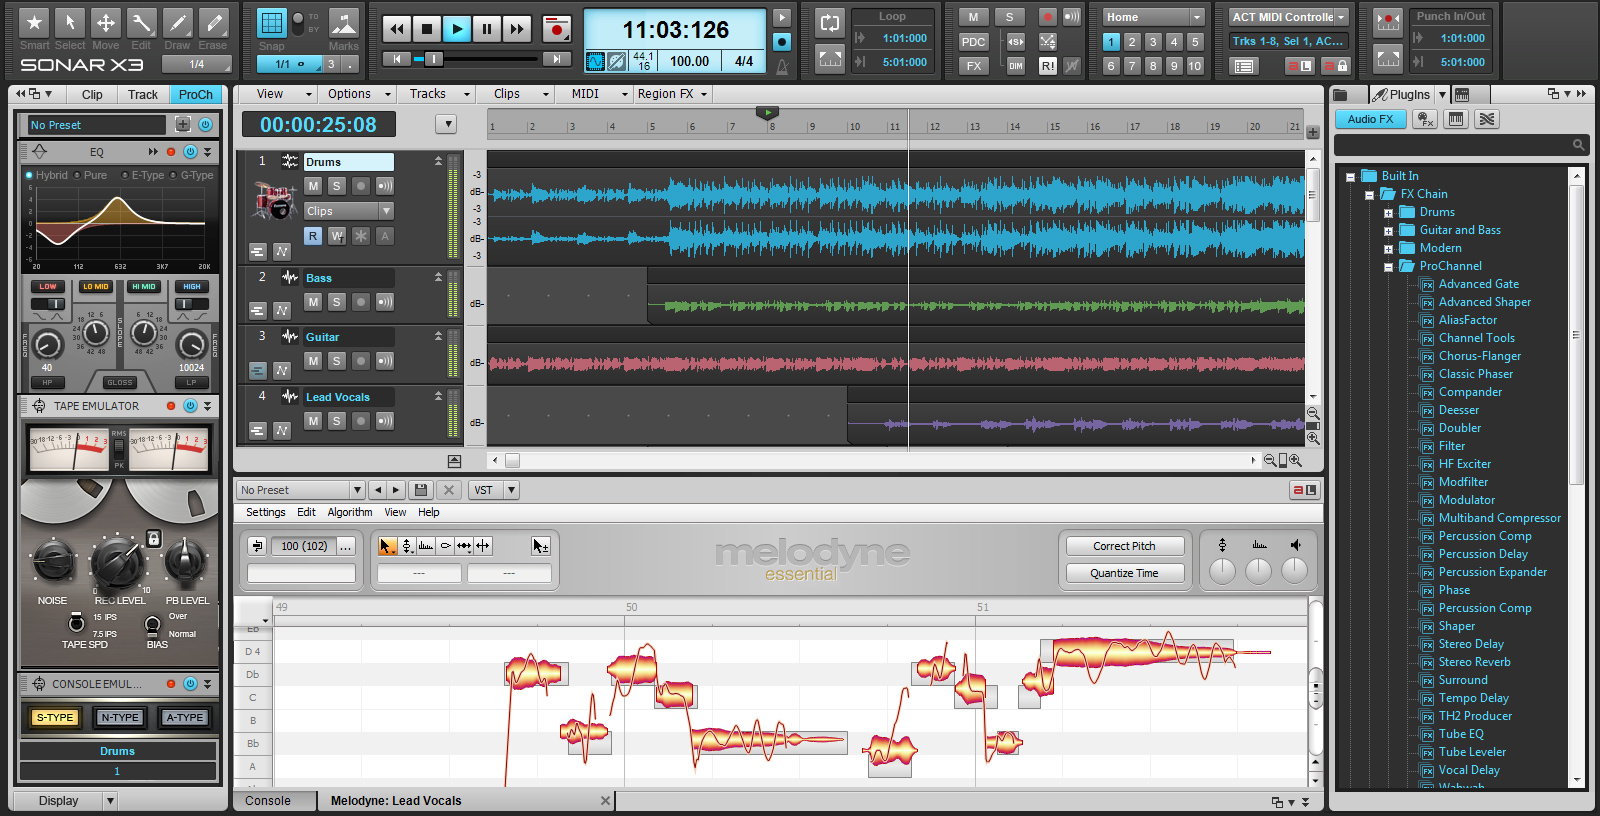
Purchasing your first recording program is an exciting new chapter in your musical career. Now you can record your band practices and start making demos of all your songs in the comfort of your home. However, sometimes during the initial setup of your DAW, you will run into a few issues that could potentially be frustrating. Fear not, by following the right steps and optimizing your studio set-up, you will be well on your way to recording your music.

This article is meant to offer guidance on some terms and subjects that could be a bit foggy when starting out. Following these tips will help make your transition to a DAW much better and help you focus on what’s most important – making music.

1. First Things First

a. Terms you should know

Make sure you are using the correct driver mode for your audio interface or sound card. Some of these words may seem foreign to you if you are just starting out, so:

Driver Mode – When referring to digital audio we use the term “driver mode” to talk about a setting within your DAW that allows recording hardware to communicate with your computer. Continue reading “First Time DAW Users: 5 Things You Need To Know”