Take Control of Your Mix with Mix Recall

Mix Recall is a powerful way to organize mixes within a project—Whether you want to have a mix without vocals or a version of the song using a different processing chain on the drums—Mix Recall is the perfect solution for these types of situations, but it can do more than that. Say you are handed a project from someone else using SONAR or you got a new plug-in you want to try out using a previously recorded song, Mix Recall can help you handle this as well by getting your project reset back to a neutral position.

Adding the Mix Recall Module

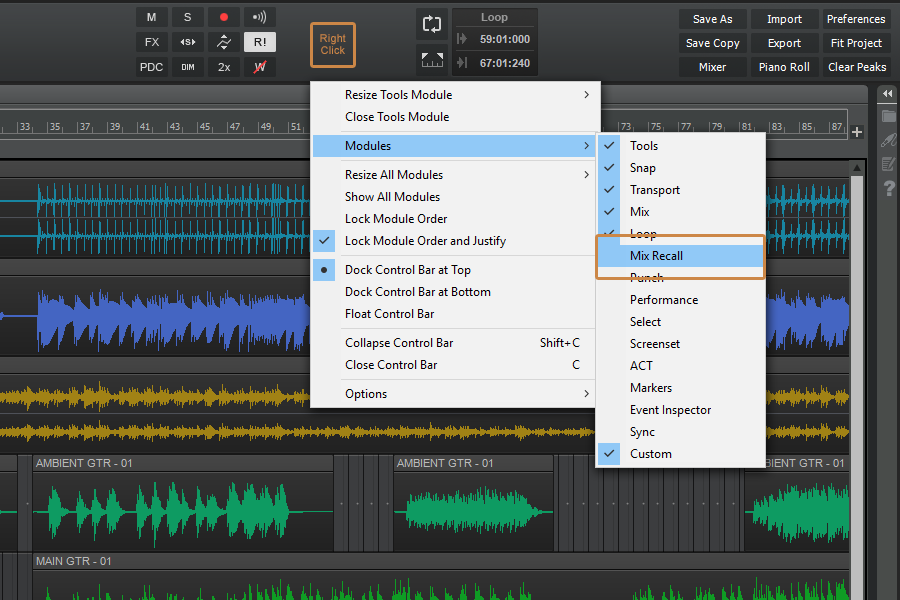
Check that you have the Mix Recall module available in the Control Bar. You can add it to the Control Bar if it’s not already there by right-clicking in a blank space and adding it from the menu.

Creating a Mix Scene

Start by creating a new Mix Scene with the current project setting using the [Save As New Scene] button.  This will allow us to make a change and then come back to the original point to see the difference.

Make a change to the mix by adjusting the volume on a couple of tracks or muting a track previously un-muted.

Click the [Save As New Scene] button on the Mix Recall module again to save these changes into another mix scene. Give this mix a unique name and save it. Now you can reload your previous mix and see the changes reverted back to where we started. Selecting the second mix scene with bring us back to the present state of the mix. You can also use the [Recall Previous Scene] button to toggle back and forth between 2 mix scenes or simply go back to the last mix scene you were at.

Resetting a Mix

Using a project you want to reset, click the drop down arrow on the Mix Recall module and select “Reset Mix…” from the menu. This will remove all automation envelopes, plug-ins, and reset the ProChannel back to the default modules along with any controls in SONAR.

That’s It! Now you can get back to working on your mix instead of trying to manage multiple saved versions of the same song or trying to manually remove each plug-in or automation envelope.

Advanced Techniques

  • Create a save point as you begin your mix once you have basic levels and panning so you can always go back and hear your project from the start.
  • Create save points within your mix to go back and see how it has progressed.
  • Save several iterations of a mix and bounce each when sending it to a client or friend. Here are some common iterations to save as Mix Scenes.
    • Vocal Up Mix (Plus 1-3dB)
    • Vocal Down Mix (Minus 1-3db)
    • No Vocals
    • Radio Edit Mix
  • Time box your mix by only giving yourself an allotted amount of time and dividing that up over what you need to do.  Save each stage as a Mix Scene to go back and look at your progress and how you did at each stage.

Mix Recall is available in SONAR Artist, Professional and Platinum

HOW The Duke Western USES SONAR TO CREATE MUSIC FOR DUCK DYNASTY (AND MORE)

Here at Cakewalk we are fortunate to have an external team of rocket scientists who help test out SONAR beta releases.  This team is dedicated, passionate and most of all appreciated by all of us internally here at the Cake shop.  Recently I received a general email from one of my esteemed colleagues mentioning that one of our trustworthy beta soldiers was jumping off the beta-battlefield in lieu of another SONAR related activity.  Huh?  This peaked my curiosity and I felt obliged to dig a bit deeper on the subject.  What could “another SONAR related activity” involve?  SONAR Olympics? SONAR CPU Racing? SONAR Academy?

Featured Music Placements on Discovery Channel, History Channel, CBS, Bravo Network

Continue reading “HOW The Duke Western USES SONAR TO CREATE MUSIC FOR DUCK DYNASTY (AND MORE)”

Anatomy of a Project: A Nontraditional Approach to a Commercial Recording

By Jimmy Landry

Last summer, Peppina—a young female artist from Finland— plunged herself into the NYC music scene for two months. With the help of renowned NYC entertainment attorney Steven Beer who discovered her, she managed to head back to Finland with a major-label sounding EP. The project was recorded in different ways, in different locations all over the city—and with budgets being slashed, these days it’s pretty much hand-to-hand combat when making a low budget recording where anything goes. But the upshot is yes, you can record a commercial-sounding record on a budget—so here are some of the techniques we employed to accomplish that goal. SONAR Platinum was instrumental in saving time on this EP. Between the Drum Replacer, VocalSync, onboard Melodyne, Speed Comping and general speed enhancements, I got to the finish line a lot faster than previous records. I highly recommend anyone who’s on SONAR XX to take a close look at what the program has brought to the table in the last year.
This all started when Steven Beer called about an artist he’d heard sing at a film festival, and invited me for a meeting at his office. Interestingly, there were two other producer/writers there as well—a bit unorthodox, but pretty much anything goes these days, so nothing really surprises me anymore. We discussed the artist’s interests, influences, and other variables, and then listened to some of my reel as well as music from the other producers. It turned out the lawyer’s master plan was to bring the three of us together to co-write, record, and mix a five-song EP before she went back to Finland in 45 days.

Peppina already had some momentum in Finland from a loop she wrote and uploaded to a site called HITRECORD (owned by actor and director Joseph Gordon-Levitt). Her upload was so popular that Gordon-Levitt flew her to California to perform the piece at the Orpheum in LA during one of the show’s TV episodes. This all sounded good to me, so I signed on to a production team that would share in the production duties and heavy lifting. As to budgets…well, there was enough there for us to take it on as a challenge.

Continue reading “Anatomy of a Project: A Nontraditional Approach to a Commercial Recording”

Parallel Compression: Now Easier Than Ever

A few years back, we showed you a bit about Parallel Compression in SONAR. Now that we’ve introduced Patch Points in the Jamaica Plain update, you can do these same things with a much more efficient workflow.

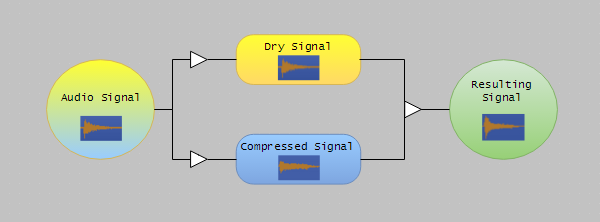
Let’s quickly define parallel processing: In parallel processing, a signal is duplicated into two or more signals. Each copy of the signal is processed differently but plays back simultaneously with the original. The copy/copies are then mixed together.

Parallel Compression Diagram_600x222

Parallel Compression, aka “New York Compression,” is most commonly used on drums to add body to the drum mix without flattening the snappy transients.

Check out the video below to see just how easy (and great sounding) this technique can be:

You might also like…
Tape Emulator Gif SONAR Patch Points Multiband Processing
5 TOOLS TO GET “THAT ANALOG SOUND” FROM SONAR UNIVERSAL ROUTING TECHNOLOGY 202: THE AUX TRACK

Using Cakewalk Drum Replacer: The “Right” Way and The “Other” Way

The “Right” Way:

There’s more than one way to use Drum Replacer to trigger your drum sounds. Which of these you choose will depend on the material, as well as your preferred outcome and workflow. First, let’s take a look at some of the intended, more traditional uses of Drum Replacer.

A mixed drum track or loop

A fairly standard Drum Replacer use is to augment or altogether change the drum sounds on an already-mixed drum track. The examples below play an unprocessed SONAR drum loop, followed by the same loop reinforced by Drum Replacer.

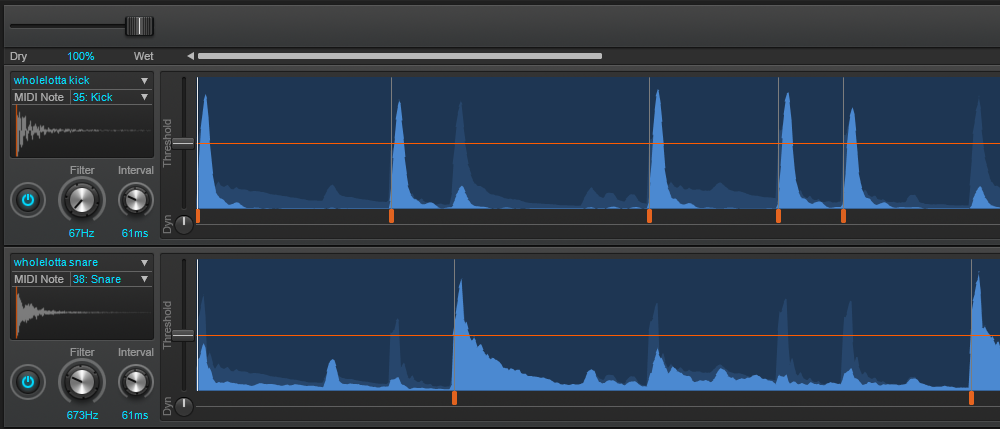
Filtered Drum ReplacerWith the built-in filter mechanism, it’s easy to isolate each piece of the drum kit and replace it individually. For this particular loop, focusing the filters to 67 Hz for the kick and 673 Hz for the snare ensured replacing the right sound. I wanted to soften this already-punchy loop by replacing the kick and snare sounds with something a little more “airy,” then blending these with the original. I chose the included WholeLotta Kick and WholeLotta Snare samples for their lighter, more pillowy qualities and blended them roughly 70/30 with the original drum track. Combined, they create a pleasantly complex, tight-yet-sustained sound.
Continue reading “Using Cakewalk Drum Replacer: The “Right” Way and The “Other” Way”

Addictive Drums 2 Sounds Like a Real Drummer, But How?

by Dan Gonzalez

Every once in a while there are some plugins that come along and completely change the way we do things. Sometimes it’s a different look on processing, or maybe a utility that increases workflow ten-fold. Drum plugins have become all the rage recently, and Addictive Drums 2 is at the forefront of this revolution. There are a few reasons why Addictive Drums 2 (now available in SONAR Professional and SONAR Platinum) sounds like a real drummer, so let’s check those out.

Extensive and sophisticated velocity scaling

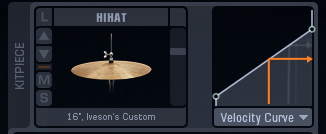
Within Addictive Drums 2 there is a powerful Map Window that exposes some of the more sophisticated elements of the XLN’s engine. Here you can choose to do various things to customize the way you interact with Addictive Drums 2. But within this window there is a dedicated velocity curve stage for every single sample that XLN audio supplies.

Select one of your kitpieces from the neighboring section and you can use this menu to choose how you want to control the way Addictive Drums 2 individually treats every drum or cymbal hit’s velocity. You can even grab one of the existing velocity presets and adjust it to your liking.

Customized and pre-designed velocity curves

When you strike a note on your MIDI controller or play a MIDI Continue reading “Addictive Drums 2 Sounds Like a Real Drummer, But How?”

Reader's Choice: The most popular mixing articles of 2014

by Dan Gonzalez
Mixing is and always will be one of the core elements of each and every DAW. Here at Cakewalk, SONAR features hundreds of a ways to mix and process your tracks for personal and commercial use. Here are some of the most popular articles we have featured in 2014.

How to use Reverb to create depth

Mix engineers that have had their time behind a board can pick out the misuse of Reverb when they hear it. Just like with anything, applying the proper Reverb requires more time than just scrolling through the presets of the basic Hall, Room, and Plate algorithms. Music tends to have a significant three-dimensional experience to it. This concept requires the understanding of width, height, and depth. Check out this article on how to use reverb in your mix.

Subtractive EQ Parts 1-5

Equalization is one of the most powerful tools that an audio engineer can get their hands on. Live engineers, post-production engineers, and recording engineers all have their specific uses for it. It’s so powerful that some beginner engineers habitually reach for it without understanding what it can ultimately do to a mix. Check out this 5 part series about how to properly apply EQ

6 creative ways to use the VKFX-Delay

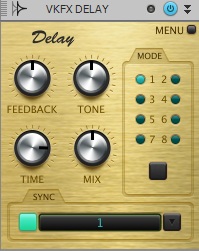
Overloud’s VKFX Delay Module is a rendition of a classic tape delay with an incredible set of parameters that virtually allows you to get just about any sound you please. Check out this frequently read article about how to use this powerful ProChannel module.

Know Your Signal Flow in SONAR

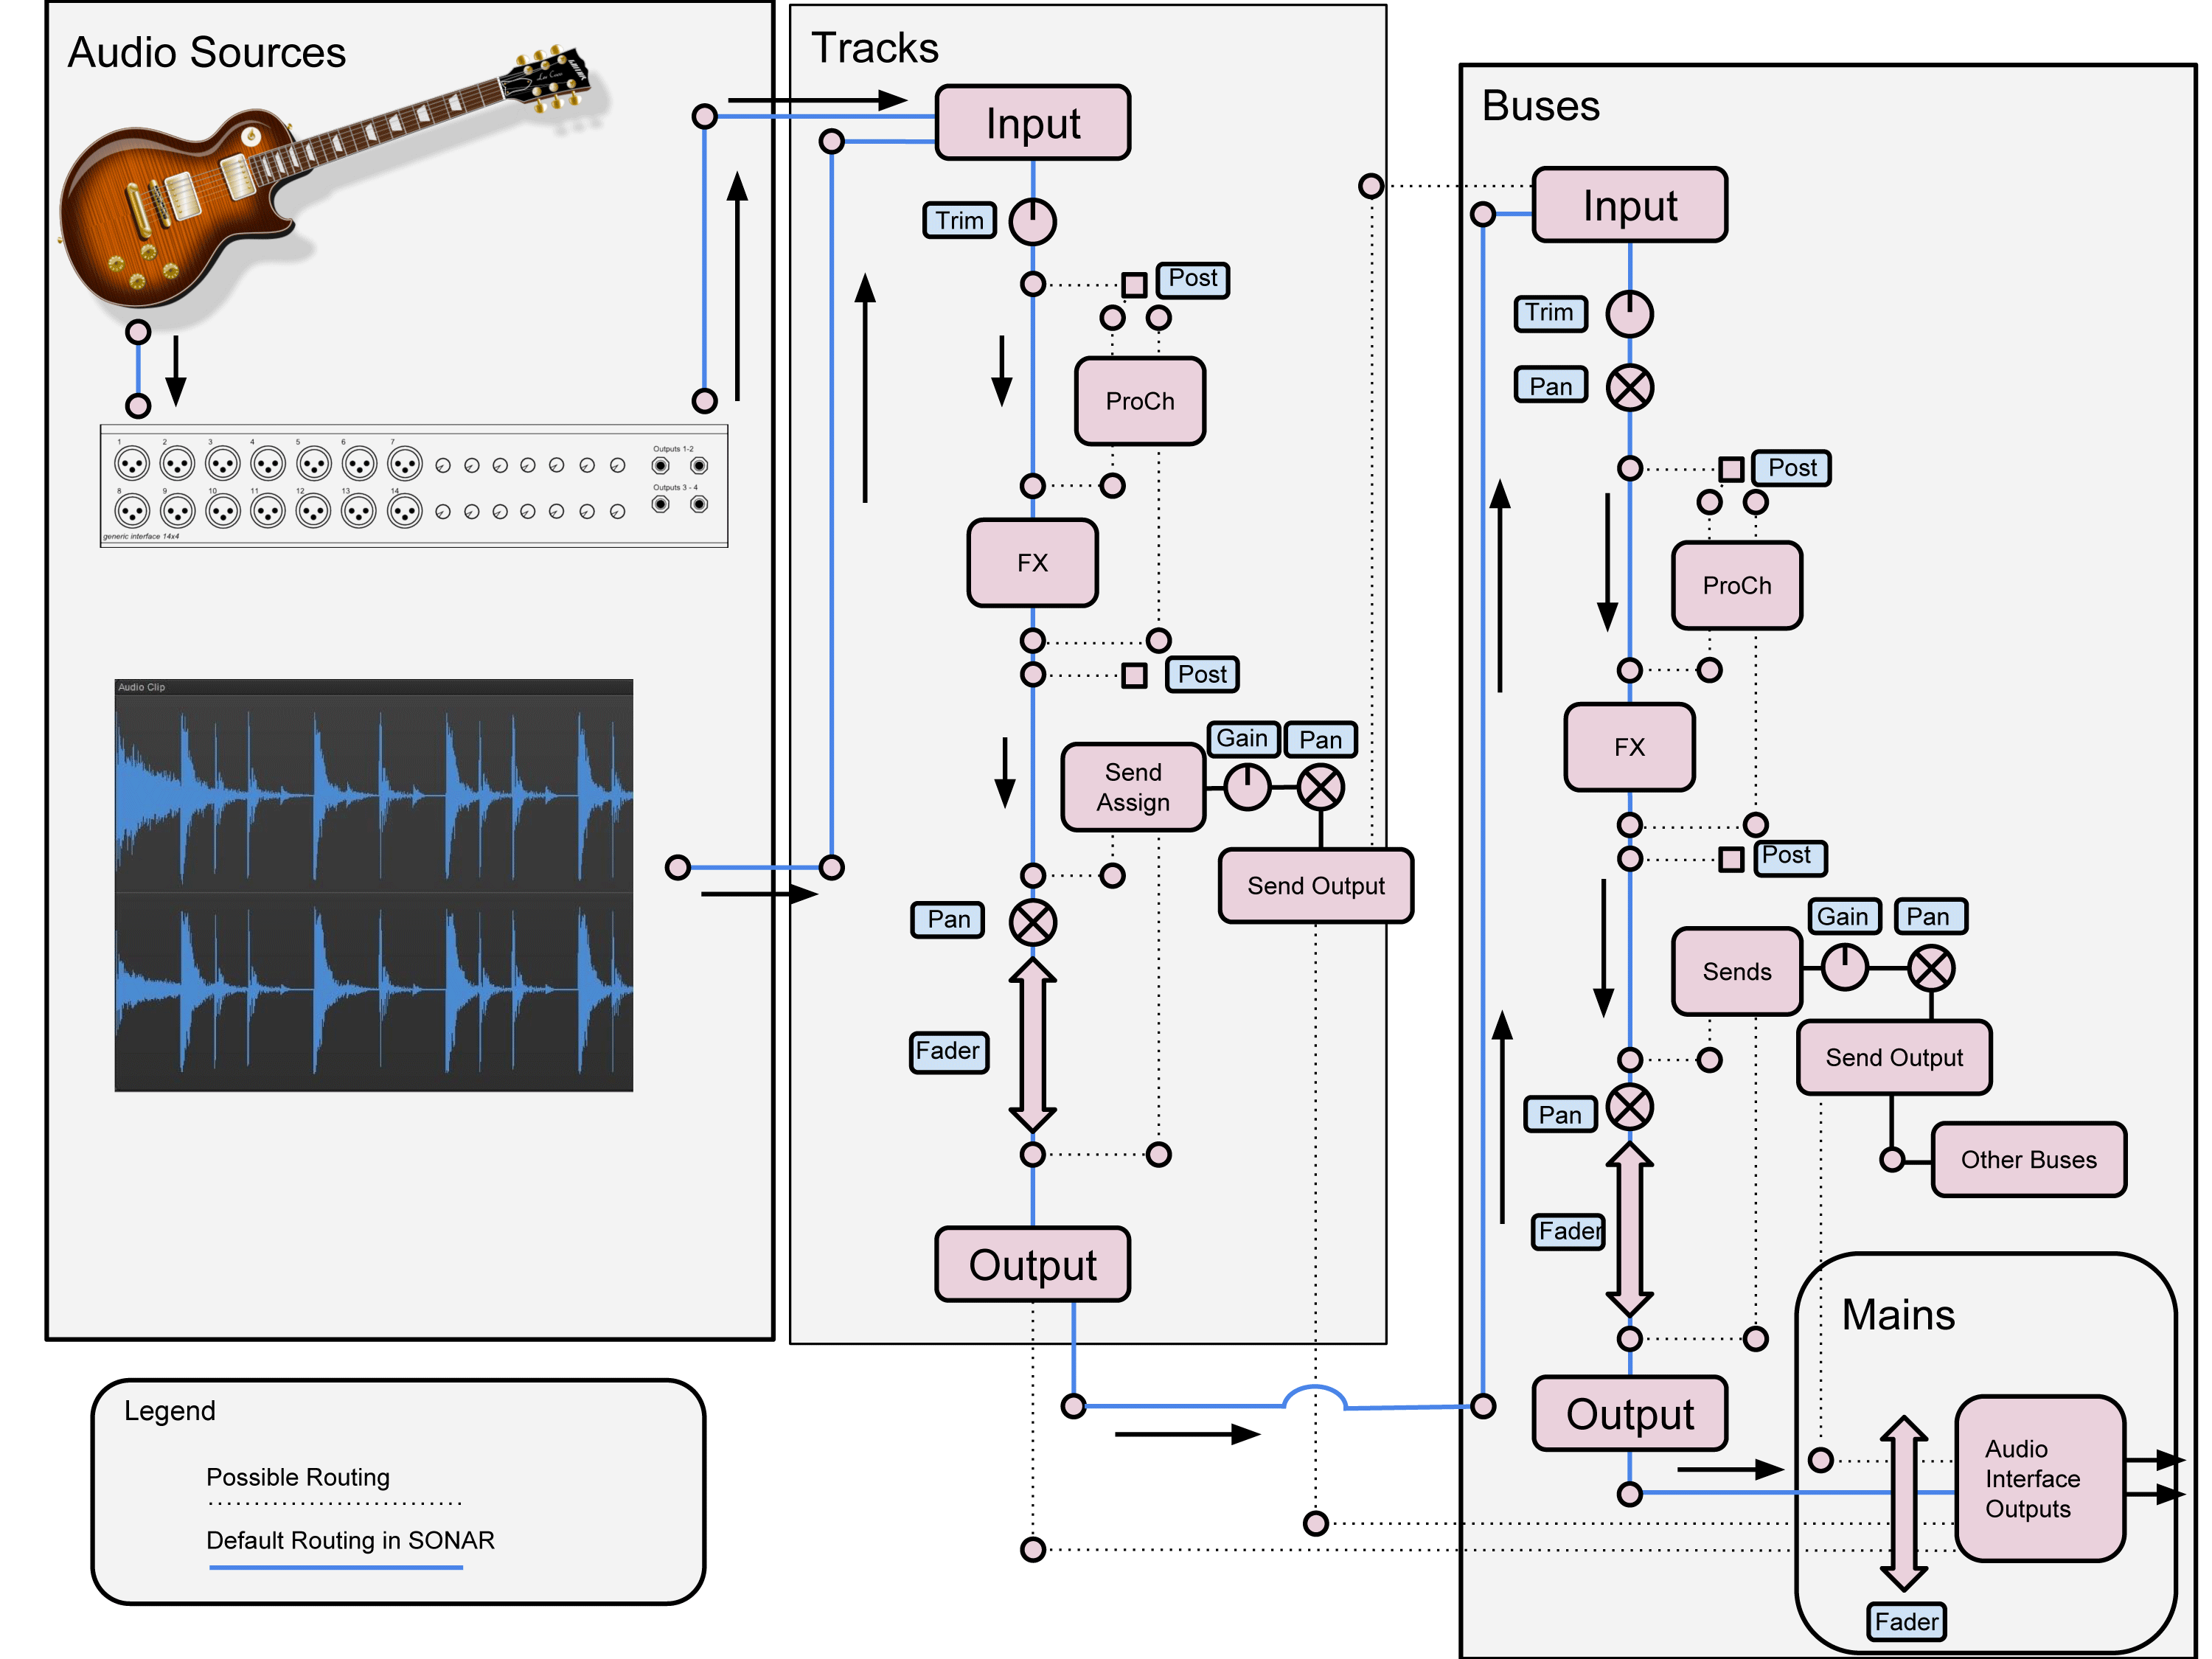
Signal Flow is an important concept to understand, and it may be easier to think about when presented with a diagram of how audio is passes through SONAR. Read the article here.

Ten Nasty Mix Mistakes

Mixing is tough enough as is, but avoiding the following mistakes just might help the process go a little more smoothly—and give you audibly better results. Check out this awesome article by Craig Anderton.

Thanks for reading!


Multi-track Drum Editing – Crossfading and Critical Listening

by Dan Gonzalez

In the past 3 articles we have looked at basic tools for drum editing as well as identifying, splitting, cropping, and aligning clips. All of these techniques can be followed pretty accurately by reading along and performing the functions as I’ve written them. This portion of the blog series will require that you listen intently to what you’re doing as we work through it.

Make sure to wear headphones and get your critical listening ears on so that your drum edits are clean and not full of pops. Previously I mentioned that we would need to monitor our drums as we edit them and that erroneous edits come through the most in the cymbal microphones. In order to make this possible we’re going to mute the tom tracks and lower the volume for the kick and snare tracks. This exposes mostly high hat, ride, and overhead microphone signals. Also, make sure to pan the overhead microphone signals hard left and right too.

STEP 14: Turn on Auto Crossfade

SONAR is known for it’s streamlined feel and quick functions. One of the best examples of this is SONAR’s auto cross-fade functionality. Since we’re  putting this drum pattern back together we’ll need some speedy way of making sure the clips do not pop when overlapping.

Within the track view click on the Options > Auto Crossfade. This feature allows you to crop one clip into another and automatically yield a cross fade. Continue reading “Multi-track Drum Editing – Crossfading and Critical Listening”

SONAR X3: Producing Drum Samples (Video Series)

In the midst of recording a whole record it’s always a good idea to take some samples of the drum set so that you can replace and reinforce the drums later on in mixing. Here is an 11-part video series that shows you how to apply some basic EQ, Compression, and Editing techniques to get your drum samples to sound pro within SONAR X3.

Subtractive EQ Part 3: Kick Drum

Miss part 1? Read Subtractive EQ – Snare Drum.

The Kick Drum
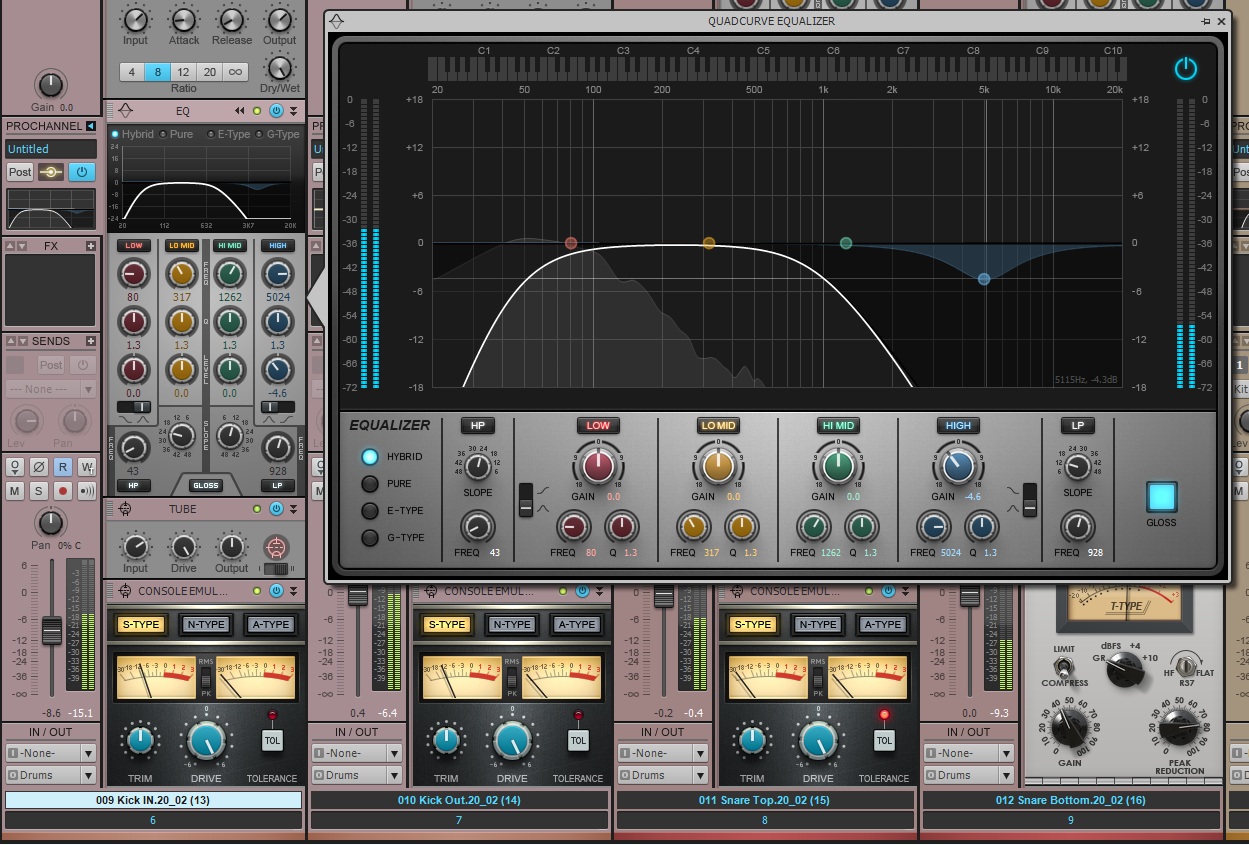
If the snare was the primary listening point for Rock music then the kick drum is the second most important. By working in the guitars in over the snare I was then met with the challenge of working in a solid kick drum sound. This kick drum was tracked using two different kick drum microphones, one deeper into the drum than the other. For reference, the first kick signal is called the “Kick-In” microphone and the second is the “Kick-Out” signal. (This is one example of the nomenclature used by many engineers to differentiate between the different microphones placed on a drum set)

Kick In

I started by blending the two signals Continue reading “Subtractive EQ Part 3: Kick Drum”