Check out the latest episode of Cakewalk Talk, where Dan Gonzalez interviews audio engineer Daniel Rowland (Adrian Belew, StudioBelew, Accept) about LANDR and his role at the company.
We’ve posted a shorter cut below as well.
Check out the latest episode of Cakewalk Talk, where Dan Gonzalez interviews audio engineer Daniel Rowland (Adrian Belew, StudioBelew, Accept) about LANDR and his role at the company.
We’ve posted a shorter cut below as well.
 As a fan of our bakers and all the great features coming out of the Rolling Updates, I absolutely love exploring all the new things SONAR brings every month. As a big fan of Lounge Lizard, I was really excited to learn that we would be incorporating the Ultra Analog Session 2 (UAS2) instrument into SONAR this month. So at this year’s Namm convention I made a point of meeting up with my buddy Marc over at Applied Acoustic Systems to learn more about the synth before trying it out.
“A fun synth to play around with,” Marc explained. And once I got my hands on it I understood what he was talking about. Being a bit underwater with time these days, I decided to put an hour (or so) cap on diving into the synth and writing a short piece of “whatever” inspired me while first hearing and manipulating the sounds; and making use of the features. I challenged myself a bit by using ONLY instances of this synth combined with stock SONAR Producer ProChannel modules so I could get a good feel for its capabilities. I also thought it would be a fun test since there are no stock drum or percussion patches in the synth. Here is what I found:
 Diverse: I like the fact that for a synth with a small footprint, it crosses a through a wide array of tones. The 5 main tonal character traits are Arpeggio, Bass, Lead, Pad, Polysynth, along with a bonus of two banks from Richard and Sean Devine that come in handy for more options. I like the fact that there’s not a ton of overwhelming stuff here—and what’s in the box is all great and diverse for different applications.
 A Strong Simple Synth Engine: For someone like me who is not a synth expert, this instrument is great. The 3 sound generators (VCO, Filter and Amp) are simple enough to navigate for those who do not fully understand the complexities of creating synth patches. In my opinion, 10 minutes of turning knobs with this instrument is enough time for anyone to come up with some great sounds. For example, after putting a limiter on my master bus I noticed one of my staccato parts was cutting through in a way that sounded too intense compared to the kick. Very easily was I able to identify the “Amp Attack” as the culprit, and by simply dialing that knob back a bit the sound became what it needed to be.
 Onboard FX: Similar to Z3TA+, this synth carries its own FX processing right inside the synth. Although multiple FX are not possible in one patch, the good news is that AAS didn’t skimp on the quality of the engine. I tested all FX (Chorus, Delay, Distortion, EQ, Flanger, Phaser, Reverb) with different patches and found the available parameters to be intuitive while rendering high-quality sounds.
Thanks to Melodyne’s advanced tempo detection and SONAR’s powerful ARA drag-and-drop integration, your projects can now follow a live recording’s tempo. Simply drag a standard audio clip (or Melodyne region effect) to SONAR’s timeline, and SONAR creates a tempo map that follows the clip tempo. Watch the new video for more information.

While there have been hundreds of fixes and enhancements added to SONAR since X3, we’ve compiled this list of the ones we think X-Series users will be particularly fond of.
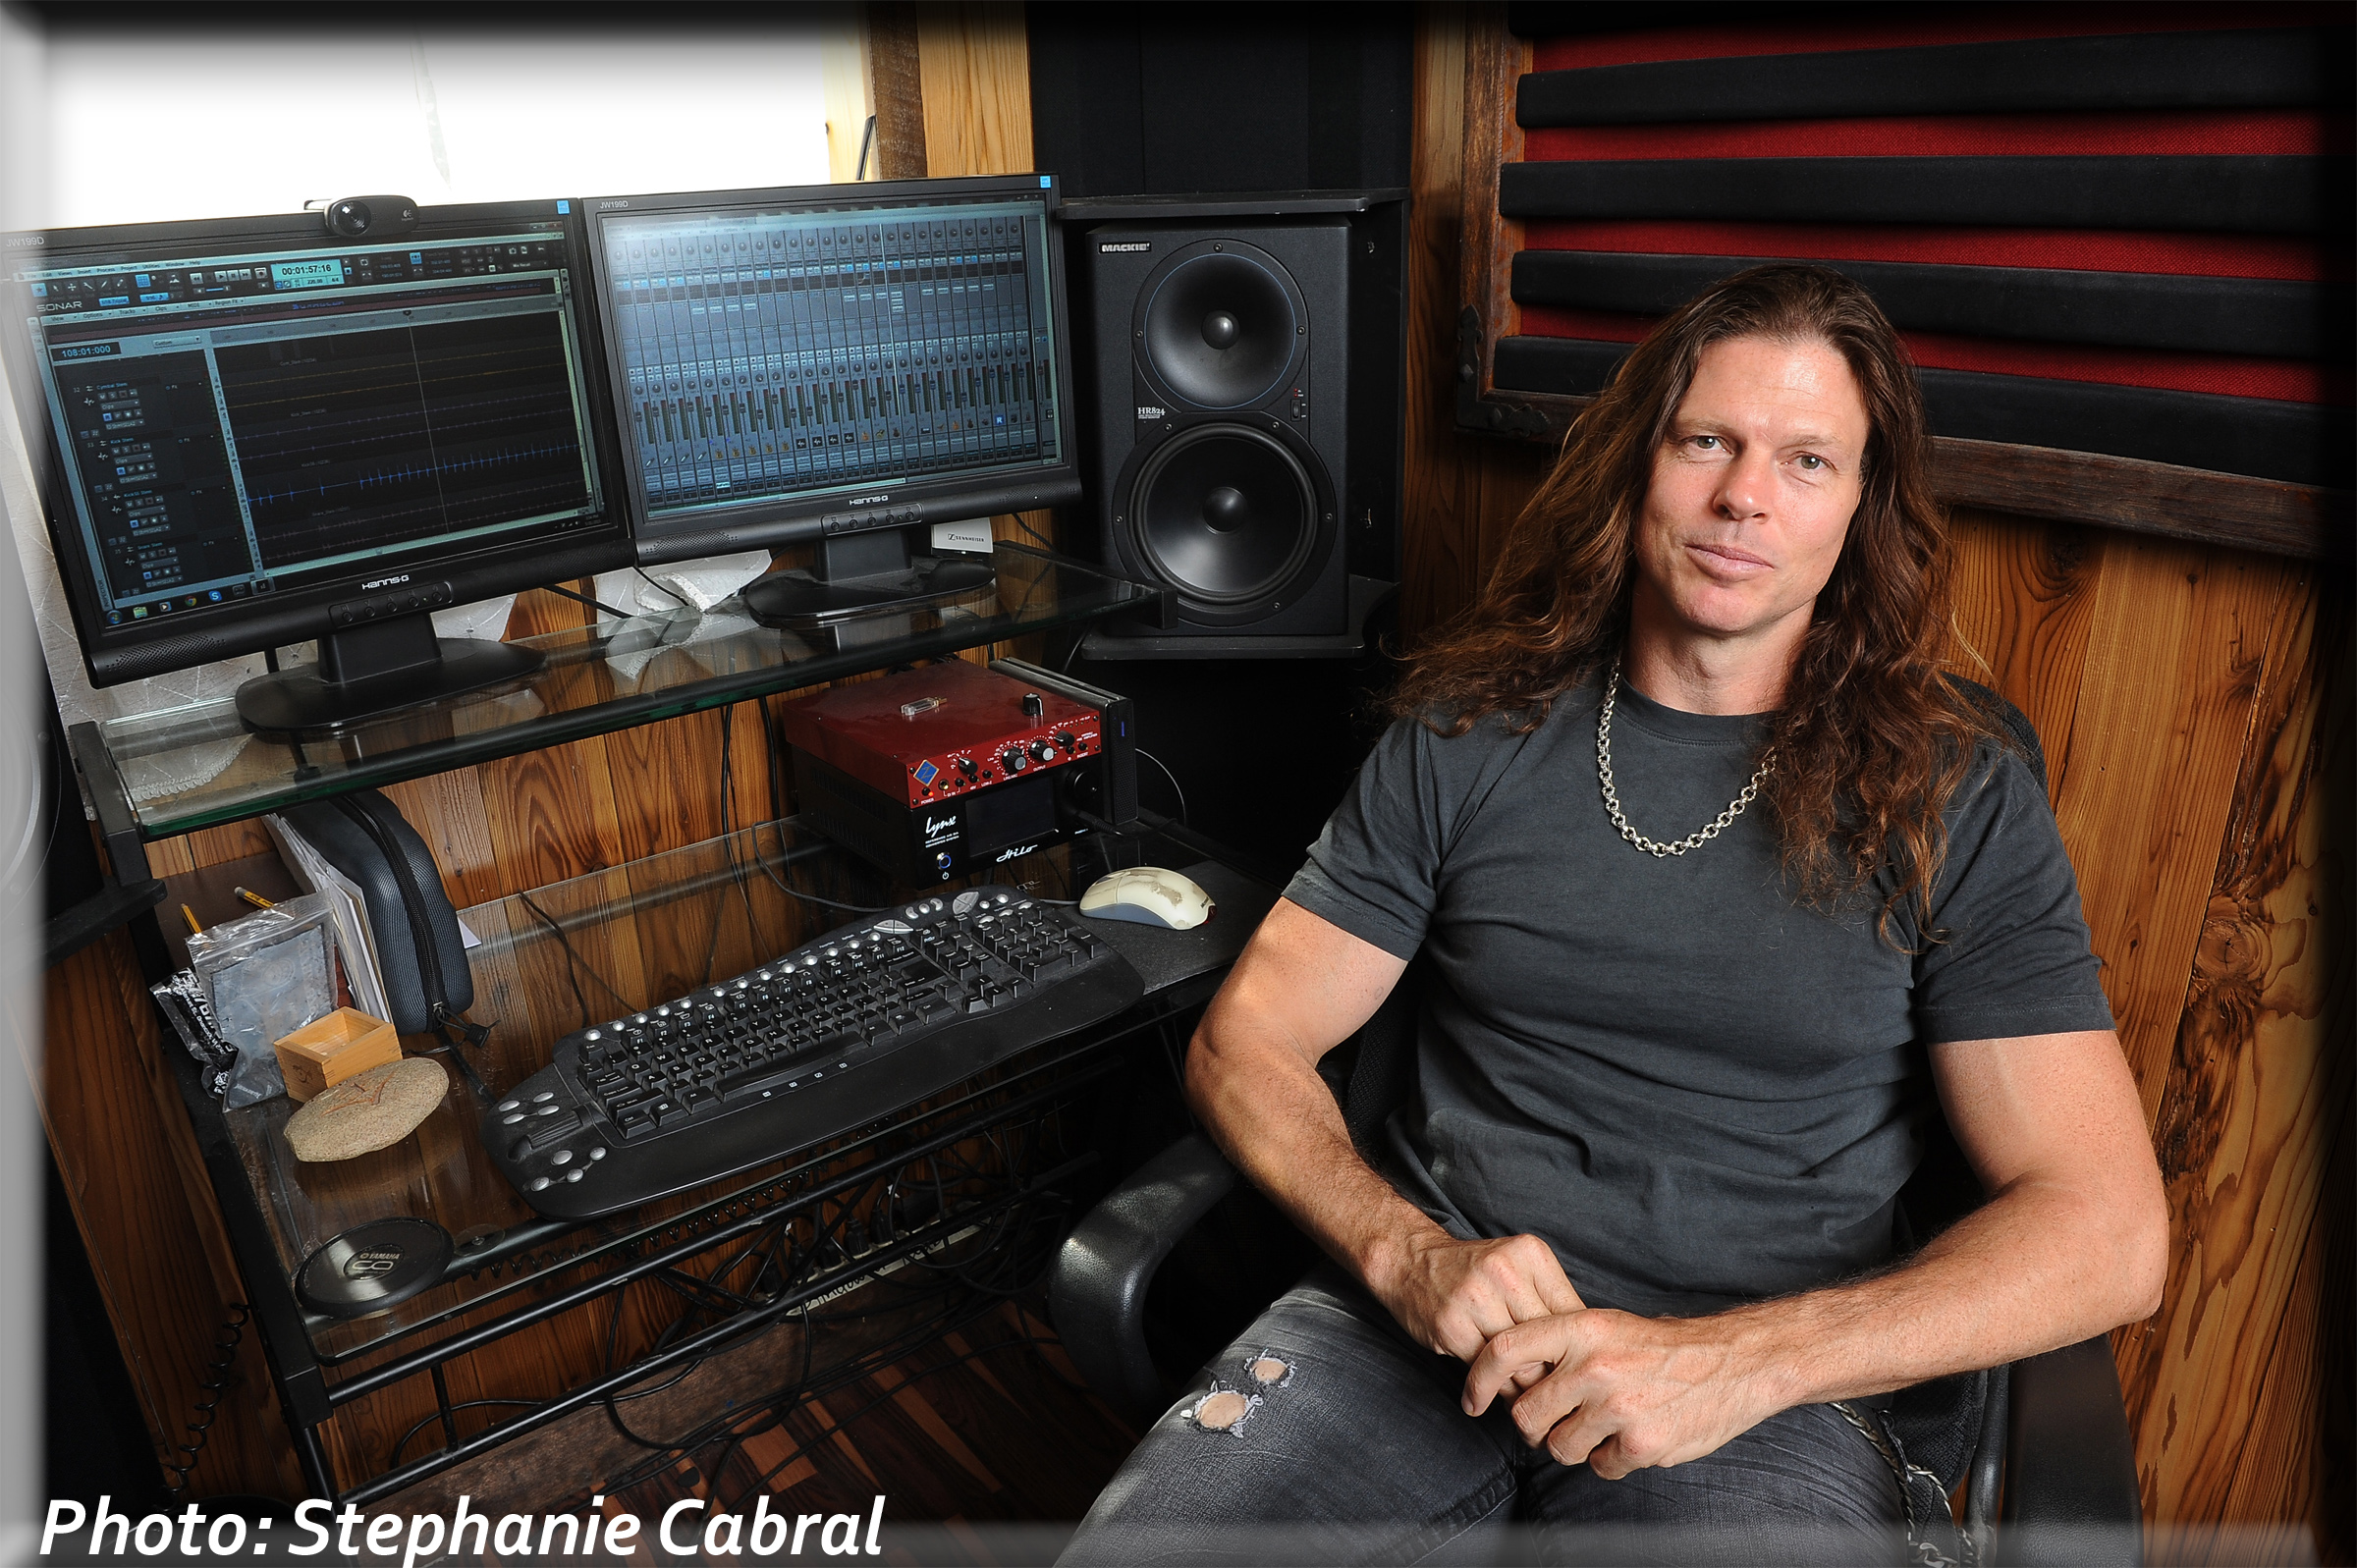 Chris Broderick has been focusing on his band Act of Defiance and their new record on Metal Blade Records. “We recorded all vocals, cello, lead, rhythm, classical and acoustic guitars at Ill-Fated Studio’s in Los Angeles, CA on SONAR Platinum. The features we gained upgrading from X3 to Platinum really helped us capture this new record.”
 Norman Matthew of the band Murder FM not only used Platinum on his recent record produced by Beau Hill, but his band is also using it live on tour. “Platinum is ridiculously stable. Our show has developed into something more dynamic–and we like triggering some sounds that we used on the record on tour. SONAR Platinum works so well for us on stage as well as in the studio.”
 Javier Colon, winner of NBC’s The Voice continues his lifelong musical journey with a new record deal and album coming out on Concord Music Group this spring. “I’ve been using SONAR for a long time, but going from X3 to Platinum was the best upgrade I’ve had. Platinum was like a writing partner for me with this new record.”
Celemony has graciously introduced a brand new Melodyne update to the world, and we’re including it in the SONAR Manchester Update free of charge for all Professional & Platinum customers with an active Rolling Updates Membership. What makes this Melodyne upgrade so great?
Melodyne 4 introduces a new Universal algorithm, ideally suited to time-stretch and pitch-shift entire mixes. It also provides a more CPU-friendly way to edit polyphonic material without sacrificing any of the superior quality you expect from Melodyne.
Much like SONAR, Melodyne’s new UI has been designed to fit your workflow, adding customizable configurations and better information overviews. It’s also been optimized for compatibility and stability with all the latest 32-bit and 64-bit Operating Systems and DAWs.
Melodyne 4’s new tempo algorithms detect tempos, time signatures and changes more accurately than ever before, allowing you to to match the tempo of any audio clip or loop to any other audio clip or loop more precisely.
SONAR users can enjoy the ability to view the data from multiple audio tracks all in one single Melodyne window, making it much faster and easier to synchronize notes on different tracks. This unprecedented new feature is useable exclusively in the current edition of SONAR.
Like what you’re reading? Upgrade or Renew today or Try SONAR for free!
For more information about Melodyne 4, please visit http://www.celemony.com/en/help/helpcenter
| You might also like… | |
|---|---|
 |
 |
| SONAR PLATINUM VS. SONAR X3 PRODUCER: IMPORTING AUDIO | THE EVOLUTION OF COMPING |
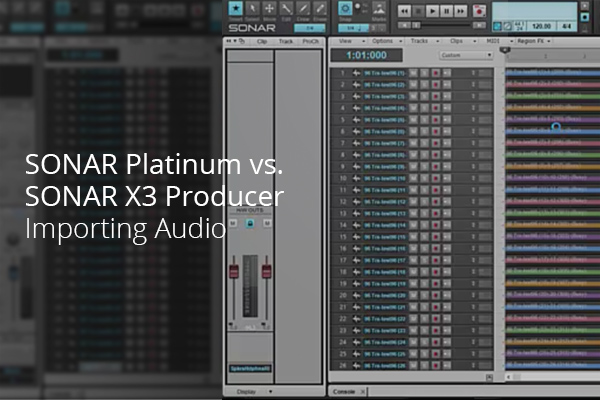
A few weeks back, we released this video demonstrating the drastic speed improvement when inserting 100 blank audio tracks into the current edition of SONAR.
If you saw that video, you’ll recall that SONAR Platinum, in less than one second, accomplished what SONAR X3 took about 13 seconds to complete — a 2,600% improvement!
As we continue to make improvements to SONAR Platinum (and Artist & Professional as well) through Rolling Updates, we thought it might be fun to race SONAR Platinum against SONAR X3 Producer in their ability to import actual audio files.
The video below, complete with drag race audio, a rock n’ roll soundtrack, and a couple of millisecond-accurate stopwatches, places SONAR Platinum and SONAR X3 Producer side-by-side to see who is the real speed demon.
I’ll spoil it a little and tell you that SONAR Platinum is the winner here, but the illustrated difference in speed may truly shock you!
Note: If you liked the soundtrack, be sure to check out the Rock Guitar Anthems loop pack!

As we work to perfect SONAR, we’ve focused not only on useful new features, but also improvements to the core program. This month, we targeted our efforts on streamlining SONAR in major ways that will help hobbyists and power users alike.
For the upcoming SONAR Kingston update, CTO Noel Borthwick ran a few benchmark tests to compare, apples-to-apples, exactly how much better SONAR is performing now versus SONAR X3. In every case, the SONAR Kingston update showed marked improvements over SONAR X3 to perform the most common tasks.

Want to feel the effects of this progress for yourself? Upgrade or try SONAR free today.
SONAR is officially supported on Windows 7, 8, 8.1, and 10.
| You might also like… | |
|---|---|
 |
 |
| ANATOMY OF A SONAR PROJECT: REPLACING THE PLACEHOLDER | 5 WAYS SONAR’S ROLLING UPDATES ARE WORKING FOR YOU |
DELIVERING MUSIC FOR THE FILM “FOR BLOOD” (COFFEERING ENTERTAINMENT LOS ANGELES, CA)
 Sometimes I am fortunate enough to have the time to take on a project outside of Cakewalk, and I love that those projects let me put our current SONAR Platinum “Rolling Update” to the test in the field. Recently, the LA-based production company Coffee Ring Entertainment asked me to write, produce and deliver three tracks for their new movie, For Blood. This article describes highlights of the process involved in writing and producing one of those tracks for a specific scene in the film.
My first question to the director was, “Do you already have placeholder music in the rough cut?” When producers and directors have placeholder music they like already set into the cut, it speeds up and simplifies writing and producing the music. Fortunately the answer was “yes,” so all I needed to do was replicate what they liked about their placeholder tracks using the array of instruments and plug-ins in my home project studio rig.
A primary objective in writing music for film is to forget about yourself and your own emotional agenda. And oddly enough, for me at least, this notion really speeds up the workflow because you are writing/producing for someone else’s purpose other than your own thoughts. Adamantly keeping this in mind throughout the writing/producing process helps to stay focused on what the client wants. For this song, it’s exactly what I had to do because the producers had a Tarantino-ish type track set into the scene, and my innate production style tends to lean more towards big, clean commercial pop rock. Luckily, I could go to YouTube and analyze suitable styles of music but even luckier for me, SONAR’s Addictive Drums and TH2 plug-ins were ideal for dialing in the kind of music that was needed. Continue reading “Anatomy of a SONAR Project: Replacing the Placeholder”
By Craig Anderton
Some plug-ins and virtual instruments sound better when recording at sample rates higher than 44.1/48 kHz because high audio frequencies can interfere with lower clock frequencies, which causes foldover distortion. This adds a “wooliness” at lower frequencies, and can also compromise high-frequency response. Plug-ins that include internal oversampling do not have this problem, but not all plug-ins—particularly older ones—use oversampling.
The Foxboro update introduced Upsample on Render, which provides the benefits of using higher sample rate processing even in 44.1 kHz or 48 kHz projects by internally 2X up-sampling plug-ins of your choice, rendering them as audio, then down-sampling the rendered audio back down to the original sample rate. While it may seem counter-intuitive that the audio quality from rendering at 96 kHz is preserved at lower sample rates, the lower sample rates have no problem reproducing signals in the audio range, and by rendering at 96 kHz, the problematic frequencies no longer exist.
The Jamaica Plain update now offers Upsample on Playback, so you can preview and compare the difference in real time. To enable either Upsampling on Render or Upsampling on Playback on a per-plug-in basis, click the FX button to the left of the instrument name in the virtual instrument interface.
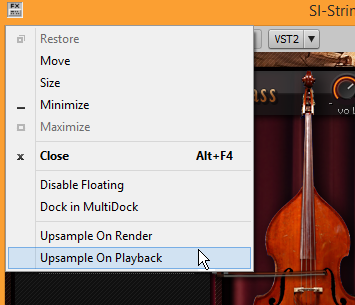
To turn Upsampling on or off globally for plug-ins that have Upsampling enabled, use the 2X button in the Control Bar’s Mix module.
By Craig Anderton
Here are some representative applications for using Patch Points and Aux Tracks. There are often several ways to accomplish the same functionality, so use whichever is most comfortable. For example, if you already have existing tracks that you want to connect to Patch Points, it’s probably easier to assign their inputs to Patch Points than create new Aux Tracks. However, if you’re setting up a new recording scenario, it will probably be easiest to create an Aux Track as that will create both a track and a Patch Point assignment.