An offer you can’t refuse. Jamstik+ & Sonar Artist BUNDLE with FREE Sounds!

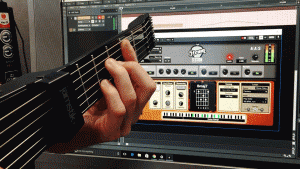
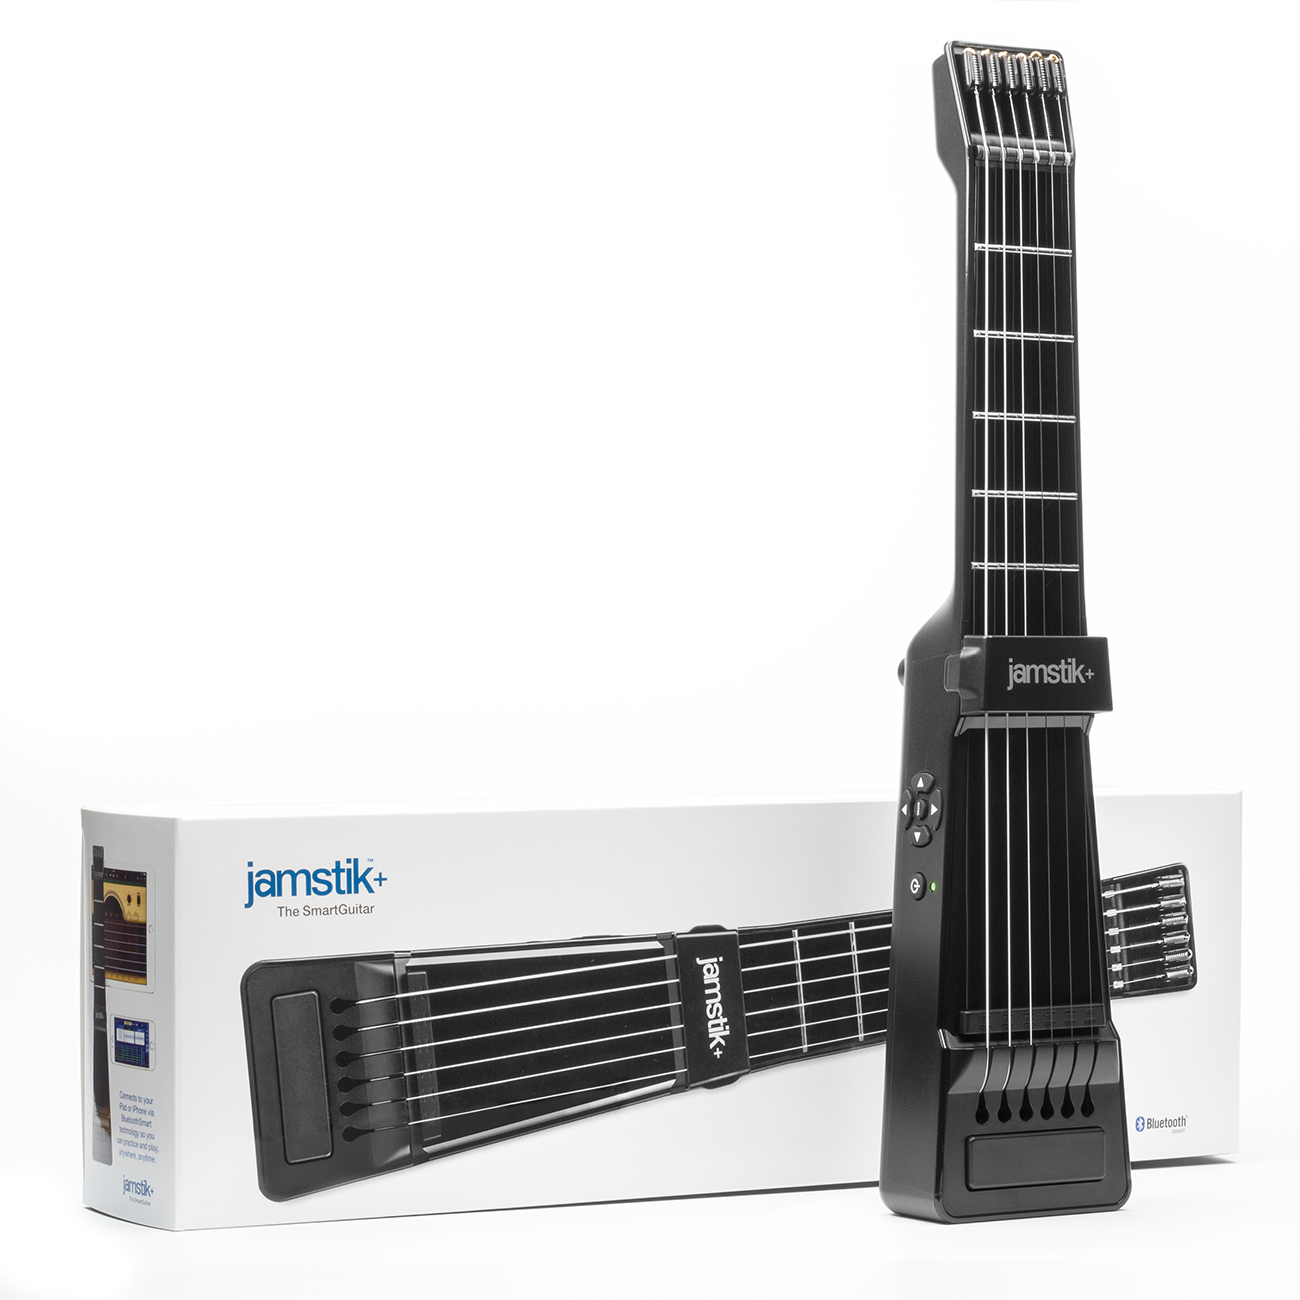
Hey everyone!  Cakewalk & Jamstik+ have teamed up again, this time to bring you the Jamstik+ & Sonar Artist Bundle! In addition, our good friend Craig Anderton released custom presets for Rapture Session as a bonus download included in the bundle. Jamstik+ sound-pack for Rapture Session includes 11 instrument types & all of the presets curated from Rapture Pro multi-sample synth that can be easily mapped to your MIDI controller.  In total we have 30 presets that celebrate the 30th anniversary of Cakewalk Sonar.  Watch the video above to watch me showcase some of the included sounds!
Rapture Session’s Interface

First, let’s talk about the user interface for our included soundpack.  Sonar’s integration of Rapture is very straightforward and user-friendly.  For many guitarists, synth apps can be intimidating.  I tend to steer toward apps that have a simplistic design so I can play more, and tweak settings less.

How Does It Sound?

This sound-pack is a Swiss-army knife of sound, including a nice section dedicated to bass guitars.  Most patches have a nice warm tone and some of them even a retro-like quality.  Although these programs have unique attributes that can be modified with the Instrument Editor, they come pre-canned with solid defaults.  If you’re looking to get a bright and crispy synth, I recommend adding an exciter to help out with the super-duper high end.

About The Demo Song

The main chord progression goes from C# minor to A major using the Nashville Guitar with a few tweaked settings in the Instrument Editor.  It’s always exciting to try out new guitar tones with the jamstik.  Traditionally it’s usually hit or miss for MIDI samples of guitars.  These particular offerings fit well with the kind of track I was making.  The Nashville Guitar is essentially based off the “LesPaul” sound included with an octaver on top of it.  This brightens up the melody and helps it stand out.  In this example, I increased the TremSync Dial to get a nice tremolo effect.

I’m a huge chip-tune fan (I actually compose quite a lot of 8-bit music myself)  so naturally, I gravitated towards the PolySynth lead.  This is used on the melodies & solos that are going on in the video.  

Lastly, during the section where I am playing a Kick and Snare there is an arpeggiated pattern being played in the background.  This patch is a fun one called PatternKittens.   This arpeggiated synth lends itself nicely to contribute ambient tones to the tune.  It reminds me of something The Who or a rock band would have incorporated into their music!
List of the 30 bonus sounds:

  • 3 Guitars
  • 2 PolySynths
  • 2 Pads
  • Brass Synth
  • Clav Synth
  • DrumsAcous
  • Electric Piano
  • Harpsi-Synth
  • Organ
  • Pattern Kittens
  • Pattern Soft Steps
  • Piano
  • Sax
  • Sitar
  • Strings
  • Synth Tines

Included Basses:

  • Acoustic Bass
  • 4 Electric Basses
  • 5 Synth Basses

Use Unique Jamstik+ Features

For the soloing on this track, I used a mixture of traditional picking and a feature called “Tap Mode”.  This functionality has been used with other controllers so may not be a foreign concept to you.  Essentially, the jamstik+ when in tap mode, will reward a full velocity note upon fretting the guitar neck without the need for picking.  It’s a fun way to do legato passages and tracks really clean on the piano roll.  For an article explaining more about jamstik+ features click here!

Bluetooth MIDI on Windows 10

The newest versions of Sonar and Windows 10 take advantage of Bluetooth 4.0 Low Energy to connect the jamstik+ wirelessly as a MIDI input device.  Make sure to check specs on your PC to ensure compatibility.  If not, we recommend this BLE dongle by Asus.  
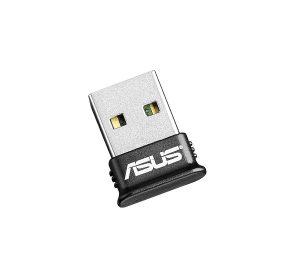
For more info check out a previous guest blog-post I did talking about Bluetooth MIDI.  For the full article read more here.

Special offer:  Jamstik+ & SONAR Bundle!

Sonar Artist is a fantastic package that comes with all of the essentials & more.  To celebrate our collaboration, we are offering a bundle for the jamstik & Sonar Artist together for a special price!  Both of these products are great independently, but together they make a powerful team.  Don’t forget.. this plug-in I am demoing comes FREE with the activation codes included in the bundle!
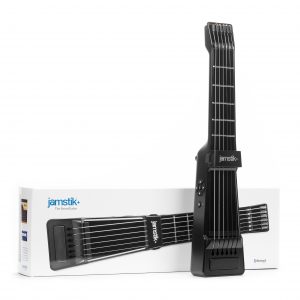
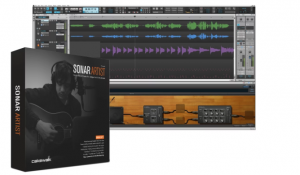
Thanks to hard-working engineers we have Bluetooth MIDI possible in Sonar. This opens new doors for producers and other music creators to have a wireless experience with a cool controller on their PC.  We hope to see what you create!

Remember to tag #jamstik #sonar #cakewalk on your posts!! 

Learn more about the jamstik+ / Sonar Artist Bundle at www.jamstik.com

Bluetooth MIDI Is Here And Why It's Important For You

[youtube https://www.youtube.com/watch?v=99mneukqSkI&w=750&h=420]

A new way to enter MIDI

Greetings! My name is Mike Green, Music Product Specialist at Zivix, we make the jamstik+ portable SmartGuitar & PUC+ wireless MIDI link. I’m primarily a guitar player, and in my 15+ years of musical composition, MIDI has enabled me to write and record quickly. In full disclosure; I’m a lousy keyboardist. The jamstik+ and Bluetooth MIDI’s availability for Windows 10 has revolutionized what used to be a point-and-click endeavor. Now I can use virtual instruments in Cakewalk’s SONAR software controlled by the jamstik+ digital guitar so I can enter in data wirelessly via Bluetooth MIDI – using the guitar skills that come most naturally to me.

Tracking MIDI with the jamstik+ in SONAR Platinum

Jamstik+ & SONAR Platinum is a killer combo for the studio.

A hit with pro and amateur musicians, the jamstik feels like a traditional guitar neck and works with your favorite MIDI apps and DAWs.  Music notation, composition or accompaniment is easy with the Jamstik+ and Sonar Platinum Edition.

The jamstik+ is a great MIDI controller, and my favorite bundled virtual instruments in SONAR are:

  • Strum Session 2: This was an added bonus I did not expect, a built-in guitar modeller! Overall, I’m very impressed with the simple UI. There’s a plethora of modifiers to make your own presets with, and even a chord-finder as an added benefit. Make sure to take a listen to the short track I made featuring the “acoustic” preset (video is at the top of the blog post).
Using Strum Session’s Chord Finder with the jamstik+
  • Cakewalk Sound Center: This Soft-Synth includes a nice variety of tones.  There is a limit to what parameters you can tweak for each sound, but most of these sounds are good right off the bat.  

Make Sure Your PC is Bluetooth 4.0 Compatible.

With recent updates in the Windows 10 OS, SONAR’s DAW takes advantage of using Bluetooth 4.0 Low Energy (BLE) to connect Bluetooth enabled MIDI devices. Now, almost all operating systems have this capability, so the performance is only going to get better from here, and more controllers will start “Roli” ‘ing in (haha). Check the specs on your PC (look for Bluetooth in Device Manager) to see if your PC is Bluetooth 4.0 compatible. If not, you can always try various BLE Dongles like this one by Asus.

Connecting is easy

  1. Pair to Windows 10
  2. Open SONAR
  3. Enable your MIDI Device In/Out Check-boxes in Preferences
  4. Select your Soft-Synth
  5. Play!

Use the PUC+ To Connect Other MIDI Controllers via Bluetooth

I should also mention if you’re looking to connect an existing MIDI keyboard, check out the PUC+ Wireless MIDI interface. It’s an easy way to cut the cables from your rig (for your electronic drum-kits, keytar, or even syncing/switching effects on our DAW). After seeing more and more innovative controllers at Winter NAMM 2017, one thing is clear — BLE MIDI isn’t going away anytime soon.

Keep An Eye Out For More Bluetooth Instruments

With the rise of mobile music apps, we are seeing the need for cool controllers that fit the lifestyle of musicians. In Jordan Rudess’s tech talk at NAMM, he put a strong emphasis on tablets being expressive instruments—with one drawback: no tactile feedback on the glass.  This is where controllers like the Jamstik+ come into play. A portable, configurable controller in a guitaristic form-factor. Stay tuned for more from Zivix this year!

Learn more at jamstik.com

Zivix is currently running a promo deal with Cakewalk users for 10% off your order on jamstik.com – Make sure to enter discount code: SONAR10 at checkout!

Drum Maps for Addictive Drums 2 in SONAR

by Joey Adams

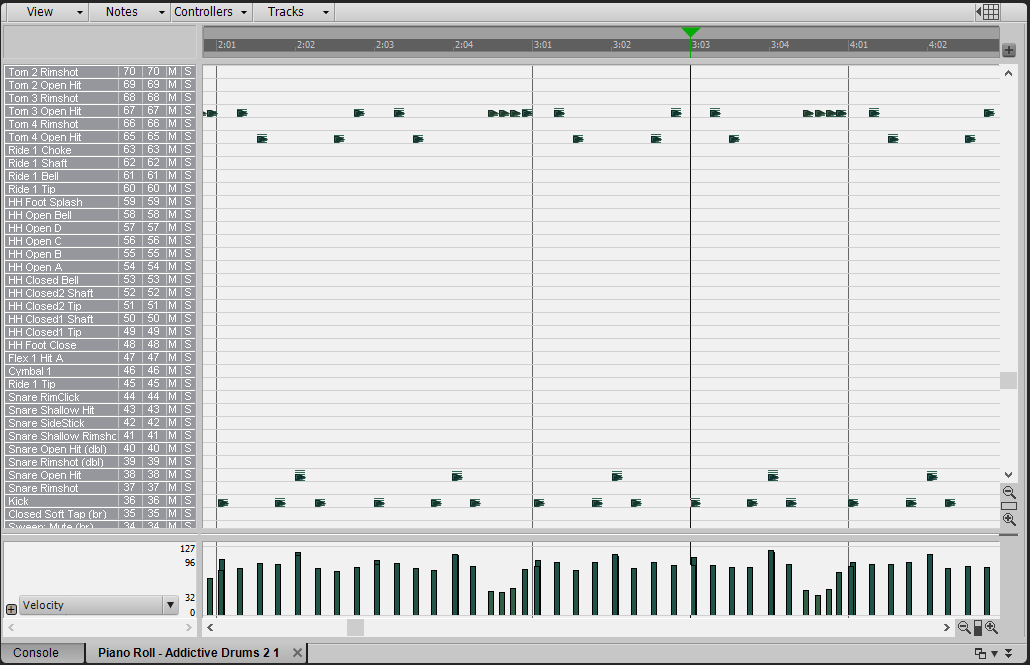
Drum Maps are a powerful tool for taking all the guesswork out of editing your MIDI drum tracks. By using Drum Maps, you are able to see exactly which MIDI Notes trigger which sounds in your VST drum kit.

The purpose of this particular Drum Map is to allow you to see the relationship between MIDI notes and drum kit pieces of Addictive Drums 2, a VST Instrument included with your SONAR Professional and SONAR Platinum software.

Here is what editing MIDI in Piano Roll view looks like without a Drum Map:

Here is the same exact MIDI data viewed with a Drum Map. Now you can see exactly which pieces of the drum kit are in use:


Step  1 – Download the files you’ll need

To get started you will want to download the Continue reading “Drum Maps for Addictive Drums 2 in SONAR”

6 Mindblowing reasons to get SONAR X3 Producer

1. SONAR has redefined mixing in the box.

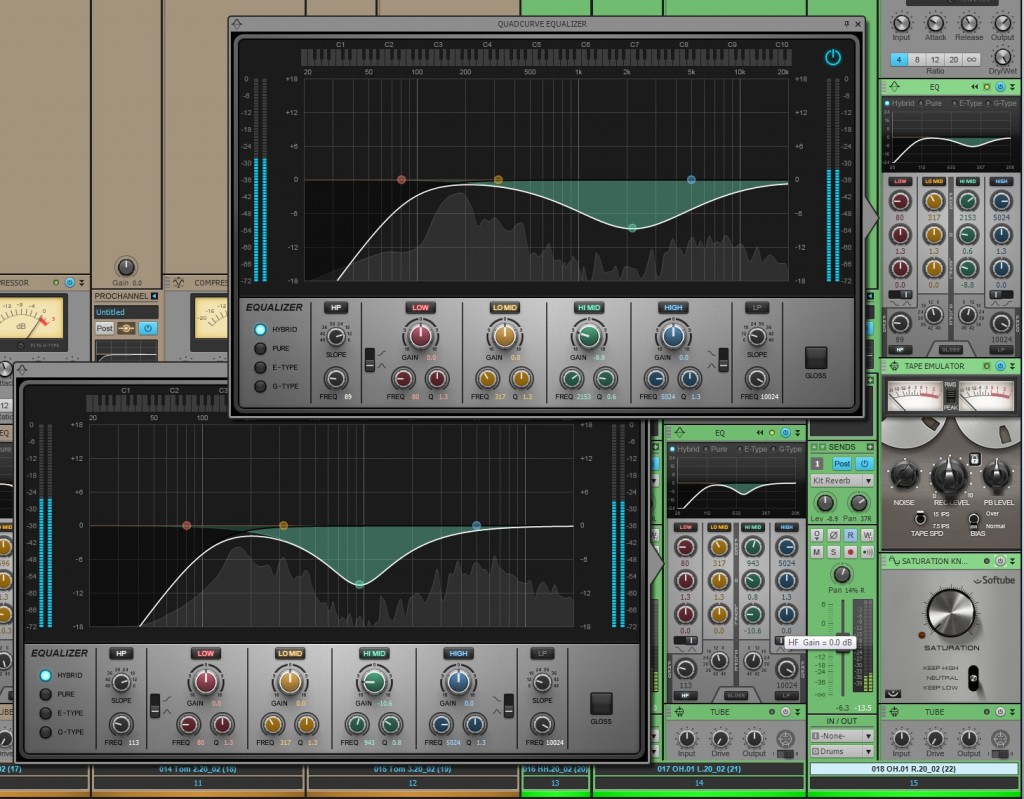
The ProChannel redefines the way you work with the Console View. Each audio track, instrument track, and bus comes with a complete modular strip of analog effects. Even the inspector allows the users to preview a selected track’s ProChannel strip right from the Track View. With the click of a button users can expand this analog mixing console and fully customize it by dragging around the modules, or loading up a ProChannel presets. Load up the Compressors, Tube Saturation, Reverb, Console Emulators, Tap Emulators, and the new QuadCurve EQ Zoom with Analyzer by simply right-clicking. SONAR’s ProChannel lends itself to an immensely visual experienceand to enhance this feature a step further Cakewalk introduced the fly-out panel for the Quad Curve EQ (SONAR X3 Producer Exclusive). Adding this allows users to see and modify their audio signals in real-time across a spectrum analyzer.

2. The best pitch correction software that exists is fully integrated.

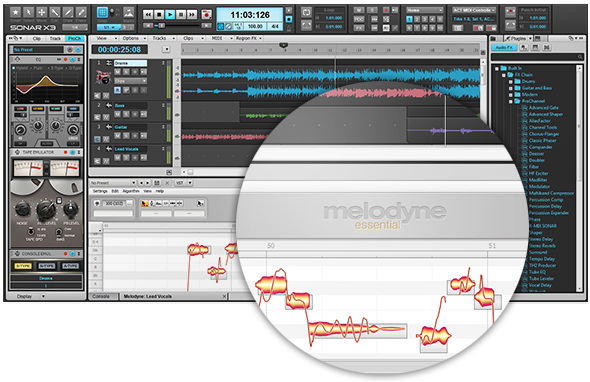
ARA technology is Celemony’s way of allowing DAW’s to host the functions of any audio edit capable plugin. ARA Integration means that Melodyne can now run as a fully integrated feature within SONAR X3. Yes, you read that correctly, SONAR X3 can now run the world’s best pitch correction as a native component and SONAR X3 Studio & Producer now include Melodyne Essential.

Melodyne interacts with the new Region FX clips in SONAR – allowing users to highlight any mono audio clip and apply Melodyne pitch correction. ARA’s high quality time stretching replaces the older time stretching capabilities run by AudioSnap and SONAR X3 has the ability to convert Audio to MIDI by simply dragging and dropping audio to a MIDI track. This deeply integrated technology makes SONAR perfect solution for complex pitch correction!

3. Floating windows get in the way, so SONAR solved that problem.

If you’re looking to purge your workflow of a cryptic DAW with an unsettling interface that is not conducive to a creative environment then you should really check out what SONAR’s been doing since the X-series overhaul. We’ve pretty much ended the floating window interface to bring users a more efficient musical experience. Our Smart Tools HUD can be accessed anywhere in the interface. Our main track view houses several different workflows that are a single click or shortcut away. Screen-sets lets you save window configurations and swap between them using your numerical keys. The list goes on and on and we’re continuing to make it better with more intuitive features.

4. It takes minutes to create something awesome.

There are programs that exist only to record and edit, and then there is SONAR – which is the major contender for the entire creative experience. Every part of SONAR’s MIDI and virtual instrument implementation allows users drag in, route, and start composing within seconds.

You can save your favorite instrument and track routing as track templates and load them into other projects without any hesitation. Complex routing tasks like a multi-track setup for Addictive Drums requires no thinking – just doing. Our synth rack stays separate from the Track View and Console view so that your processing plugins stay separate from your synthesis plugins. Organization, clarity, and not a second wasted, that’s why SONAR stays on top.

5. We don’t bundle useless plugins with SONAR.

In fact, we bundle some of the best software in the industry with SONAR. We’ve already covered the fact that Melodyne Essential comes with the product – but that doesn’t even scratch the surface. 

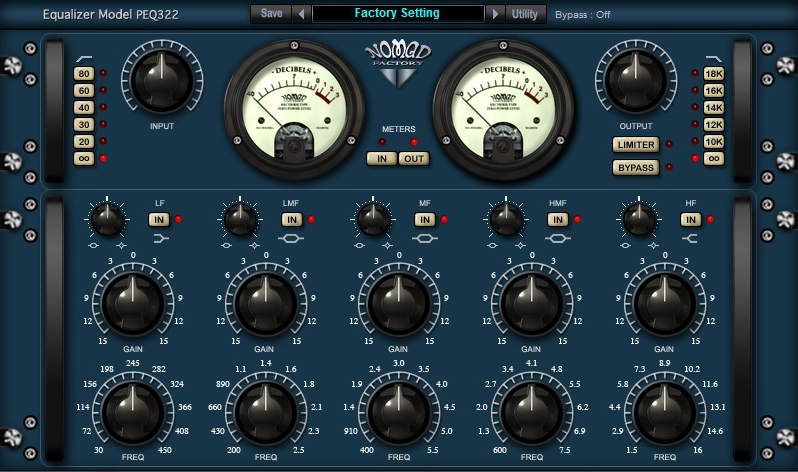
The Nomad Factory Blue Tubes bundle ships with SONAR X3 and contains as many dynamic, time-based, and eq-based plugins that you could ever need. We have astounding instruments from AAS: Strum Acoustic SONAR, and Lounge Lizard SONAR. Lastly, Addictive Drums – which will make you want to fire your drummer and spark your MIDI programming addiction. It doesn’t stop there, check out the full list of effects and get yourself on board with the future of the DAWs.

6. You’re not limited to a Track Count or Plugin Count.

There’s always that moment when you realize that your DAW has hit a brick wall with the amount of plugins or tracks that it can handle at once. SONAR doesn’t have that problem, in fact it goes above and beyond to give you the best 64-bit architecture, unlimited tracks, buses, and effects that money can buy. We even have surround sound support! No need to constantly submix your tracks or work in parts because you don’t have thousands of dollars to drop on a “pro-system”. Even at our $99 value we’ve taken out track and effects limitations and still retain flagship features like ARA and VST3.

Upgrade to SONAR X3 Producer today!

Still not convinced? Check out SONAR free for 30-days.

7 Steps to Cleaning Up Your "ACT" with Hardware

by Craig Anderton

ACT (Active Controller Technology; in SONAR) is a powerful protocol, and its complexity can be sufficiently daunting that some people never take advantage of it. However, one of the rarely-considered advantages of a powerful protocol is that it’s often powerful enough to be used in a more basic way. So if you’ve wanted to take advantage of ACT without having to reach for the aspirin, you’re in the right place.

The conventional approach to ACT is using templates that let you apply hands-on control to various instruments and effects. This usually implies having a dedicated controller, spending some time setting up assignments and creating templates, and so on. However, you can also treat ACT more like a “controller scratch pad” that’s easy, efficient, and works with just about any MIDI controller. It’s the ideal solution for when you simply want some hands-on control without having to venture very far into left-brain territory.

Step 1: Choose Your Controller

One of my favorite ACT controllers is Native Instruments’ discontinued Kore 2 controller. The industrial design is first-class, it’s built solidly, and there’s enough functionality for what we need. Another advantage is that when NI stopped supporting Kore, the eBay prices took a major tumble. Although the examples in this article are based on Kore, please note that the same principles apply to virtually any MIDI controller.

Step 2: Grab Your Software

Many controllers have dedicated drivers, so if needed, make sure you have the latest. NI still offers the 32/64-bit Kore 2 Controller Driver 3.0.0 and the latest NI Controller Editor, which you can download for free from their site. Follow the instructions when installing, or you’ll wonder why the controller doesn’t work.

(Note: With the Kore 2 controller, you may first be greeted with an unusable bright red display. No worries: Hit Kore 2’s F2 button, navigate to Set, hit Enter, and use the navigation buttons and data wheel to control the Contrast and Backlight parameter values.)

The Controller Editor for NI’s Kore lets you specify various characteristics of the Kore 2 controller. In this picture, a button is being assigned to output a trigger when pushed down.

Various controllers may have options—such as assigning buttons to a latch, toggle, or trigger mode. Many of them have editors; Kore 2’s is somewhat more sophisticated than many others, but again, the principles are the same. In the case of Kore you open the Editor, select Kore Controller 2 from the drop-down menu, and use the Edit button in the Templates tab to choose New. This creates a general purpose MIDI control template. (While you’re at it, I recommend assigning the eight main buttons associated with the pots to Trigger, and action on Down. For a shift button, assign the monitor [speaker icon] button to Gate, again with action on down. Go to the file menu, and save the configuration as “Sonar ACT.ncc.”)

Step 3: Set Up SONAR

Your controller communicates with SONAR via MIDI, so go to the Continue reading “7 Steps to Cleaning Up Your "ACT" with Hardware”

SONAR for Songwriters – By Craig Anderton

by Craig Anderton

Ask songwriters about writing on a computer, and many of them will tell you it’s a creativity killer—as they reach for an acoustic guitar or piano to get their ideas down. But it doesn’t have to be that way. Although DAWs are thought of traditionally as being all about recording, editing, and mixing, for reasons we’ll cover here I’d rather boot up Sonar for songwriting as well.

Approaches to songwriting vary considerably, from those who strum some chords on a guitar for ideas, to those who start with beats, to those who seem to draw inspiration out of nowhere, and want to record what they hear quickly—before the inspiration fades. As a result, this article isn’t about what you should do to write songs, but rather, describes some particular Sonar tools in depth—some (or all) of which might be very helpful if you’re into songwriting.

Although songwriting styles are very personal, I think we can nonetheless agree on a few general points: While songwriting, you want your tools to stay out of the way and be transparent. You want a smooth-flowing, efficient, simple process; songwriting isn’t about endlessly tweaking a synth bass patch, but about coming up with a great bass part—thanks to the fluid nature of digital recording, just about anything can be replaced or refined at a later date. You want an environment that can simplify turning your abstract ideas into something tangible, while losing as little as possible in the translation. So, let’s look at some Sonar techniques that can help you accomplish that goal.

THE MIDI QUICK START

Normally you need to arm a MIDI track before you can record on it, but it’s possible to defeat this so that recording starts on any selected MIDI track as soon as you click on the transport’s Record button. I realize the default setting is there to prevent accidental overwriting of MIDI tracks, but personally, I find not having to arm a track liberating—it saves time and makes the recording process flow faster. To do this:

  1. Go Edit > Preferences > MIDI > Playback and Recording.
  2. Check the box for “Allow MIDI Recording without an Armed Track” (the 1st box under Record).
  3. Click Apply then OK to close preferences.

It’s possible to record MIDI tracks without having to arm them first, which can be a real time-saver over the course of a song.


TEMPLATE FILES Continue reading “SONAR for Songwriters – By Craig Anderton”

6 Tips for Songwriters in SONAR

by Dan Gonzalez

SONAR helps songwriters improve their creativity and workflow by offering tons of features that are engineered specifically for them. In this video we’ve outlined some of our favorite tools to that save you time while you’re developing your next musical idea.

 
Try SONAR X3 free for 30 Days.

A New Way To Learn Synthesis – Syntorial: Z3TA+ 2 Edition

Syntorial Z3TA+ 2

Syntorial: Z3TA+ 2 Edition – A New Way To Learn Synthesis
Syntorial is video game-like training software that will teach you how to program synth patches by ear. With almost 200 lessons, combining video demonstrations with interactive challenges, you’ll get hands on experience programming patches on a built-in soft synth and learn everything you need to know to start making your own sounds with ease.

Now comes with over 3 hours of Z3TA+ 2 video lessons!

Learn more and try it for free
 

Understanding Virtual Instrument Routing in SONAR

by Dan Gonzalez

Are you new to SONAR? Well then this article is for you!

SONAR acts a bit differently than some of it’s competitors – especially when it comes to inserting, routing, and using virtual instruments. Let’s take a look at the way these work inside of SONAR:

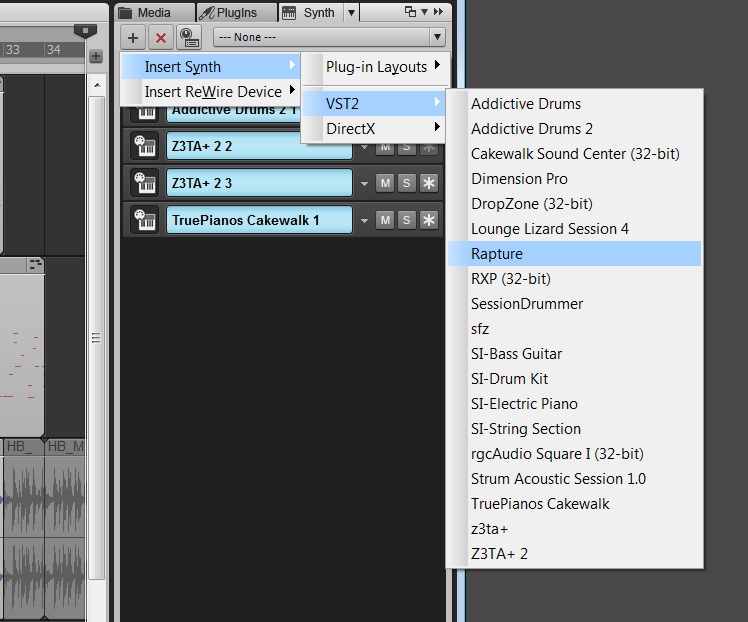
1. You can insert a virtual instrument in a few different places within SONAR

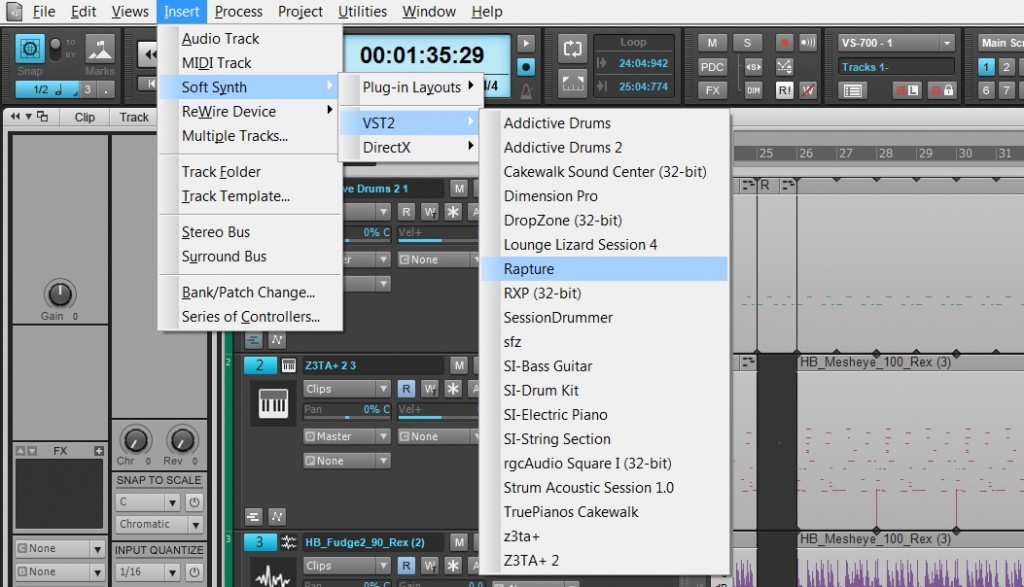
The first way is by selecting from the main menu along the top of SONAR: Insert > Soft Synth > (type of plugin) > (plugin)

Another useful way is to use the Synth Rack and click on the “+” button. This will expose a similar list.

Lastly, one of the quickest and easiest ways Continue reading “Understanding Virtual Instrument Routing in SONAR”

Virtual Instruments: 5 Tips For The Z3TA+ Junkie

Here are some of our favorite Z3TA+ tips and videos from our archive:

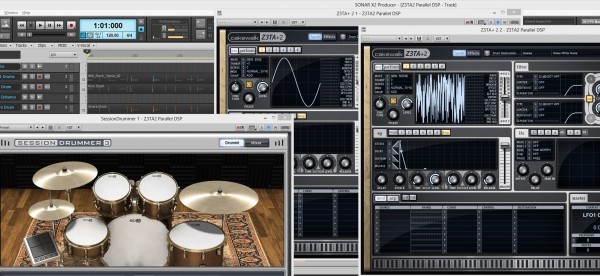
1. EDM Production – Enhance Your Drums with Z3TA+ 2

  • Insert two instances of Z3TA+ 2.
  • Copy your drum sequence to both Z3TA+ 2 tracks.
  • Isolate the Kick on one track and the Snare on the other.
  • Setup the first Z3TA+ 2 to generate a Sine Wave for the Kick.
  • Setup the second Z3TA+ 2 to generate White Noise for the Snare.
  • Adjust the Amplifier Envelope to match the duration of each hit.
  • Within Z3TA+ 2 add Reverb, Compression, and EQ.
  • Mix in under your existing Drum Loop.

2. How to Customize Z3tA+ 2’s Stock Arpeggios

Z3TA+ 2 comes packed with a massive pool of MIDI programs that power it’s internal Arpeggiator, but why stick to the stock programs when you can make your own?

Here’s how:

  • Open Z3TA+2 and activate the Arpeggiator Section
  • Right-Click on the sequence in the arpeggiator and make sure the following are checked
  • Auto Disable Pattern When Dragged to Host
  • Auto Fit Patterns to One Measure When Loaded
  • Load one of the Arpeggios from the Pattern menu
  • Drag and Drop the Arpeggios right into SONAR X2
  • Edit the MIDI Clip to your liking
  • Go to File > Save As
  • Select MIDI 0 in “Save as type”
  • Go to C:\Cakewalk Content\Z3TA+ 2\MIDI Arpeggios and Save it
  • Load it into Z3TA+2′s Arpeggiator by going to Pattern > Load MIDI File…

3. How to create a bass synth with Z3tA+ 2

Who doesn’t like bass? Especially synth bass. Z3TA+ 2 is the answer to all of your sound design needs especially when you are looking to improve your production in the low end. I’ve put together a short tutorial on how to make a simple bass synth inside of Z3TA+2. Once you understand how everything works together you’ll be able to really start to make this plugin work for you.

Picking the right Oscillators

Within Z3TA+2 the first section you need to start working with is the OSC section. First I’ve selected two different square waves for OSC 1 and 2. They were Vintage Square 1 and Vintage Square 2. When creating a bass synth you need to make sure that your patch will not break up in the low end so be sure not to drop the octaves on the individual oscillators too low. I typically set mine to -2 at the most. Once you get to a certain range the instrument will sound weak and lose it’s driving Bass Synth sound

[READ THE REST OF THE TIP HERE]

4. [VIDEO] Digital Sound Factory Z3TA+  Sound Design

5. [VIDEO] Mixing and Mastering a song using only the Z3TA+ effects engine in SONAR