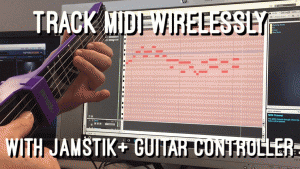
An offer you can’t refuse. Jamstik+ & Sonar Artist BUNDLE with FREE Sounds!

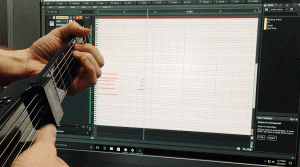
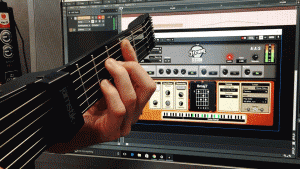
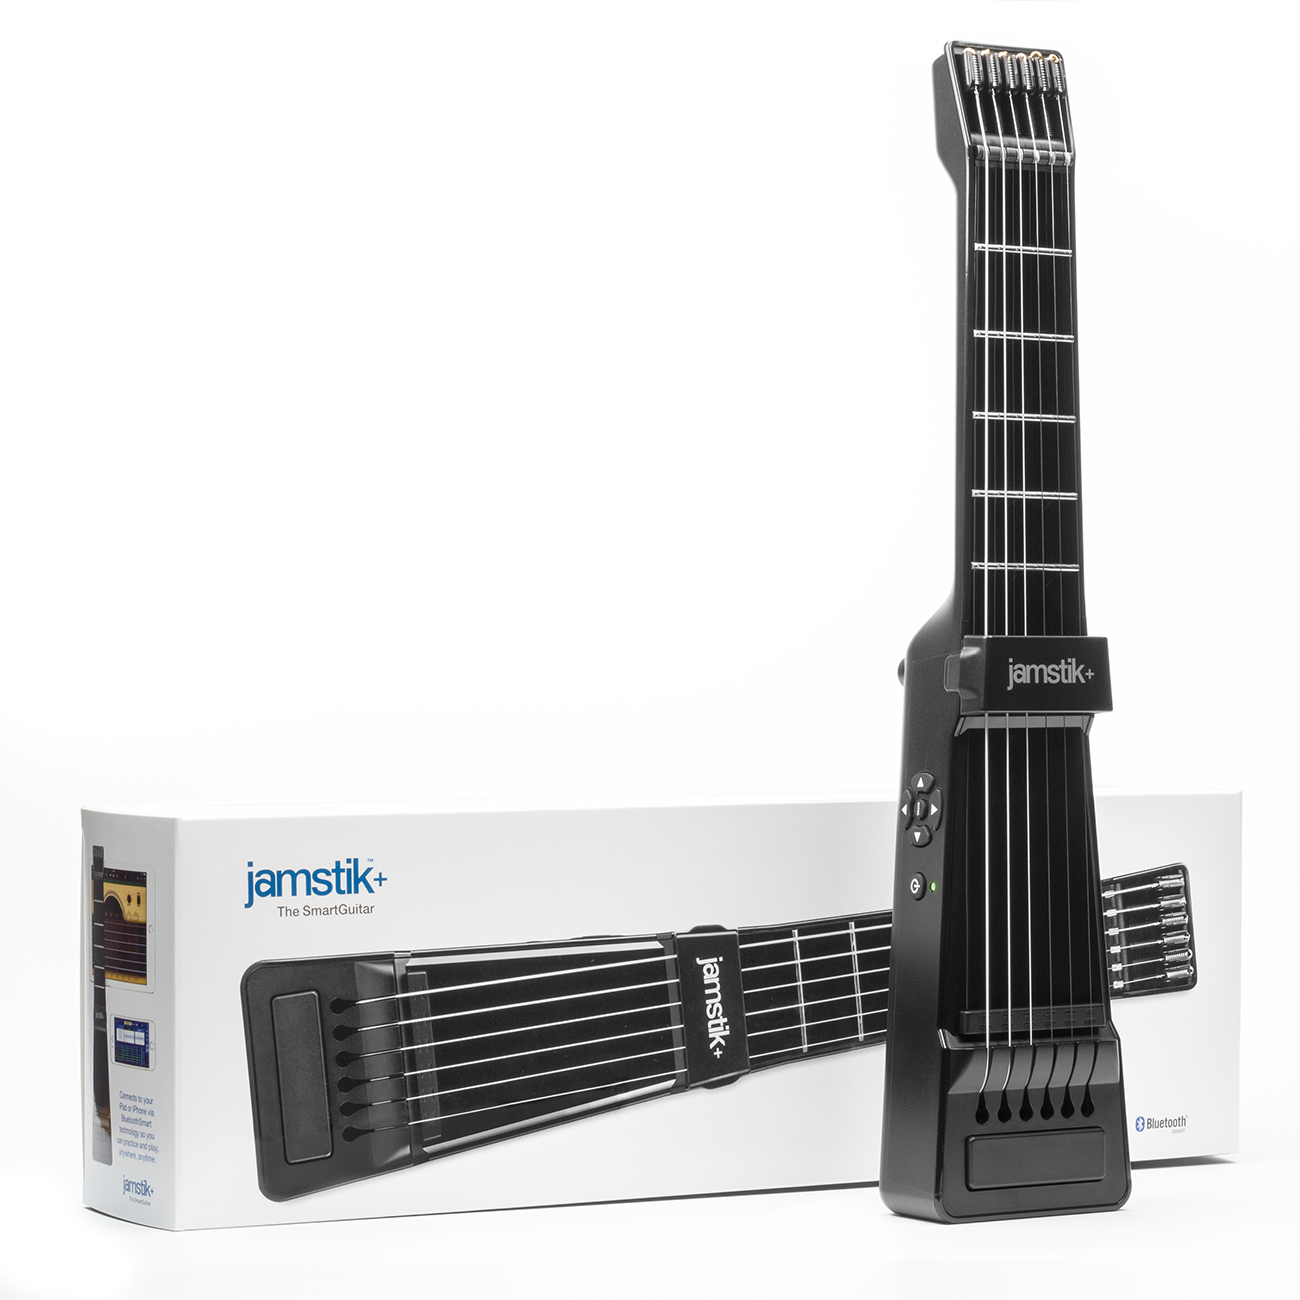
Hey everyone!  Cakewalk & Jamstik+ have teamed up again, this time to bring you the Jamstik+ & Sonar Artist Bundle! In addition, our good friend Craig Anderton released custom presets for Rapture Session as a bonus download included in the bundle. Jamstik+ sound-pack for Rapture Session includes 11 instrument types & all of the presets curated from Rapture Pro multi-sample synth that can be easily mapped to your MIDI controller.  In total we have 30 presets that celebrate the 30th anniversary of Cakewalk Sonar.  Watch the video above to watch me showcase some of the included sounds!
Rapture Session’s Interface

First, let’s talk about the user interface for our included soundpack.  Sonar’s integration of Rapture is very straightforward and user-friendly.  For many guitarists, synth apps can be intimidating.  I tend to steer toward apps that have a simplistic design so I can play more, and tweak settings less.

How Does It Sound?

This sound-pack is a Swiss-army knife of sound, including a nice section dedicated to bass guitars.  Most patches have a nice warm tone and some of them even a retro-like quality.  Although these programs have unique attributes that can be modified with the Instrument Editor, they come pre-canned with solid defaults.  If you’re looking to get a bright and crispy synth, I recommend adding an exciter to help out with the super-duper high end.

About The Demo Song

The main chord progression goes from C# minor to A major using the Nashville Guitar with a few tweaked settings in the Instrument Editor.  It’s always exciting to try out new guitar tones with the jamstik.  Traditionally it’s usually hit or miss for MIDI samples of guitars.  These particular offerings fit well with the kind of track I was making.  The Nashville Guitar is essentially based off the “LesPaul” sound included with an octaver on top of it.  This brightens up the melody and helps it stand out.  In this example, I increased the TremSync Dial to get a nice tremolo effect.

I’m a huge chip-tune fan (I actually compose quite a lot of 8-bit music myself)  so naturally, I gravitated towards the PolySynth lead.  This is used on the melodies & solos that are going on in the video.  

Lastly, during the section where I am playing a Kick and Snare there is an arpeggiated pattern being played in the background.  This patch is a fun one called PatternKittens.   This arpeggiated synth lends itself nicely to contribute ambient tones to the tune.  It reminds me of something The Who or a rock band would have incorporated into their music!

List of the 30 bonus sounds:

  • 3 Guitars
  • 2 PolySynths
  • 2 Pads
  • Brass Synth
  • Clav Synth
  • DrumsAcous
  • Electric Piano
  • Harpsi-Synth
  • Organ
  • Pattern Kittens
  • Pattern Soft Steps
  • Piano
  • Sax
  • Sitar
  • Strings
  • Synth Tines

Included Basses:

  • Acoustic Bass
  • 4 Electric Basses
  • 5 Synth Basses

Use Unique Jamstik+ Features

For the soloing on this track, I used a mixture of traditional picking and a feature called “Tap Mode”.  This functionality has been used with other controllers so may not be a foreign concept to you.  Essentially, the jamstik+ when in tap mode, will reward a full velocity note upon fretting the guitar neck without the need for picking.  It’s a fun way to do legato passages and tracks really clean on the piano roll.  For an article explaining more about jamstik+ features click here!

Bluetooth MIDI on Windows 10

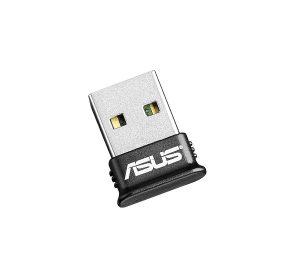
The newest versions of Sonar and Windows 10 take advantage of Bluetooth 4.0 Low Energy to connect the jamstik+ wirelessly as a MIDI input device.  Make sure to check specs on your PC to ensure compatibility.  If not, we recommend this BLE dongle by Asus.  
For more info check out a previous guest blog-post I did talking about Bluetooth MIDI.  For the full article read more here.

Special offer:  Jamstik+ & SONAR Bundle!

Sonar Artist is a fantastic package that comes with all of the essentials & more.  To celebrate our collaboration, we are offering a bundle for the jamstik & Sonar Artist together for a special price!  Both of these products are great independently, but together they make a powerful team.  Don’t forget.. this plug-in I am demoing comes FREE with the activation codes included in the bundle!
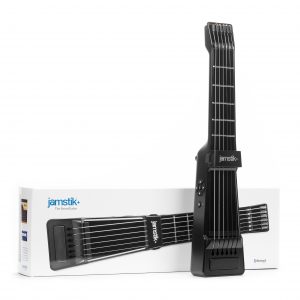
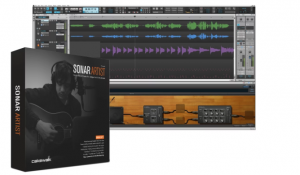
Thanks to hard-working engineers we have Bluetooth MIDI possible in Sonar. This opens new doors for producers and other music creators to have a wireless experience with a cool controller on their PC.  We hope to see what you create!

Remember to tag #jamstik #sonar #cakewalk on your posts!! 

Learn more about the jamstik+ / Sonar Artist Bundle at www.jamstik.com

Softube Console 1 mkII Giveaway from Cakewalk

For the month of June, when you buy the Softube Tube-Tech Classic Channel from Cakewalk (50% off) you’ll be entered into a prize draw to win a Console 1!

Softube’s Console 1 is pushing a lot of buttons in studios around the world, from home/bedroom setups to top-notch professional facilities. And now it’s even easier to use in SONAR, with deeper integration and more hands-on control than ever before.

Michael Brauer, Grammy-winning mix engineer for Coldplay and John Mayer, describes it as “the center piece of [his] hybrid mix room”, while rock legend Pete Townshend says “I’m using Console 1 on pretty much everything I do”.

The idea is essentially to provide the feel and sound of mixing on a huge analog desk (a robust physical hardware controller and a fully licensed digital emulation of the SSL SL 4000E are included) without the drawbacks of enormous price tags and footprints. And it’s making a lot of mixers very happy.

Console 1 works with all major DAWs, but with SONAR there are now extra layers of integration, further refining your workflow, and allowing you to better focus on the job of making awesome sounds. Select a track, grab a few knobs and start mixing! It’s seriously that easy.

In SONAR you can now control pan and fader settings for your tracks not just in the Console 1 plugin, but in the DAW itself. Likewise, in SONAR you can control track mute and solo settings directly in the DAW using the Console 1 hardware. You can even select and deselect DAW tracks from the hardware.

Perhaps coolest of all is that in SONAR holding the shift button on Console 1 now allows you to control up to 3 send levels per track directly with your hands.

So visit your local Softube dealer and try out a Console 1. Check it out today and see if you don’t love SONAR even better than before.

Here’s that link again to grab the Softube Tube-Tech Classic Channel from Cakewalk at 50% off the regular price, and enter to win a free Console 1 mkii!

Softube Tube-Tech Classic Channel from Cakewalk (50% off)

Thanks and enjoy!

Bluetooth MIDI Is Here And Why It's Important For You

[youtube https://www.youtube.com/watch?v=99mneukqSkI&w=750&h=420]

A new way to enter MIDI

Greetings! My name is Mike Green, Music Product Specialist at Zivix, we make the jamstik+ portable SmartGuitar & PUC+ wireless MIDI link. I’m primarily a guitar player, and in my 15+ years of musical composition, MIDI has enabled me to write and record quickly. In full disclosure; I’m a lousy keyboardist. The jamstik+ and Bluetooth MIDI’s availability for Windows 10 has revolutionized what used to be a point-and-click endeavor. Now I can use virtual instruments in Cakewalk’s SONAR software controlled by the jamstik+ digital guitar so I can enter in data wirelessly via Bluetooth MIDI – using the guitar skills that come most naturally to me.

Tracking MIDI with the jamstik+ in SONAR Platinum

Jamstik+ & SONAR Platinum is a killer combo for the studio.

A hit with pro and amateur musicians, the jamstik feels like a traditional guitar neck and works with your favorite MIDI apps and DAWs.  Music notation, composition or accompaniment is easy with the Jamstik+ and Sonar Platinum Edition.

The jamstik+ is a great MIDI controller, and my favorite bundled virtual instruments in SONAR are:

  • Strum Session 2: This was an added bonus I did not expect, a built-in guitar modeller! Overall, I’m very impressed with the simple UI. There’s a plethora of modifiers to make your own presets with, and even a chord-finder as an added benefit. Make sure to take a listen to the short track I made featuring the “acoustic” preset (video is at the top of the blog post).
Using Strum Session’s Chord Finder with the jamstik+
  • Cakewalk Sound Center: This Soft-Synth includes a nice variety of tones.  There is a limit to what parameters you can tweak for each sound, but most of these sounds are good right off the bat.  

Make Sure Your PC is Bluetooth 4.0 Compatible.

With recent updates in the Windows 10 OS, SONAR’s DAW takes advantage of using Bluetooth 4.0 Low Energy (BLE) to connect Bluetooth enabled MIDI devices. Now, almost all operating systems have this capability, so the performance is only going to get better from here, and more controllers will start “Roli” ‘ing in (haha). Check the specs on your PC (look for Bluetooth in Device Manager) to see if your PC is Bluetooth 4.0 compatible. If not, you can always try various BLE Dongles like this one by Asus.

Connecting is easy

  1. Pair to Windows 10
  2. Open SONAR
  3. Enable your MIDI Device In/Out Check-boxes in Preferences
  4. Select your Soft-Synth
  5. Play!

Use the PUC+ To Connect Other MIDI Controllers via Bluetooth

I should also mention if you’re looking to connect an existing MIDI keyboard, check out the PUC+ Wireless MIDI interface. It’s an easy way to cut the cables from your rig (for your electronic drum-kits, keytar, or even syncing/switching effects on our DAW). After seeing more and more innovative controllers at Winter NAMM 2017, one thing is clear — BLE MIDI isn’t going away anytime soon.

Keep An Eye Out For More Bluetooth Instruments

With the rise of mobile music apps, we are seeing the need for cool controllers that fit the lifestyle of musicians. In Jordan Rudess’s tech talk at NAMM, he put a strong emphasis on tablets being expressive instruments—with one drawback: no tactile feedback on the glass.  This is where controllers like the Jamstik+ come into play. A portable, configurable controller in a guitaristic form-factor. Stay tuned for more from Zivix this year!

Learn more at jamstik.com

Zivix is currently running a promo deal with Cakewalk users for 10% off your order on jamstik.com – Make sure to enter discount code: SONAR10 at checkout!

Mining Gold from PA Recordings with SONAR

SONAR Hero Image

by Craig Parmerlee – SONAR user since SONAR 7

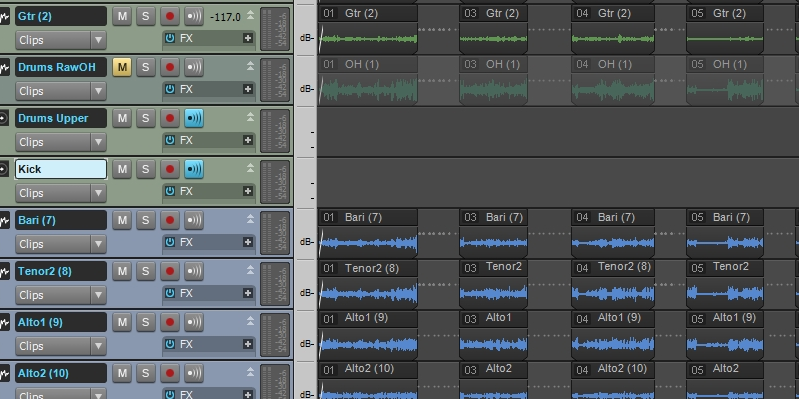
SONAR and other DAWs are used heavily to produce high-quality recordings, while other people use SONAR as part of a compositional process.  I find that most of my SONAR usage is a little different, processing live recordings tracked in a concert or club setting.  This usage presents various problems that aren’t as apparent in a controlled studio setting.  This blog will present a workflow and various SONAR features I have found valuable when processing live recordings.

Objectives

  1. In most cases, my primary objective is to produce a recording that the musicians can study in order to improve their performance.
  2. In some cases, the performance and production quality will be high enough to serve as demo material to promote the group.
  3. I try to deliver a mixed and mastered copy to the musicians within 48 hours, while the event is still fresh in mind, so speed and efficiency are very important.
  4. Often a musician will ask for a further edit on one of the songs, for example, to include in their personal résumé.  Flexibility and ability to recall settings are important.

Changing Expectations

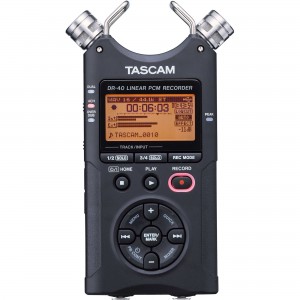
Tascam DR-40 Field Recorder

Years ago, I did such projects using Audacity, which seemed adequate at the time.  However, expectations have changed radically.

Today many musicians have a low-cost stereo field recorder such as the TASCAM DR-40.These recorders are the equivalent of point-and-shoot cameras.  For around $100, they can produce remarkably good quality under ideal circumstances.

This has become the baseline against which many musicians judge other live recordings.  Even though I want to produce quick results, if I can’t do substantially better than a TASCAM DR-40, for example, then I am wasting my time (I should note I love those small field recorders and often use them too, but that is not the subject of this blog).

Fortunately, with SONAR I have found a work flow and a set of “go-to” features that allow me to do much better than a stereo field recorder almost every time, using only the microphones that are already placed for the live PA system.

A Word About My Background

Continue reading “Mining Gold from PA Recordings with SONAR”

panup: Studio Session & LANDR Test

by Panu Pentikäinen (panup at Cakewalk forums)

Alex PortraitAlex ja Armottomat (Alex) visited my recording studio in February. We had five days total to do a fully mastered CD, make promo photos of the band, and record live video footage in the studio for later editing. I’ll describe here how one of the six songs was recorded and mixed.

Drums, bass and the electric guitar were recorded live with one to three takes. Acoustic guitar and demo vocals were recorded, too, but they were re-recorded later over the backing tracks. The drummer was the only one to hear the metronome (standard SONAR audio metronome, time signature set to 1/4); the others had eye contact with the drummer. Although the guitar amp was in another room (the bass was recorded direct), there was no spill other than a faint demo vocal in the drum room mics.

Time is always an enemy when you have to record many songs in a limited amount of time. I decided to make decisions before pressing the R (record) button rather than leaving everything to the mixing phase. I applied EQ to kick drum, drum room and the acoustic guitar before A/D conversion. One of the phrases I hate is: “This sounds like crap now but it hasn’t been mixed yet.” Some people really think that everything can be fixed in the mix! (Although to be fair you often can, because in SONAR we have VocalSync, built-in Melodyne, built-in drum trigger, and AudioSnap).

And although it sounds incredible, now it’s even possible to upload songs from SONAR to the LANDR online mastering service and instantly hear a preview of how the song would sound as mastered. Hearing the demo master may help you to improve the project’s mix. Continue reading “panup: Studio Session & LANDR Test”

How Jerry Gerber Creates Incredible Compositions Without Ever Using the PRV

The art of “making music” in this digital age… When you really think about it, how incredible is it that as music-creators we can take something from our minds, and sculpt it into something tangible?  No matter how novice or professional you are, no matter what others think or say about the music YOU create, there’s no denying that we are living in an incredible time of opportunity for crafting music.
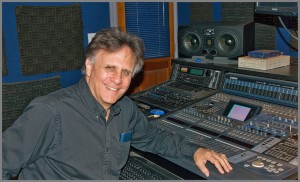
A while back I was introduced to a gentleman and composer working in SONAR out of Northern California by the name of Jerry Gerber.  I knew he was a great composer from his accomplished list of credentials, but what I wasn’t prepared for was being absolutely fascinated by the sonic depth of “his sound,” the detail and integrity of his tracks, and moreover—how he accomplishes all of the above mentioned.  When you listen to his work, and then hear his theoretic viewpoint of how to correctly compose and produce music, you quickly realize that this guy has tapped into something a bit deeper than most musicians.

What really made an impression on me was that without ever using the Piano Roll View (PRV), Jerry Gerber has composed and produced for some very highly-profiled films, television shows, computer games, concerts, dance and interactive media, and also back in the day wrote all of the original music for the remake of the popular children’s television show, The Adventures of Gumby.  His approach to all this is through an expert level of “MIDI Sequencing” which he explains in the newest edition of the SONAR Newburyport eZine.

I was intrigued and beyond impressed by his words in the eZine, so I decided to [self-indulgently] dig a bit deeper by reaching out to Jerry to get some insight on his methods of madness with his new record.  His words of musical wisdom make a lot of sense for anyone creating music in any genre, and I highly recommend the read; and then applying what you learn by analyzing and enjoying his new full-length composition.
[Cakewalk]:       You talked a lot about the “programming” aspect of the new record, but what was the “writing” process like for you? Continue reading “How Jerry Gerber Creates Incredible Compositions Without Ever Using the PRV”

Basics: Five Questions about Effects Placement

By Craig Anderton

There are plenty of places in SONAR where you can process the audio signal, but you need to know how to choose the right one.

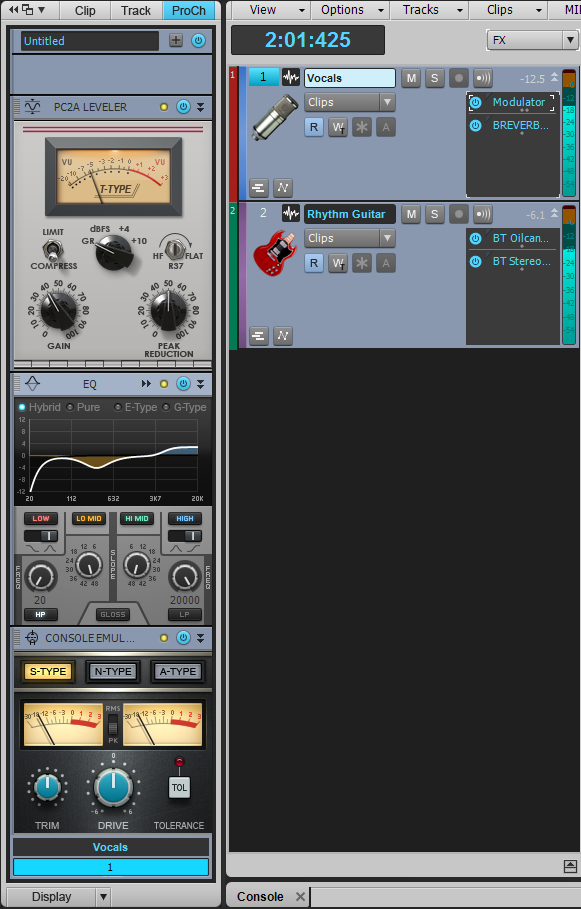
What’s an “insert” effect? Don’t you always “insert” an effect? You indeed “insert” effects, but there’s a specific effect type usually called an Insert effect that inserts into an individual mixer channel. In SONAR, this inserts into a channel’s FX Bin or the ProChannel (Fig. 1).

Fig. 1: The FX bin for two channels have insert effects, as does the ProChannel for the Vocals channel.

Insert effects affect only the channel into which they are inserted. Typical insert effects include dynamics processors, distortion, EQ (because of EQ’s importance, it’s a permanent ProChannel insert effect), flanging, and other effects that apply to a specific sound in a specific channel.

Then what’s a “send” effect? Also called an Continue reading “Basics: Five Questions about Effects Placement”

Basics: Five Questions About Panning Laws

By Craig Anderton

It’s not just a good idea, it’s the law…panning law, that is. Let’s dispel the confusion surrounding this sometimes confusing topic.

What does a panning law govern? When a mono input feeds a stereo bus, the panning law determines the apparent and actual sound level as you sweep from one side of the stereo field to the other.

But why is a “law” needed? Doesn’t the level just stay the same as you pan? Not necessarily. Panning laws date back to analog consoles. If a pan control had a linear taper (in other words, a constant rate of resistance change as you turned it), then the sound was louder when panned to center. To compensate, hardware mixers used non-linear resistance tapers to drop the level, typically by -3 dB RMS, at the center. This gave an apparent level that was constant as you panned across the stereo soundstage. If that doesn’t make sense…just take my word for it, and keep reading.

Okay, then there’s a law. Isn’t that the end of it? Well, it wasn’t really a “law,” or a standard. Come to think of it, it wasn’t a specification or even a “recommendation.” Some engineers dropped the center level a little more to let the sides “pop” more, or to have mixes seem less “monoized” and therefore create more space for vocalists who were panned to center. Some didn’t drop the center level at all, and some did custom tweaks.

Why does this matter to a DAW like SONAR, which doesn’t have a hardware mixer? Different DAWs default to different panning laws. This is why duplicating a mix on different DAWs can yield different results, and lead to foolish online discussions about how one DAW sounds “punchier” or “wimpier” than another if someone brings in straight audio files and sets the panning and faders identically.

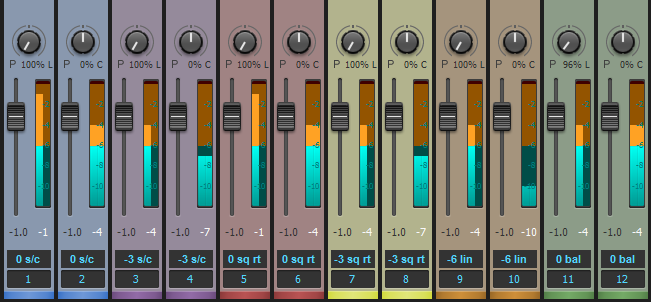
A mono signal of the same level feeds each fader pair, and each pair is subject to different SONAR panning laws. Note the difference in levels with the panpot panned to one side or centered. The tracks are in the same order as the descriptions in SONAR’s panning laws documentation and the listing in preferences. Although the sin/cos and square root versions may seem to produce the same results, the taper differs across the soundstage between the hard pans and center.

This sounds complicated, and is making my head explode—can you just tell me what I need to do so I can go back to making music? SONAR provides six different panning law options under Preferences, so not only can you choose the law you want, the odds of being able to match a different DAW’s law are excellent. The online help describes how the panning laws affect the sound. So there are really only two crucial concepts:

  • The pan law you choose can affect a mix’s overall sound if you have a lot of mono sound sources (panpots with stereo channels are balance controls, which is a whole other topic). So try mixes with different laws, choose a law you like, and stick with it. I prefer -3 dB center, sin/cos taper, and constant power; the signal level stays at 0dB when panned right or left, but drops by -3 dB in each channel when centered. This is how I built hardware mixers, so it’s familiar territory. It’s also available in many DAWs. But use what you like…after all, I’m not choosing what’s “right,” I’m simply choosing what I like.
  • If you import an OMF file from another DAW or need to duplicate a mix from another DAW, ask what panning law was used in creating the file. One of SONAR’s many cool features is that it will likely be able to match it.

There, that wasn’t so bad. Ignorance of the law is no excuse, and now you have answers to five questions about panning laws.


Basics: Five Questions About Using Stompboxes with SONAR

by Craig Anderton

Plug-in signal processors are a great feature of computer-based recording programs like SONAR, but you may have some favorite stompboxes with no plug-in equivalents—like that cool fuzz pedal you love, or the ancient analog delay you scored on eBay. Fortunately, with just a little bit of effort you can make SONAR think external hardware effects are actually plug-ins.

1. What do I need to interface stompboxes with SONAR? You’ll need a low-latency audio interface with an unusd analog output and unused analog input (or two of each for stereo effects), and cords to patch these audio interface connections to the stompbox. We’ll use the TASCAM US-4×4 interface because it has extra I/O and low latency, but the same principles apply to other audio interfaces.

2. How do I hook up the effect and the interface? SONAR’s External Insert plug-in inserts in an FX bin, and diverts the signal to the assigned audio interface output. You patch the audio interface output to a hardware effect’s input, then patch the hardware effect’s output to the assigned audio interface input. This input returns to the External Effect plug-in, and continues on its way through the mixer. For this example, we’ll assume a stompbox with a mono input and stereo output.

3. What are correct settings for the External Insert plug-in parameters? When you insert the External Insert into the FX bin, a window appears that provides all the controls needed to set up the external hardware.

  • Send. This section’s drop-down menu assigns the send output to the audio interface. In this example, the send feeds the US-4×4’s output 3. Patch this audio interface output to your effect’s input. (Note that if an output is already assigned, it won’t appear in the drop-down menu.)
  • Output level control. The level coming out of the computer will be much higher than what most stompboxes want, so in this example the output level control is cutting the signal down by about -12 dB to avoid overloading the effect.
  • Return. Assign this section’s drop-down menu to the audio interface input through which the stompbox signal returns (in this example, the US-4×4’s stereo inputs 3 and 4). Patch the hardware effect output(s) to this input or inputs.
  • Return level control. Because the stompbox will usually have a low-level output, this slider brings the gain back up for compatibility with the rest of the system. In this example, the slider shows about +10 dB of gain. (Note: You can invert the signal phase in the Return section if needed.)

4. Is it necessary to compensate for the delay caused Continue reading “Basics: Five Questions About Using Stompboxes with SONAR”