The Art of Transient Shaping with the TS-64

Understand this often-misunderstood processor, and your tracks will benefit greatly 

By Craig Anderton 

Transient Shapers are interesting plug-ins. I don’t see them mentioned a lot, but that might be because they’re not necessarily intuitive to use. Nor are they bundled with a lot of DAWs, although SONAR is a welcome exception. 

I’ve used transient shaping on everything from a tom-based drum part to make each hit “pop” a little more, to bass to bring out the attacks and also add “weight” to the decay, to acoustic guitar to tame overly-aggressive attacks. The TS-64 has some pretty sophisticated DSP, so let’s find out how to take advantage of its talents.

But first, a warning: transient shaping requires a “look-ahead” function, as it has to know when transients are coming, analyze them, filter them, and then calculate when and how to apply particular amounts of gain so it can act on the transients as soon as they occur. As a result, simply inserting the TS-64 will increase latency. If this is a problem, either leave it bypassed until it’s time to mix, or render the audio track once you get the sound you want. Keep an original of the audio track in case you end up deciding to change the shaping later on. 

TS-64 TRANSIENT SHAPER BASICS

A Transient Shaper is a dynamics processor that modifies only a signal’s attack characteristics. If there’s no defined transient the TS-64 won’t do much, or worse yet, add unpleasant effects. 

Transient shapers are not just for drums—guitars, electric pianos, bass, and even some program material are all suitable for TS-64 processing if they have sharp, defined transients. And it’s not just about making transient more percussive; you can also use the TS-64 to “soften” transients, which gives a less percussive effect so a sound can sit further back in a track. 

There are two main elements to transient shaping. The first is Continue reading “The Art of Transient Shaping with the TS-64”

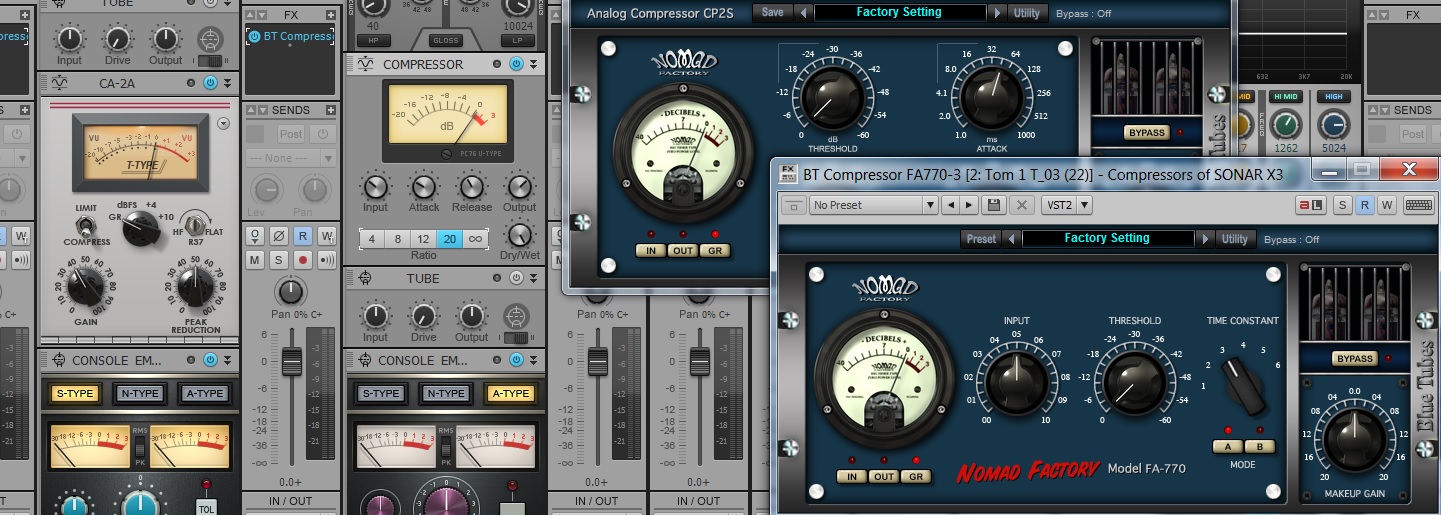
Choosing the right compressor in SONAR X3 (Producer & Studio)

What is Compression?

Compression is a massively useful tool for pro audio applications. As a simultaneous corrective and creative utility suitable for both tonal shaping and controlling levels,  a compressor is one of the most important pieces of gear in your sonic toolbox.

Instead of explaining the history and value of knowing all the different types of compressors that exist, we’re just going to dive in and show you how to get results. Once you understand this you’ll be able to grasp the larger picture of compression and the many different circuits and types. SONAR X3 Studio & Producer come packed with quite a few different types of compressors, so let’s open them up and take a look.

PC76 U-Type

Modeled after one of the most classic leveling amplifiers in history, the PC76 U-Type is a go-to compressor for Continue reading “Choosing the right compressor in SONAR X3 (Producer & Studio)”

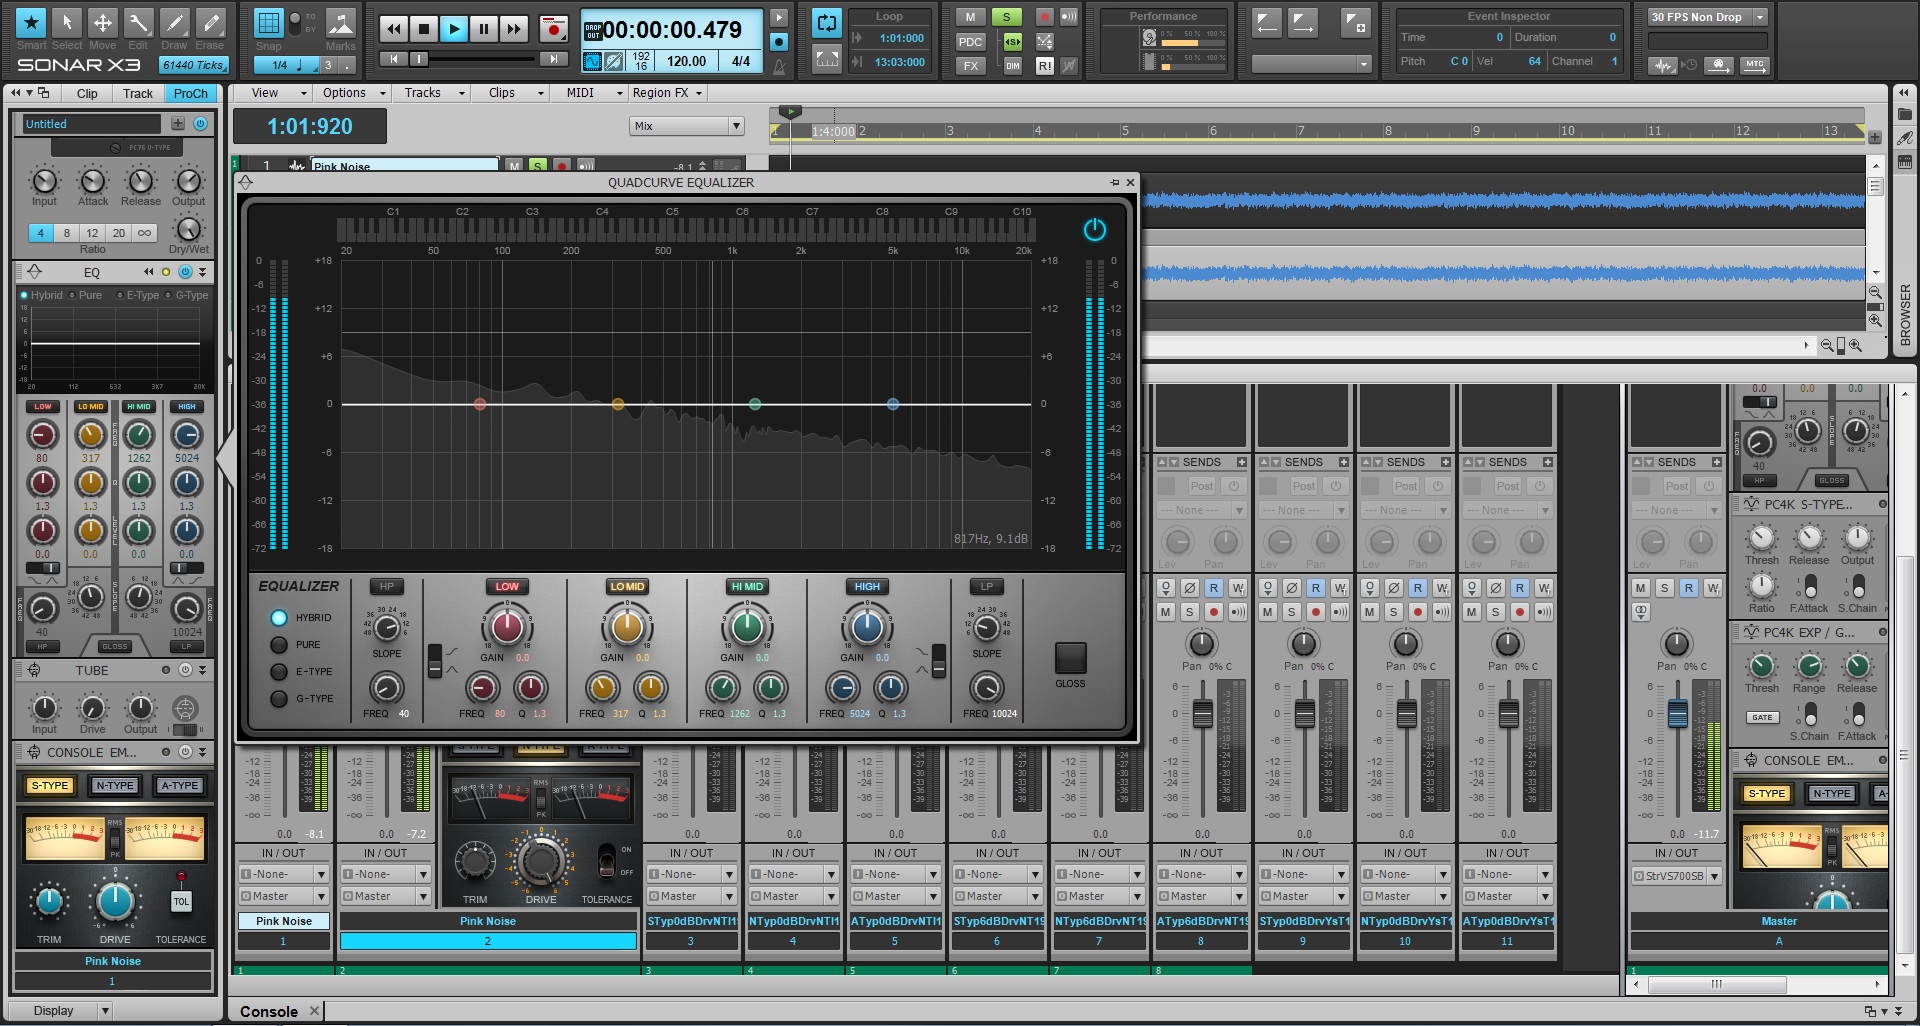
The Sound of Console Emulation in SONAR X3

The age of hybrid studios

The day has come where digital audio has caught up to the analog trends of the pre-xyz age. Hybrid (digital/analog) home-studios are more common and the need for more analog flavored plugins is a must. Cakewalk has harnessed these trends in some of the latest software additions to the X-series with their track by track Console Emulation ProChannel plugin.

At a glance

Simplicity is one of the key ingredients in the world of plugin interfaces and the Console Emulator is no stranger to that. It’s an easy tool to use, just turn up the Drive! Each algorithm has the same 3 parameters for locking in the sound, Drive, Tolerance, and Trim. Each version of the plugin reflects the circuitry of 3 classic large format console from the past 30 years. Every board has it’s own sound because each circuit is completely different than the other.

Let’s take a closer listen 

For most part, Console Emulation is about subtle character. If you apply subtle changes to your entire mix it will collectively sound different. One track may not sound all that different in the final mix, but if you apply this effect to the entirety of your session, well then you’ll probably start to hear some differences. These DSP algorithms are tuned Continue reading “The Sound of Console Emulation in SONAR X3”

SONAR Tips: How to Easily Sync Your DAW to Audio

Introduction

Have you ever recorded a song that isn’t set to any type of tempo? Or maybe you have just have to make a click track for your songs? Well SONAR can certainly help that in that department. One of the great things about SONAR is it’s flexibility across different types of workflows. In this particular situation there is a nifty tool hidden in one of the menus that helps get your tempos mapped out in your DAW. Think of it like syncing your DAW and your audio files.

Out of time? Put it in time.

Let’s a take a perfectly good song like the following sound example:

This is a great song, but it was tracked to an independent Continue reading “SONAR Tips: How to Easily Sync Your DAW to Audio”

DAW Best Practices: How to use metering in SONAR

[Originally posted as a daily tip on the SONAR forums and reposted for viewers here on the blog.]

The Overachieving Meters

by Craig Anderton

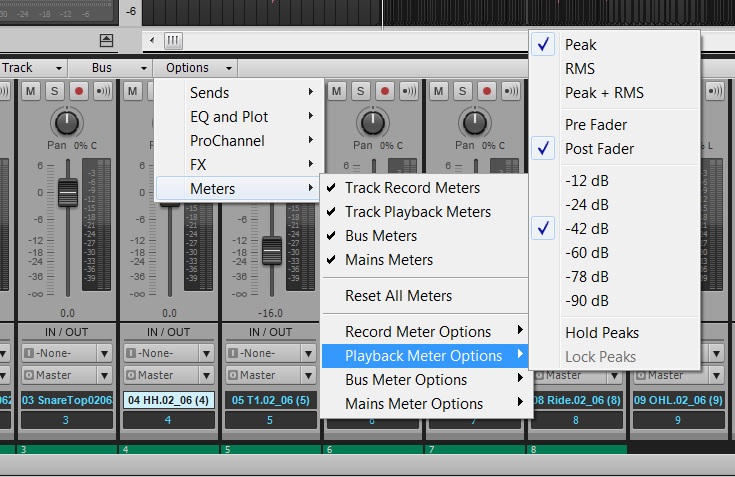
To change resolution for any audio meter, in any view, right-click on it and choose a range of 12, 24, 42, 60, 78, or 90 dB. Each meter can have its own range. With the Console view, I set the output bus meters to 12 dB to help gauge the approximate amount of loudness maximization that may be required. For example, if the meters make it to 0 but otherwise spend very little time in those upper 12 dB, then the track will probably need to be made “hotter” when mastering. For the Track View track meters, choosing the maximum resolution (90 dB) helps reveal if there’s noise at the lower range of an incoming signal.

Vertical or Horizontal Metering

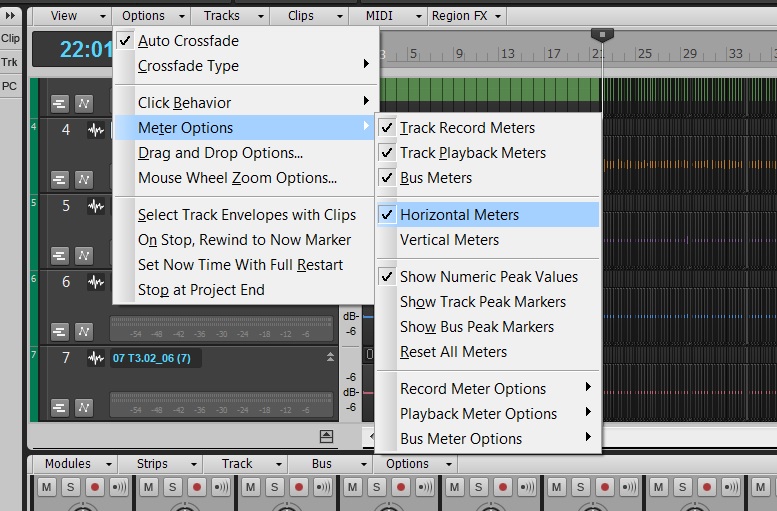
In Track View, the meters can be vertical or horizontal. Choose Options > Meter Options and select the desired option. When vertical, the meters behave more like activity/clipping indicators, because when you collapse the track to a short height, you basically see only activity and clipping. If you use the Console for mixing, this is a good choice because you can see more track parameters in the Tracks Pane, as the vertical meters don’t take up space along the bottom.

If you generally mix using the Track View rather than the Console, then you can extend the width of the Track Pane, enable horizontal metering, set them to a fairly wide playback range, and enjoy high-resolution metering. Also under Options > Meter Options, you can specify the Record, Playback, and Bus meter characteristics. Choose from Peak, RMS, or Peak+RMS (my favorite choice) response, whether playback meters are pre- or post-fader, and whether bus meters are pre-fader, post-fader, or pre-fader and post-FX.


These settings are independent from equivalent meter settings for the Console view. You can also choose whether peaks are held or locked (I recommend checking both), as well as show Peak Markers. These indicate the highest point in the track and can be extremely useful when mastering.

This kind of flexibility allows the Track and Console views to be far more than just two ways to view the same type of material. For example, the Console meters are probably better set to post-fader, so you can see at a glance which tracks are contributing the most amount of level. But in Track view, a pre-fader setting lets you monitor track activity so you can check whether a Track has signal, regardless of the fader position. The metering options are just one more reason why I tend to mix in Console view, but track and edit in Track View.

Want to check our SONAR? Try our 30-day free trial.

4 Tips for Songwriters Before Entering the Recording Studio

1. Eliminate uncertainties with a pre-production demo.

If there is a single doubt in your mind about a song on your record then it’s time to sit down and work out those uncertainties before you get into the studio. Idolizing a recording studio as a creative space is only productive when you’ve booked studio time for being creative. Get that demo sounding as close to the final product as possible so that every part and idea is thought out.

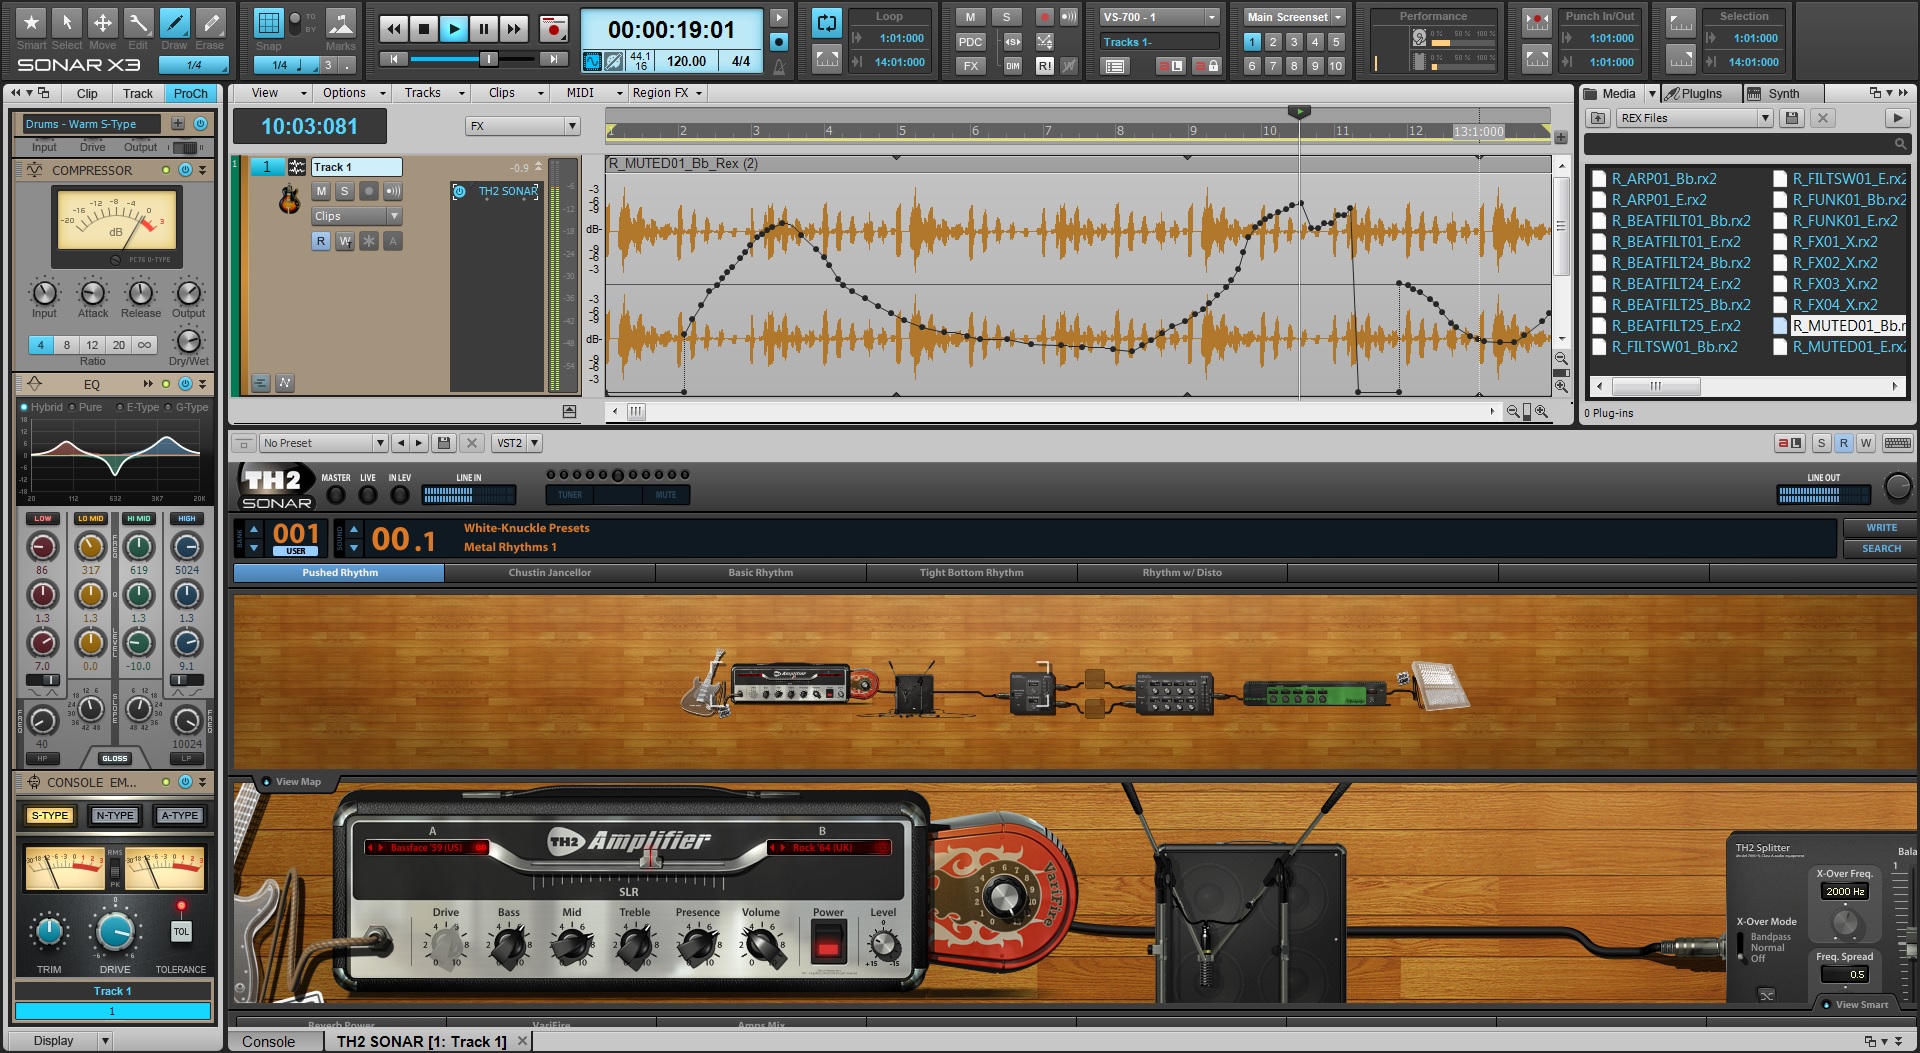
SONAR X3 is ideal for experimenting with those finishing touches. For example, TH2 is a great way to easily grab an amp tone for your bass or guitar. The advanced sound behind Overloud’s flagship product allows you to change amps, input your own impulse responses, and get as close to your final product as you can. The best part about it is that it’s a virtual amp, so you don’t have to commit to your final guitar sound until you’re in your mixing stage.


2. Learn the songs cold.

Studio preparation should involve regular and productive practice schedules. Try to learn the songs so that you can play them all the way through without stopping. Playing full takes will get you the best possible performances of your song and allow you to think more about the other players rather than yourself. Continue reading “4 Tips for Songwriters Before Entering the Recording Studio”

Songwriting: 5 Ways to Break Musician's Writer's Block

Introduction

Composing has an arch nemesis, and that evil is known as writer’s block. It’s a challenge to get through especially if you’re just starting to write your own music. Here are some steps you can take when you feel that you have hit a creative roadblock in your workflow.

1. Break down big tasks into smaller ones.

If something seems like a large undertaking then try to sit down and break it up into smaller parts. This type of workflow can offer you insight on time management. You’ll start to get a  better idea of the different tasks you’re good at and maybe some others that you’re not very good at. Let’s say that you’re really great at writing a catchy choruses, but you always get hung Continue reading “Songwriting: 5 Ways to Break Musician's Writer's Block”

AD2: Pitch Envelopes and much more than just drum samples

by Dan Gonzalez

Yes, that’s right. You may think that Addictive Drums is just a simple sample player but it’s actually an impressive tool for sound design. XLN Audio has the program set so that you can only use the sounds they publish. BUT, the engine that processes these sounds is so powerful that you can virtually get any sound you could ever need from the drums they supply.

Next time you are in Addictive Drums check out the Edit section within this program and brace yourself. There are tons Continue reading “AD2: Pitch Envelopes and much more than just drum samples”

Virtual Instruments: 5 Tips For The Z3TA+ Junkie

Here are some of our favorite Z3TA+ tips and videos from our archive:

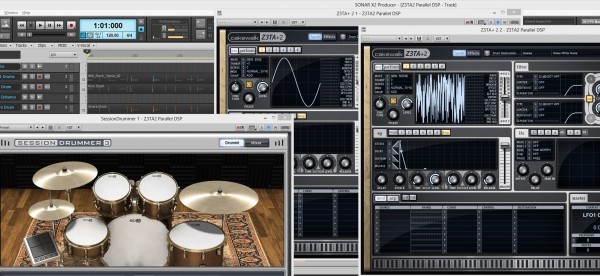
1. EDM Production – Enhance Your Drums with Z3TA+ 2

  • Insert two instances of Z3TA+ 2.
  • Copy your drum sequence to both Z3TA+ 2 tracks.
  • Isolate the Kick on one track and the Snare on the other.
  • Setup the first Z3TA+ 2 to generate a Sine Wave for the Kick.
  • Setup the second Z3TA+ 2 to generate White Noise for the Snare.
  • Adjust the Amplifier Envelope to match the duration of each hit.
  • Within Z3TA+ 2 add Reverb, Compression, and EQ.
  • Mix in under your existing Drum Loop.

2. How to Customize Z3tA+ 2’s Stock Arpeggios

Z3TA+ 2 comes packed with a massive pool of MIDI programs that power it’s internal Arpeggiator, but why stick to the stock programs when you can make your own?

Here’s how:

  • Open Z3TA+2 and activate the Arpeggiator Section
  • Right-Click on the sequence in the arpeggiator and make sure the following are checked
  • Auto Disable Pattern When Dragged to Host
  • Auto Fit Patterns to One Measure When Loaded
  • Load one of the Arpeggios from the Pattern menu
  • Drag and Drop the Arpeggios right into SONAR X2
  • Edit the MIDI Clip to your liking
  • Go to File > Save As
  • Select MIDI 0 in “Save as type”
  • Go to C:\Cakewalk Content\Z3TA+ 2\MIDI Arpeggios and Save it
  • Load it into Z3TA+2′s Arpeggiator by going to Pattern > Load MIDI File…

3. How to create a bass synth with Z3tA+ 2

Who doesn’t like bass? Especially synth bass. Z3TA+ 2 is the answer to all of your sound design needs especially when you are looking to improve your production in the low end. I’ve put together a short tutorial on how to make a simple bass synth inside of Z3TA+2. Once you understand how everything works together you’ll be able to really start to make this plugin work for you.

Picking the right Oscillators

Within Z3TA+2 the first section you need to start working with is the OSC section. First I’ve selected two different square waves for OSC 1 and 2. They were Vintage Square 1 and Vintage Square 2. When creating a bass synth you need to make sure that your patch will not break up in the low end so be sure not to drop the octaves on the individual oscillators too low. I typically set mine to -2 at the most. Once you get to a certain range the instrument will sound weak and lose it’s driving Bass Synth sound

[READ THE REST OF THE TIP HERE]

4. [VIDEO] Digital Sound Factory Z3TA+  Sound Design

5. [VIDEO] Mixing and Mastering a song using only the Z3TA+ effects engine in SONAR

5 Awesome Virtual Instrument Tips in SONAR

With thousands of features, workflows, and settings,  even the most hardcore user can miss out on something awesome buried in SONAR. It happens to the best of us. So we’ve put together 5 quick and easy features that can improve your workflow as well as your creativity with Virtual Instruments and Synths. Check out the video here:


Try SONAR free for 30 days