1. Record [R]
With a track record enabled, selecting [R] will begin recording.

2. Play/Stop [Spacebar]
This starts playback of your project. Selecting [Spacebar] again will stop playback.
3. Rewind to Now Time Marker [Spacebar]-Shift+[W]
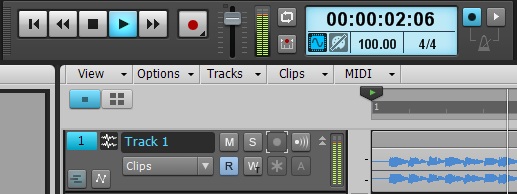
When working in digital audio you will find yourself constantly needing to go back and listen to something over and over again. Once you start playing something back, selecting Shift+W will rewind to the where the Now Time Marker is without stopping playback. Note you must have “On Stop Rewind to Now Time Marker” enabled in Options.
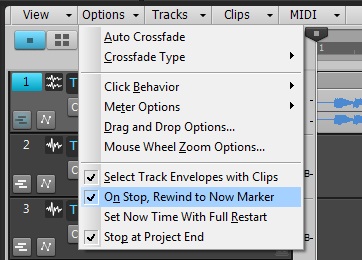

4. Rewind Now Time Marker to Start [W]
This is a quick and easy way to snap your perspective and now time marker back to the beginning of the project. This saves you time using the scroll bars at the bottom of the track view.
5. Begin playback from start of project [Shift] + [W]
This is an even quicker way to snap your perspective to the beginning of the project and beginning playback at the same time.
6. Preference [P]
This is where all of your settings are. Selecting P is way quicker than constantly going to Edit > Preferences.

7. Toolbar [T]
Music Creator 6 Touch’s toolbar can be accessed anywhere in your session simply by selecting [T]. The toolbar will appear right where your cursor is located. You can also middle click if your mouse has a scroll wheel. This will make the Toolbar appear as well.

8. Loop to selection [Shift] + [L]
Setting something to loop is easy within Music Creator 6 Touch. Make a selection along the timeline ruler and then simply hit Shift+[L]. The selection will automatically turn yellow signifying looping.

9. Loop On/Off [L]
This toggles looping.
10. Snap to Grid On/Off [N]
Snapping is a term used for when events in the Track View or PRV automatically move from one set increment to another. This keeps things on time and sounding pro. To enable or disable this you must select [N]. You will see the “Snap” module illuminate. Here is where you can set the increments that everything snaps to.
11. Bypass all Effects On/Off [E]
When mixing I typically find myself making sure that I am not doing more damage than I am helping the mix. Every once in a while I will toggle the Bypass All Effects during mid-playback to compare what I have done to a mix and what it originally sounded like.
12. Split at Now Time Marker [S]
When editing audio you can use the Split Tool, but you can also select a location on the Now Time Marker and select [S]. This will do the same thing.
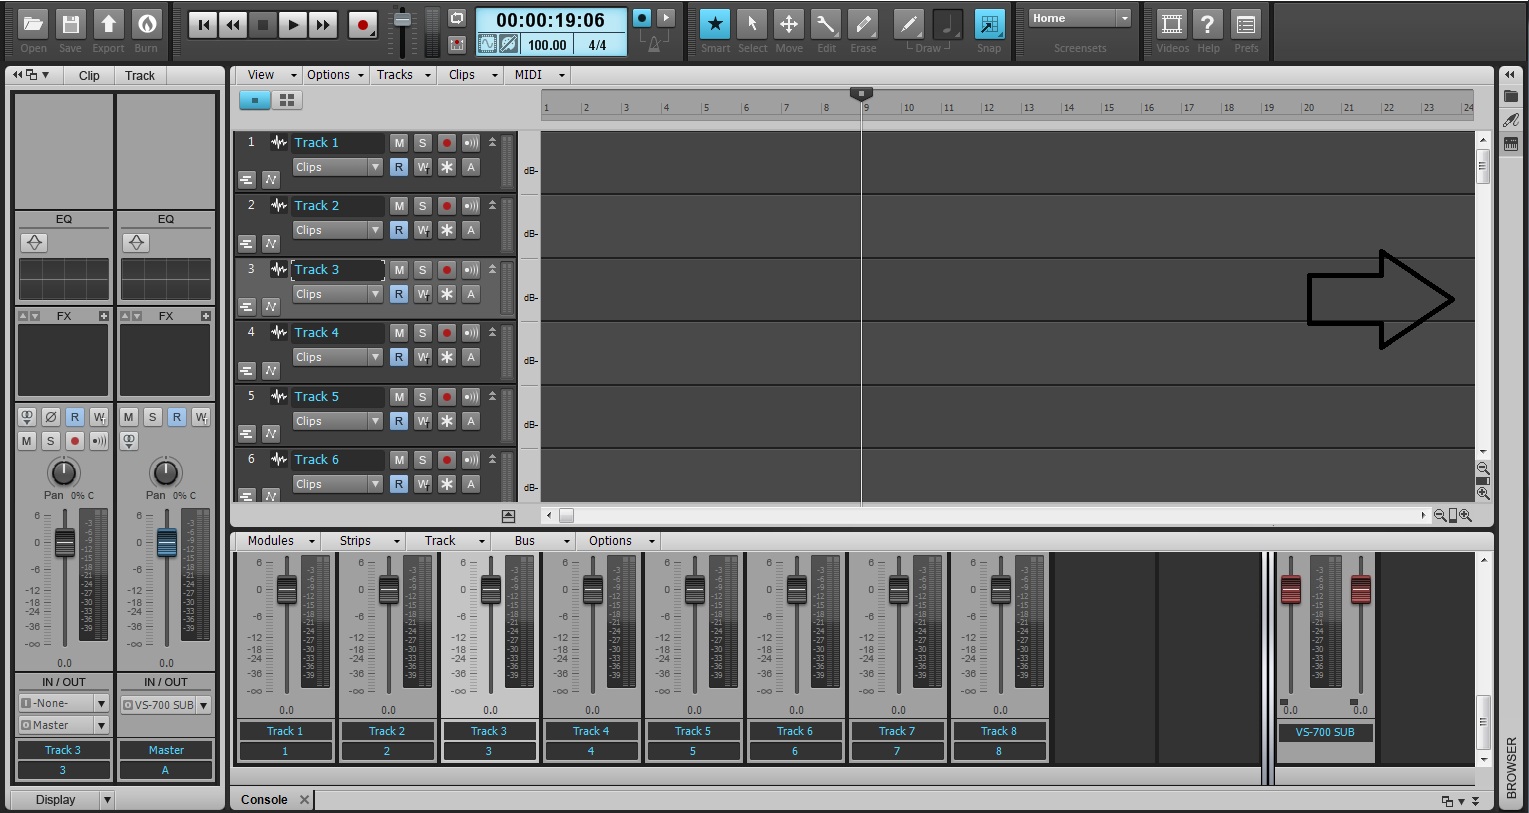
13. Show/Hide Inspector [I]
14. Show/Hide Browser [B]
15. Show/Hide Multidock [D]
16. Show/Hide Control Bar [C]
17. Insert Marker [M]
Markers are important when labelling sessions and quickly switching from section to section. The use of Markers is a must in any DAW. Within Music Creator 6 Touch simply hit [M] to insert a Marker.
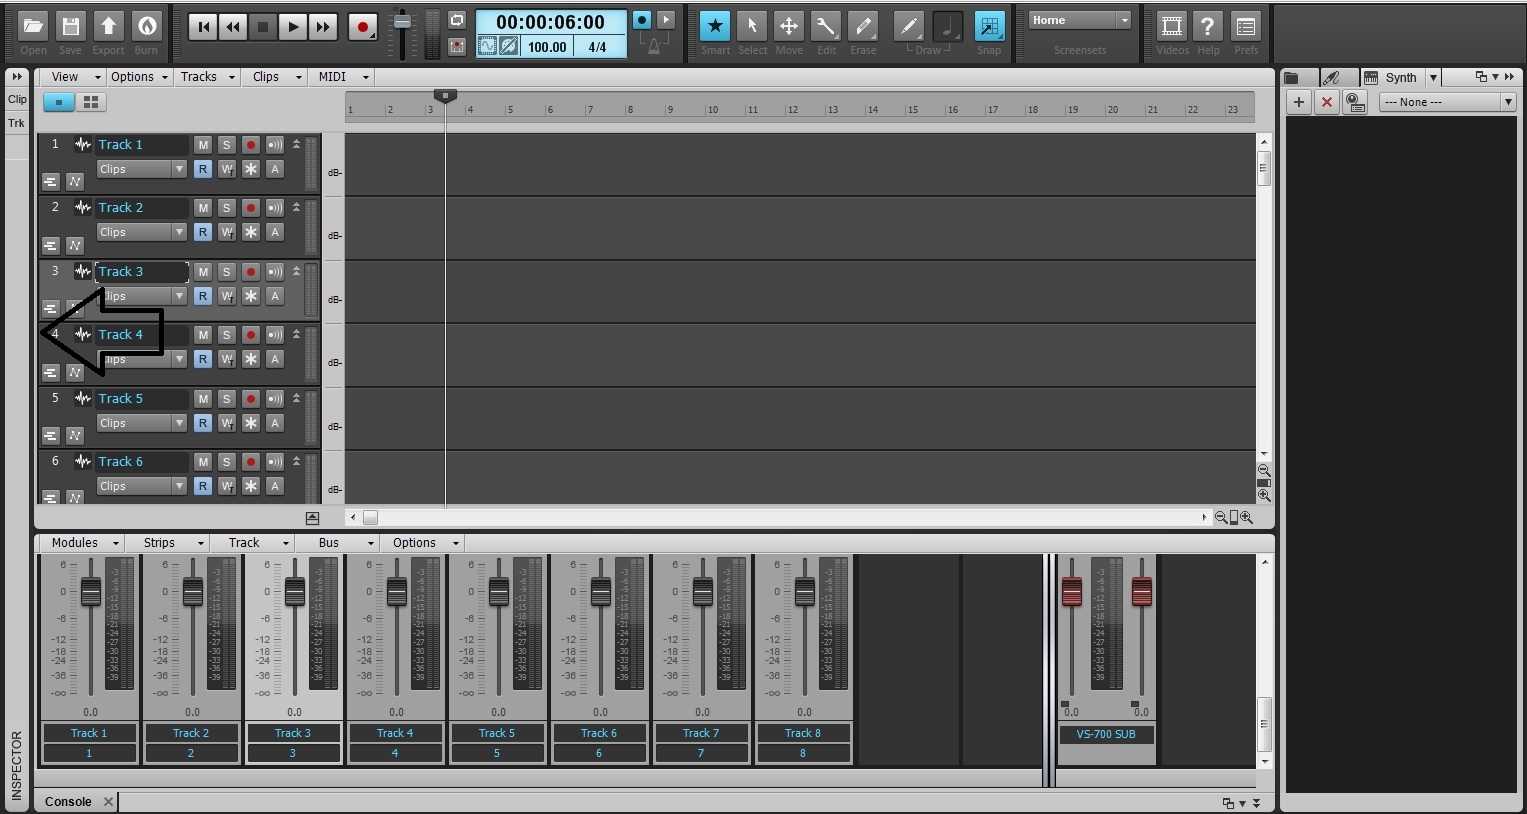
18. Show Track View [Alt] + 1
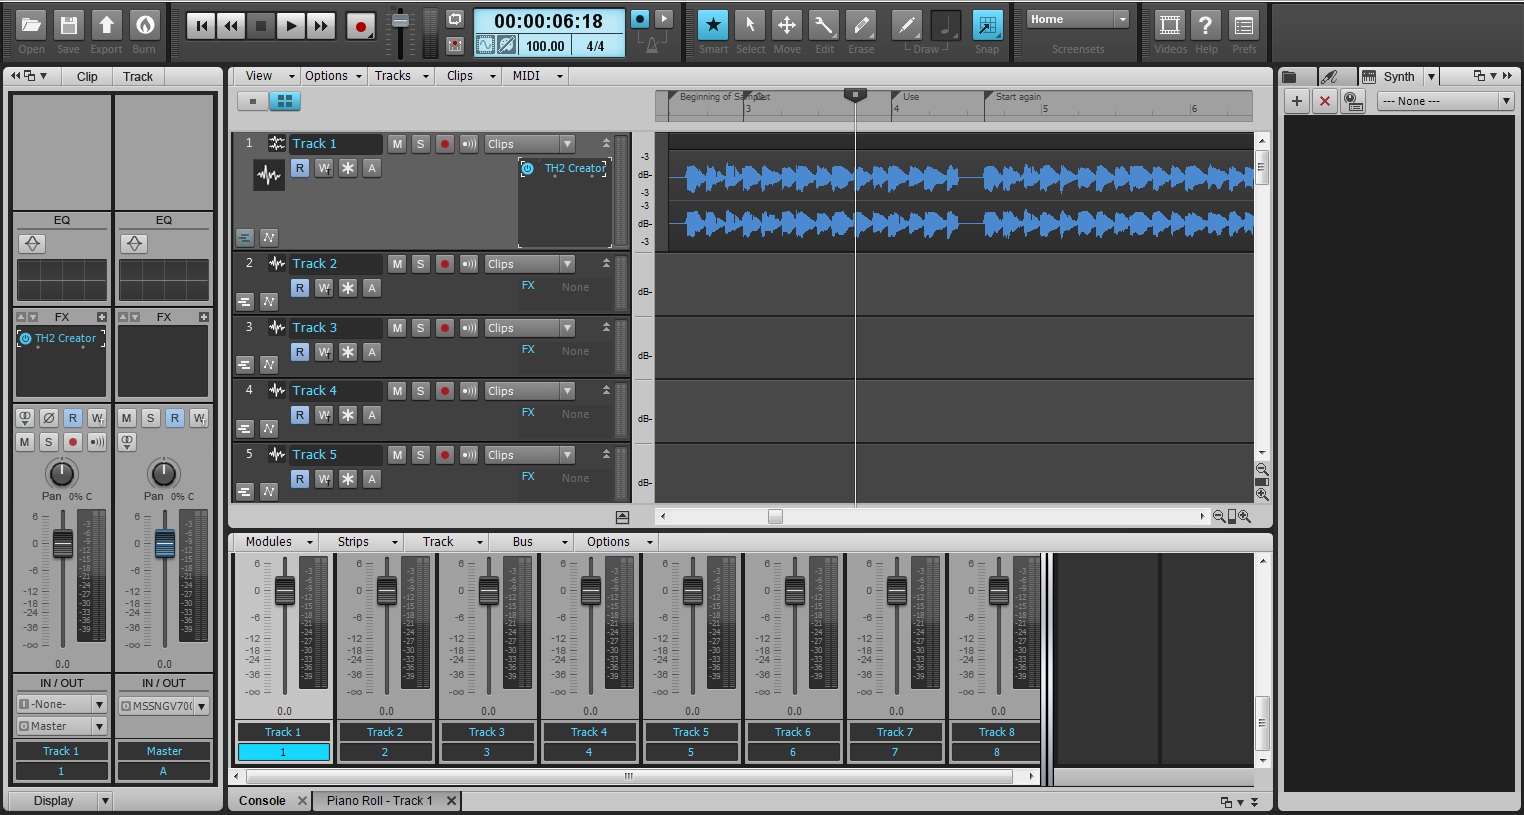
19. Console View [Alt] + 2
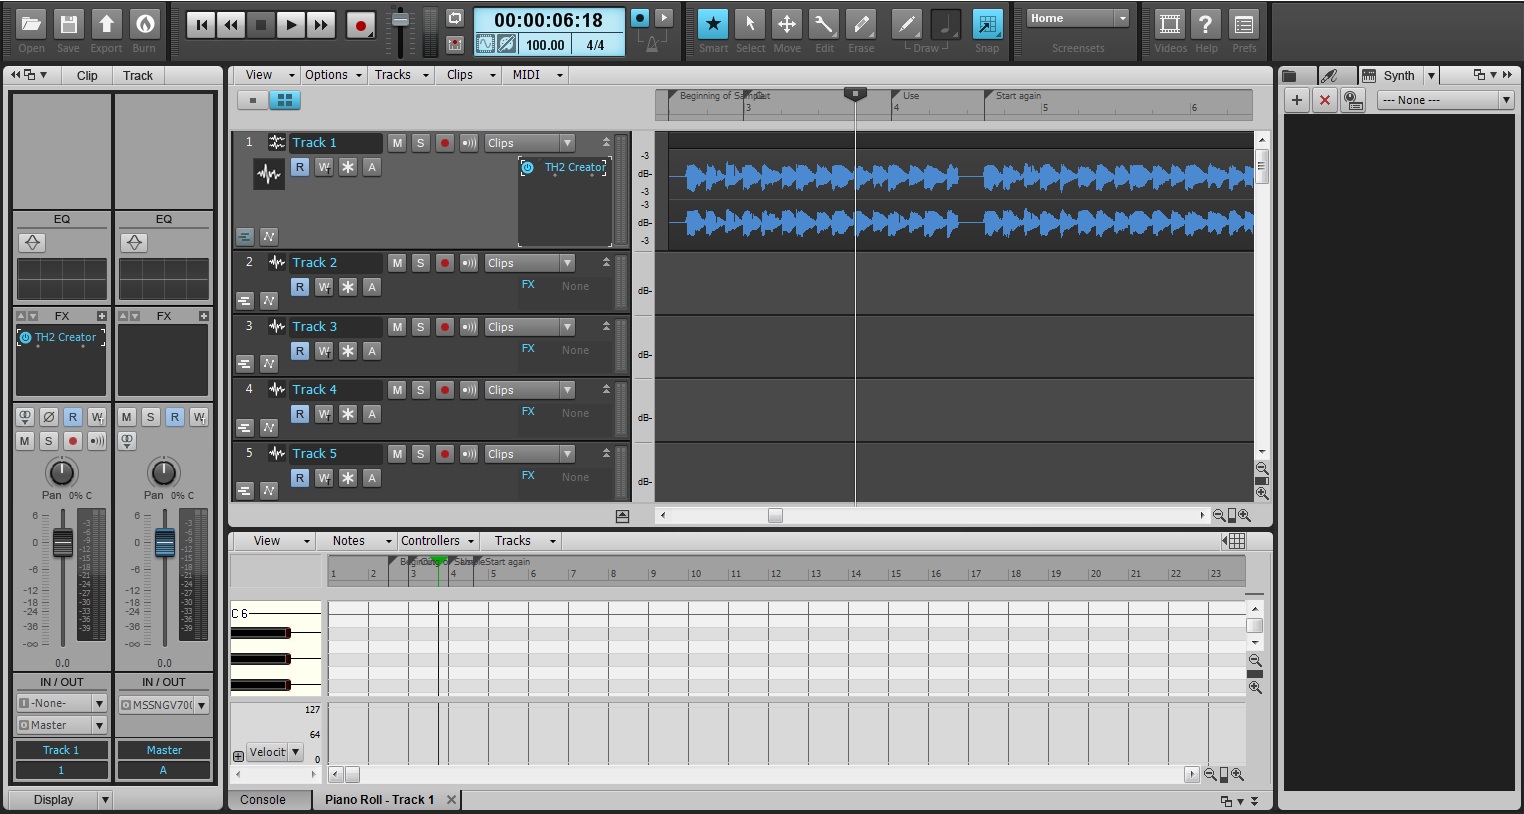
20. Piano Roll View [Alt]+ 3
21. Switch docked views [Ctrl]+[Shift] + Arrow Key Left/Right
The beauty of the multi-dock is that it can store multiple views and still keep you focused on your work. Selecting Ctrl+Shift and Left/Right arrow keys will speed up your work when moving between the Console, PRV, Matrix, and Staff Views.
22. Switch between Screensets [Numbers 1-0]
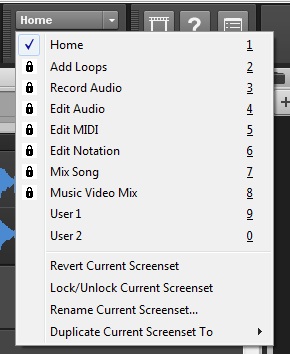
The screensets feature allows users to customize their user interface. Once done, users can save their screenset using the screenset module in the toolbar. Numbers 1-0 along the top of your keyboard are shortcuts for each of those screensets.
23. Expose Buses in Track View [Shift] + [B]
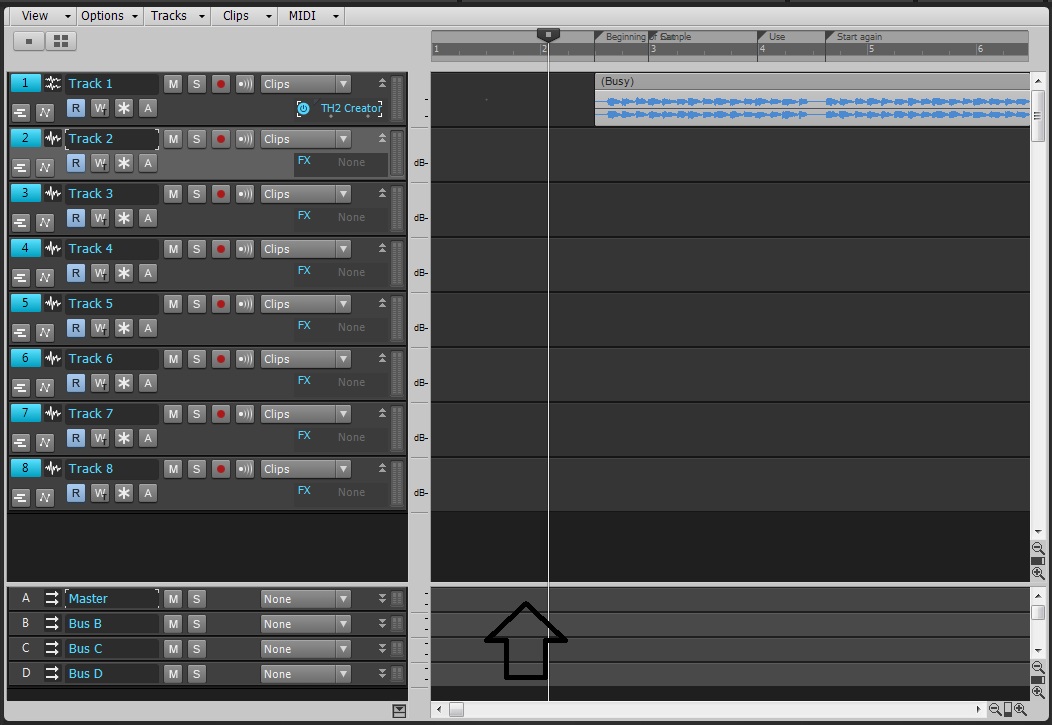
Music Creator 6 Touch splits it’s mixer view into two parts, Audio & MIDI Tracks and Buses. This keeps your mixer view organized. The Track View follows the same guidelines as well. Simply hit Shift+B and the Buses will pop up from the bottom of the Track View so that you can access them without having to switch to the Console View.
24. Filter through Track Pane Views [Shift] + Arrow Key Left/Right
The Track Pane is the area where all of the Record, Solo, Mute, and Archive buttons live. This view can house many different other options. To filter through them simply select Shift and then the cursor arrows.
25. Quick Group Feature (On Selected Tracks) [Ctrl + Click]
Quick grouping is something specific to Music Creator 6 Touch and SONAR X3. Within these programs you can make selections amongst many different tracks. Within these selections you can adjust parameters across them at the same time by holding Ctrl and clicking or moving a parameter.
26. Resizes all tracks to fit track view [Shift] + [F]
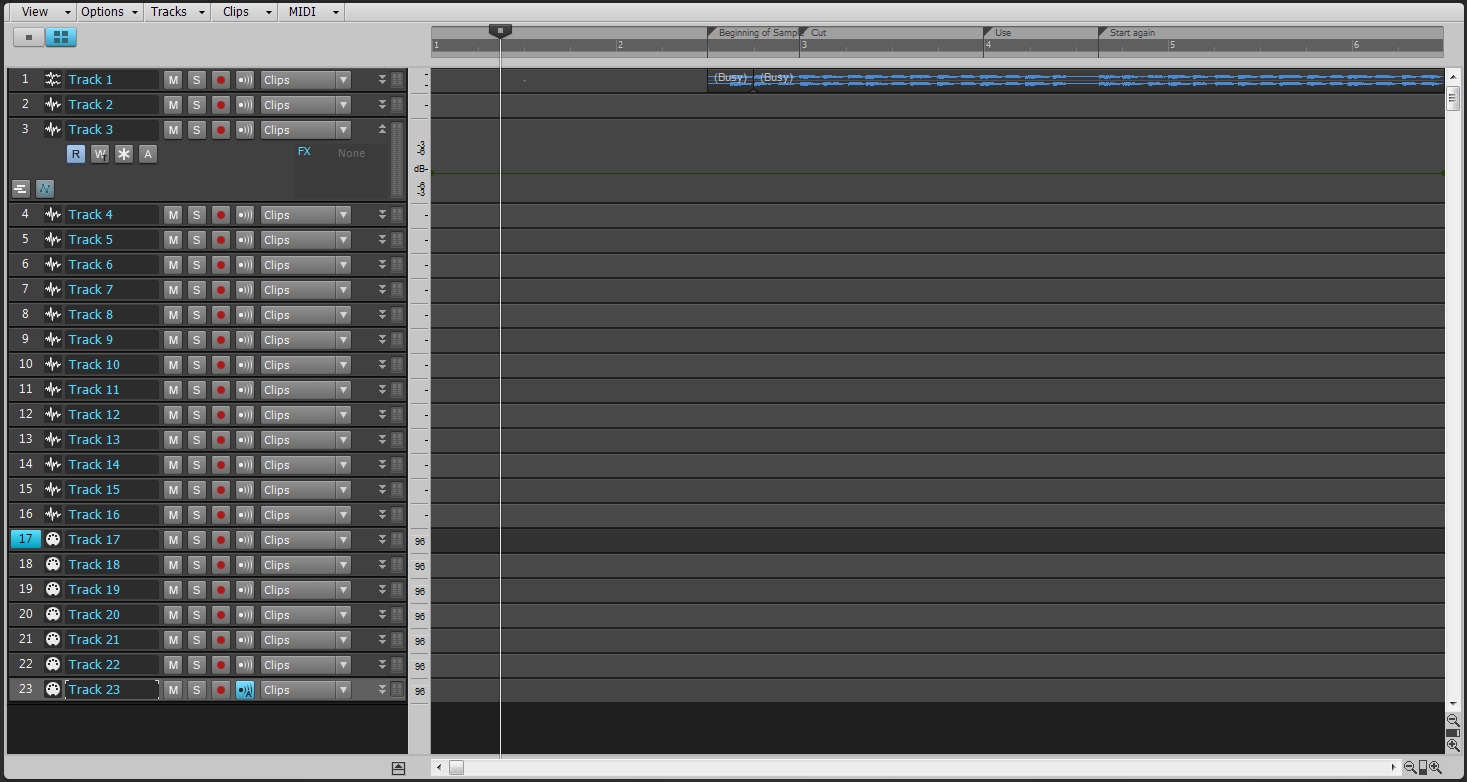
Multiple tracks can start to stack up in varying sizes. This shortcut will fit them all to your track view so that you can see as many tracks as your resolution can handle.
27. Resize Track Height – Hold [Shift], adjust Track Height
This works kind of like Quick-Grouping, except you must hold shift when resizing the track windows.
28. Add Another Track – (Num Lock Off) Numberpad 0
Depending on the type of track you have selected in the track pane, Music Creator 6 Touch will add that type of track every time you select 0.
29. Renaming Tracks Quickly
While this isn’t a shortcut, it’s a streamlined method of naming tracks without having to reach for the mouse every time you need to rename a track. Simple double-click on the first track name, type new name, select enter, arrow down, enter, type new name arrow down and so on.
Learn more about Music Creator 6 Touch
Watch our Get Started Videos on SONAR University


