A SONAR Story with Cory Hawthorne

After seeing Vancouver’s own “Payolas” at the age of 15, singer songwriter, guitarist and sound designer Cory Hawthorne knew he wanted to become a musician. 2 weeks later he bought his first guitar, a no name Les Paul copy and it changed the rest of his life. He went on from there to get a degree in music from the University of British Columbia in 2000 and release his first solo album in 2012 under his name called The King of the Broken Hearts. In the midst of pursuing his dream to be a rock star, a guitar student Cory was teaching approached him about getting into sound design for video games, and for the last 18 years has become an expert at the craft. He has released many titles including Prototype; one of the best-selling games from Radical Entertainment along with Scarface and Simpsons Hit & Run, which went on to sell over 7 million copies . This last June, with a small team at Charm Games, Cory released his first virtual reality game titled “FORM”.

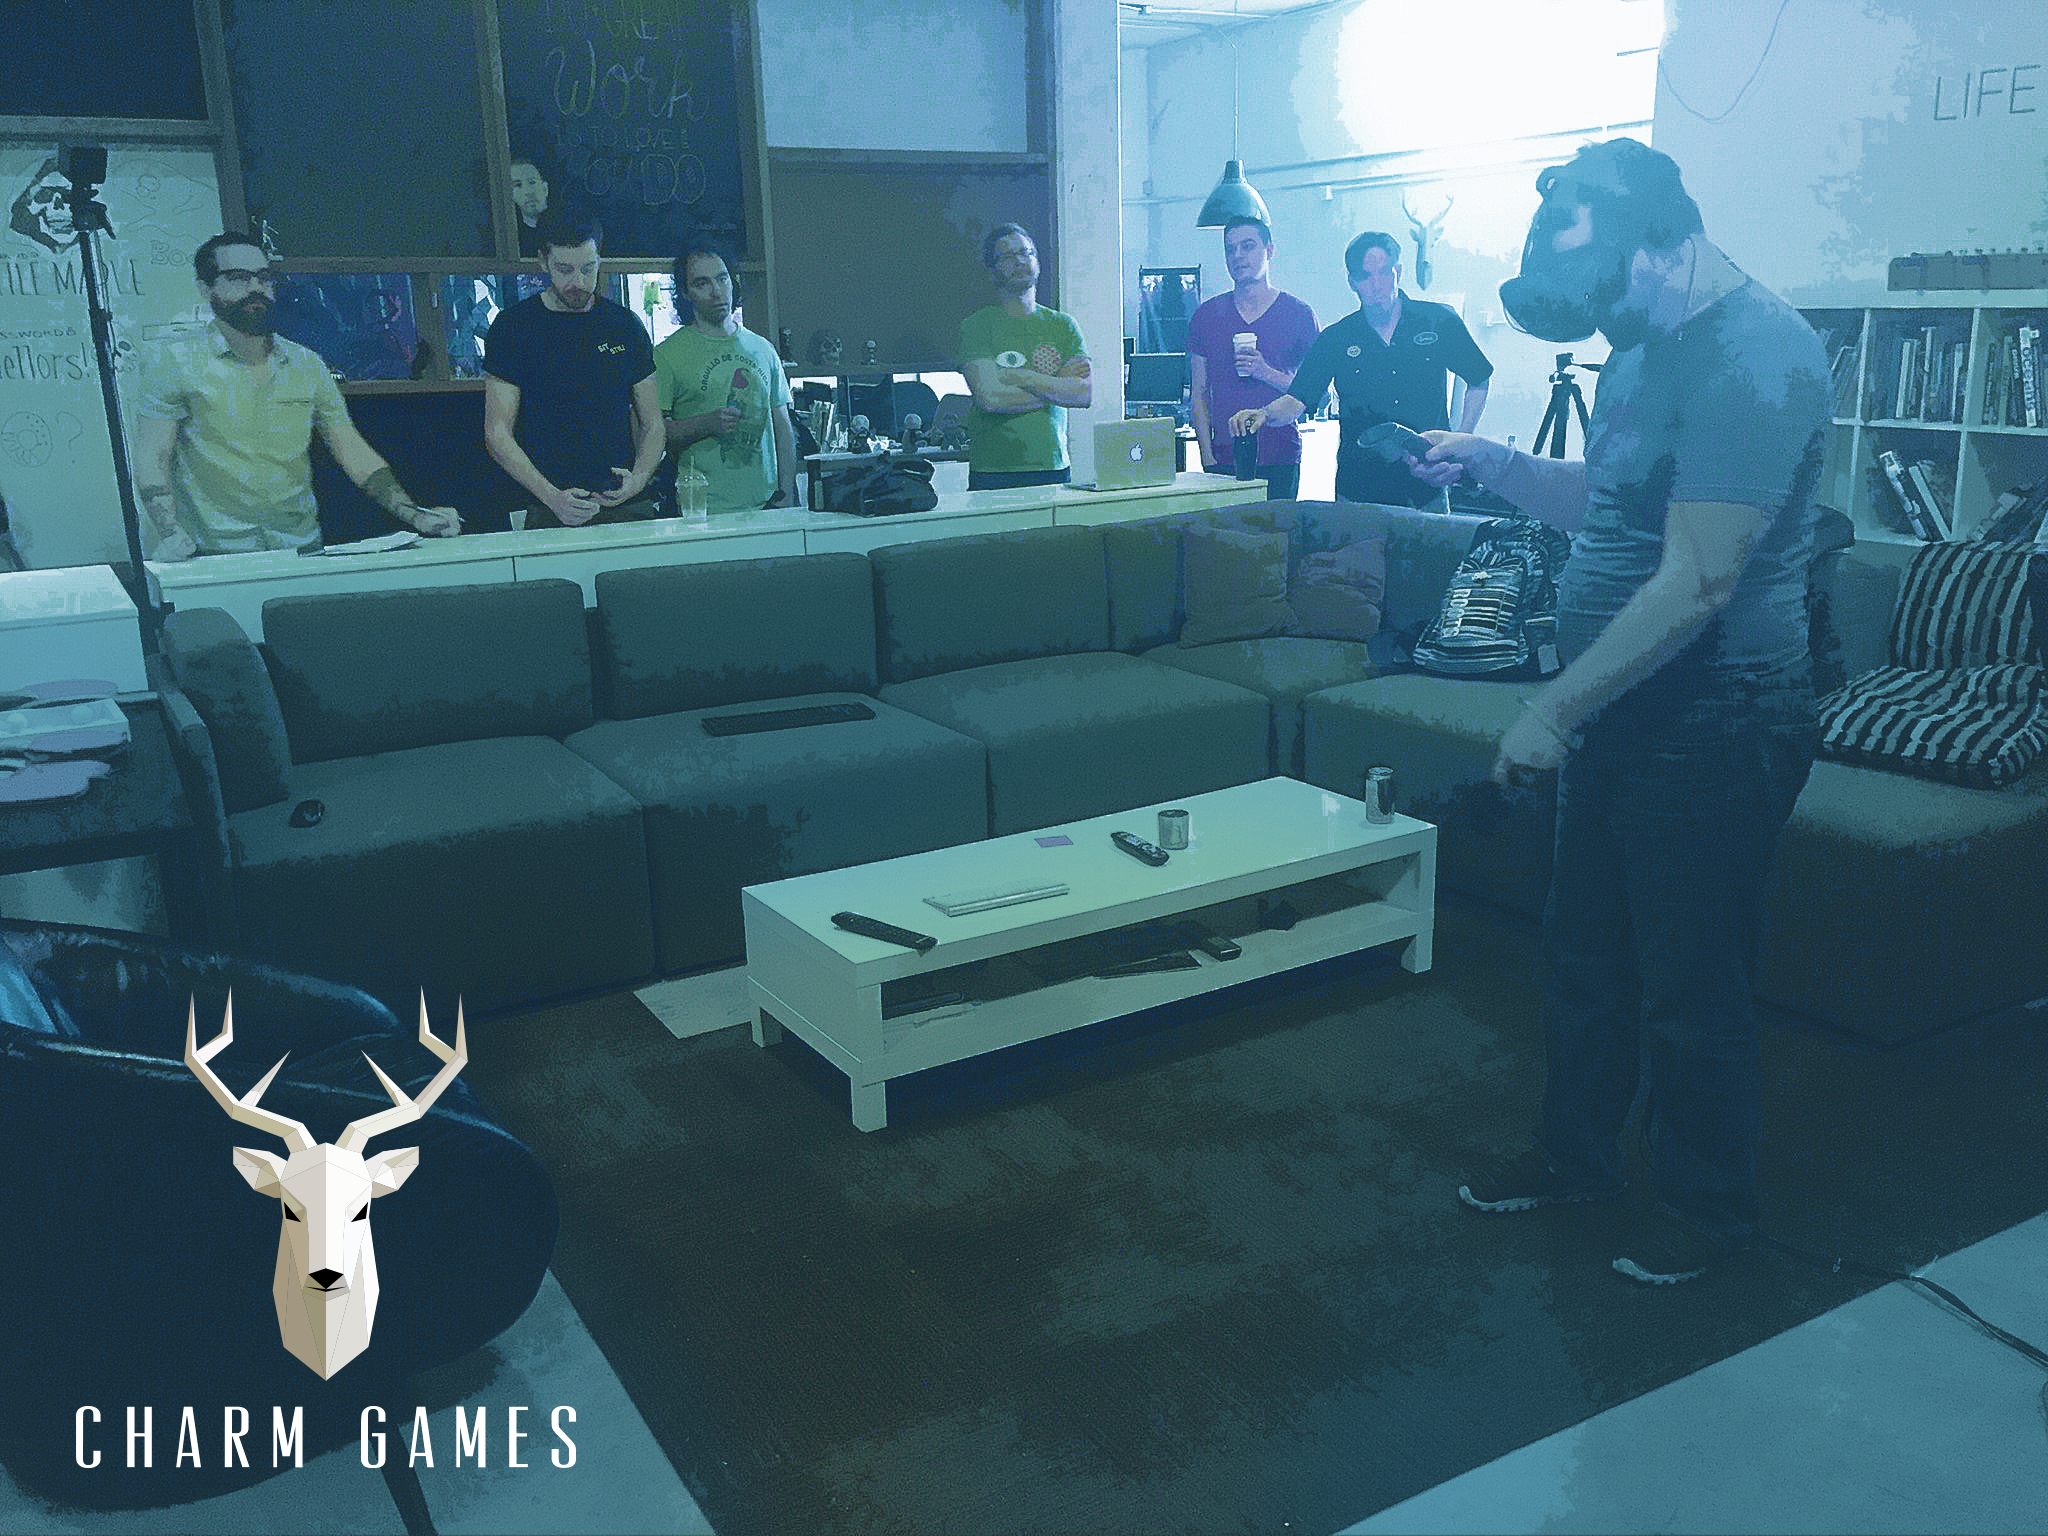
In January 2017, Six soon to be very tired people, started on what would become a new benchmark for VR games through a lot of blood, sweat, support from their families, and sacrifices.

“It’s immersive, engaging and beautiful, setting a new standard for virtual reality and visual design”
 4/5 – Hardcore Gamer

“FORM shows a command of the medium that few have grasped with such clear intention”
 8.5/10 – Road to VR

“Charm Games has created a mesmerizing experience from start to finish.”
 4/5 – VRFocus

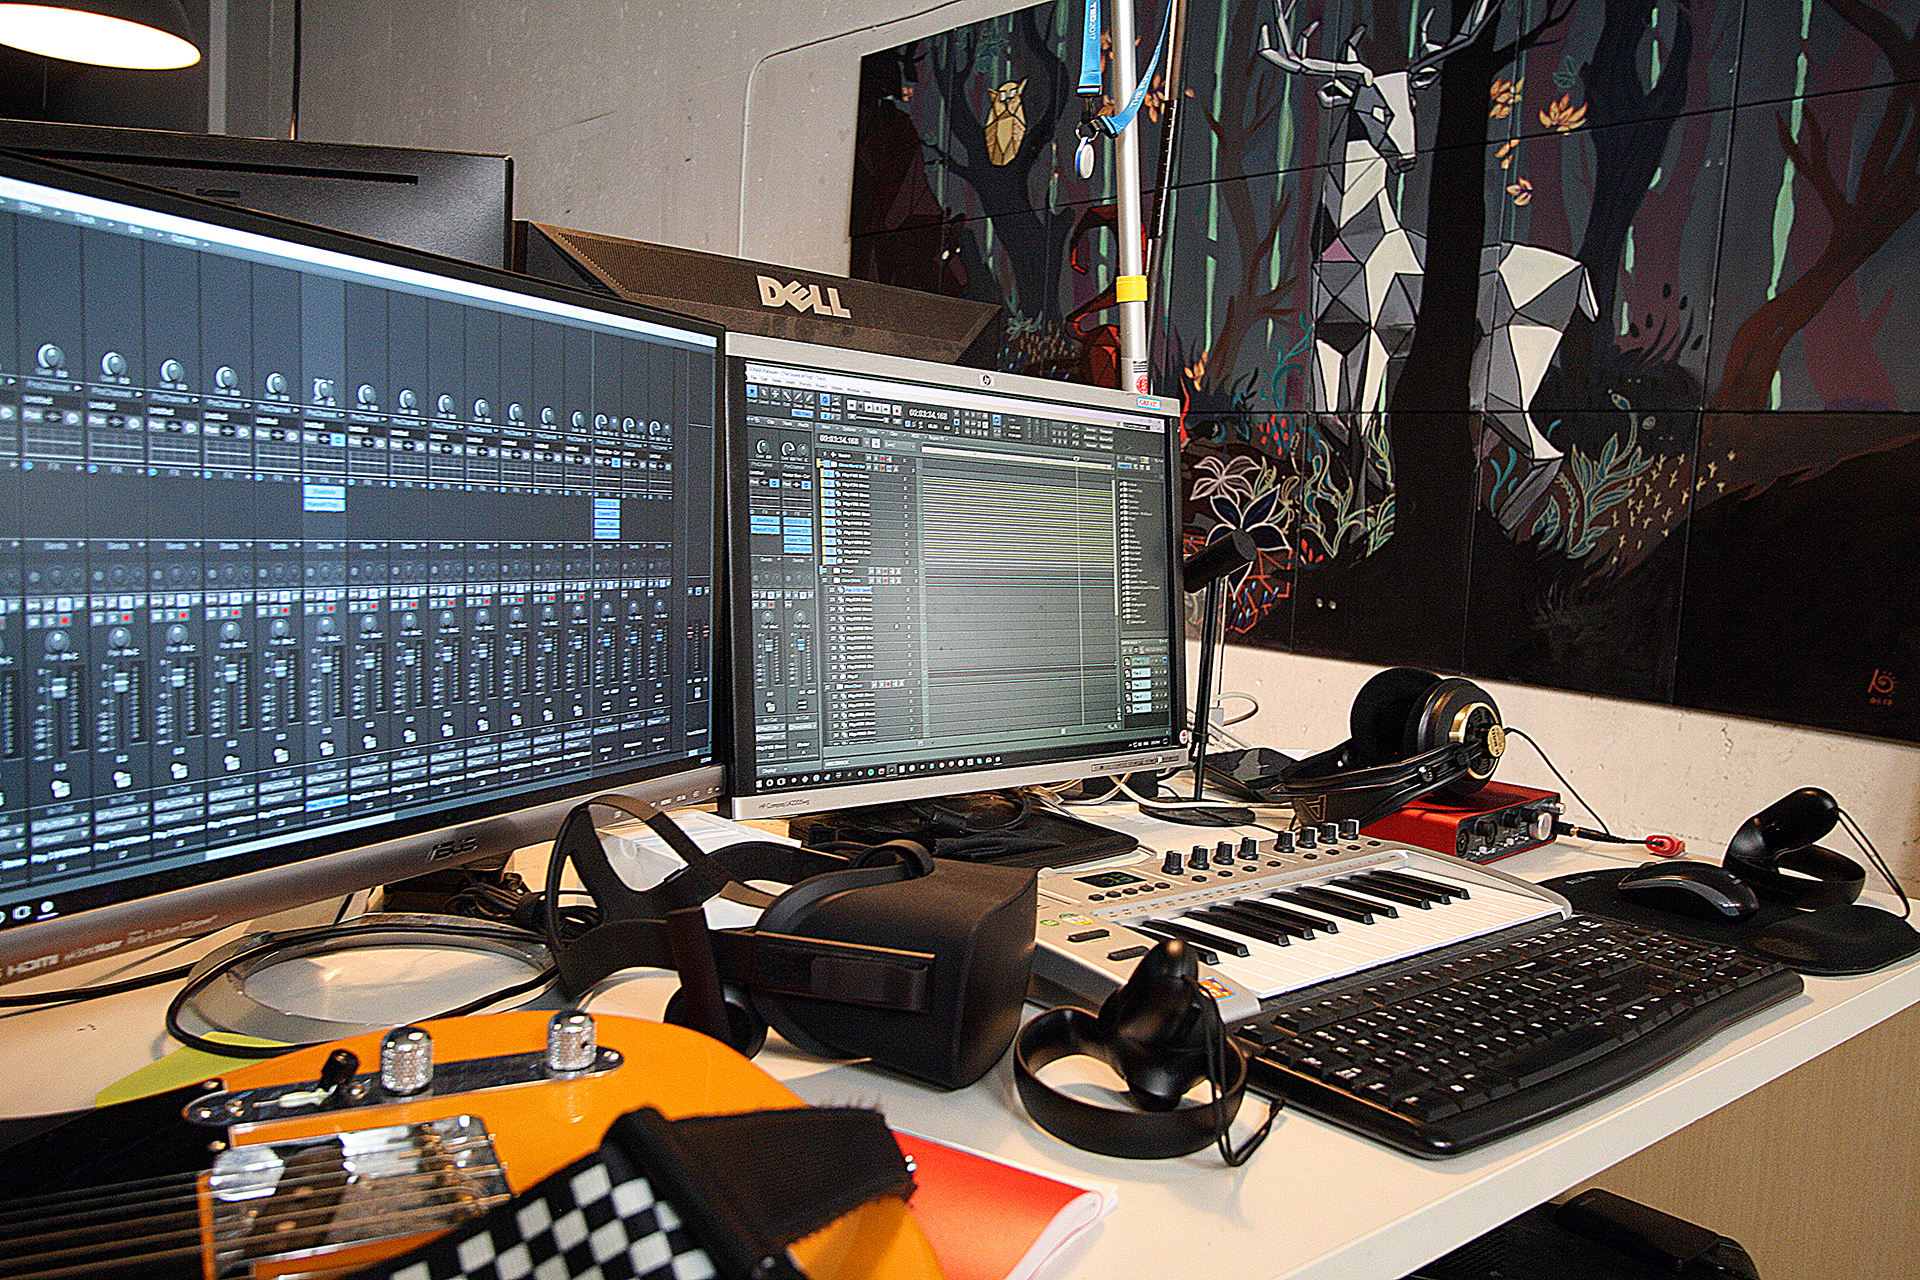
Cory had a very limited time of 6 months to compose all the music, create all the sound FX from scratch, and record all the voice over dialog for FORM but he used this hard constraint to ground him in the project. Collaboration with his team allowed him to make decisions quickly and focus on what was most appropriate for the game.

“Working on FORM was like a sound designer’s dream. I had unlimited options but there was one thing that I knew and that was if it sounded good, so I had to trust myself all the time throughout the process. We reached the end of the line and I had to write and record 3 tracks in 3 hours because we were releasing the game in 2 days. I tried to focus on the mood and nail it and not get caught up in what scale I should use. Is this a Lydian vibe? I didn’t have time for that stuff because I had to finish a track in that hour.”

At the start of the project, Creative Director Derek Young told Cory to “Be Weird” and “Do something no one would recognize”. For Cory, that meant that everything needed to be unique and made from scratch. He utilized the Rapture Pro synth for nearly all the FX design, sometimes starting with a simple sine wave and tweaking from there. The lesser known synth company, WOK VST Plug-in’s Ghost synth was utilized for several simple lead sounds in the musical compositions. To create the voices for the game, Cory recruited local talent for many of the roles but ended up being the voice of the lead character’s computer. What originally started as a test recording from an iPod 5 microphone had just the right nuance to be the real voice so all the rest of the computer dialog was recorded on the same iPod 5 and used in the final game.


How can others get into game sound design?

“It’s a weird thing. You have to be tough and be ready to move with all the changes. Get ready for a lot of late nights. You need to go into it knowing that the industry is changing all the time and for most, the days of having your own studio is gone. It’s all contract work or not a full-time job for most people. I’m very grateful to be where I am at Charm. A great way to start though is to make your own original FX library using synthesis and your own recordings, as well as to find the students in your area who are making games or going to school for it and connect with them. Work with them for what they can afford, or even for free or on spec if they have no budget and you like the project, until you can get off the ground.”

If you could give one piece of advice to other SONAR users, what would it be?

These days you can get a mic, an audio interface, a copy of SONAR, and a laptop for almost nothing so there is no excuse to not make music but you should start now using what you have and don’t try to sound like anybody else. As Stravinsky said “The more constraint one imposes, the more one frees one’s self. And the arbitrariness of the constraint serves only to obtain precision of execution”.
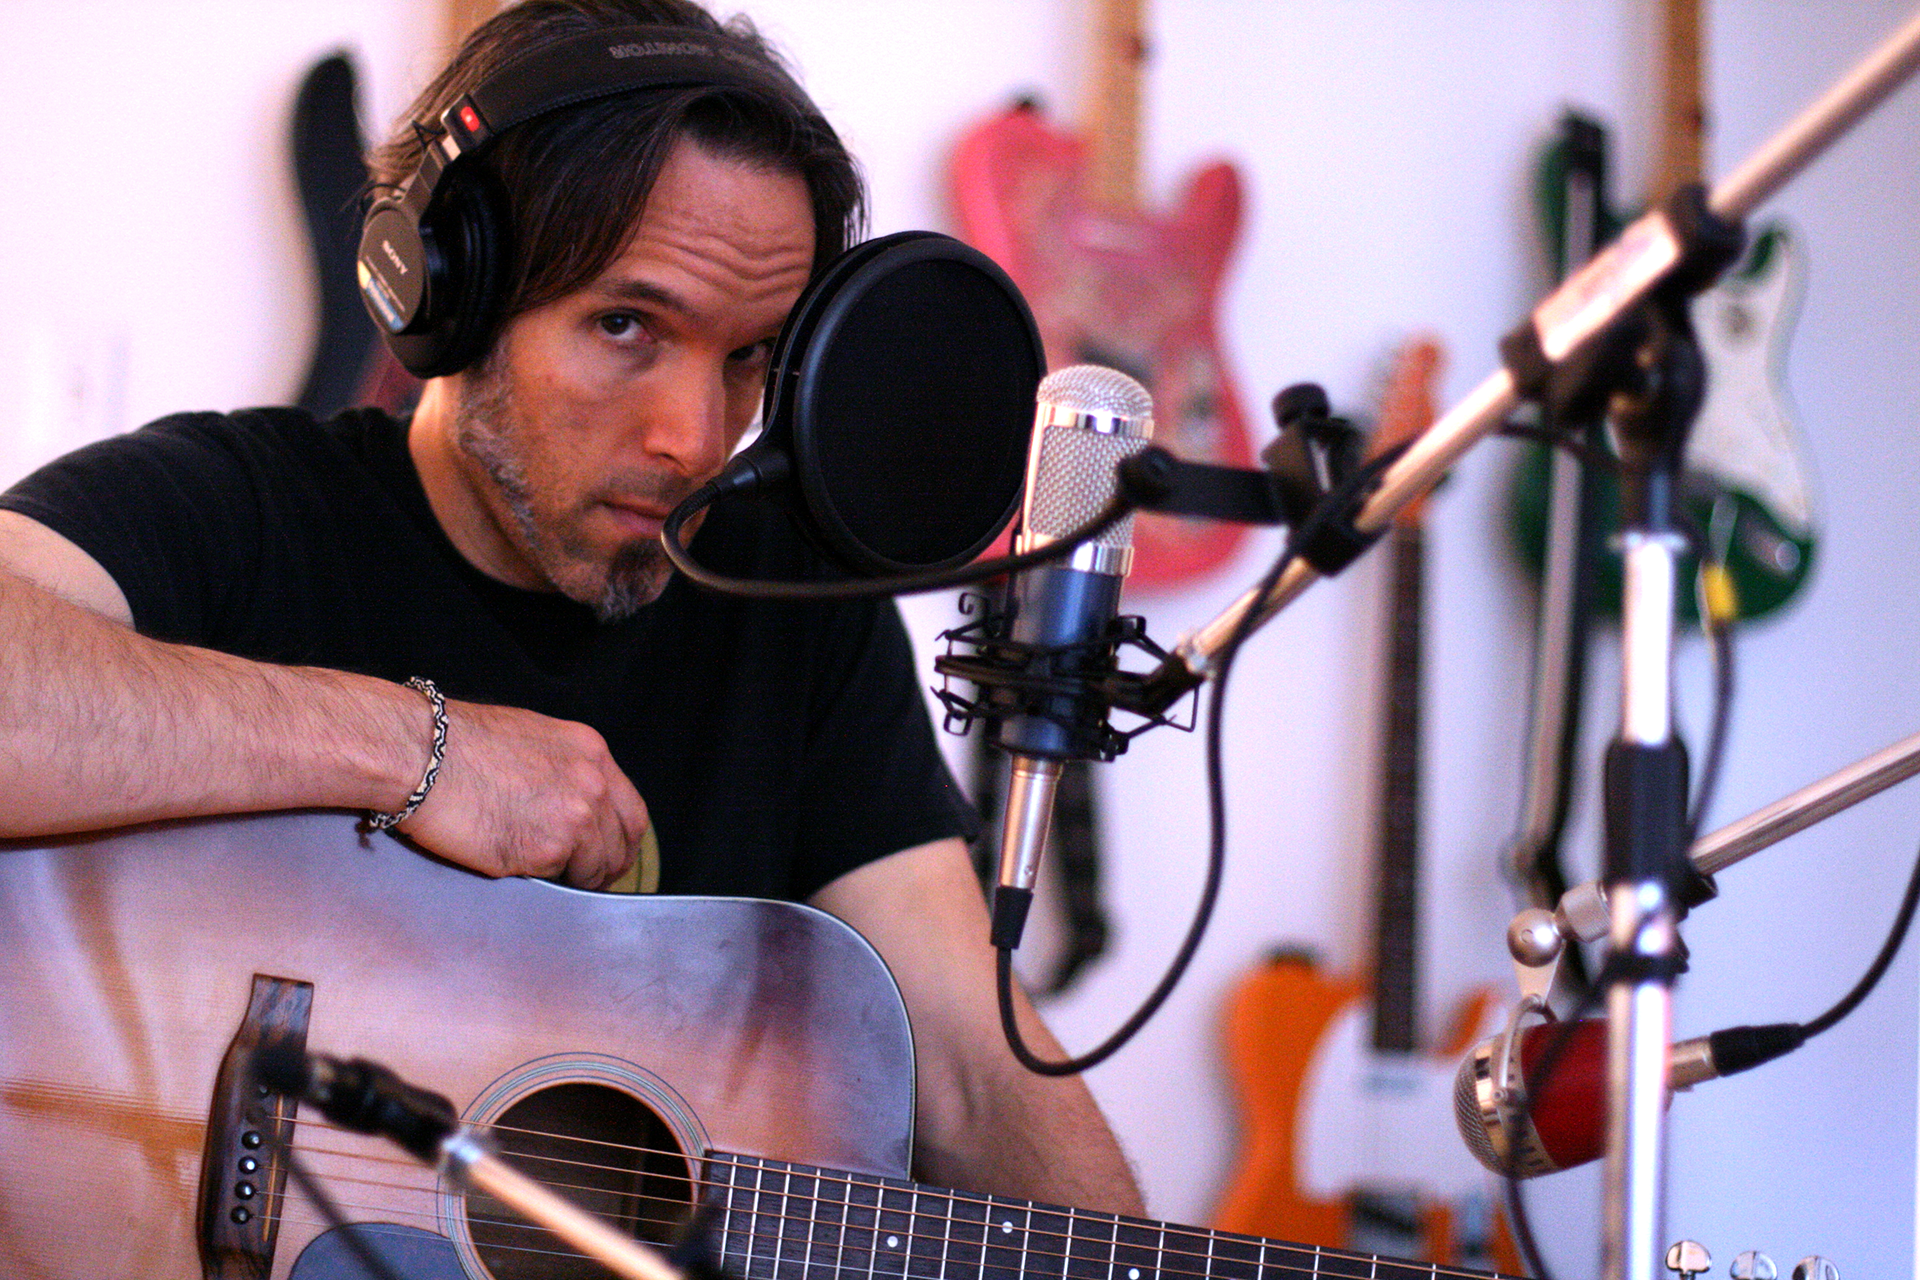
Cory Hawthorne

You can hear Cory’s music on Spotify, SoundCloud, and also at his webpage www.coryhawthorne.com

Follow him on Twitter: @CoryHawthorne

Charm Games

For more information, visit the Charm Games website at: www.charmgames.com

Subscribe to their YouTube channel: youtube.com/c/charmgames

Follow them on Twitter: @CharmGames

Like them on Facebook: Facebook.com/CharmGames

Play FORM Today

Oculus Rift Store: www.oculus.com/experiences/rift/1491102584268860/

Get it on Steam: store.steampowered.com/app/408520/FORM/

Cakewalk wants to tell your story!

Through blood, sweat and tears you’ve overcome obstacles to reach a level of success that you’re proud of. We want to hear your stories, and with your permission, we’d like to share them with our community.

We will not publish any of this information without your permission. If your story is selected, we will reach out to you via the email address you provide, and we will schedule a follow-up interview with you to learn more.

Tell us your story here!

DAW Best Practices: How to get a bigger drum sound with reverb

The Biggest, Baddest Drum Reverb Sound Ever

[Originally posted as a daily tip on the SONAR forums and reposted for viewers here on the blog.]

by Craig Anderton

You want big-sounding drums? Want your metal drum tracks to sound like the Drums of Doom? Keep reading. This technique transposes a copy of the reverb and pans the two reverb tracks oppositely. It works best with unpitched sounds like percussion.

1. Insert a reverb send.

Insert a send in your drum track, then insert your reverb of choice in the Send bus.


2. Render the reverb, isolated from the drum track. Continue reading “DAW Best Practices: How to get a bigger drum sound with reverb”

Did You Know SONAR X3 Comes with a Dual Phaser and Chorus?

SONAR X3 Studio and Producer have included the mind-bending Dual Analog Phaser and Dual Analog Chorus units from Nomad Factory.  As you might know both units are time based effects and are variations of delay units. Both types of effects split the signal into two parts and then combine them again after the signal passes through the unit.


  • Phaser – When the audio passes through the unit the signal is flipped out of phase and then a LFO-controlled notch filter sweeps through this signal’s frequency spectrum.

  • Chorus – One part of the signal is unaffected and the other is delayed anywhere from 20ms-50ms and then it’s pitch is modulated by a Low Frequency Oscillator


The included LFO on both units has Square, Sine, Triangle, and Sawtooth options for even more sound design options. Within the Chorus users have the ability to control each side of the stereo audio signal independently as well as change the different LFO rates.

Check out the destruction done to a simple jazz drum loop. There really are not limits to the sounds that these plugins can produce.

Learn more about these plugins and SONAR X3.

Did You Know That BiFilter2 is a Sound Designer's Dream?

When installing SONAR X3 Producer your eyes may have sailed across a plugin by Tone2 called “BiFilter2”. This program is more than just a filter, its a sound designer’s dream. It’s simplicity is misleading at first glance, but once you open up the hood of this plugin you’ll be grateful of it’s existence.  This filter has everything from basic EQ cutoffs, Comb Filtering, to even FM filtering.

Most of the time plugins of this nature are limited to the filter type being set as a preset and then the user having the ability to automate and modulate the different parameters within that preset. BiFilter on the other hand allows you to radically switch between filter types without hassle and even automate distortion types all within a single automation lane.  Essentially, one could use a single BiFilter per track and switch distortion filter types without stacking up on multiple plugins or introducing unwanted CPU usage.

BiFilter alone is worth cracking open and listening to.  Once you hear this unbelievable plugin every template you make will have one pre-loaded into your FX Bin.

Learn more about Bifilter 2 and SONAR X3 here.

Designing Sounds for Cakewalk Synthesizers – Behind the Scenes at Digital Sound Factory

Digital Sound Factory

When people ask me what I do for a living, it is often difficult for them to grasp the words; I record sounds and musical instruments that musicians use to create music. At Digital Sound Factory we breakdown the instrument to the fundamentals and capture the sounds that make up its character. Each note and playing style is recorded. We are essentially creating a ‘digital archive’ of musical instrument sounds that render playback on modern computers.

Creating sound expansion packs for Cakewalk synthesizers involves many steps in the development process. It’s a long journey from defining the scope of the sound set to hearing a sound when playing a MIDI note. This is an overview of how an expansion pack is born and what goes on behind the scenes.


Defining the Project

First we take a close look at the scope of the project and define the instruments and samples required.

Musicians, engineers, and studio time are not free, so the better prepared we are, the more we capture. Each instrument requires different considerations. Sampling drum’s is different from sampling synthesizers is different from sampling brass or winds. In the case of drums, how the drum should be tuned, number of velocity hits on center to the edge of the head, matching rim shots, various microphone placements, to name a few. Sampling brass or woodwinds will entail multiple volume levels of sustain, more breath, less breath, breath only, mutes, staccato, and more.


The Recording Process

Sampling is similar to recording music in some ways, but in other ways it is very different. The similarities are musicians are recorded in professional sound environments using microphones, mixing console, speakers, etc. The very different part is we are not there to record music. We record the instrument and its characteristics. I can’t begin to tell you how many sessions I have walked into and the musicians are ready to impress with great music. In these sessions we focus on the technique, not the music.

Each note the instrument is capable of playing is meticulously recorded at various amplitude levels and styles (ie: sustained, mute, fast attack, slow attack, soft, loud, etc.) using 4 – 16 microphones, fast computers, and Sonar. It is imperative that any addition sounds that are not part of the instrument, such as squeaky chairs, breathing, or noise from the musician are identified and eliminated during the recording process. Occasionally there are sounds that make their way into the sample and need to later be isolated and removed using software tools. All microphones, takes, tracks, hard drives, etc. are documented for use during the editing process.


Selection and Editing

After days, weeks, or months of recording, the tracks are reviewed and the best takes are sliced and copied to a new project. This may include as many as 4 to 16 tracks of microphones that can be mixed or separated to create the final individual .wav files for each pitch/velocity/etc. Selecting the best ‘takes’ involves a lot of listening and is essential to delivering the highest quality instruments. Any additional DSP (Digital Signal Processing), such as leveling, noise cancelation, equalization, and amplitude fades are completed at this stage. Sustained notes require looping the recordings to create a seamless pitch at the loop points. Loops are adjusted to lengths based on memory size targets. Each .wav file is tagged with the instrument name, style, and pitch identification.


SFZ Creation

SFZ files are created and used to map the incoming MIDI controller note number to the correct .wav file and location. The SFZ files are text files and use ‘opcodes’ or operation codes that are used to control various synthesizer program parameters. It contains relevant information about the instrument such as velocity, filter types, envelopes, LFO’s, and others. SFZ files are programmed for each playing style and sometimes combined to create layers.


Programming

This is where the instruments develop personality and flavor. SFZ files can be combined as elements to create layers. Filters, modulation sources and destinations, and effects are assigned. The program is named and saved to the relevant style folder.


Digital Sound Factory Recording Video

This video includes recording sessions for orchestral strings, winds, brass, and percussion in the concert hall and studio, drum kits and percussion, ethnic instruments, and grand piano.

Buy Sounds for Cakewalk Synths

Digital Sound Factory offers over fifty expansion packs for Cakewalk’s Dimension, Rapture, Sound Center, Z3TA+2, and Session Drummer 3.  Digital Sound Factory on the Cakewalk Store

DSF Sale

Download DSF Expansion Packs for as low as $19.95
Stock up this weekend on DSF expansion packs for Dimension Pro/Dimension LE. The DSF collection features thousands of sounds for all types of music and genres. Included are Grand Pianos, Guitars, Basses, Classic Keys, Orchestral, Hollywood Sound FX and much more. Buy one or buy them all and save big during this special offer. Ends February 28th, 2013.

Shop and save today

Learn Sound Design with Z3TA+ 2 – Free Video by Digital Sound Factory

Z3TA+ 2 Sound Design Video


Z3TA+ 2 Sound Design
By Timothy Swartz
Digital Sound Factory

Digital Sound Factory veteran sound designer, Timothy Swartz takes us on a tour of Cakewalk’s Z3TA+ 2 software synthesizer and how to quickly create interesting sounds. The video begins by explaining basic programming of Z3TA+ 2 envelopes, LFO’s, filters, modulators, and effects. As the tutorial progresses, Tim explains Z3TA+ 2 program parameters and takes us through the process of creating synth pads, synth bass, synth leads, and electronica synths. We hope you find this video informative and will stimulate your imagination. (40 min. running time)

Z3TA+ 2 Expansion Packs by DSF


Digital Sound Factory offers a collection of over 1,000 Z3TA+ 2 programs, designed using these concepts, now available on the Cakewalk Store.

Timothy Swartz produced the original E-MU Emulator and Proteus sound libraries. In 2007 he founded Digital Sound Factory with a mission to provide high quality low cost sounds for computer software musicians. Digital Sound Factory also offers Cakewalk sound libraries for Dimension Pro, Rapture, Session Drummer 3, and Cakewalk Sound Center.

Sound Design for Video Games at GDC 2010

Cakewalk’s Seth Perlstein was on hand at the annual Game Developers Conference in San Francisco, California to demonstrate SONAR’s role in sound design and sound editing for video games.

In the video above, Seth shows how to sync sound effects to video clips using SONAR 8.5’s Audiosnap time-stretching tool with the V-Studio 700 console as a DAW controller. Learn how to create your own sound effects using Cakewalk’s new A-PRO 300 keyboard along side SONAR 8.5’s arsenal of instruments and effects including Session Drummer 3, Rapture, and Perfect Space convolution reverb.