6 Tips for Songwriters in SONAR

by Dan Gonzalez

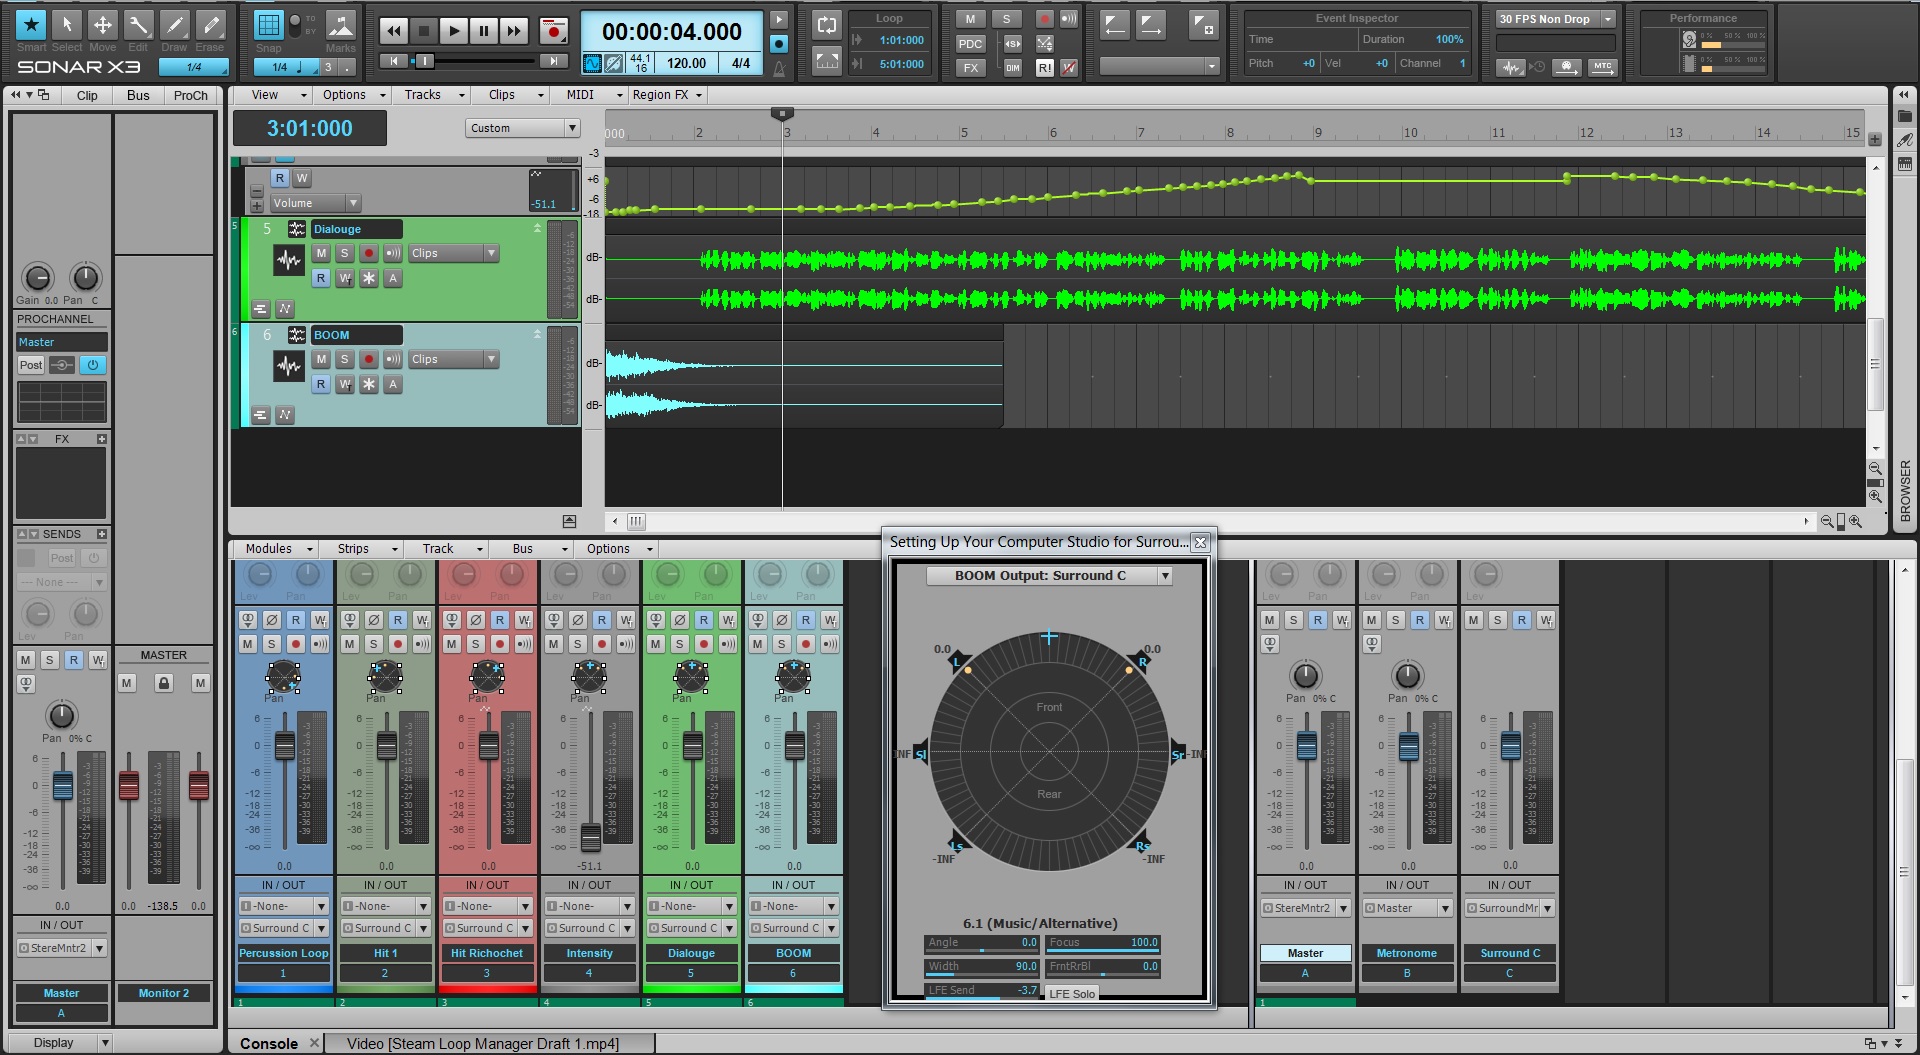
SONAR helps songwriters improve their creativity and workflow by offering tons of features that are engineered specifically for them. In this video we’ve outlined some of our favorite tools to that save you time while you’re developing your next musical idea.

 
Try SONAR X3 free for 30 Days.

Understanding Virtual Instrument Routing in SONAR

by Dan Gonzalez

Are you new to SONAR? Well then this article is for you!

SONAR acts a bit differently than some of it’s competitors – especially when it comes to inserting, routing, and using virtual instruments. Let’s take a look at the way these work inside of SONAR:

1. You can insert a virtual instrument in a few different places within SONAR

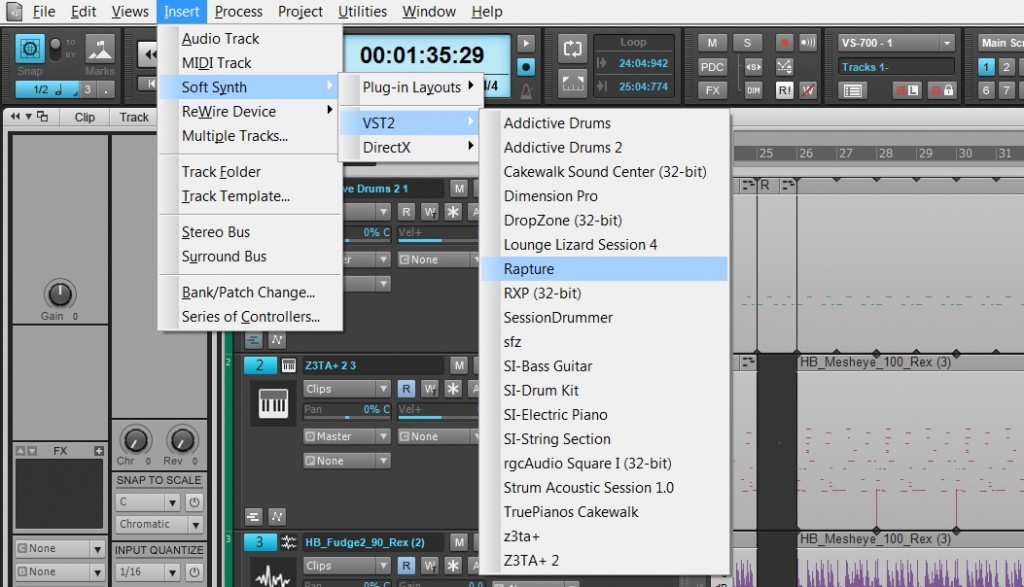
The first way is by selecting from the main menu along the top of SONAR: Insert > Soft Synth > (type of plugin) > (plugin)

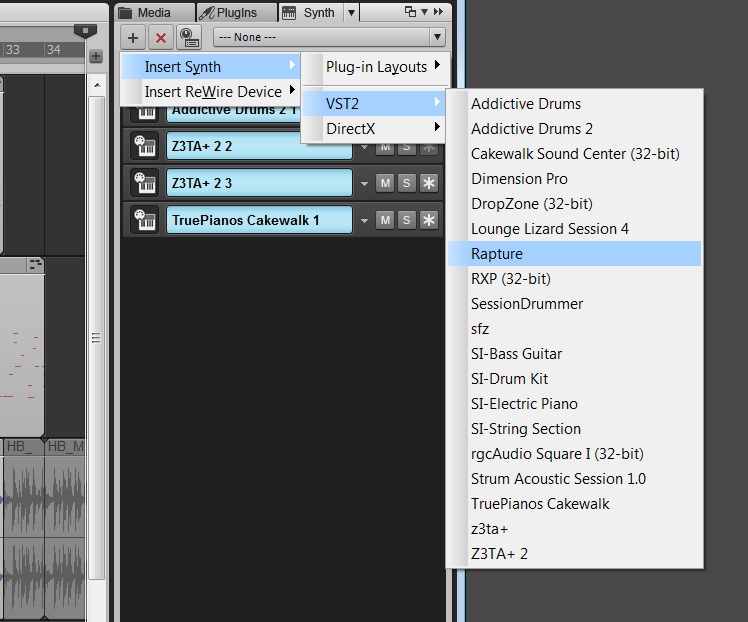
Another useful way is to use the Synth Rack and click on the “+” button. This will expose a similar list.

Lastly, one of the quickest and easiest ways Continue reading “Understanding Virtual Instrument Routing in SONAR”

Virtual Instruments: 5 Tips For The Z3TA+ Junkie

Here are some of our favorite Z3TA+ tips and videos from our archive:

1. EDM Production – Enhance Your Drums with Z3TA+ 2

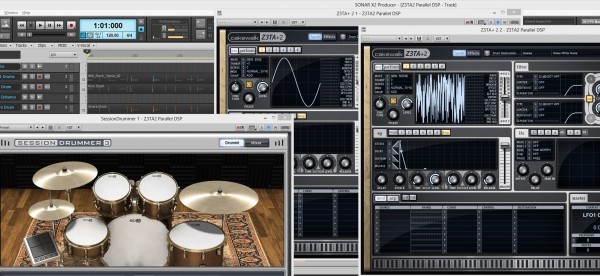
  • Insert two instances of Z3TA+ 2.
  • Copy your drum sequence to both Z3TA+ 2 tracks.
  • Isolate the Kick on one track and the Snare on the other.
  • Setup the first Z3TA+ 2 to generate a Sine Wave for the Kick.
  • Setup the second Z3TA+ 2 to generate White Noise for the Snare.
  • Adjust the Amplifier Envelope to match the duration of each hit.
  • Within Z3TA+ 2 add Reverb, Compression, and EQ.
  • Mix in under your existing Drum Loop.

2. How to Customize Z3tA+ 2’s Stock Arpeggios

Z3TA+ 2 comes packed with a massive pool of MIDI programs that power it’s internal Arpeggiator, but why stick to the stock programs when you can make your own?

Here’s how:

  • Open Z3TA+2 and activate the Arpeggiator Section
  • Right-Click on the sequence in the arpeggiator and make sure the following are checked
  • Auto Disable Pattern When Dragged to Host
  • Auto Fit Patterns to One Measure When Loaded
  • Load one of the Arpeggios from the Pattern menu
  • Drag and Drop the Arpeggios right into SONAR X2
  • Edit the MIDI Clip to your liking
  • Go to File > Save As
  • Select MIDI 0 in “Save as type”
  • Go to C:\Cakewalk Content\Z3TA+ 2\MIDI Arpeggios and Save it
  • Load it into Z3TA+2′s Arpeggiator by going to Pattern > Load MIDI File…

3. How to create a bass synth with Z3tA+ 2

Who doesn’t like bass? Especially synth bass. Z3TA+ 2 is the answer to all of your sound design needs especially when you are looking to improve your production in the low end. I’ve put together a short tutorial on how to make a simple bass synth inside of Z3TA+2. Once you understand how everything works together you’ll be able to really start to make this plugin work for you.

Picking the right Oscillators

Within Z3TA+2 the first section you need to start working with is the OSC section. First I’ve selected two different square waves for OSC 1 and 2. They were Vintage Square 1 and Vintage Square 2. When creating a bass synth you need to make sure that your patch will not break up in the low end so be sure not to drop the octaves on the individual oscillators too low. I typically set mine to -2 at the most. Once you get to a certain range the instrument will sound weak and lose it’s driving Bass Synth sound

[READ THE REST OF THE TIP HERE]

4. [VIDEO] Digital Sound Factory Z3TA+  Sound Design

5. [VIDEO] Mixing and Mastering a song using only the Z3TA+ effects engine in SONAR

The “Punch” Factor with Synthesizers

What exactly constitutes “punch”? Find out here

by Craig Anderton

We all know a punchy recorded sound when we hear it—but what exactly constitutes “punch”? It seems that perhaps punch is something that can not only be defined, but quantified.

This all started because years ago, I wondered why seemingly every musician agrees that the Minimoog has a punchy sound. Then, when I started playing a Peavey DPM3, several people commented that my bass patches had a punchy sound, “like a Minimoog.” Clearly, the technologies are totally different: one was analog, the other digital; one used voltage-controlled oscillators, the other sample playback. Yet to listeners, they both shared some common factor that was perceived as punchiness.

Analyzing a Minimoog bass line revealed something interesting: even with the sustain set to minimum, there was about 20-30 milliseconds where the sound stayed at maximum level before the decay began. There is no way to eliminate that short period of full volume sustain; it’s part of the Minimoog’s characteristic sound.

I then looked at the DPM3’s amplitude envelope and it exhibited the same characteristic—a 20-30 ms, maximum level period of sustain before the decay kicked in. Also, both instruments had virtually instantaneous attacks. Could this combination be the secret of punch?

For comparison, I then checked two synths that nobody considered punchy-sounding: an Oberheim OB-8, which is generally characterized as “warm” and/or “fat” but not punchy, and a Yamaha TG55. Both had fixed attack times, even with the attack control set to zero, that lasted a few milliseconds. I also recalled some experiments ex-Peter Gabriel keyboard player Larry Fast ran in the mid-70s, when he was curious how fast an attack had to be for a sound to be “punchy.” His research indicated that most listeners noticed a perceptible loss of punch with attack times as short as one or two milliseconds.

So it seems the secret of punch is that you need an extremely fast attack time, but you also need a bit of sustain time at maximum level. This sustain isn’t long enough to be perceived as sustain per se; it’s more of a psychoacoustic phenomenon.

Wondering if this same technique worked with other sounds, I took an unprocessed snare drum sound and tried to add punch by normalizing each cycle to the highest level possible for the first 20-30 milliseconds. Comparing the processed and unprocessed sounds left no doubt that the edited version had more punch.

When I designed the Minimoog Expansion Pack for Rapture, I made sure that where appropriate, the envelopes had that characteristic Moog attack (Fig. 1). Note that the second node sustains the sound for 27.5 ms. Rapture’s tight attack time and ability to create “high-resolution” envelopes made it easy to add punch.
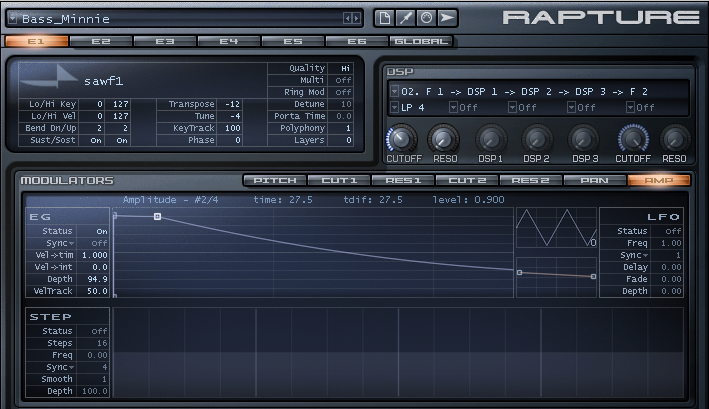
Fig. 1: Adding the “punch” factor to a Rapture Minimoog patch. Continue reading “The “Punch” Factor with Synthesizers”

Vocal Month: Extreme Vocals – Picking the Right Vocal Microphone Part III

Last but not least we engineered a session with Eric Alper, the lead vocalist for the Punk band “Knucklewagon” to see how these microphones performed under an extreme style of singing.

Screaming is common in Heavy Metal and Hardcore styles – both of which have a massive underground following throughout the world. If you’re into this style of music then you’ll understand that there is much value in understanding how the microphone you choose will later sit between the instrumentation of this type of music.

Listen intently on the way his vocals sit between the drums and heavy guitars. Keep in mind there is little to no processing on these vocals so that you can understand where the mic will naturally sit in the mix. For the most part, vocals in the extreme style tend to sit above the snare and close to the “crisp” sound of the guitars. It’s hard to reduce the harshness of this style of vocals with EQ – so pick a microphone that brings the aggression you need as well as a smooth dip in the 1K range.

Decisions, decisions…

As we stated in Part 2 of this series, it’s hard to shape your understanding of which microphone is the best due to the different styles that we’ve presented in this series. At this point you have to sit back and think about a few things.

  • What’s your price range?

  • Do you have a microphone that already does what you need to do?

  • Do you want 1 vocal microphone for everything?

  • Do you want options?

Think hard about these questions before making your purchase and try your own shootouts. Some places have trial periods that guarantee a date range of time that you can own the microphone, decide if you like it, and then return or exchange it. These are all great options when picking a microphone. Don’t let someone TELL you what you want. Figure it out for yourself and gather your own opinions.

Missed Part 1 & 2? Check them out here:

VOCAL MONTH: PICKING THE RIGHT VOCAL MICROPHONE PART I

VOCAL MONTH: BEATBOXING – PICKING THE RIGHT VOCAL MICROPHONE PART II

Want to learn more about SONAR X3? Check it out free for 30 Days.

Vocal Month: Picking the right Vocal Microphone Part I

Having a go-to microphone is always a great policy to have, but understanding the way specific microphones sound and perform is an even greater depth of knowledge every engineer or aspiring engineer should understand. To a trained ear – different microphones sound drastically different in character, response, and tone. The best way to start understanding these differences is easier thank you think. Start comparing microphones – and get nerdy about it!

Here’s our own Cakewalk microphone shootout displaying 5 different microphones on Ingrid Gerdes.

Continue reading “Vocal Month: Picking the right Vocal Microphone Part I”

Beatboxing – Watch What Happens to the Frequency Analyzer in SONAR X3

Within the Vocal world  there are all different styles of singing and beatboxing is one of the more complex and percussive styles that the human voice can produce. Typically there is a single frequency range that vocalists stay within but beatboxers span the entire frequency range to achieve the sounds that come from their mouth. Check out this video with a local Boston street performer as he shows us how it’s done:

Wanna try the QuadCurve EQ? Check out SONAR X3 30 Day Trial

5 Easy Ways to Improve Vocal Recordings in Your Home Studio

Building your home studio can be a tricky task – especially when you feel that the quality of the space that you record in barely contends with what the pro’s would use. Fear not, there are solutions for making your home studio (or to some: bedroom) a comfortable place to produce high-quality recordings. Here are 5 easy ways to improve your home studio’s vocal recordings.

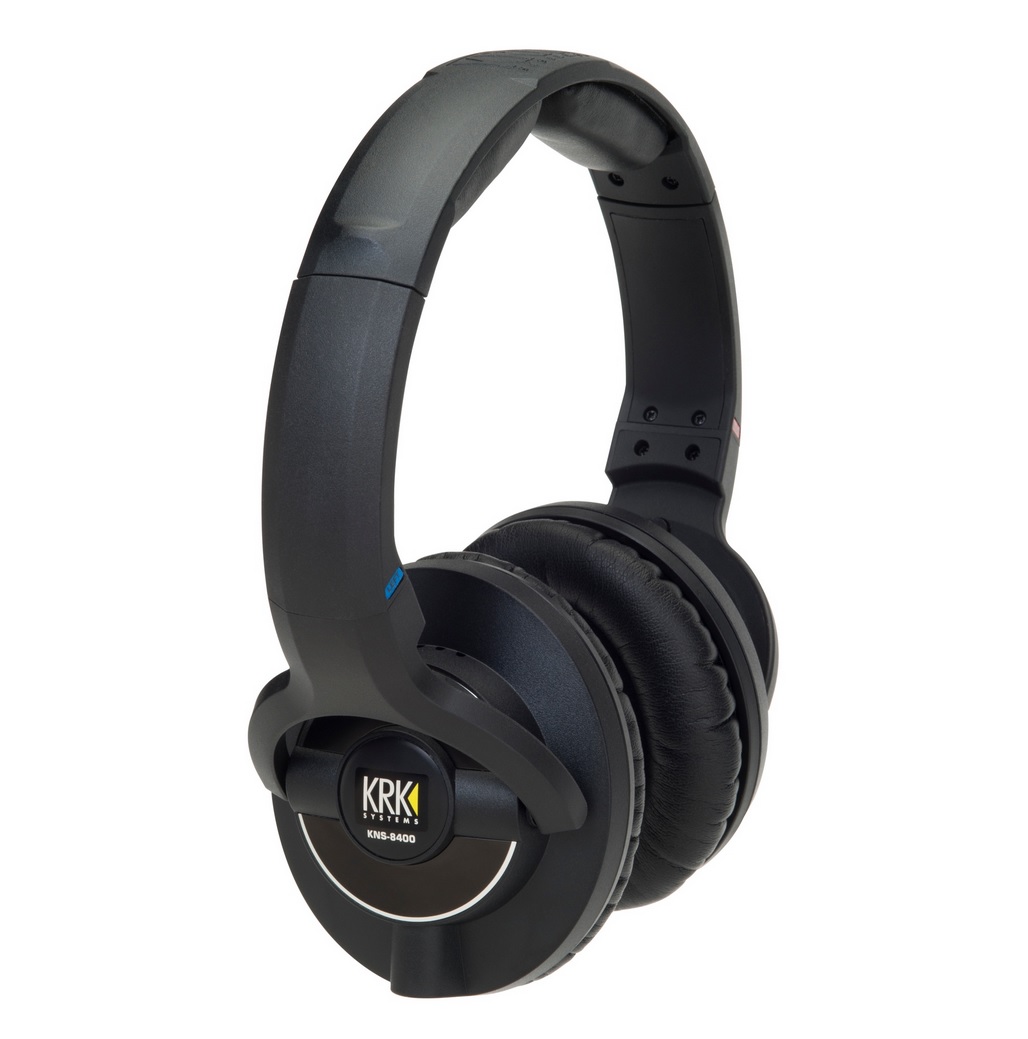
1. Studio Headphones

This goes without saying. Make sure you can supply your client(s) with a decent pair of headphones so that they can properly monitor the mix and record over backing tracks. Get at least 2 pairs in case the band’s producer or guitarist wants to follow along to the recording. You don’t need a pair of $400 headphones to get the client what they need to record.

2. Talk-back Functionality

Talk-back is a term used to describe a dedicated microphone that is activated when an engineer wants to speak to a performer in another room between takes. The talk-back microphone is typically routed directly into the headphone mix so that you can easily activate it and deactivate it without any real patching involved. Having this type of functionality in your home studio can improve the flow of the recording session and make the communication between you and the performer a seamless task.

3. Pop Filter/Vocal Shield


In the audio world there are different terms for just about everything. An important term to know is “plosive”. This is the sound a singer makes when they pronounce the letter “P”. This sound causes microphones to pop due to a high stream of controlled air that leaves the singer’s mouth. These pops are typically full of a low-end and can cause irregularities in the fidelity of the vocal track. Pop Filters and Vocal Shields can be used to break up that air and protect the quality of the signal so that your vocal is clean and even throughout.

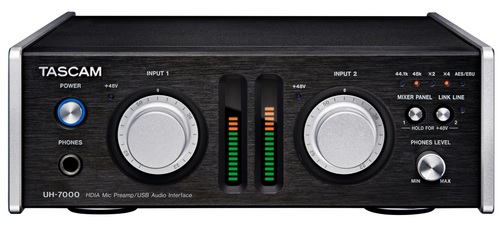
4. Pre-amp

Nice pre-amps can come at a high cost, but if you’re only recording vocals at your home-studio then it’s worth the investment. Pro-sumer all-in-one devices are built to give the buyer as much bang for their buck as possible. This typically means cramming as many inputs and outputs into a signal 1U rack and charging barely anything for it. This is great until you realize that the Pre-amps are noisy and barely have any character. Do yourself a favor and try out a nice pre-amp to understand the difference in quality. If you can demo one out, then do it! Or better yet, nicely as a friend to borrow their nice gear. It will go a long way in the quality of your recordings.

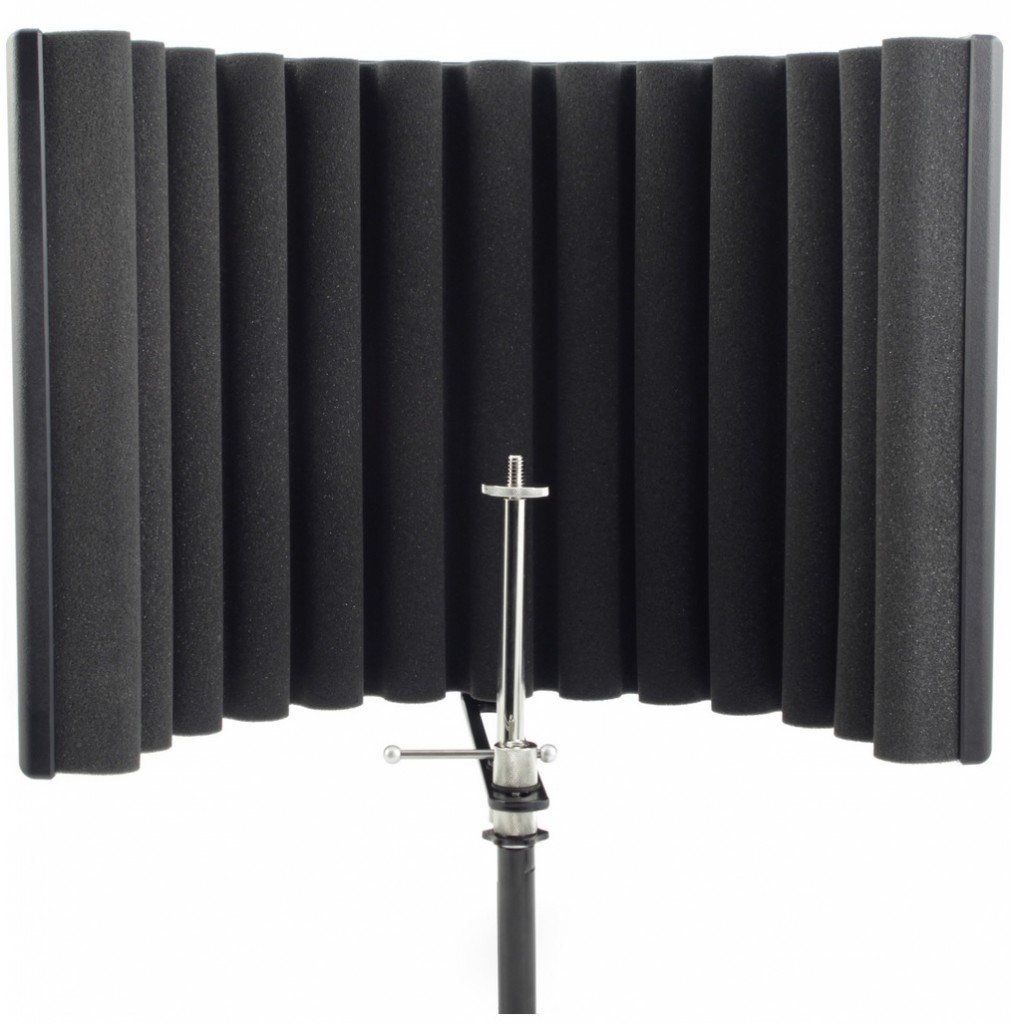
5. Portable Vocal Booth

The room in which you record in will be as much a part of the recording as the singers voice. This can work in your favor and can also work against you. If you’re recording in a room surrounded by untreated drywall then you may not receive the quality sound you expected. Untreated rooms reflect sound back and fourth and even back into the microphone. These sound artifacts can be detrimental to the sound and cause the vocal recording degrade in quality. A great way to help alleviate this from happening is to get yourself a portable vocal booth that will help isolate the singers voice from reflecting off neighboring walls and back into the microphone. These are inexpensive and can go a long way.


Mixing Video Series: How to use Compression with the CA2A in SONAR X3

Mixing with Compression is an essential part to shaping and creating a great sounding track. In this video series I take you through a track-by-track video that shows you how to use compression on various types of instruments in SONAR X3 with the CA-2A T-Type Leveling Amplifier. You can use compression to control levels, enhance dynamics, and much more. Subscribe to our YouTube Channel and check out this series today.


Try SONAR X3 Producer
Try the CA-2A T-Type Leveling Amplifier