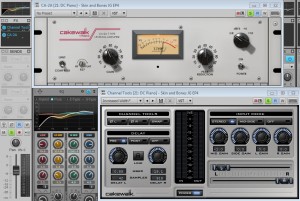
 I was recently hired to burn the ole midnight oil and produce, mix, co-write and play just about every instrument on an EP for an artist out of NYC. The record is pretty cool, definitely fun to make, and it falls somewhere between Fiona Apple and Taylor Swift. Considering the genre, I figured it was a great time to try out our new CA-2A T-Type Leveling Amplifier in the field and in a practical situation.
From testing the beta out briefly during development, I knew I was going to like the outcome of using the CA-2A, but what I didn’t expect was the versatility of the plugin. I ended up using it on a lot more than what I expected. From smoothing out vocals to arpeggiated guitars to piano tones, I really loved what I was getting from the CA-2A. I also had the benefit of A/B’ing it with another branded Leveling Amplifier that I use, and I found the Cakewalk CA-2A thicker sounding in general and also more versatile due to the R37 screw [knob.] Here are the reasons I found myself going to the CA-2A instead of my other comparable leveling amplifier.
 1.) R37 Adjuster on Vocals – This adjustable screw is interesting. The physical appearance of the screw does not give off the importance of its usefulness. Basically, this parameter allows you to adjust the compression on the high frequencies. Since my other Leveling Amplifier does not have this adjustment, I always started out by keeping the screw all the way to the left (0%) and then dialing it in until I found the sweet spot. The result was amazing especially on vocals. I was able to always get a warm yet transparent sound but without the harshness on most of the “ess” words. Since this project is with a female vocalist, I found it especially helpful. I was also able to work the QuadCurve EQ into the mix and combine it with the CA-2A nicely. By tweaking the hi-end frequencies on the EQ along with the R37 screw, I was able to get a more present vocals without any harshness.
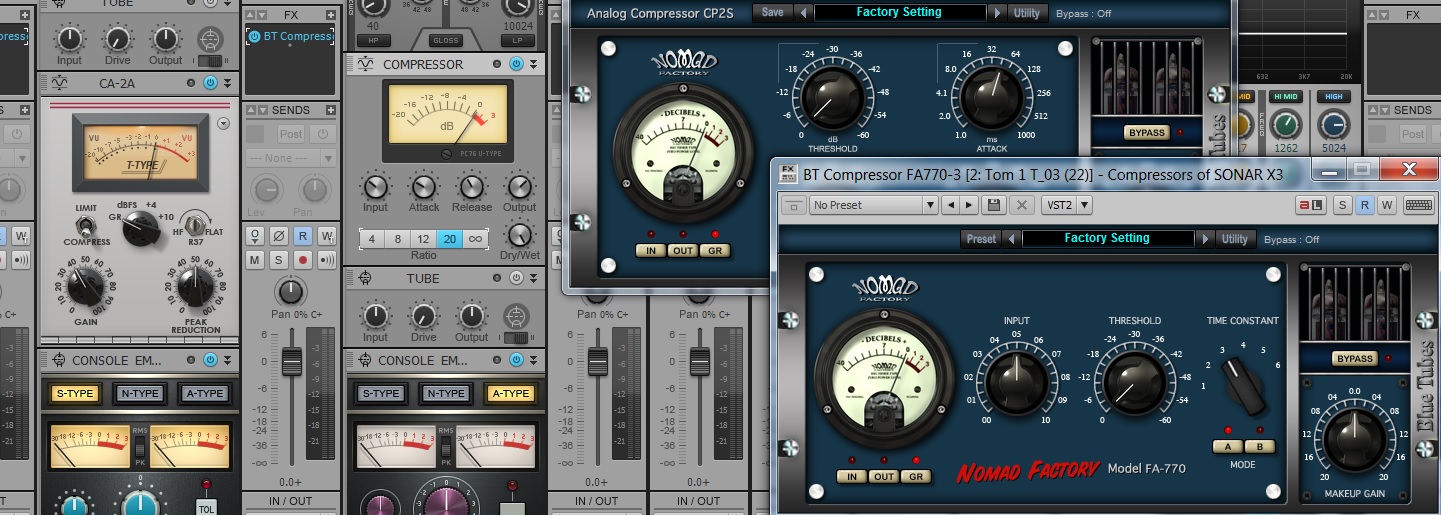
 2.) “Limit” Mode on Bass Guitar – I’m not sure if it will be like this for every song, but for this track the CA-2A on the bass guitar in “Limit” mode was a magic bullet. I always run the bass into its separate bus, so I ended up using the limiter on that stage. I played the bass guitar (as you can hear from the track on this post) with a pick for this song. The CA-2A in limiting mode on the bass bus really allowed me to fatten up the sound of the low end, but also kept the attack of the pick in focus. It leveled out the attack of the pick hitting the string but also kept it present. I had the EQ running on the bass track, and then the limiter on the bass hitting the peak reduction at about -3db. I kept the R37 at 0% as you can see from the image.
 3.) “Compress” Mode on Piano and Whirlie – fortunately for this track I had the benefit of having David Cook (keyboardist and MD for Taylor Swift) play on the track – the guy is a genius. I’m pretty much a hack at keyboards so my usual piano editing (to make myself sound decent enough) was not going to cut it. As you can hear from the attached track, there is a lot going on in the song, so I had to figure out a creative mixing strategy to make room and carve frequencies. To say that the CA-2A helped me achieve this on the track would be an understatement. Using the plugin in compress mode on the piano enabled me to really place it in the mix correctly. It also helped dial in the frequencies to get it out of the way of all the other things that were in the same frequency range. To get the piano to sit correctly, I hit the compressor pretty hard, used the R37 at 50%, and then notched up the highs of the QuadCurve EQ. I also used the Channel Tools plugin to give it some more width and depth and get it out of the way of the guitars. The more I use this, the more I understand the importance of the R37 screw. It’s almost an oxymoron, but by combining the R37 with the high-end frequencies on the QuadCurve EQ it seems like I am able to get a warm top end sound out of instruments.
On the rest of the track I also ended up using the CA-2A on some acoustic guitar tracks as well as one of the clean electric guitars. I’m psyched about the performance and versatility of this plugin – instantly you can hear the difference wherever you use it. I also think this is a plugin that would be a great benefit to folks who are just getting into mixing. The simplicity of the unit basically makes it fool proof for obtaining professional results without a lot of technical worries – basically just use your ear and turn the knobs;)
Try the CA-2A T-Type Leveling Amplifier for free
Thanks for reading and be sure listen to the mix posted below.
The song on this post uses the CA-2A on exactly the following tracks:
Lead Vocal track (Compress Mode)
Bass bus (Limit mode)
Piano track (Compress Mode)
Whirlie track (Compress Mode)
B3 track (very lightly) (Compress Mode)
Left acoustic guitar track (both mics) (Compress Mode)
Arpeggiated Electric Guitar track (Compress Mode)
1 of the backing vocal tracks (Compress Mode)
Tom drums bus (Limit mode)
Hi Hat (Compress Mode)
Mandolin track (Compress Mode) (doubled – CA-2A only on 1 of the tracks)







 I was recently hired to burn the ole midnight oil and produce, mix, co-write and play just about every instrument on an EP for an artist out of NYC. The record is pretty cool, definitely fun to make, and it falls somewhere between Fiona Apple and Taylor Swift. Considering the genre, I figured it was a great time to try out our new

