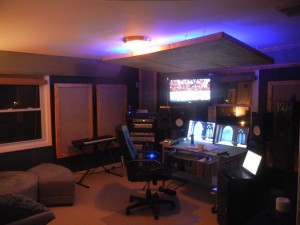
 A 3 Part Resource for D.I.Y. Acoustic Sound Treatment and Room Development
As a conclusion to my series on Building Cost Effective Acoustic Treatment, I wanted to put a link to all three articles in one place along with a “before and after” video. I also wanted to put this up on our forum in one place in case anyone has any questions about what I did with my studio. If you are planning on trying to save some money by building your own acoustic treatment panels these three articles are worth reviewing.
Part 1: Building a sound cloud over your mix position
The effort to build all this acoustic treatment was not minimal, but well worth it. Besides saving a lot of money I was able to customize the panels so that they fit the room well. Using the QuadCurve EQ which comes with SONAR X3Producer is where I can really tell the difference in my environment. The QuadCurve EQ is very advanced and allows the user to surgically tailor frequencies. Now that I have my room treated properly, I can really hear the difference between the EQ modes.
So the first step is to get going with a version of the SONAR X3 family, and then do your homework and figure out the best listening environment FOR YOU.

