Mixing Vocals: Easy Dynamic Vocal FX in SONAR

by Dan Gonzalez

A word on Vocal FX

Mixing vocals is a tricky process since it is the most prominent element in any song. Vocals can be processed a very specific way to achieve an effect of sorts – or they can be processed in subtle ways to fit nicely into an overall mix. Most of the time you’ll be dealing with the latter of the two so it’s important to figure out ways to enhance your vocals without overpowering the other instruments.

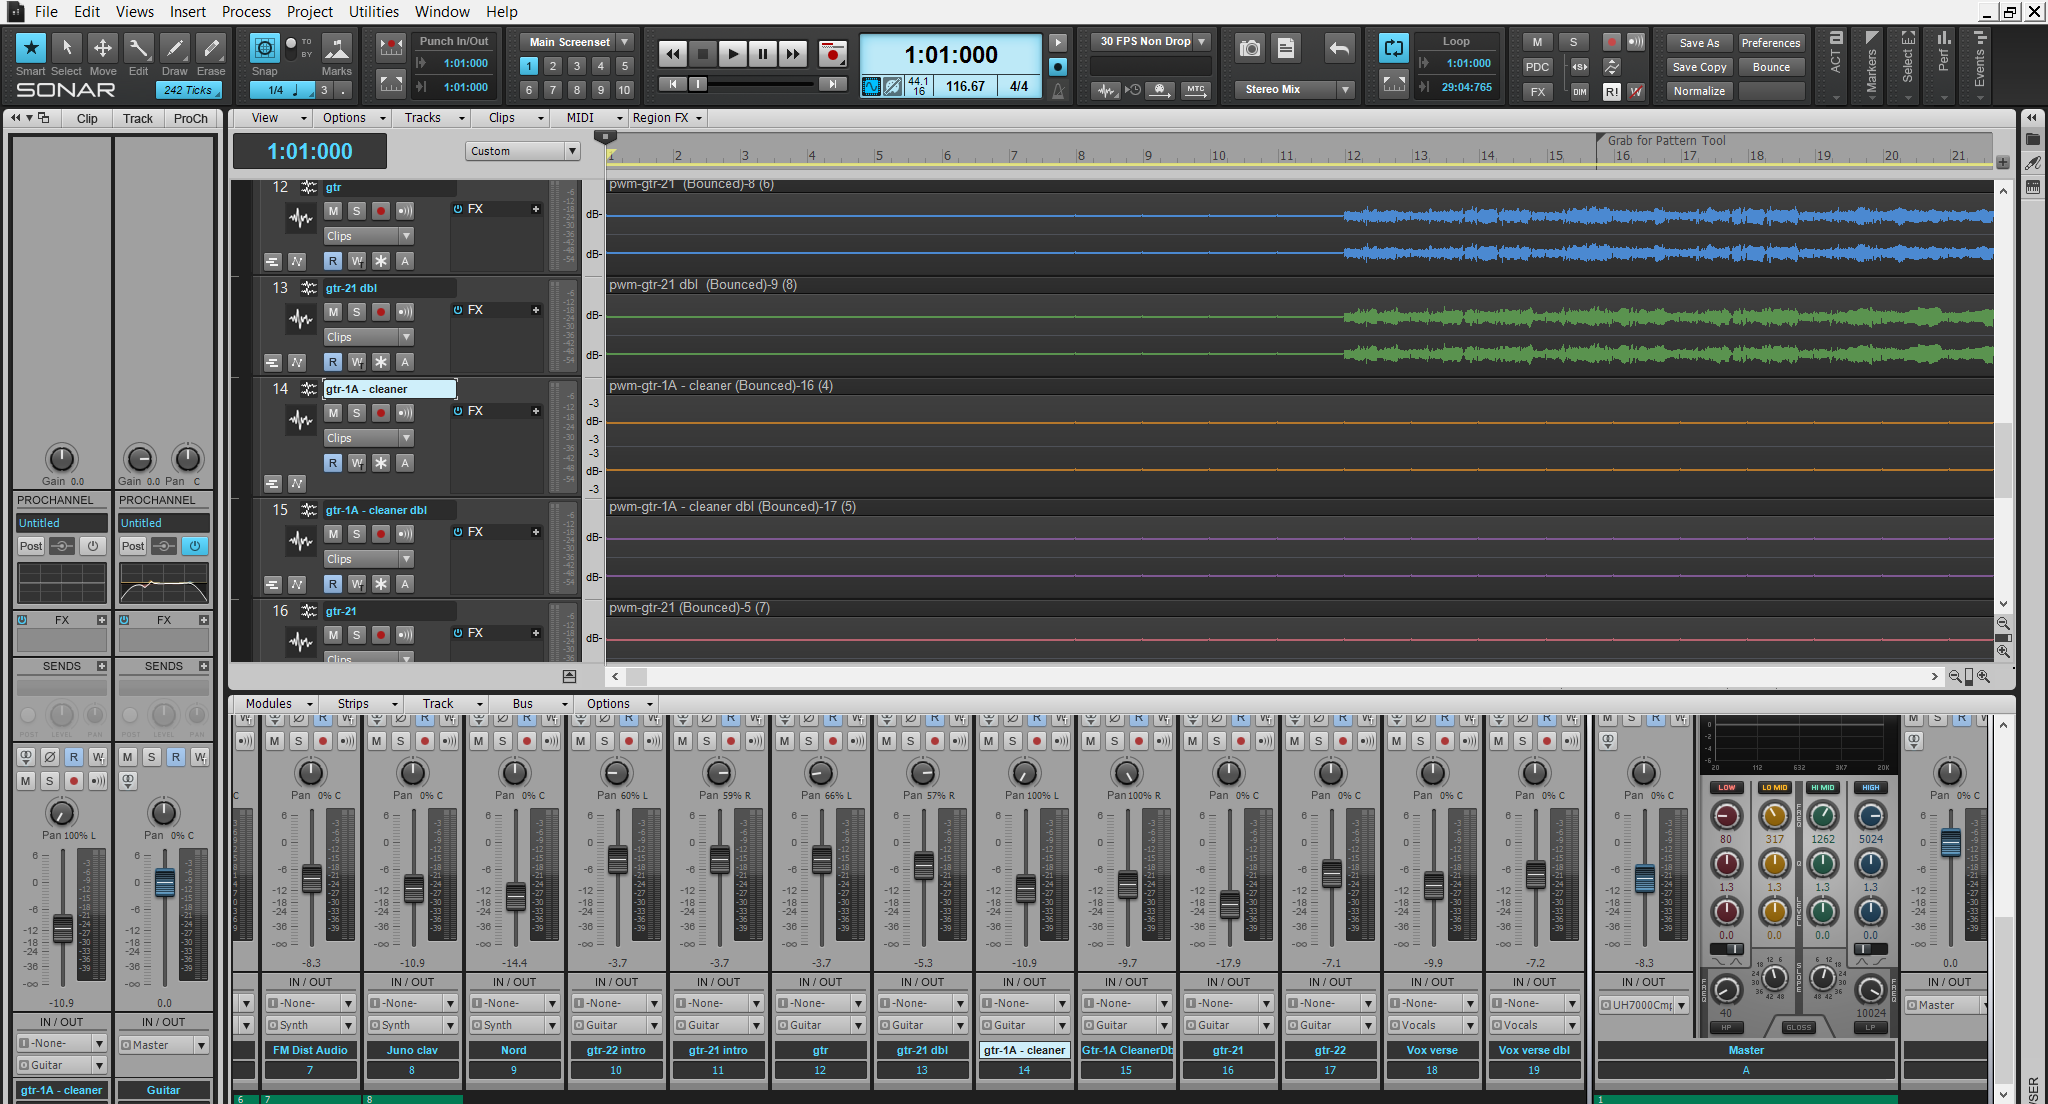
Critical attention to detail is what makes any track sound like a polished mix and to achieve this a lot of engineers approach each section, instrument, entrance, exit, etc. dynamically. Obviously one way to do this is by mixing with tons of automation, but there are other ways to setup your mix so that you don’t have to write loads of automation data.

Setting up a dynamic vocal effect

Let’s take a pretty dry vocal track and add a dynamic effect to it. Here’s an example of a verse that we can use.

Continue reading “Mixing Vocals: Easy Dynamic Vocal FX in SONAR”

Making The New York Impulse Pack for the SONAR "Braintree" Release

by Dan Gonzalez

Impulse responses (IRs) are small bursts of audio data that represent the frequency response of a real life space. By using convolution reverbs we can use them creatively in our productions to increase depth and ambience.


The concept

To accurately represent a real life space, you need to excite it with a frequency sweep or a loud sound rich in complex frequencies like a starter pistol or snare drum hit. For my IR samples in the New York Impulse Pack I used a sine sweep. The sine sweep is the easiest way to make sure you get an accurate representation of a space.

Once you capture that space, you must process it with a utility that shortens the
frequency sweep into a state that convolution reverbs can use. Typically this audio data is no more than a split second long.

I used this workflow to produce the Impulse Responses you’ll receive in our content for users that are a part of the Braintree Release for SONAR Platinum and SONAR Professional.

The equipment you’ll need, and what I used
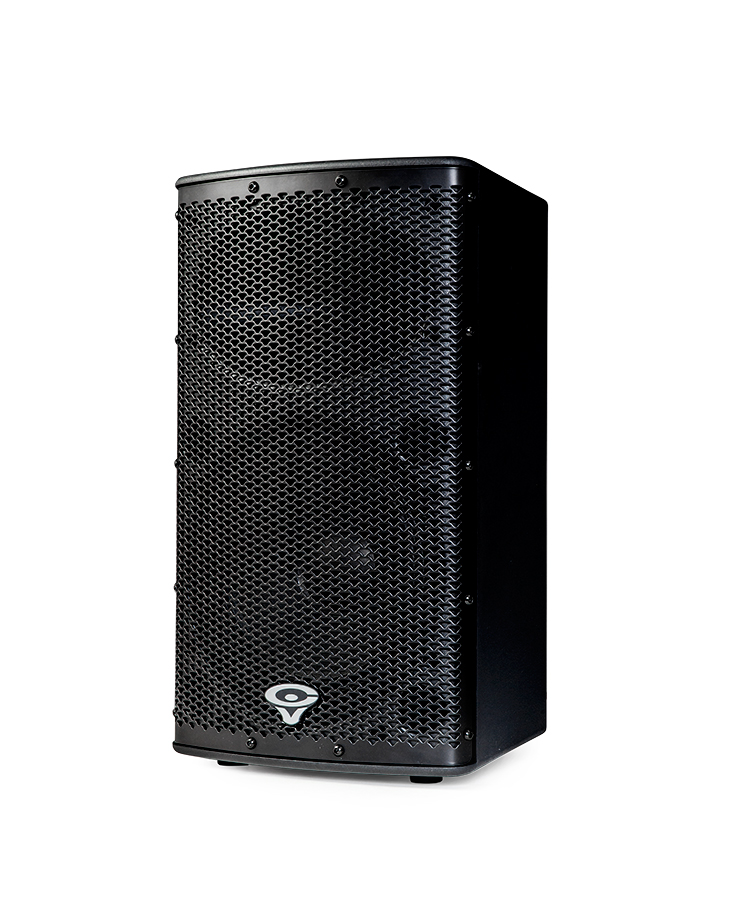
– Speaker, Studio Monitor, or Full Range Flat Response Speaker. I used a Cerwin Vega P1000.

The P1000X is a two-way, bi-amped, full-range bass-reflex speaker. It employs a 10-inch woofer and a high-frequency compression driver, powered by a custom Class-D amplifier. With a power rating of 1000 watts, the P1000X is one of the most powerful PA product in its class. A proprietary hemi-conical horn provides premium sound clarity over an even and wide coverage area. A built-in mixer with convenient I/O connections allows for simple and fast setup, while Enhanced EQ, VEGA BASS boost and High-Pass Filters enable exact tuning and exceptional performance for any application. The P1000X is a versatile product that can be used as a single speaker for small venues, set in pairs or installed with threaded hang points, and combined with the P1800SX Sub for a larger venue needing more coverage and SPL. Its compact size makes it ideal to operate as a floor monitor as well.”

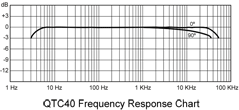
– Pair of microphones, the flatter response the better. I had the benefit of borrowing a pair of Earthworks QTC40s.

– The ability to create a sine sweep. I used this free utility and then bought the license for $40.

– An audio interface to simultaneously play the sine sweep and capture sound of the excited space. My RME UFX worked out wonderfully because it has very clean preamps and multiple inputs and outputs.

– Of course, SONAR Platinum

The Microphones

The Microphones I used are pretty high-end reference microphones that have a frequency range from 20Hz-40kHz. These are great because they represent the sound of the room without any color. Since we’re in the business of capturing the sound of room – they make a perfect companion for this type of project.

Setting up the spaces

I setup the microphones in a few initial spots to get an idea of how the space sounded. On my first try it was clear that the space was going to sound good no matter where I placed the microphones and the source speaker. Both spaces are not highly reverberant, they just have quality sounding early reflections – which makes them great for getting initial sounds of drums and vocals.

The goal was to capture the room in various positions. I setup the microphones in close stereo pairs, distant stereo pairs, and subsequently moved the source speaker around them to bounce the sine sweep off different walls. During the processing stage, I then split these stereo IRs out into mono signals so that users could have a choice between stereo or mono processing. For example, here’s a rough diagram of how I setup the microphones in the center with various speaker locations for one set of IRs.


The IRs themselves

To excite the space I created a sine sweep with Voxengo Deconvolver.

BE CAREFUL WHEN PLAYING THESE, THEY ARE LOUD

Once the signal played through the room it sounds like this:

Large Room IR Example

Not very exciting on first listen, but when you process the tracks and apply some instruments you start to understand their sound. Here is a drum passage without the impulse response:

Now, here’s the same drum passage with the ambience of one of the “Big Room” IRs that I captured. You can hear how it doesn’t necessarily add reverb, but more an ambience.

Lastly, here’s just the ambience:

Small Room IR Example

Here’s a synth passage without any IRs applied:

Here’s the same patch with one of the SmallRoom IRs applied:

The New SONAR: Better Design in all 3 versions

by Dan Gonzalez

Commitment to Design

As SONAR fanatics, we tend to constantly improve and optimize our interface to make it more fluid and user-friendly. In the new SONAR, our sends and fx stacking have taken on a new look to better suit the needs of the modern day mixing engineer. This new look adopts our dynamic window management philosophy.

Our sends act dynamically with your mix

Upon first opening your shiny new SONAR Platinum, Professional, or Artist’s console view, you’ll notice that our Sends section has a different look. In addition to making the Sends look and feel like they belong to our interface, we’ve added the ability to set your sends to 1, 2, 4, 8, and unlimited live sends. As you add up the sends to the console view the window expands to meet the needs of your mixing architecture.

As you remove them, the sends section reduces in size. This dynamic feature makes the overall feel of your console view a bit more larger than life and is definitely handy in those larger mixing sessions.

Our FX Stacking has smartened up

Loading FX into SONAR has become a much smarter process and has continued the recurring theme of dynamic window management. Drag and drop your FX into the new FX Stacks and you’ll see how they expand and compress depending on the number of effects you have loaded into your mix.

Recycling Plugins windows are clean and clear

SONAR Platinum, Professional, and Artist have now optimized the way we handle VST plugin windows. Now in the user interface they will cycle through clicked VST plugins so that the interface isn’t cluttered with unused windows.


Continue reading “The New SONAR: Better Design in all 3 versions”

The New SONAR: New Tricks for Drag and Drop

by Dan Gonzalez

There are a lot new things going on inside of the new SONAR Platinum, Professional, and Artist especially in some of the parts of the interface that aren’t so obvious. Did you know that we made some enhancements to our Media Browser and Drag and Drop mechanism? Well, it’s pretty useful stuff – especially for our die-hard users that know and love these workflows.

Export region selections using drag and drop

Within SONAR, you can now select a portion of an audio clip in the track view and drag it to another location on your computer. This nifty trick is great for extracting parts of audio without editing it and exporting.

Drag and drop now renders certain fx

Next up, if you drag audio clips to a destination outside of SONAR, any Clip FX or Clip Gain envelopes will be applied to the clip. Previously we wouldn’t bake any of this into the audio – but now it’s a pretty seamless.

Drag and drop to media browser inherits interleave setting

Drag and drop to the Media Browser now properly exports the expected interleave (mono or stereo) instead of always exporting to a stereo file or multiple mono. Multiple mono files work, but they can be annoying if you want to stick to the way your tracks were meant to be heard. You can see in the snippet below that my stereo audio file is twice the size of it’s mono counterpart. These were exported to the Media Browser using drag and drop.


Media Browser now supports Broadcast Wave Format via Drag and Drop

Drag and drop to the Media Browser now supports Broadcast Wave format so if you’re transferring files from one project to another – they’ll stay true to your timestamp on the timeline.

Copy or Replace Files Using Drag and Drop

Audio and MIDI files can be copied or replaced in the Media Browser via drag and drop using the CTRL modifier. If you drag and drop an auio file to the Browser, SONAR will rename it. But if you hold CTRL while you do this, the file will force the Clip Name that it has inside of SONAR. You can see here how the Clip Name stays as (19) when holding down CTRL.

In addition, if you need to replace the same file in your browser with an update version all you do is hold CTRL while dragging to the Browser.

Wrap Up

Grab your new version of SONAR Platinum, Professional, and Artist and start checking out these new tweaks today. Stay tuned for more about the latest additions to our Skylight Interface and upcoming new features on SONAR’s What’s New page.

SONAR 2015: "Under the Hood" Enhancements and Fixes

What a Year…!

It’s been quite a year for all of us at Cakewalk. Not only did we build our most stable initial release of SONAR ever and fold in multiple features and workflow updates, but we also built the infrastructure for our new Membership program from the ground up. This framework lets us break out of the monolithic “waterfall” model of annual updates and do smaller but more frequent updates. This is very exciting for developers, because we can be more responsive and update our software without the previous release management overhead. Our users have wanted more frequent updates as well, so this is a major achievement for us.

The SONAR community has already noticed the tangible improvements in the performance and stability of our latest SONAR release. In this article I’ll cover some of the “under the hood” work that went into building the new SONAR. If you’re not familiar with the latest additions, you can get started by reading about all the new features here.

I’d also like to mention that this would not have been possible without your support. All of us at Cakewalk feel very fortunate to have such an active, engaged user base that inspires us to create continued improvements and enhancements. We are very excited about what’s planned for the year ahead, but meanwhile, here’s what we’ve been up to in the past year.


Cakewalk Command Center (C3)

Cakewalk Command Center implements and manages a “connected installer” workflow. It communicates with cakewalk.com to access a customers profile so it can identify and install owned products, as well as serve as a convenient launcher and update manager.  Presently, the C3 interface only lists newer “connected products” since those are the only ones it knows how to install and manage.

Although it’s not necessary to use C3 to download, install, and authorize products, it’s by far the simplest way to manage and install newer SONAR versions and updates. Although you can install and authorize products with a manual download and authorization process, we highly recommend installing C3 (it has a very small footprint), even if your computer doesn’t have a permanent internet connection.

The new download/install/authorization mechanism can handle a wide variety of user requirements, even for those who run their DAWs offline.

One-click install

The SONAR installers have been redesigned to be modular and small. One of our design goals was to have a new user go from download to running SONAR in under 5 minutes. As a result, with a moderately fast internet connection you can be up and running with SONAR Platinum literally with the click of the Install button. Gone are the days of waiting for long downloads and attended updates. Another nice touch is you don’t need to enter a serial number and authorization code manually. This is all automated by C3 when you install and run SONAR.

Rollback mechanism

Under the new membership model, features are available to members as soon as they’ve gone through final testing. C3 provides a convenient way to access new features, but also allows rolling back to prior versions Continue reading “SONAR 2015: "Under the Hood" Enhancements and Fixes”

Addictive Drums 2 Sounds Like a Real Drummer, But How?

by Dan Gonzalez

Every once in a while there are some plugins that come along and completely change the way we do things. Sometimes it’s a different look on processing, or maybe a utility that increases workflow ten-fold. Drum plugins have become all the rage recently, and Addictive Drums 2 is at the forefront of this revolution. There are a few reasons why Addictive Drums 2 (now available in SONAR Professional and SONAR Platinum) sounds like a real drummer, so let’s check those out.

Extensive and sophisticated velocity scaling

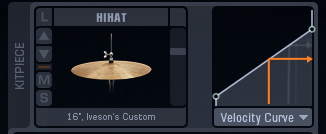
Within Addictive Drums 2 there is a powerful Map Window that exposes some of the more sophisticated elements of the XLN’s engine. Here you can choose to do various things to customize the way you interact with Addictive Drums 2. But within this window there is a dedicated velocity curve stage for every single sample that XLN audio supplies.

Select one of your kitpieces from the neighboring section and you can use this menu to choose how you want to control the way Addictive Drums 2 individually treats every drum or cymbal hit’s velocity. You can even grab one of the existing velocity presets and adjust it to your liking.

Customized and pre-designed velocity curves

When you strike a note on your MIDI controller or play a MIDI Continue reading “Addictive Drums 2 Sounds Like a Real Drummer, But How?”

Drum Maps for Addictive Drums 2 in SONAR

by Joey Adams

Drum Maps are a powerful tool for taking all the guesswork out of editing your MIDI drum tracks. By using Drum Maps, you are able to see exactly which MIDI Notes trigger which sounds in your VST drum kit.

The purpose of this particular Drum Map is to allow you to see the relationship between MIDI notes and drum kit pieces of Addictive Drums 2, a VST Instrument included with your SONAR Professional and SONAR Platinum software.

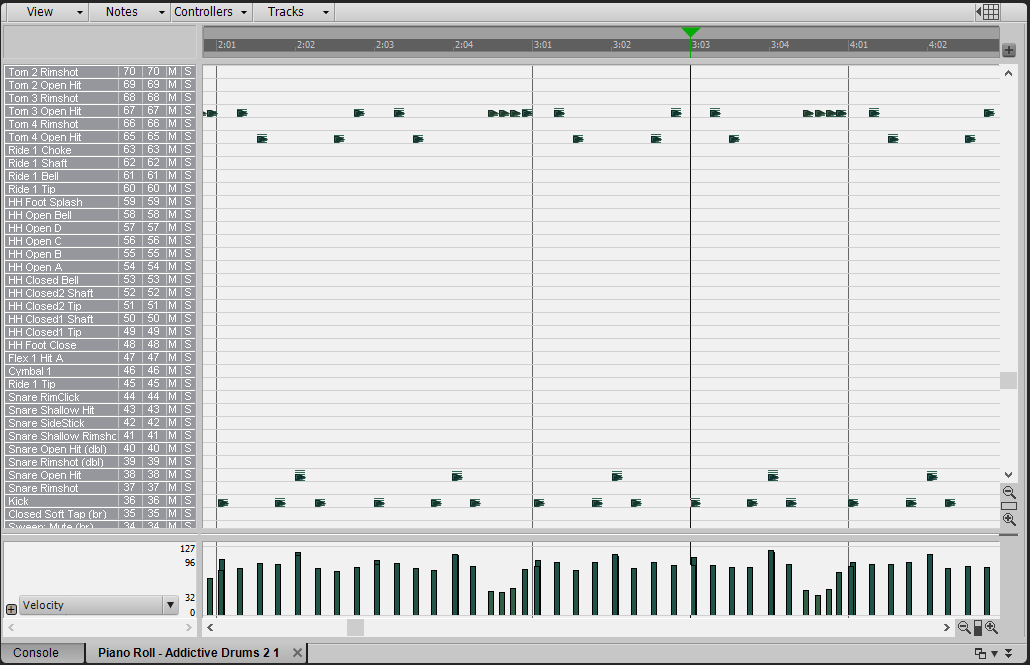
Here is what editing MIDI in Piano Roll view looks like without a Drum Map:

Here is the same exact MIDI data viewed with a Drum Map. Now you can see exactly which pieces of the drum kit are in use:


Step  1 – Download the files you’ll need

To get started you will want to download the Continue reading “Drum Maps for Addictive Drums 2 in SONAR”

What's the deal with Addictive Drums 2 in the New SONAR?

by Dan Gonzalez

Addictive Drums 2 come to life in the brand new version of SONAR Platinum and SONAR Professional making for a massive introduction into the world of XLN Audio and all the awesome products that they develop.


As a SONAR X3 user, your standpoint may be “What’s the deal with Addictive Drums 2 and my upgrade?” Let’s see if we can clear that up in this article.

What comes with my purchase of SONAR Platinum?

SONAR comes in 3 flavors, and 2 of them come with Addictive Drums 2.

With SONAR Platinum you get the Addictive Drums 2 Producer Bundle. This comes with your choice of any 3 kits that are available for Addictive Drums 2.

You also get your pick of 3 MIDIpaks and 3 Kitpiece Paks from XLN Audio’s webshop. Just about every single genre of music is covered in the wide Continue reading “What's the deal with Addictive Drums 2 in the New SONAR?”

Mixing Pop with SONAR Platinum – Synths, Bussing, and Ducking

by Dan Gonzalez

SONAR Platinum is the newest, greatest, and most advanced version yet. It contains all the tools and accessories that anyone would need in order to produce, mix, master, and compose their own music. In this mixing tutorial I’ll be using SONAR Platinum exclusively to show you the various ways I went about mixing this track.

You can download this project here and following along.

Synths

There are a total of 6 synth tracks in this song. All of them are quite trance-y and bring a unique dance flavor to this song. Let’s take a look at a few of the things I did to the more prominent synth tracks. For the most part this song reminds me of bands like The Killers. Maybe it’s the voice of the singer and the style of drumming but it has that kind of feel to it.

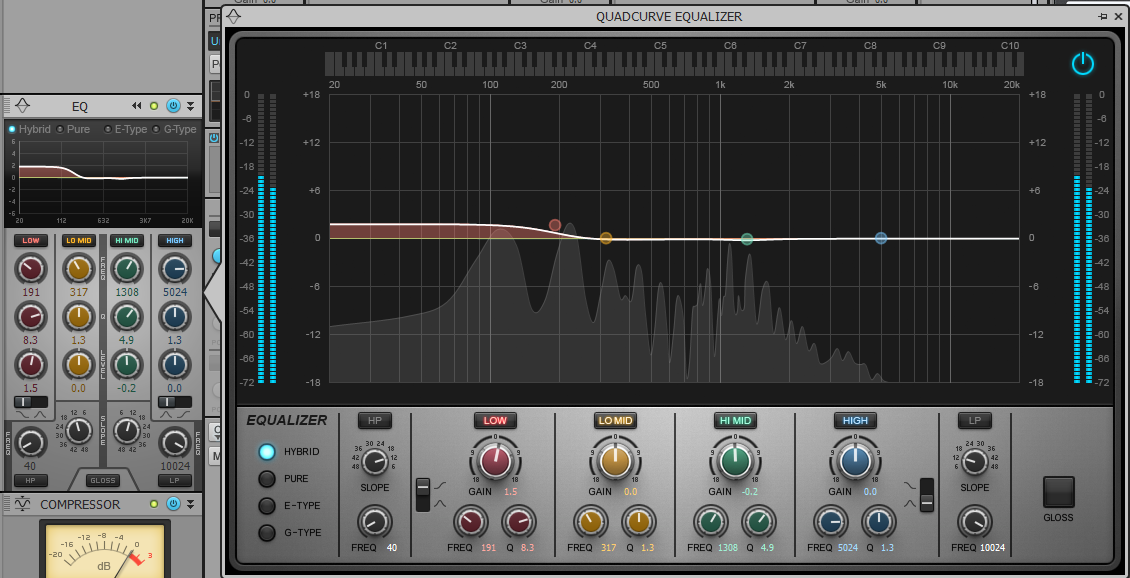
The first synth track that you hear running in the background behind the marching tom hits is a pretty dry track to start with. It’s already processed to some degree but in my opinion needs a little bit of low end and an equal amount of space in the mix. Taking this into consideration I add a low shelf on the Quad-Curve EQ at about 191Hz. This thickens it up a bit so that the song has a strong entrance with the pounding toms.


Next, I sent this synth to Continue reading “Mixing Pop with SONAR Platinum – Synths, Bussing, and Ducking”

ProChannel Convolution Reverb with REmatrix Solo

by Dan Gonzalez

Convolution Reverb, now in the ProChannel

New to SONAR Professional and SONAR Platinum is the increasingly popular and imaginative REmatrix Solo. REmatrix Solo uses convolution to mimic real life halls, rooms, plates, and other reverberant spaces. In order to do this, engineers use something called a sine sweep or starter pistols to excite a real space like a church or bathroom. Typically you need to use a space that has a particularly natural short or long decay and does not have artifacts like flutter verbs or cancelling frequencies. You can even capture the sound of other reverb plugins and import that sound into REmatrix Solo.

This version is based off of a the full REmatrix plugin by Overloud. Currently, REmatrix Solo allows users to play a single IR but in the full version, you can play up to 5 IRs at once – allowing you to cross-pollinate your favorite reverbs into one lush space.

What’s the difference between Breverb and REmatrix Solo

Breverb and REmatrix Solo actually use different technology to create reverb. Breverb is based on a famous digital reverb found in almost every major recording studio. Breverb uses a dedicated or similar algorithm to recreate things like Early Reflections, Late Reflections, Pre-Delay, Decay, and other elements of a reverb. Breverb recreates a digital reverb whereas REmatrix uses the aforementioned convolution methods to convolve passing sounds with data from real life spaces. Breverb lets you tweak the elements of reverb and REmatrix creates a space around your sound.

Here’s a in depth look at the REmatrix Solo plugin brand new to SONAR Professional and SONAR Platinum.