Mixing Vocals: Create Depth with a Digital Reverb

by Dan Gonzalez

Depth is a factor of every mix, just like Height and Width. This is a harder concept to grasp because there really is no “Depth” adjust on a mixer. In this article we’ll talk about how to create depth using the Sonitus Reverb.

Creating Depth using the Sonitus Reverb

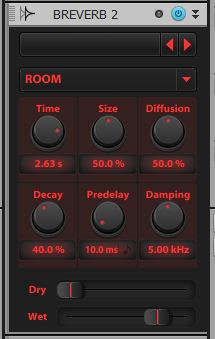
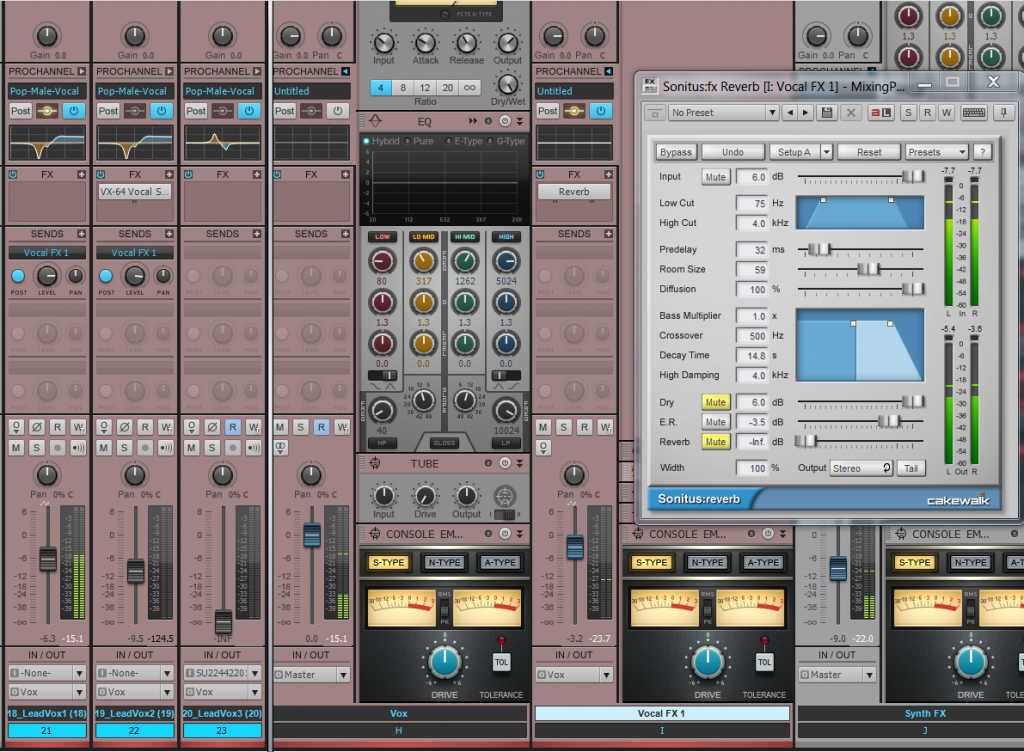
Digital reverbs are the proverbial swiss-army-knives of the mixing world. They are programmed in a way that emulates every part of a reverb. This includes the pre-delay, decay time, width, diffusion, early reflections etc. Since these emulate spaces like halls, plates, rooms, and other reverberant places – we can use them to create a room sound around our audio tracks for the purpose of creating depth. That’s a fancy way of saying that we can use reverb for depth. Here’s a vocal track that has no effects on it at all. It’s mixed into this track completely dry.

Continue reading “Mixing Vocals: Create Depth with a Digital Reverb”

Mixing Vocals: Easy Dynamic Vocal FX in SONAR

by Dan Gonzalez

A word on Vocal FX

Mixing vocals is a tricky process since it is the most prominent element in any song. Vocals can be processed a very specific way to achieve an effect of sorts – or they can be processed in subtle ways to fit nicely into an overall mix. Most of the time you’ll be dealing with the latter of the two so it’s important to figure out ways to enhance your vocals without overpowering the other instruments.

Critical attention to detail is what makes any track sound like a polished mix and to achieve this a lot of engineers approach each section, instrument, entrance, exit, etc. dynamically. Obviously one way to do this is by mixing with tons of automation, but there are other ways to setup your mix so that you don’t have to write loads of automation data.

Setting up a dynamic vocal effect

Let’s take a pretty dry vocal track and add a dynamic effect to it. Here’s an example of a verse that we can use.

Continue reading “Mixing Vocals: Easy Dynamic Vocal FX in SONAR”

The New SONAR: Better Design in all 3 versions

by Dan Gonzalez

Commitment to Design

As SONAR fanatics, we tend to constantly improve and optimize our interface to make it more fluid and user-friendly. In the new SONAR, our sends and fx stacking have taken on a new look to better suit the needs of the modern day mixing engineer. This new look adopts our dynamic window management philosophy.

Our sends act dynamically with your mix

Upon first opening your shiny new SONAR Platinum, Professional, or Artist’s console view, you’ll notice that our Sends section has a different look. In addition to making the Sends look and feel like they belong to our interface, we’ve added the ability to set your sends to 1, 2, 4, 8, and unlimited live sends. As you add up the sends to the console view the window expands to meet the needs of your mixing architecture.

As you remove them, the sends section reduces in size. This dynamic feature makes the overall feel of your console view a bit more larger than life and is definitely handy in those larger mixing sessions.

Our FX Stacking has smartened up

Loading FX into SONAR has become a much smarter process and has continued the recurring theme of dynamic window management. Drag and drop your FX into the new FX Stacks and you’ll see how they expand and compress depending on the number of effects you have loaded into your mix.

Recycling Plugins windows are clean and clear

SONAR Platinum, Professional, and Artist have now optimized the way we handle VST plugin windows. Now in the user interface they will cycle through clicked VST plugins so that the interface isn’t cluttered with unused windows.


Continue reading “The New SONAR: Better Design in all 3 versions”

Mixing Pop with SONAR Platinum – Synths, Bussing, and Ducking

by Dan Gonzalez

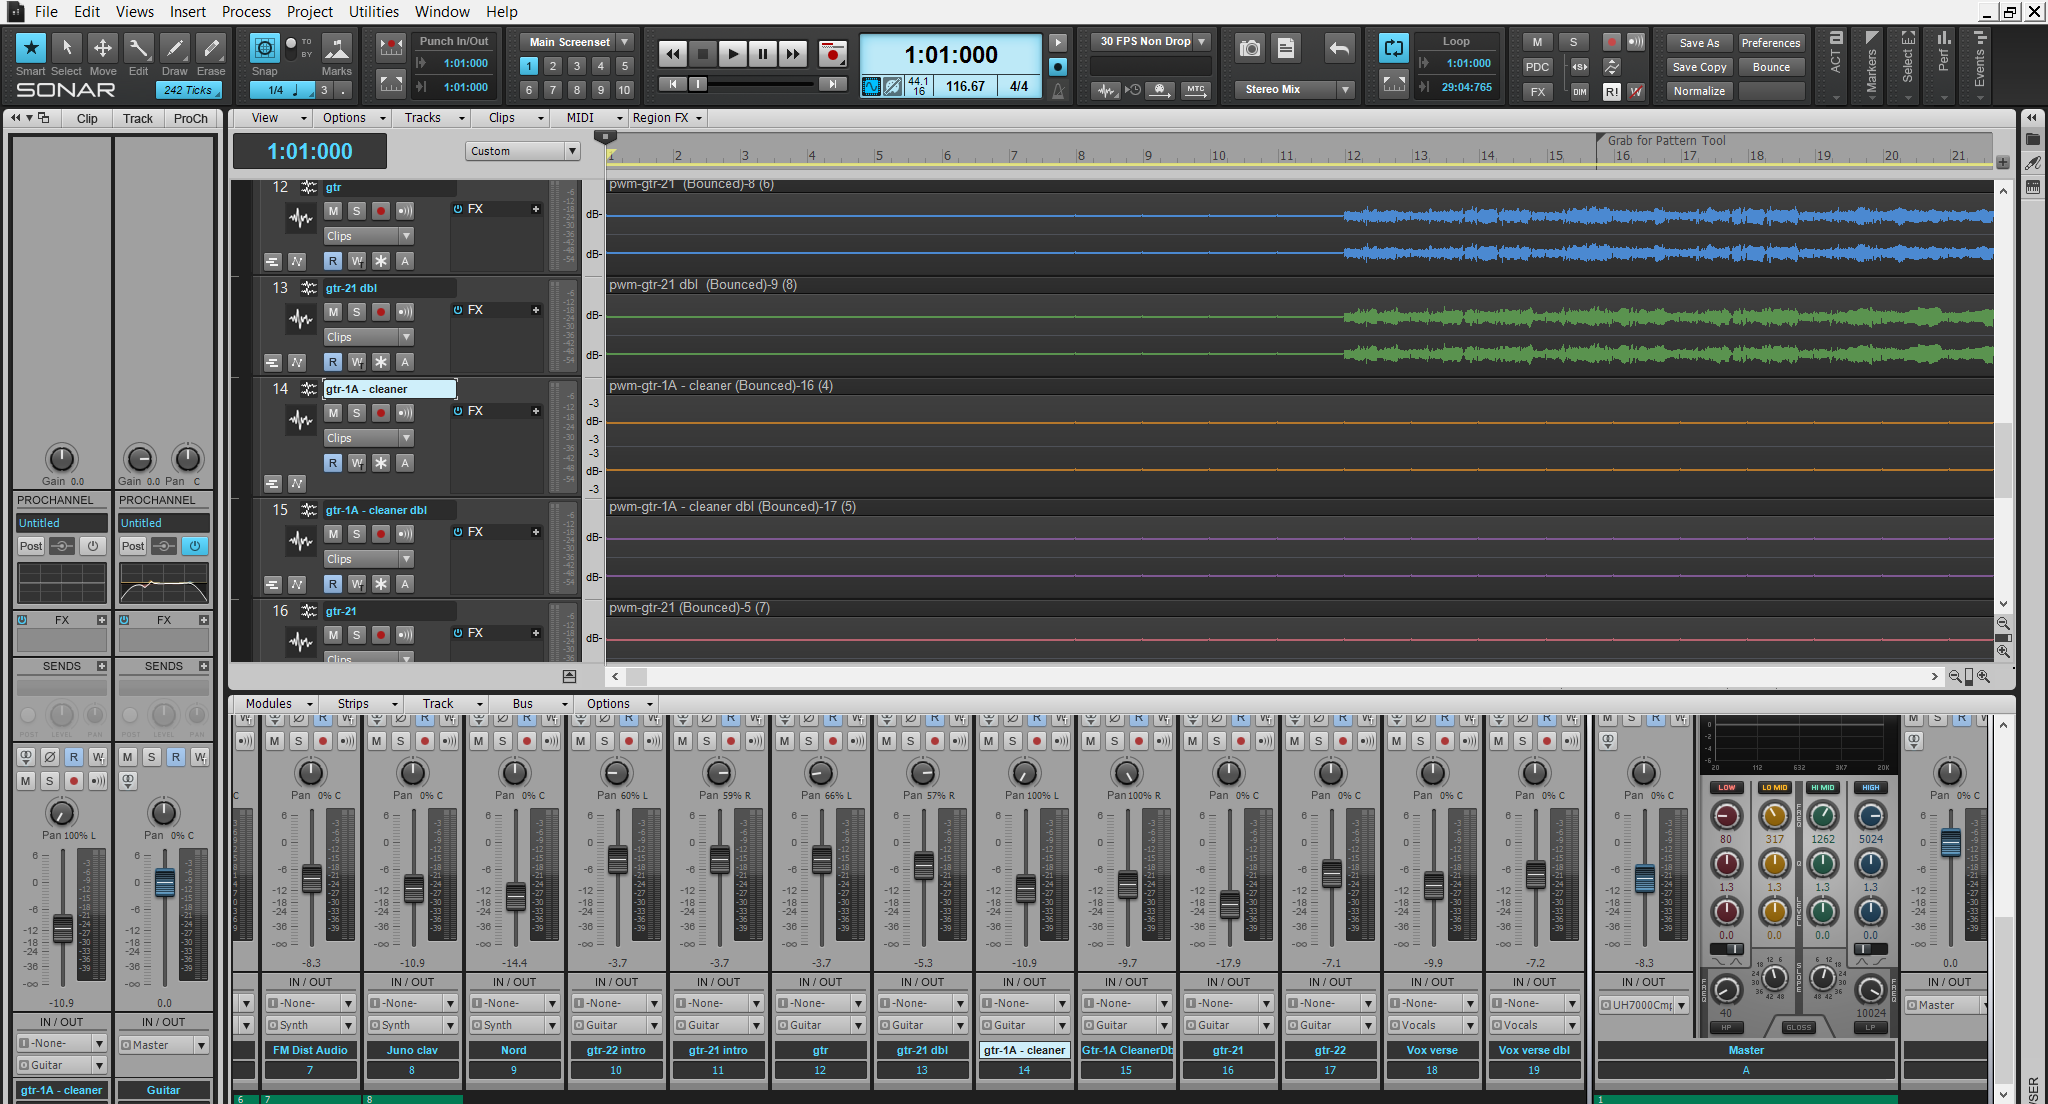
SONAR Platinum is the newest, greatest, and most advanced version yet. It contains all the tools and accessories that anyone would need in order to produce, mix, master, and compose their own music. In this mixing tutorial I’ll be using SONAR Platinum exclusively to show you the various ways I went about mixing this track.

You can download this project here and following along.

Synths

There are a total of 6 synth tracks in this song. All of them are quite trance-y and bring a unique dance flavor to this song. Let’s take a look at a few of the things I did to the more prominent synth tracks. For the most part this song reminds me of bands like The Killers. Maybe it’s the voice of the singer and the style of drumming but it has that kind of feel to it.

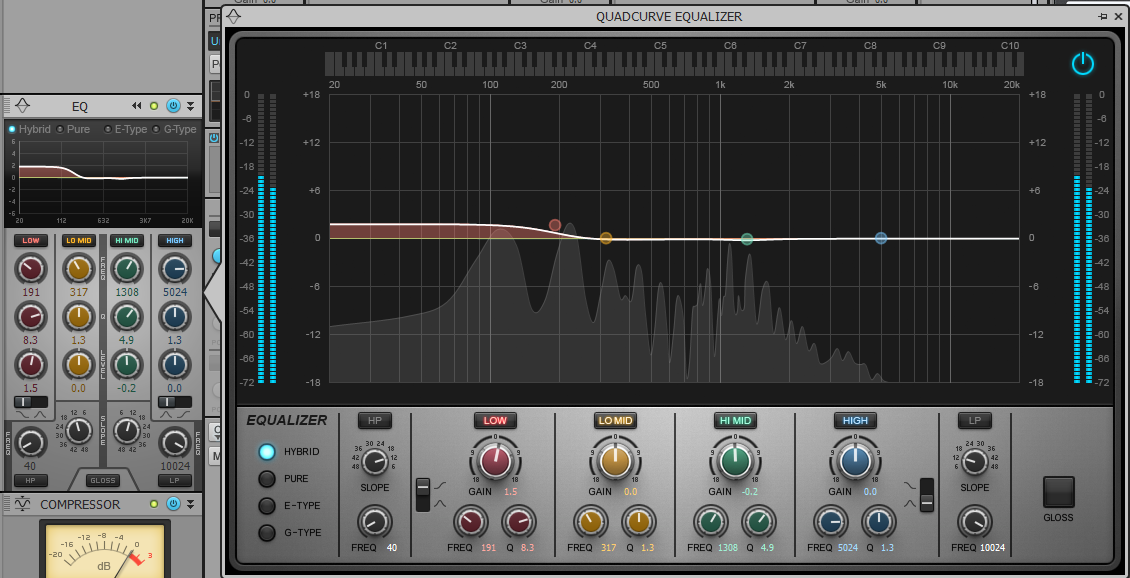
The first synth track that you hear running in the background behind the marching tom hits is a pretty dry track to start with. It’s already processed to some degree but in my opinion needs a little bit of low end and an equal amount of space in the mix. Taking this into consideration I add a low shelf on the Quad-Curve EQ at about 191Hz. This thickens it up a bit so that the song has a strong entrance with the pounding toms.


Next, I sent this synth to Continue reading “Mixing Pop with SONAR Platinum – Synths, Bussing, and Ducking”

ProChannel Convolution Reverb with REmatrix Solo

by Dan Gonzalez

Convolution Reverb, now in the ProChannel

New to SONAR Professional and SONAR Platinum is the increasingly popular and imaginative REmatrix Solo. REmatrix Solo uses convolution to mimic real life halls, rooms, plates, and other reverberant spaces. In order to do this, engineers use something called a sine sweep or starter pistols to excite a real space like a church or bathroom. Typically you need to use a space that has a particularly natural short or long decay and does not have artifacts like flutter verbs or cancelling frequencies. You can even capture the sound of other reverb plugins and import that sound into REmatrix Solo.

This version is based off of a the full REmatrix plugin by Overloud. Currently, REmatrix Solo allows users to play a single IR but in the full version, you can play up to 5 IRs at once – allowing you to cross-pollinate your favorite reverbs into one lush space.

What’s the difference between Breverb and REmatrix Solo

Breverb and REmatrix Solo actually use different technology to create reverb. Breverb is based on a famous digital reverb found in almost every major recording studio. Breverb uses a dedicated or similar algorithm to recreate things like Early Reflections, Late Reflections, Pre-Delay, Decay, and other elements of a reverb. Breverb recreates a digital reverb whereas REmatrix uses the aforementioned convolution methods to convolve passing sounds with data from real life spaces. Breverb lets you tweak the elements of reverb and REmatrix creates a space around your sound.

Here’s a in depth look at the REmatrix Solo plugin brand new to SONAR Professional and SONAR Platinum.


Choosing the right compressor in SONAR X3 (Producer & Studio)

What is Compression?

Compression is a massively useful tool for pro audio applications. As a simultaneous corrective and creative utility suitable for both tonal shaping and controlling levels,  a compressor is one of the most important pieces of gear in your sonic toolbox.

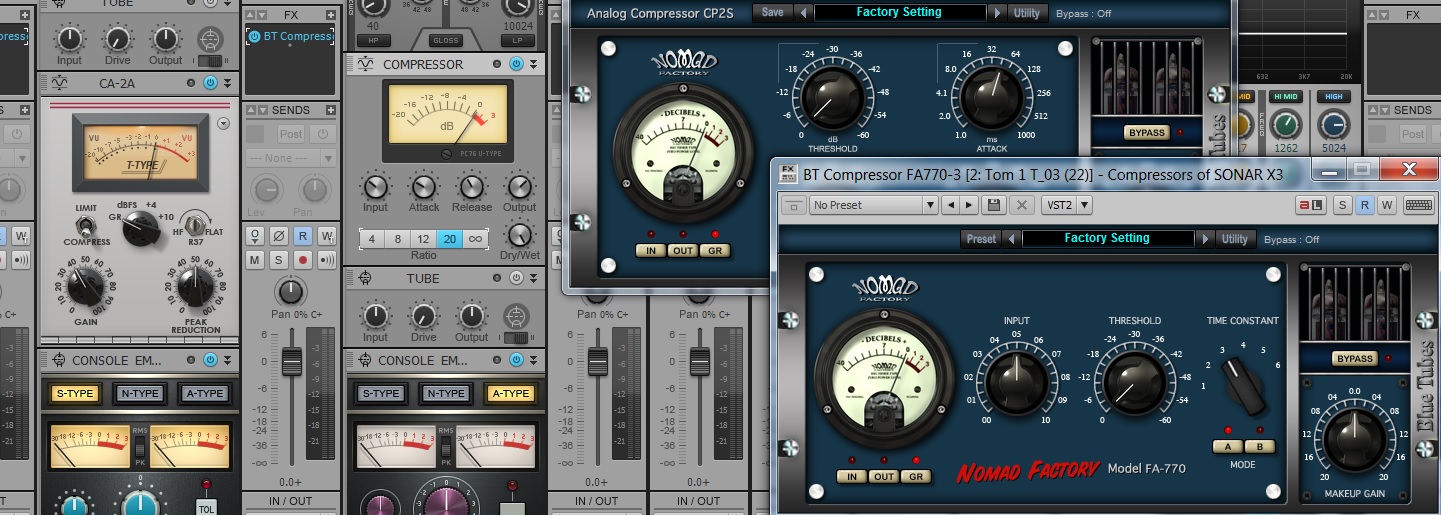
Instead of explaining the history and value of knowing all the different types of compressors that exist, we’re just going to dive in and show you how to get results. Once you understand this you’ll be able to grasp the larger picture of compression and the many different circuits and types. SONAR X3 Studio & Producer come packed with quite a few different types of compressors, so let’s open them up and take a look.

PC76 U-Type

Modeled after one of the most classic leveling amplifiers in history, the PC76 U-Type is a go-to compressor for Continue reading “Choosing the right compressor in SONAR X3 (Producer & Studio)”

HOW UPGRADING TO SONAR X3 GAVE THESE PRO ARTISTS AN EDGE

Luigie Gonzalez
Location: Los Angeles, CA
Grammy nominated Producer, Songwriter, Mixer, Multi-Instrumentalist

“When I walk into sessions with my SONAR machine, I hear ‘what is THAT’ a lot from other producers and artists.  And then like clockwork, I hear a lot of ‘whoah’ and ‘wow’ when they see what I can do beyond their limitations.  I’ll never forget Jimmy Jam being blown away once in a studio when I started getting my sounds going in SONAR – that was a pretty cool feeling because he could see and hear what made my **** sound different from other producers on the scene at that time.”  

Since upgrading to SONAR X3, my favorite new feature is the Nomad plugin suite.

The Nomad Bundle that comes with X3  has been a go-to for me when boosting mid and high frequencies.   The mids are awesome and super-musical!  I also usually use them for HiHats to boost 8KHz – 16KHz without sounding to square-digital or harsh.   It just has a nice sizzling tone that sounds so different than any other plugin in my arsenal of VSTs.  When I mix I am very observant of the “stereo image,” and Nomad’s “Imager” is the trick to help make room for things.  Also, I use the Tempo Delay often because of its warmth and versatility.   I also, love the Tempo Delay’s parameter controllers – having 3 independent delay configurations is great to achieve the perfect delay tone in my mixes.  I can really get unique sounds with the delays and shape them to my heart’s content.

On the other hand, I cannot live without the Console Emulator (I believe this was new to X2 but it just never gets old)…  It just opens my mixes in such organic ways that have I become addicted to it!  I use the trident (A-type) mode for kicks, bass and everything with low end character because it adds great sub harmonics.  The SSL (S-Type) I use for snares, kicks and everything in between to achieve that pocket /punchy sound which warms up the top end frequencies without dulling the sound.  The Neve (A-Type) for Vocals, synths, guitars and everything that needs to sound frontal or cut through mix.  It helps my “center” in the mixes along with some nice mid-frequency response.

I always add a bit of drive (Console Emulator) to my buses to emulate the console circuitry saturation because it works without distorting anything too much – just enough to add more random harmonics and make the whole mix sound even more organic and full.  I think the Console Emulator is one of the best features to SONAR in a long time, and I’m very happy Cakewalk implemented it as part of the ProChannel.

Track coloring is also something I was waiting for some time.   It helps me keep organized especially when mixing 100 plus tracks sessions which is usually the case for me.  It’s so smart that the track colors respond to the bus colors, this way I stay even more organized by visually understanding my large mixes.

I really dig the QuadCurve ProChannel EQ as well.   It’s super-transparent and colorless on certain modes which plays an important part when carving very precise frequencies.   It’s kind of like the FabFilter but the fact that it’s part of the ProChannel makes it easier and faster to use.  It’s also dead-precise while still sounding amazingly clean!

~Luigie Gonzalez

DJ Spooky
Location: New York City and The Poles
Producer, Music/Song/Sound Creator, Author, Visionary

When you are as diverse of an artist as DJ Spooky you need some serious music-creation tools.  Take Of Water and Ice for example.  This album is the result of DJ Spooky’s art residency at the Metropolitan Museum of Art in NYC. Of Water and Ice is a composition for string quartet and video that evolved out of his large-scale multimedia work Sinfonia Antarctica: an exploration of the composition of ice and water, and our relationship to the vanishing environment of the arctic poles. DJ Spooky created The Book of Ice based on his travels to the poles. All of the electronic sounds are generated by interpretations of either algorithms that mirror the geometry in ice crystals or the math of climate change data.

“The biggest asset to me upgrading to SONAR X3 was the speed Continue reading “HOW UPGRADING TO SONAR X3 GAVE THESE PRO ARTISTS AN EDGE”
Beatboxing – Watch What Happens to the Frequency Analyzer in SONAR X3

Within the Vocal world  there are all different styles of singing and beatboxing is one of the more complex and percussive styles that the human voice can produce. Typically there is a single frequency range that vocalists stay within but beatboxers span the entire frequency range to achieve the sounds that come from their mouth. Check out this video with a local Boston street performer as he shows us how it’s done:

Wanna try the QuadCurve EQ? Check out SONAR X3 30 Day Trial

How to use a vocal-double to enhance lead vocals

One of the toughest things about working with a lead vocal track is getting it to pop out, while allowing it to still sit in the track nicely in context with its surroundings [other tracks].  Every mixing engineer has her/his bag of tricks, but here are a few ideas to utilize a “vocal-double” which may help support and embellish the lead vocal track.  For this demonstration I am using the lead vocal track of NBC’s The Voice Season 1 winner Javier Colon.  Note that you can click on images to get a bigger perspective.

Continue reading “How to use a vocal-double to enhance lead vocals”

Mixing Tips: Know Your Signal Flow in SONAR

Signal Flow is an important concept to understand, and it may be easier to think about when presented with a diagram of how audio is passes through SONAR.

Inputs and Outputs – Easier than you think!

The first concept to understand is the relationship between Inputs and Outputs. There isn’t anything complex about the subject unless you over-think it.  It is the underlying theme to just about anything within your Digital Audio Workstation. Always remember the following:

  • Outputs: Always feed Inputs
  • Inputs: Always fed by Outputs

Sometimes Outputs can be named “Outs or Sends” and sometimes Inputs are labelled “Ins or Returns.” If you’re a guitar player then you can associate this concept with the FX Loop that exists on the back of your amp. You use this to Send audio to your effects pedals and then back to your Amp’s Return.

First, let’s start where audio starts. Typically it begins with an instrument or audio file:

Upon opening SONAR many users will head straight to their Media Browser and Continue reading “Mixing Tips: Know Your Signal Flow in SONAR”