How the new "TH3 Cakewalk" Will Elevate Your Recordings in SONAR

Whether you update SONAR every month or not, this month is a great time to hit the C3 button.  Besides the new cutting edge LP mastering plug-ins, we have worked hard and closely with our good friends at Overloud to deliver something that can truly change your sound as a SONAR user. TH3 Cakewalk has arrived and will now replace TH2 moving forward, and I had the opportunity to run the beta for the last month building some basic presets for the plug-in. Right out of the gate I found this VST3 to be a nice upgrade from its predecessor TH2.

Now I am absolutely nothing close to a guitar wizard, but I have been hacking around since I picked up the instrument at age 5, so I’ve been around the block with guitar tones touring, producing, engineering, recording, etc. like a lot of folks probably reading this.  From a production standpoint, I’ve always loved the convenience of amp simulators, but always hated what would happen to the tone when trying to mix them together with drums that had been recorded with 1073’s, API’s or other heavy duty pres and mics… the tone gets small pretty fast.  In my opinion, this is something that Overloud in general has excelled at—DSP and algorithms that truly stay at the front of the mix no matter what the context.  TH3 brings this concept to even another level.  Here are some of my quick thoughts and findings.

Sounds
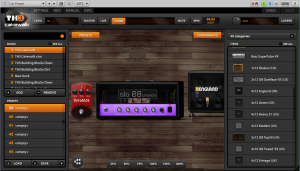
There are a lot of changes with the new TH3 Cakewalk including the new and upgraded User Interface which I will get into, but I bet a lot of folks like me really base their judgments on how things sound.  The good news is that once you are up and running with the plug-in you will notice a nice improvement on the sound quality from TH2 Producer/Cakewalk.  5 new amp models with more accurate model reproduction are included in TH3 Cakewalk, and all have improved DSP along with enhanced preamp and power amp stages.  To my ear, I notice a more “open and natural” sound in general, but also notice a more responsive relationship between the pick and the strings in terms of “feel”—like when you play a guitar through an amp that just had the tubes replaced.  I also notice more presence overall, but the right type of presence without harshness.  The low-mids and mids are thick and punchy and I especially love the new Slo88 and Tweed Deluxe amps which have a lot of character.  The Bassface is a beast as well; this amp is a secret weapon for many rock producers who use it to double rhythm guitar parts recorded with other amps.  Blending these two sources together produces a tone that is about as thick as it gets.

New amps in TH3 Cakewalk:


Bassface 59:  Model of a classic american “bass” combo amp, tuned to be great for rhythm and blues playing on guitar once overdriven

Continue reading “How the new "TH3 Cakewalk" Will Elevate Your Recordings in SONAR”

The Art of Transient Shaping with the TS-64

Understand this often-misunderstood processor, and your tracks will benefit greatly 

By Craig Anderton 

Transient Shapers are interesting plug-ins. I don’t see them mentioned a lot, but that might be because they’re not necessarily intuitive to use. Nor are they bundled with a lot of DAWs, although SONAR is a welcome exception. 

I’ve used transient shaping on everything from a tom-based drum part to make each hit “pop” a little more, to bass to bring out the attacks and also add “weight” to the decay, to acoustic guitar to tame overly-aggressive attacks. The TS-64 has some pretty sophisticated DSP, so let’s find out how to take advantage of its talents.

But first, a warning: transient shaping requires a “look-ahead” function, as it has to know when transients are coming, analyze them, filter them, and then calculate when and how to apply particular amounts of gain so it can act on the transients as soon as they occur. As a result, simply inserting the TS-64 will increase latency. If this is a problem, either leave it bypassed until it’s time to mix, or render the audio track once you get the sound you want. Keep an original of the audio track in case you end up deciding to change the shaping later on. 

TS-64 TRANSIENT SHAPER BASICS

A Transient Shaper is a dynamics processor that modifies only a signal’s attack characteristics. If there’s no defined transient the TS-64 won’t do much, or worse yet, add unpleasant effects. 

Transient shapers are not just for drums—guitars, electric pianos, bass, and even some program material are all suitable for TS-64 processing if they have sharp, defined transients. And it’s not just about making transient more percussive; you can also use the TS-64 to “soften” transients, which gives a less percussive effect so a sound can sit further back in a track. 

There are two main elements to transient shaping. The first is Continue reading “The Art of Transient Shaping with the TS-64”

The Sound of Console Emulation in SONAR X3

The age of hybrid studios

The day has come where digital audio has caught up to the analog trends of the pre-xyz age. Hybrid (digital/analog) home-studios are more common and the need for more analog flavored plugins is a must. Cakewalk has harnessed these trends in some of the latest software additions to the X-series with their track by track Console Emulation ProChannel plugin.

At a glance

Simplicity is one of the key ingredients in the world of plugin interfaces and the Console Emulator is no stranger to that. It’s an easy tool to use, just turn up the Drive! Each algorithm has the same 3 parameters for locking in the sound, Drive, Tolerance, and Trim. Each version of the plugin reflects the circuitry of 3 classic large format console from the past 30 years. Every board has it’s own sound because each circuit is completely different than the other.

Let’s take a closer listen 

For most part, Console Emulation is about subtle character. If you apply subtle changes to your entire mix it will collectively sound different. One track may not sound all that different in the final mix, but if you apply this effect to the entirety of your session, well then you’ll probably start to hear some differences. These DSP algorithms are tuned Continue reading “The Sound of Console Emulation in SONAR X3”

6 Mindblowing reasons to get SONAR X3 Producer

1. SONAR has redefined mixing in the box.

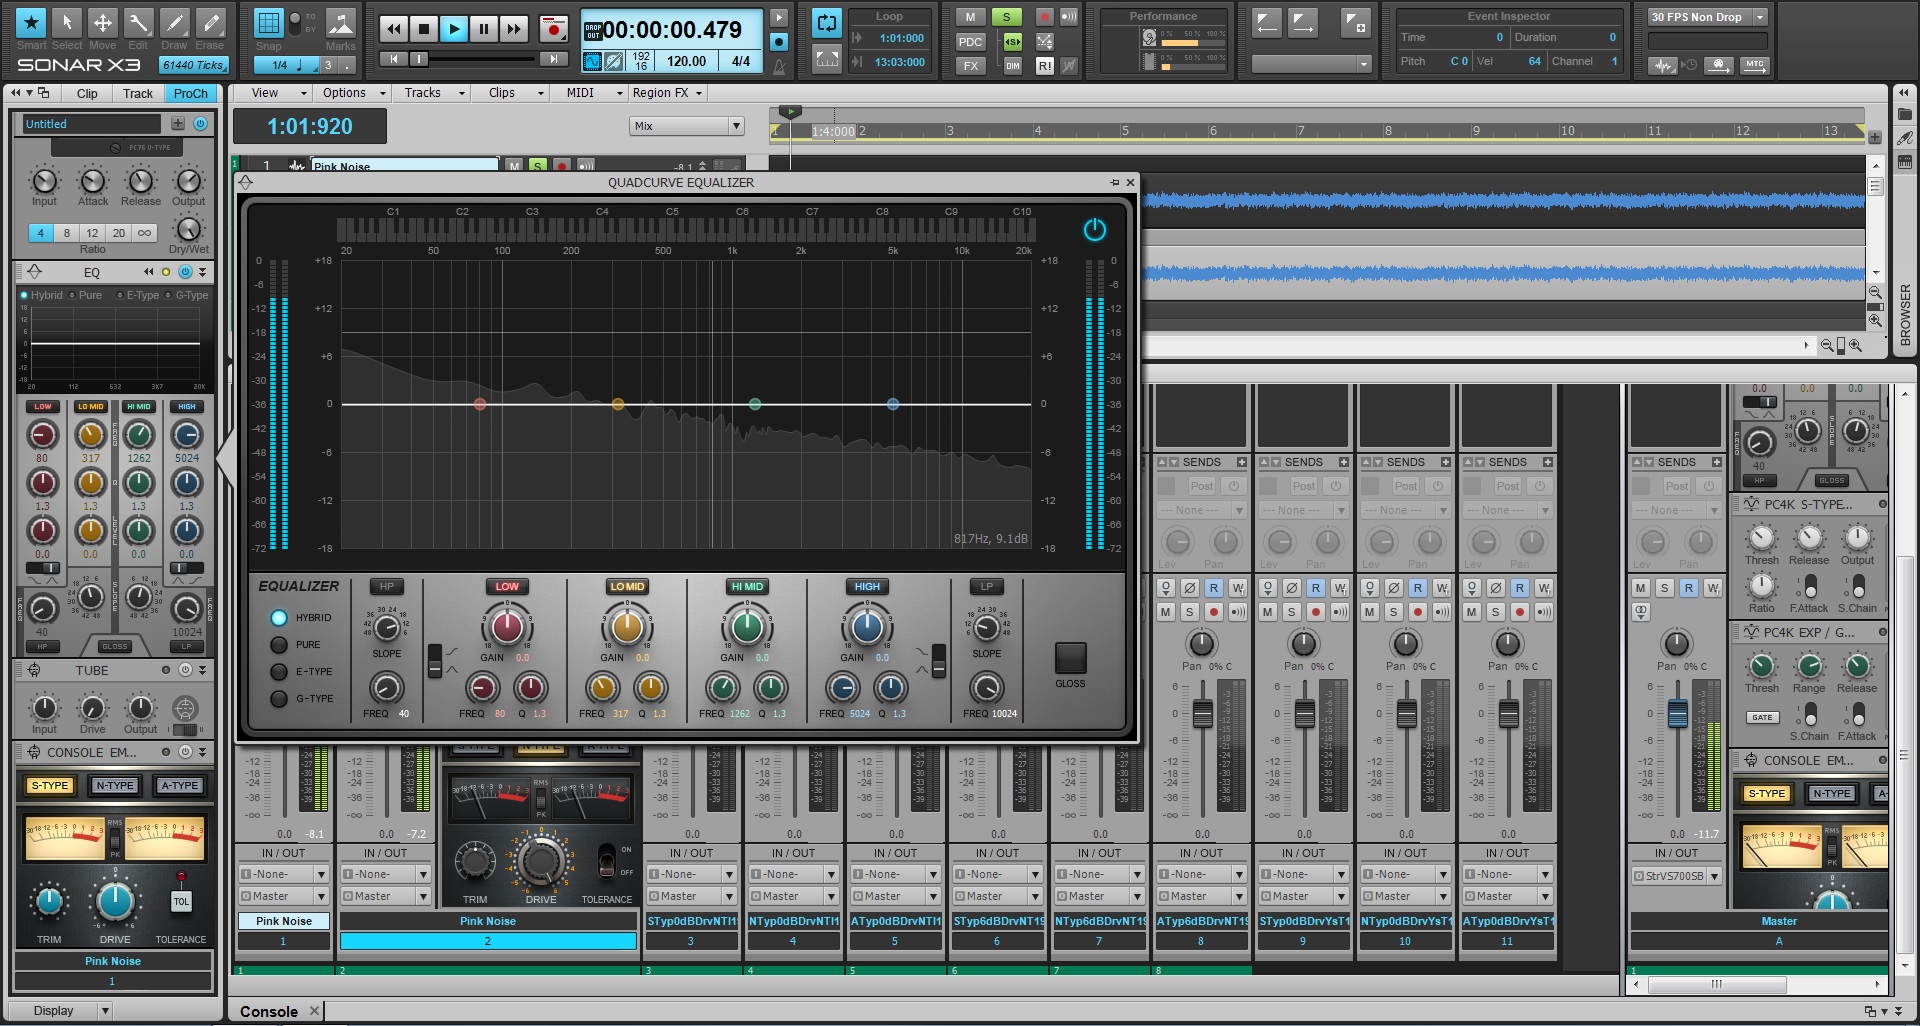
The ProChannel redefines the way you work with the Console View. Each audio track, instrument track, and bus comes with a complete modular strip of analog effects. Even the inspector allows the users to preview a selected track’s ProChannel strip right from the Track View. With the click of a button users can expand this analog mixing console and fully customize it by dragging around the modules, or loading up a ProChannel presets. Load up the Compressors, Tube Saturation, Reverb, Console Emulators, Tap Emulators, and the new QuadCurve EQ Zoom with Analyzer by simply right-clicking. SONAR’s ProChannel lends itself to an immensely visual experienceand to enhance this feature a step further Cakewalk introduced the fly-out panel for the Quad Curve EQ (SONAR X3 Producer Exclusive). Adding this allows users to see and modify their audio signals in real-time across a spectrum analyzer.

2. The best pitch correction software that exists is fully integrated.

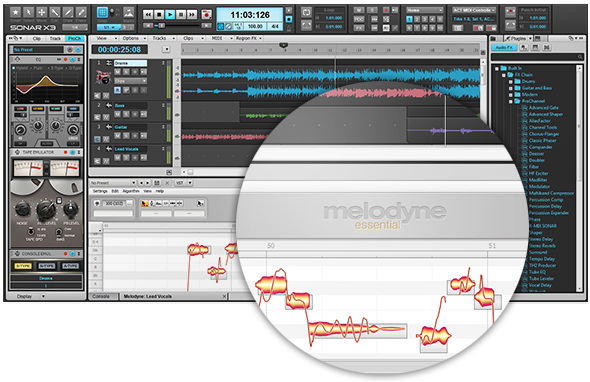
ARA technology is Celemony’s way of allowing DAW’s to host the functions of any audio edit capable plugin. ARA Integration means that Melodyne can now run as a fully integrated feature within SONAR X3. Yes, you read that correctly, SONAR X3 can now run the world’s best pitch correction as a native component and SONAR X3 Studio & Producer now include Melodyne Essential.

Melodyne interacts with the new Region FX clips in SONAR – allowing users to highlight any mono audio clip and apply Melodyne pitch correction. ARA’s high quality time stretching replaces the older time stretching capabilities run by AudioSnap and SONAR X3 has the ability to convert Audio to MIDI by simply dragging and dropping audio to a MIDI track. This deeply integrated technology makes SONAR perfect solution for complex pitch correction!

3. Floating windows get in the way, so SONAR solved that problem.

If you’re looking to purge your workflow of a cryptic DAW with an unsettling interface that is not conducive to a creative environment then you should really check out what SONAR’s been doing since the X-series overhaul. We’ve pretty much ended the floating window interface to bring users a more efficient musical experience. Our Smart Tools HUD can be accessed anywhere in the interface. Our main track view houses several different workflows that are a single click or shortcut away. Screen-sets lets you save window configurations and swap between them using your numerical keys. The list goes on and on and we’re continuing to make it better with more intuitive features.

4. It takes minutes to create something awesome.

There are programs that exist only to record and edit, and then there is SONAR – which is the major contender for the entire creative experience. Every part of SONAR’s MIDI and virtual instrument implementation allows users drag in, route, and start composing within seconds.

You can save your favorite instrument and track routing as track templates and load them into other projects without any hesitation. Complex routing tasks like a multi-track setup for Addictive Drums requires no thinking – just doing. Our synth rack stays separate from the Track View and Console view so that your processing plugins stay separate from your synthesis plugins. Organization, clarity, and not a second wasted, that’s why SONAR stays on top.

5. We don’t bundle useless plugins with SONAR.

In fact, we bundle some of the best software in the industry with SONAR. We’ve already covered the fact that Melodyne Essential comes with the product – but that doesn’t even scratch the surface. 

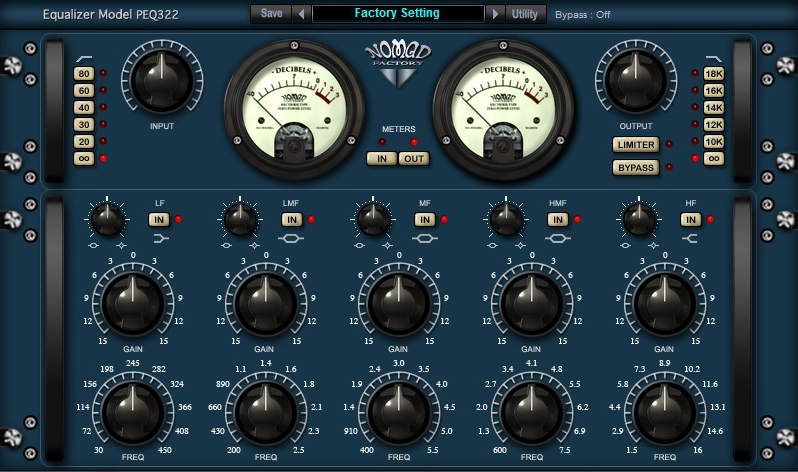
The Nomad Factory Blue Tubes bundle ships with SONAR X3 and contains as many dynamic, time-based, and eq-based plugins that you could ever need. We have astounding instruments from AAS: Strum Acoustic SONAR, and Lounge Lizard SONAR. Lastly, Addictive Drums – which will make you want to fire your drummer and spark your MIDI programming addiction. It doesn’t stop there, check out the full list of effects and get yourself on board with the future of the DAWs.

6. You’re not limited to a Track Count or Plugin Count.

There’s always that moment when you realize that your DAW has hit a brick wall with the amount of plugins or tracks that it can handle at once. SONAR doesn’t have that problem, in fact it goes above and beyond to give you the best 64-bit architecture, unlimited tracks, buses, and effects that money can buy. We even have surround sound support! No need to constantly submix your tracks or work in parts because you don’t have thousands of dollars to drop on a “pro-system”. Even at our $99 value we’ve taken out track and effects limitations and still retain flagship features like ARA and VST3.

Upgrade to SONAR X3 Producer today!

Still not convinced? Check out SONAR free for 30-days.

Virtual Instruments: 5 Tips For The Z3TA+ Junkie

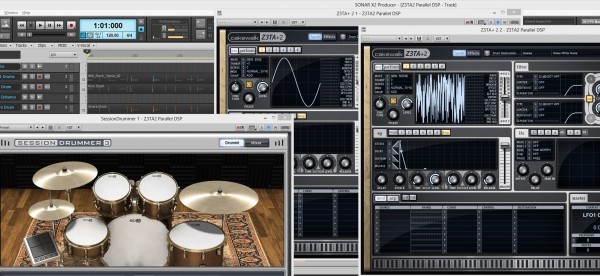
Here are some of our favorite Z3TA+ tips and videos from our archive:

1. EDM Production – Enhance Your Drums with Z3TA+ 2

  • Insert two instances of Z3TA+ 2.
  • Copy your drum sequence to both Z3TA+ 2 tracks.
  • Isolate the Kick on one track and the Snare on the other.
  • Setup the first Z3TA+ 2 to generate a Sine Wave for the Kick.
  • Setup the second Z3TA+ 2 to generate White Noise for the Snare.
  • Adjust the Amplifier Envelope to match the duration of each hit.
  • Within Z3TA+ 2 add Reverb, Compression, and EQ.
  • Mix in under your existing Drum Loop.

2. How to Customize Z3tA+ 2’s Stock Arpeggios

Z3TA+ 2 comes packed with a massive pool of MIDI programs that power it’s internal Arpeggiator, but why stick to the stock programs when you can make your own?

Here’s how:

  • Open Z3TA+2 and activate the Arpeggiator Section
  • Right-Click on the sequence in the arpeggiator and make sure the following are checked
  • Auto Disable Pattern When Dragged to Host
  • Auto Fit Patterns to One Measure When Loaded
  • Load one of the Arpeggios from the Pattern menu
  • Drag and Drop the Arpeggios right into SONAR X2
  • Edit the MIDI Clip to your liking
  • Go to File > Save As
  • Select MIDI 0 in “Save as type”
  • Go to C:\Cakewalk Content\Z3TA+ 2\MIDI Arpeggios and Save it
  • Load it into Z3TA+2′s Arpeggiator by going to Pattern > Load MIDI File…

3. How to create a bass synth with Z3tA+ 2

Who doesn’t like bass? Especially synth bass. Z3TA+ 2 is the answer to all of your sound design needs especially when you are looking to improve your production in the low end. I’ve put together a short tutorial on how to make a simple bass synth inside of Z3TA+2. Once you understand how everything works together you’ll be able to really start to make this plugin work for you.

Picking the right Oscillators

Within Z3TA+2 the first section you need to start working with is the OSC section. First I’ve selected two different square waves for OSC 1 and 2. They were Vintage Square 1 and Vintage Square 2. When creating a bass synth you need to make sure that your patch will not break up in the low end so be sure not to drop the octaves on the individual oscillators too low. I typically set mine to -2 at the most. Once you get to a certain range the instrument will sound weak and lose it’s driving Bass Synth sound

[READ THE REST OF THE TIP HERE]

4. [VIDEO] Digital Sound Factory Z3TA+  Sound Design

5. [VIDEO] Mixing and Mastering a song using only the Z3TA+ effects engine in SONAR

How to EQ: Carving Out The Right Sound For Your Mix

Sometimes EQ is more about “sonic sculpture” than anything else

by Craig Anderton

One of the most important aspects of mixing is using EQ to “carve out” a specific frequency range for instruments so they don’t conflict with each other. If instruments have their own sonic space, it’s easier to hear each instrument’s unique contribution, which increases the mix’s clarity.

Dan Gonzalez did a great series for the Cakewalk blog on subtractive EQ, and how cutting frequencies can help create a better a mix; this is more of a complementary article about how I carved out EQ for various instruments in a cover version of the song “Black Market Daydreams” (by UK songwriter Mark Longworth). All the displays are set for +/-6dB.

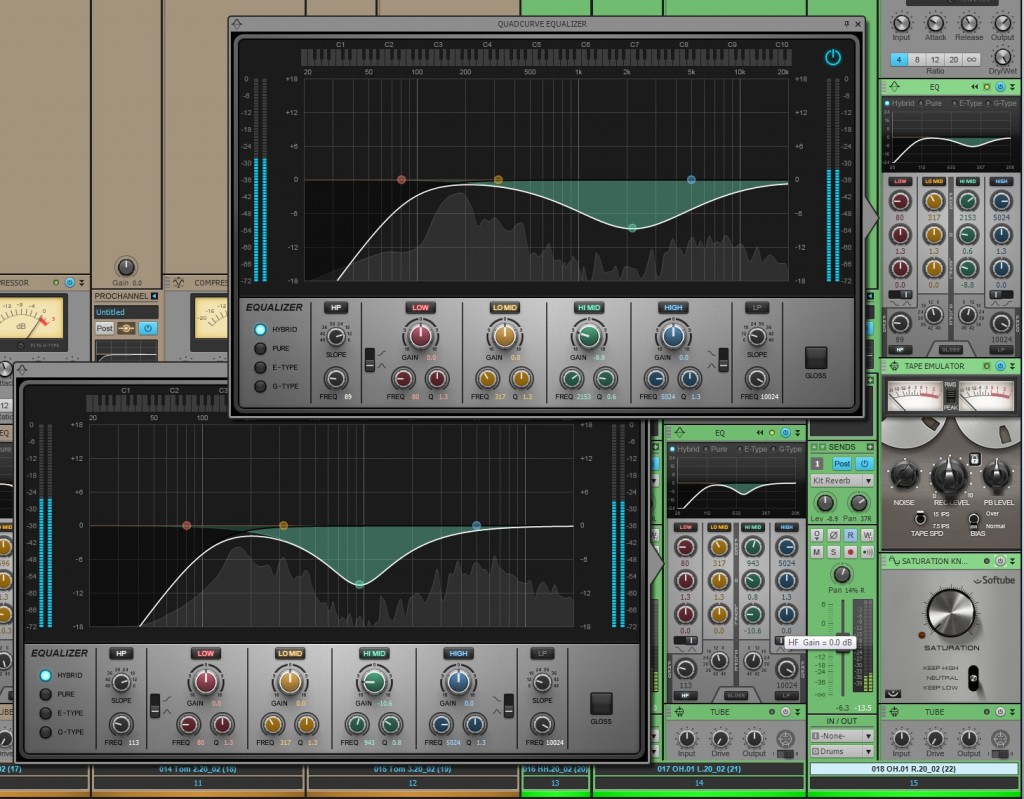
Choirs: Using a low-shelf response to cut starting at the midrange gives the choir more brightness and “air.” This way it sort of floats over the mix. The same approach works well for ethereal pads, and lets you mix them a little lower to make space for other sounds. Also note that I couldn’t resist throwing a little Gloss in there…

Try the QuadCurve EQ in the SONAR X3 Producer Free Trial

Guitar power chord: Enabling the high pass and low pass filters creates a broad bandpass in the midrange area where there’s not a lot of energy Continue reading “How to EQ: Carving Out The Right Sound For Your Mix”

Mixing Video Series: How to use Compression with the CA2A in SONAR X3

Mixing with Compression is an essential part to shaping and creating a great sounding track. In this video series I take you through a track-by-track video that shows you how to use compression on various types of instruments in SONAR X3 with the CA-2A T-Type Leveling Amplifier. You can use compression to control levels, enhance dynamics, and much more. Subscribe to our YouTube Channel and check out this series today.


Try SONAR X3 Producer
Try the CA-2A T-Type Leveling Amplifier

SONAR X3 Clinic by Craig Anderton – Berklee Online

In case you missed the Berklee Online Webinar with Craig Anderton (March 31st, 2014) – here is the video in it’s entirety! Craig outlines some of his favorite topics including:

  • The MIDI advantage for songwriting
  • Using loops for both songwriting and EDM
  • Speeding up workflow to prevent “inspiration atrophy” (effects chains, track templates, browser techniques, etc.)
  • Creating your own mixer architecture
  • Using “spot” timing correction to tighten timing without destroying feel
  • How to make amp sims sound great (e.g. effects chains)
  • Mastering in SONAR

Learn more about SONAR X3

Microphone Tips: What is a Polar Pattern?

The Polar Pattern of a microphone determines how the microphone perceives sound 360 degrees around the capsule and ultimately helps engineers decide on a microphone’s use and application. Some microphones have multiple polar patterns while others are designed for one specific pattern. Understanding the sound of any microphone is very important, especially when harnessing that knowledge on a session that has a multi-mic’d instrument.

How to read these patterns

These graphs are read from the top down. 0 degrees is the front of the microphone and Continue reading “Microphone Tips: What is a Polar Pattern?”

Subtractive EQ Part 4: Bass

Miss part 1? Read Subtractive EQ – Snare Drum.

Bass
The bass in this track caters to fans of the early Metallica era.  Bassist Cliff Burton popularized this distorted sound on such tracks as (Anesthesia) Pulling Teeth.  It’s important to blend this type of bass tone into the bottom of the guitars.  In this mix the guitars and the bass become a single unit ebbing and flowing with one another at certain points through the song.

Understandably one can assume that there was much processing done to this track before it’s transfer into SONAR.  It’s important to capture the sound before you start mixing so that your mixing process is not a patch-job.

This tone is aggressive and piercing to the ear.  A significant way to know that this instrument needs attention is by the aural fatigue that you may experience while soloing this track and listening to it rather loudly for more than 10 seconds.  I aimed to adjust the bass track to fit like a glove under the mix by applying a HPF at 78Hz with a steep bandwidth setting.  The amount of bass here needs control. Using a compressor to control the sound would be redundant because of how much overdrive was applied to this track.  The overdrive has ultimately eliminated any trace of strong transients.

Lastly, there is another dip in the EQ around 2.2kHz.  This adjustment reduces some of the aforementioned piercing sound. Any harsh tones in this register will be too overbearing in the mix.