Basics: Five Questions About Using Stompboxes with SONAR

by Craig Anderton

Plug-in signal processors are a great feature of computer-based recording programs like SONAR, but you may have some favorite stompboxes with no plug-in equivalents—like that cool fuzz pedal you love, or the ancient analog delay you scored on eBay. Fortunately, with just a little bit of effort you can make SONAR think external hardware effects are actually plug-ins.

1. What do I need to interface stompboxes with SONAR? You’ll need a low-latency audio interface with an unusd analog output and unused analog input (or two of each for stereo effects), and cords to patch these audio interface connections to the stompbox. We’ll use the TASCAM US-4×4 interface because it has extra I/O and low latency, but the same principles apply to other audio interfaces.

2. How do I hook up the effect and the interface? SONAR’s External Insert plug-in inserts in an FX bin, and diverts the signal to the assigned audio interface output. You patch the audio interface output to a hardware effect’s input, then patch the hardware effect’s output to the assigned audio interface input. This input returns to the External Effect plug-in, and continues on its way through the mixer. For this example, we’ll assume a stompbox with a mono input and stereo output.

3. What are correct settings for the External Insert plug-in parameters? When you insert the External Insert into the FX bin, a window appears that provides all the controls needed to set up the external hardware.

  • Send. This section’s drop-down menu assigns the send output to the audio interface. In this example, the send feeds the US-4×4’s output 3. Patch this audio interface output to your effect’s input. (Note that if an output is already assigned, it won’t appear in the drop-down menu.)
  • Output level control. The level coming out of the computer will be much higher than what most stompboxes want, so in this example the output level control is cutting the signal down by about -12 dB to avoid overloading the effect.
  • Return. Assign this section’s drop-down menu to the audio interface input through which the stompbox signal returns (in this example, the US-4×4’s stereo inputs 3 and 4). Patch the hardware effect output(s) to this input or inputs.
  • Return level control. Because the stompbox will usually have a low-level output, this slider brings the gain back up for compatibility with the rest of the system. In this example, the slider shows about +10 dB of gain. (Note: You can invert the signal phase in the Return section if needed.)

4. Is it necessary to compensate for the delay caused Continue reading “Basics: Five Questions About Using Stompboxes with SONAR”

The Art of Transient Shaping with the TS-64

Understand this often-misunderstood processor, and your tracks will benefit greatly 

By Craig Anderton 

Transient Shapers are interesting plug-ins. I don’t see them mentioned a lot, but that might be because they’re not necessarily intuitive to use. Nor are they bundled with a lot of DAWs, although SONAR is a welcome exception. 

I’ve used transient shaping on everything from a tom-based drum part to make each hit “pop” a little more, to bass to bring out the attacks and also add “weight” to the decay, to acoustic guitar to tame overly-aggressive attacks. The TS-64 has some pretty sophisticated DSP, so let’s find out how to take advantage of its talents.

But first, a warning: transient shaping requires a “look-ahead” function, as it has to know when transients are coming, analyze them, filter them, and then calculate when and how to apply particular amounts of gain so it can act on the transients as soon as they occur. As a result, simply inserting the TS-64 will increase latency. If this is a problem, either leave it bypassed until it’s time to mix, or render the audio track once you get the sound you want. Keep an original of the audio track in case you end up deciding to change the shaping later on. 

TS-64 TRANSIENT SHAPER BASICS

A Transient Shaper is a dynamics processor that modifies only a signal’s attack characteristics. If there’s no defined transient the TS-64 won’t do much, or worse yet, add unpleasant effects. 

Transient shapers are not just for drums—guitars, electric pianos, bass, and even some program material are all suitable for TS-64 processing if they have sharp, defined transients. And it’s not just about making transient more percussive; you can also use the TS-64 to “soften” transients, which gives a less percussive effect so a sound can sit further back in a track. 

There are two main elements to transient shaping. The first is Continue reading “The Art of Transient Shaping with the TS-64”

The Sound of Console Emulation in SONAR X3

The age of hybrid studios

The day has come where digital audio has caught up to the analog trends of the pre-xyz age. Hybrid (digital/analog) home-studios are more common and the need for more analog flavored plugins is a must. Cakewalk has harnessed these trends in some of the latest software additions to the X-series with their track by track Console Emulation ProChannel plugin.

At a glance

Simplicity is one of the key ingredients in the world of plugin interfaces and the Console Emulator is no stranger to that. It’s an easy tool to use, just turn up the Drive! Each algorithm has the same 3 parameters for locking in the sound, Drive, Tolerance, and Trim. Each version of the plugin reflects the circuitry of 3 classic large format console from the past 30 years. Every board has it’s own sound because each circuit is completely different than the other.

Let’s take a closer listen 

For most part, Console Emulation is about subtle character. If you apply subtle changes to your entire mix it will collectively sound different. One track may not sound all that different in the final mix, but if you apply this effect to the entirety of your session, well then you’ll probably start to hear some differences. These DSP algorithms are tuned Continue reading “The Sound of Console Emulation in SONAR X3”

6 Mindblowing reasons to get SONAR X3 Producer

1. SONAR has redefined mixing in the box.

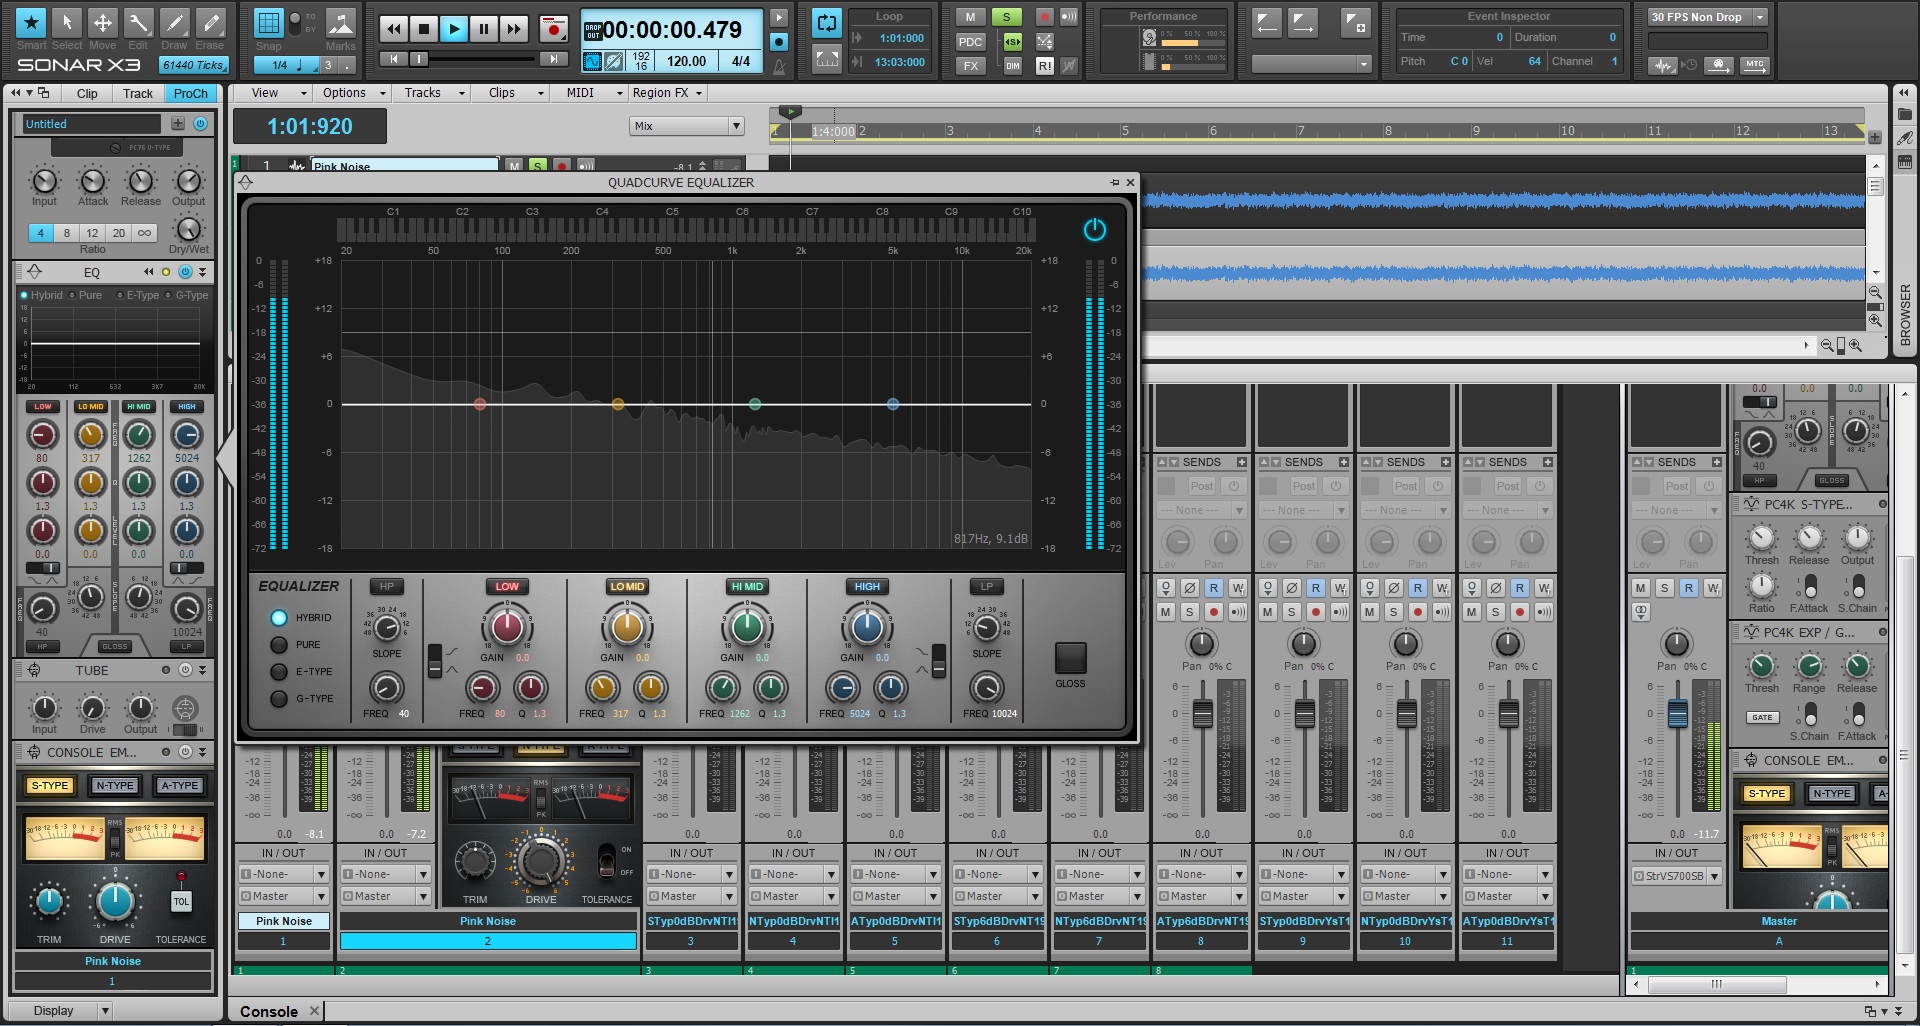
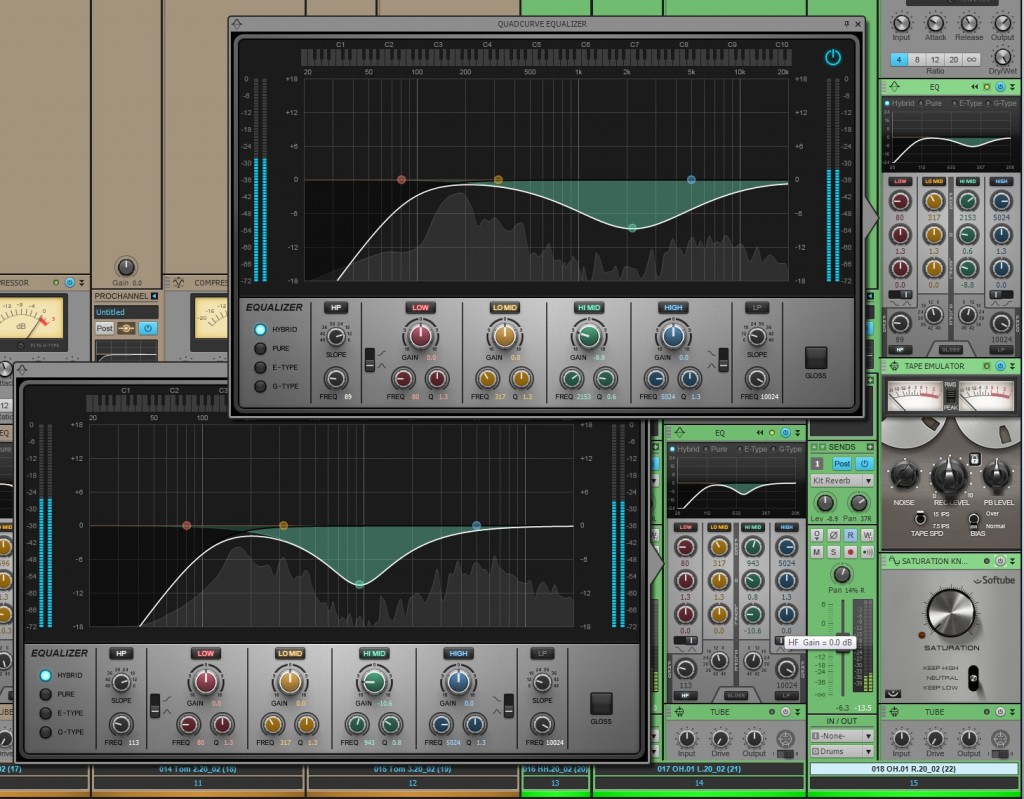
The ProChannel redefines the way you work with the Console View. Each audio track, instrument track, and bus comes with a complete modular strip of analog effects. Even the inspector allows the users to preview a selected track’s ProChannel strip right from the Track View. With the click of a button users can expand this analog mixing console and fully customize it by dragging around the modules, or loading up a ProChannel presets. Load up the Compressors, Tube Saturation, Reverb, Console Emulators, Tap Emulators, and the new QuadCurve EQ Zoom with Analyzer by simply right-clicking. SONAR’s ProChannel lends itself to an immensely visual experienceand to enhance this feature a step further Cakewalk introduced the fly-out panel for the Quad Curve EQ (SONAR X3 Producer Exclusive). Adding this allows users to see and modify their audio signals in real-time across a spectrum analyzer.

2. The best pitch correction software that exists is fully integrated.

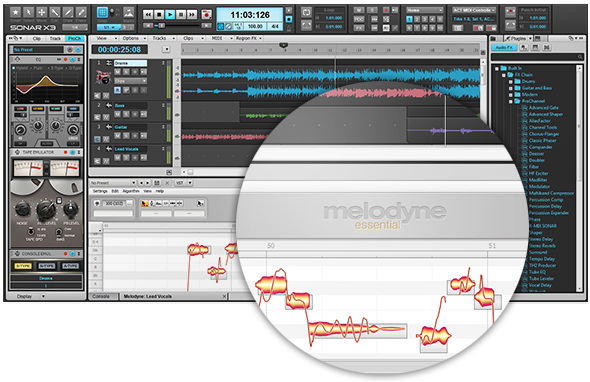
ARA technology is Celemony’s way of allowing DAW’s to host the functions of any audio edit capable plugin. ARA Integration means that Melodyne can now run as a fully integrated feature within SONAR X3. Yes, you read that correctly, SONAR X3 can now run the world’s best pitch correction as a native component and SONAR X3 Studio & Producer now include Melodyne Essential.

Melodyne interacts with the new Region FX clips in SONAR – allowing users to highlight any mono audio clip and apply Melodyne pitch correction. ARA’s high quality time stretching replaces the older time stretching capabilities run by AudioSnap and SONAR X3 has the ability to convert Audio to MIDI by simply dragging and dropping audio to a MIDI track. This deeply integrated technology makes SONAR perfect solution for complex pitch correction!

3. Floating windows get in the way, so SONAR solved that problem.

If you’re looking to purge your workflow of a cryptic DAW with an unsettling interface that is not conducive to a creative environment then you should really check out what SONAR’s been doing since the X-series overhaul. We’ve pretty much ended the floating window interface to bring users a more efficient musical experience. Our Smart Tools HUD can be accessed anywhere in the interface. Our main track view houses several different workflows that are a single click or shortcut away. Screen-sets lets you save window configurations and swap between them using your numerical keys. The list goes on and on and we’re continuing to make it better with more intuitive features.

4. It takes minutes to create something awesome.

There are programs that exist only to record and edit, and then there is SONAR – which is the major contender for the entire creative experience. Every part of SONAR’s MIDI and virtual instrument implementation allows users drag in, route, and start composing within seconds.

You can save your favorite instrument and track routing as track templates and load them into other projects without any hesitation. Complex routing tasks like a multi-track setup for Addictive Drums requires no thinking – just doing. Our synth rack stays separate from the Track View and Console view so that your processing plugins stay separate from your synthesis plugins. Organization, clarity, and not a second wasted, that’s why SONAR stays on top.

5. We don’t bundle useless plugins with SONAR.

In fact, we bundle some of the best software in the industry with SONAR. We’ve already covered the fact that Melodyne Essential comes with the product – but that doesn’t even scratch the surface. 

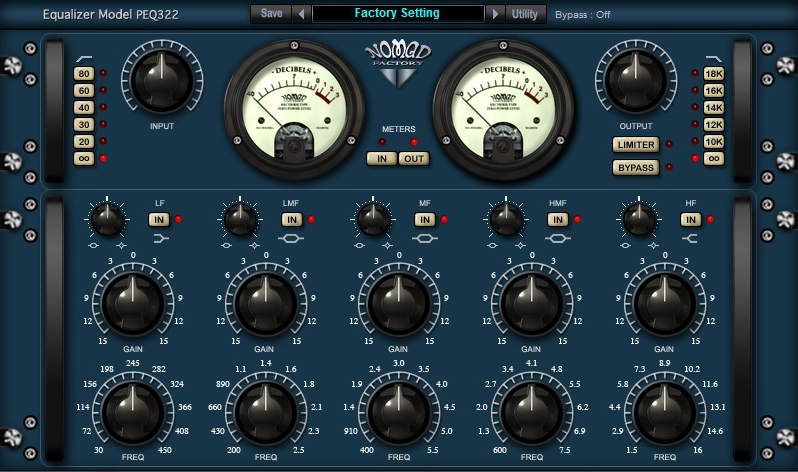
The Nomad Factory Blue Tubes bundle ships with SONAR X3 and contains as many dynamic, time-based, and eq-based plugins that you could ever need. We have astounding instruments from AAS: Strum Acoustic SONAR, and Lounge Lizard SONAR. Lastly, Addictive Drums – which will make you want to fire your drummer and spark your MIDI programming addiction. It doesn’t stop there, check out the full list of effects and get yourself on board with the future of the DAWs.

6. You’re not limited to a Track Count or Plugin Count.

There’s always that moment when you realize that your DAW has hit a brick wall with the amount of plugins or tracks that it can handle at once. SONAR doesn’t have that problem, in fact it goes above and beyond to give you the best 64-bit architecture, unlimited tracks, buses, and effects that money can buy. We even have surround sound support! No need to constantly submix your tracks or work in parts because you don’t have thousands of dollars to drop on a “pro-system”. Even at our $99 value we’ve taken out track and effects limitations and still retain flagship features like ARA and VST3.

Upgrade to SONAR X3 Producer today!

Still not convinced? Check out SONAR free for 30-days.

Songwriting: 5 Ways to Break Musician's Writer's Block

Introduction

Composing has an arch nemesis, and that evil is known as writer’s block. It’s a challenge to get through especially if you’re just starting to write your own music. Here are some steps you can take when you feel that you have hit a creative roadblock in your workflow.

1. Break down big tasks into smaller ones.

If something seems like a large undertaking then try to sit down and break it up into smaller parts. This type of workflow can offer you insight on time management. You’ll start to get a  better idea of the different tasks you’re good at and maybe some others that you’re not very good at. Let’s say that you’re really great at writing a catchy choruses, but you always get hung Continue reading “Songwriting: 5 Ways to Break Musician's Writer's Block”

Do you have too many song ideas? The Matrix View can help.

by Dan Gonzalez

Do you suffer from having too many musical ideas than you know what to do with? The Matrix View is great way to throw all of your riffs, licks, and leads into one place to mess around with song arrangements and structures.

How does it work?

The Matrix View operates under SONAR’s second audio engine. It’s the same audio engine that allows you to preview and play loops from the Media Browser. This non-linear playback engine is what is utilized during your performances in the Matrix View. All you really have to do to get started is drag audio from SONAR into the Matrix. It will populate a cell and then automatically route to the audio tracks you have set in the Track View. Click on the cell and then you can jump around the interface triggering different musical ideas. When you have multiple cells in one column you can trigger an entire column as well.

Try out the Martix View for free – Download the SONAR X3 Producer Free Trial

Where do I begin?

Grab some of your ideas – if they are loops then you have even more flexibility when changing tempos. If you want some great loops to work with then be sure to pick up these free loops that Craig Anderton supplied for us during Guitar Month. Continue reading “Do you have too many song ideas? The Matrix View can help.”

Highlights from April: Tips to Help You "Mix it Right"

Cakewalk presents “Mix it Right” month
We have been busy this month creating new resources to help you craft better mixes. Check out all the tips, tricks, and video from experts like Craig Anderton, Dan Gonzalez, and Jimmy Landry who have all worked professionally in studios and bring decades of mixing knowledge to the table (and console)
.

EQ: Carving Out The Right Sound For Your Mix
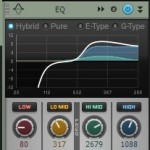
One of the most important aspects of mixing is using EQ to “carve out” a specific frequency range for instruments so they don’t conflict with each other. If instruments have their own sonic space, it’s easier to hear each instrument’s unique contribution, which increases the mix’s clarity. Learn more

When To Break The “Rules” Of Digital Mixing
Sometimes you need a mix to have a certain sound and the so-called rules of digital mixing go out the window. Recently Cakewalk’s Jimmy Landry was hired to produce a song with some “grit” and “acoustic-oriented authenticity,” so he grabbed his 5-Year Old’s harp out of a toy chest, his acoustic guitar, and got to work in SONAR X3. Learn more

“Object-Oriented” Clip Mixing in SONAR
When you need to get really detailed, object-oriented mixing is a convenient solution. Craig Anderton explains how to approach this in SONAR. Learn more

How to Use Reverb to Create Depth
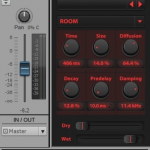
Applying the proper Reverb requires more time than just scrolling through the presets of the basic Hall, Room, and Plate algorithms. Cakewalk’s Dan Gonzalez covers the dos-and-don’ts of Reverb for guitars, vocals, drums, and more. Learn more

Video: How to Use Compression
Mixing with Compression is an essential part to shaping and creating a great sounding track. In this video series Dan Gonzalez shows you how to use compression on various types of instruments in SONAR X3 with the CA-2A T-Type Leveling Amplifier. Learn more Continue reading “Highlights from April: Tips to Help You "Mix it Right"”

How to EQ: Carving Out The Right Sound For Your Mix

Sometimes EQ is more about “sonic sculpture” than anything else

by Craig Anderton

One of the most important aspects of mixing is using EQ to “carve out” a specific frequency range for instruments so they don’t conflict with each other. If instruments have their own sonic space, it’s easier to hear each instrument’s unique contribution, which increases the mix’s clarity.

Dan Gonzalez did a great series for the Cakewalk blog on subtractive EQ, and how cutting frequencies can help create a better a mix; this is more of a complementary article about how I carved out EQ for various instruments in a cover version of the song “Black Market Daydreams” (by UK songwriter Mark Longworth). All the displays are set for +/-6dB.

Choirs: Using a low-shelf response to cut starting at the midrange gives the choir more brightness and “air.” This way it sort of floats over the mix. The same approach works well for ethereal pads, and lets you mix them a little lower to make space for other sounds. Also note that I couldn’t resist throwing a little Gloss in there…

Try the QuadCurve EQ in the SONAR X3 Producer Free Trial

Guitar power chord: Enabling the high pass and low pass filters creates a broad bandpass in the midrange area where there’s not a lot of energy Continue reading “How to EQ: Carving Out The Right Sound For Your Mix”

Mixing Tips: How to Use Reverb to Create Depth

Introduction

Mix engineers that have had their time behind a board can pick out the misuse of Reverb when they hear it. Just like with anything, applying the proper Reverb requires more time than just scrolling through the presets of the basic Hall, Room, and Plate algorithms.

Overview

Music tends to have a significant three-dimensional experience to it. This concept requires the understanding of width, height, and depth. The best way to understand this is to find a pair of large studio headphones and listen to some billboard topping hits that have dense and complex instrumentation. Grab a sheet of paper and draw two lines intersecting as well as one diagonally through the middle. Label them “Width”, “Height”, and “Depth”. Make a few copies of this sheet and as you listen to the music observe where the instruments sit in the mix. Mark the Toms, Snare, Kick, Vocals, Guitars, Keys, Backing Vocals, Bass, Strings etc. in their respective places on this XYZ plane. Once finished compare and contrast the different songs you listened to and you may notice how different each song turns out. Take one of your own mixes and do the same. You may learn something about your own techniques.

What does this little Continue reading “Mixing Tips: How to Use Reverb to Create Depth”

Joerg Kohring: Former Guitarist of Lifehouse Finding Success with SONAR and a Solo Music Career

We recently got a chance to sit down with Joerg Kohring who is an LA-based singer/songwriter/producer working out of Los Angeles.  Originally from Germany, Joerg found his current musical path originally playing guitar in the award winning band Lifehouse.  Since then, he has found success with his own LA-based band Orbit Monkey as well as his production work with other artists.  Orbit Monkey’s debut record “Are We Alive” came out in 2011 and the band gained many fans from the recordings.  Since then, the band recently released a follow-up EP titled “Born to be Kings” and has released another single/video titled “On Fire” which was recorded and produced completely in SONAR X3.

Continue reading “Joerg Kohring: Former Guitarist of Lifehouse Finding Success with SONAR and a Solo Music Career”