The “Right” Way:
There’s more than one way to use Drum Replacer to trigger your drum sounds. Which of these you choose will depend on the material, as well as your preferred outcome and workflow. First, let’s take a look at some of the intended, more traditional uses of Drum Replacer.
A mixed drum track or loop
A fairly standard Drum Replacer use is to augment or altogether change the drum sounds on an already-mixed drum track. The examples below play an unprocessed SONAR drum loop, followed by the same loop reinforced by Drum Replacer.
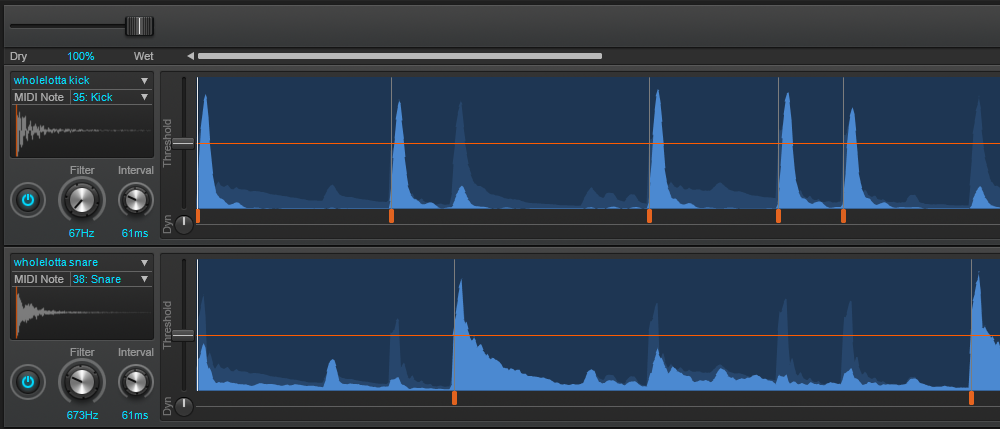
 With the built-in filter mechanism, it’s easy to isolate each piece of the drum kit and replace it individually. For this particular loop, focusing the filters to 67 Hz for the kick and 673 Hz for the snare ensured replacing the right sound. I wanted to soften this already-punchy loop by replacing the kick and snare sounds with something a little more “airy,” then blending these with the original. I chose the included WholeLotta Kick and WholeLotta Snare samples for their lighter, more pillowy qualities and blended them roughly 70/30 with the original drum track. Combined, they create a pleasantly complex, tight-yet-sustained sound.
Individually recorded drum tracks
We’ve all been there. After many painstaking hours of blood, sweat, and tears (definitely tears, and probably a nap or two under the desk), the drummer has just completed a stellar performance on take #137, and you finally have “The Take.” Later, during mixdown, you realize there’s abhorrent cymbal bleed on the snare and tom tracks. This is where the Drum Replacer can put on a virtual tourniquet and stop the bleeding.
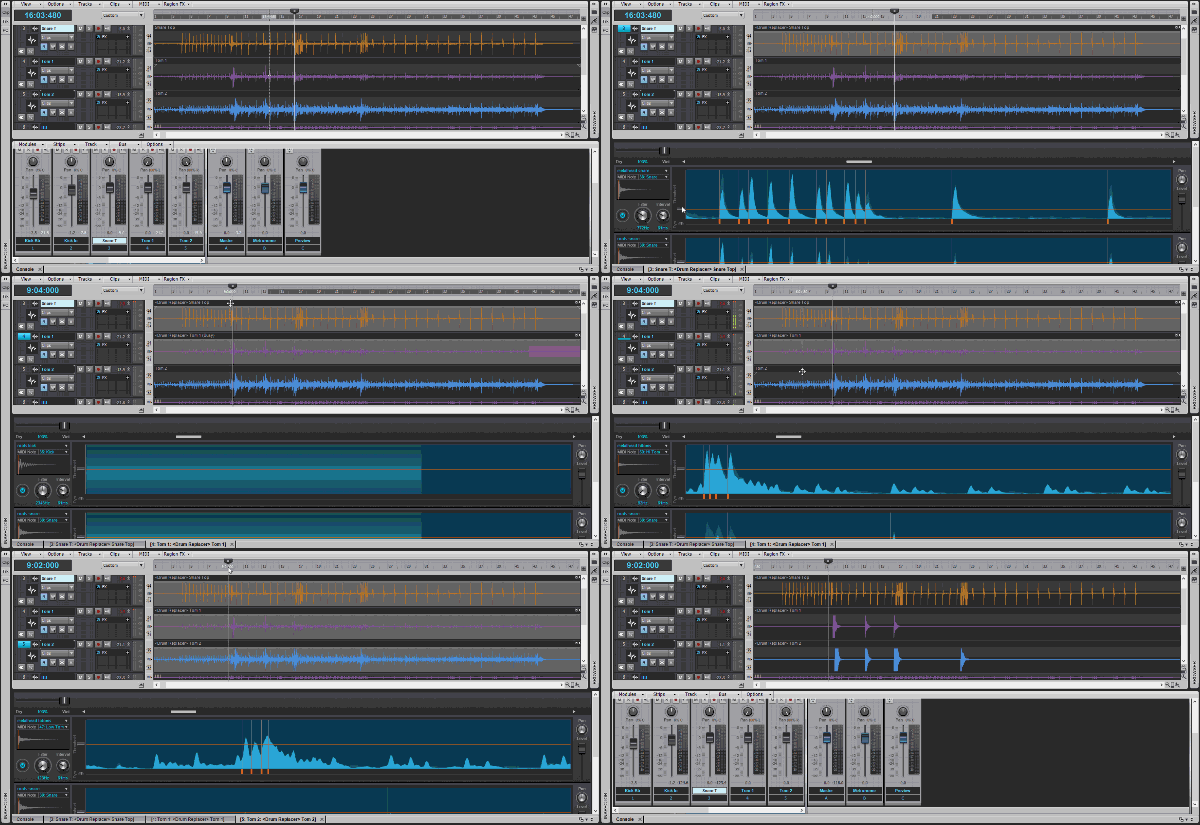
The snare and two toms in the example below are each on their own track, making replacement easy. Add a Drum Replacer to each track individually. Adjust the filters to focus on the “meat” of the drum and choose a sample. Blend to taste with the mix slider, then render, and repeat for each drum. See? Easy.

But I want the sound of the actual drums I recorded!
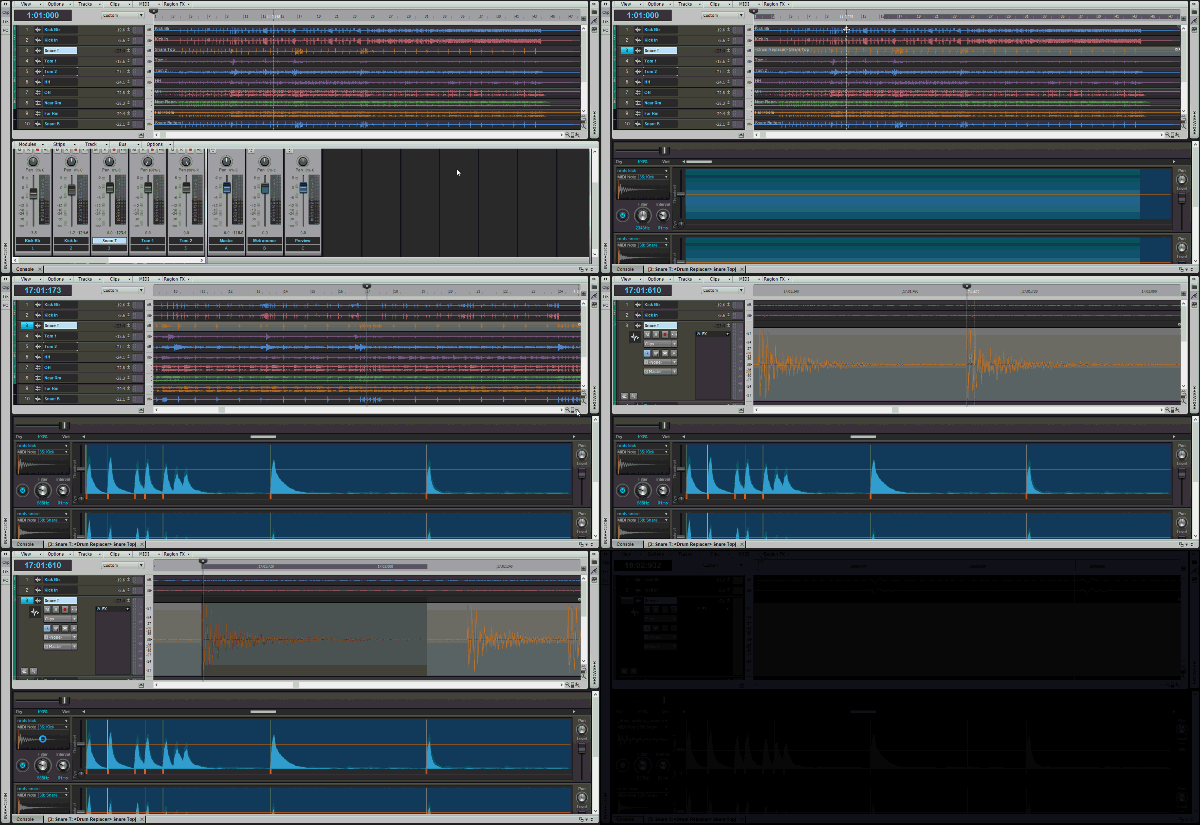
Good news – with Drum Replacer, it’s remarkably easy to use your own samples. All you need is one clean, bleed-free hit of any drum that you want to replace. Once you’ve found that hit, use Tab-to-Transient to place your Now Time at the very beginning of the hit. Use this as a guide to select from the beginning of the transient to where the hit reaches silence.
Now pay careful attention, this is where it gets tricky…
Drag the newly created sample into the active lane on the Drum Replacer.
Okay, that’s it, you’re done!

Using the same drum recording as before, this example replaces each track using the drums that were part of the actual recorded kit:
To take this a step further, it’s also possible to trigger your own drum sounds with proportional velocity using multiple samples of each drum by creating an .sfz file, but this is a rather advanced technique… another episode, so folks – stay tuned!
The “Other” Way:
Now that you know how to manipulate Drum Replacer on a basic level, it’s time to channel your inner mad scientist…
Exhibit A)
Ever wanted to turn your snare drum into a cuckoo-clock? No one ever said you had to use the Drum Replacer just for drums. Remember, you can load a variety of audio formats into the Drum Replacer, so these can be samples of anything – explosions, orchestral hits, a quacking duck…anything. All you need is an audio file. You can use any of SONAR’s built-in one-shots, try the sample-creation method described above to extract your own sounds from a loop, or get really crafty and build something from a Rapture Pro multisample file.
In this before-and-after example, the Drum Replacer is triggering a Brass Fall sample for the kick, and a Cuckoo-Clock sound for the snare. By adjusting the dry/wet slider to about 20%, we keep most of the original drum track, but have these obnoxious yet artistically gratifying samples layered perfectly in time on top of it.
Exhibit B)
If this isn’t a great prescription for a writer’s block, then I don’t know what is. By basically reverse-engineering the technique above, we can take any sound – guitar or bass, keyboard or kazoo – and make a drum pattern with it.
Check out the example below. With minimal tweaking, what started as a guitar loop became a pretty sweet and unique metal groove:
Yes, the Cakewalk Drum Replacer works extremely well for its intended applications but also can be abused and applied to scenarios for which it was certainly not designed. Regardless of how you use it, though, you’ll be able to achieve great results in ways that would have been at least difficult — and maybe even impossible — before.
(Note: Drum Replacer is exclusive to SONAR Platinum — try it for free by clicking here.)

