Take Control of Your Mix with Mix Recall

Mix Recall is a powerful way to organize mixes within a project—Whether you want to have a mix without vocals or a version of the song using a different processing chain on the drums—Mix Recall is the perfect solution for these types of situations, but it can do more than that. Say you are handed a project from someone else using SONAR or you got a new plug-in you want to try out using a previously recorded song, Mix Recall can help you handle this as well by getting your project reset back to a neutral position.

Adding the Mix Recall Module

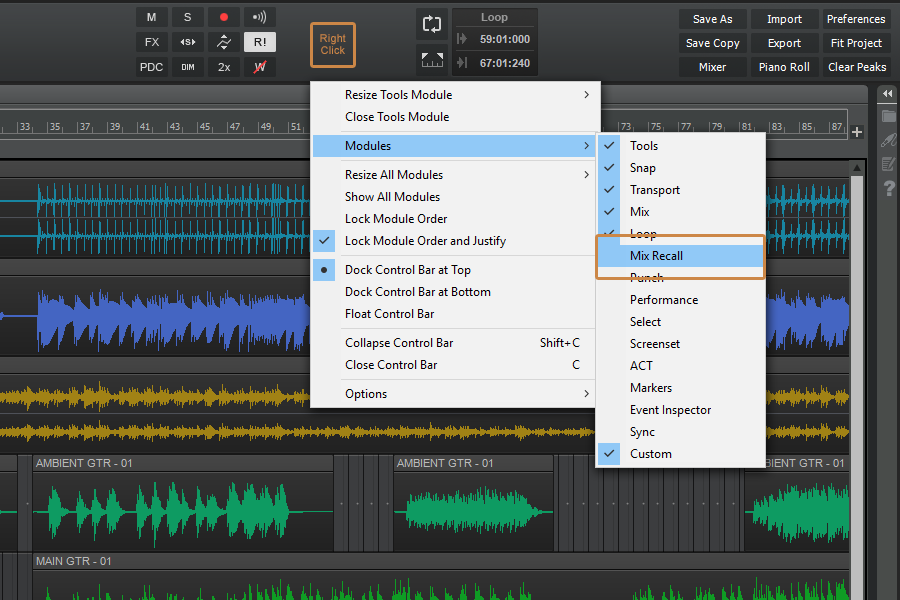
Check that you have the Mix Recall module available in the Control Bar. You can add it to the Control Bar if it’s not already there by right-clicking in a blank space and adding it from the menu.

Creating a Mix Scene

Start by creating a new Mix Scene with the current project setting using the [Save As New Scene] button.  This will allow us to make a change and then come back to the original point to see the difference.

Make a change to the mix by adjusting the volume on a couple of tracks or muting a track previously un-muted.

Click the [Save As New Scene] button on the Mix Recall module again to save these changes into another mix scene. Give this mix a unique name and save it. Now you can reload your previous mix and see the changes reverted back to where we started. Selecting the second mix scene with bring us back to the present state of the mix. You can also use the [Recall Previous Scene] button to toggle back and forth between 2 mix scenes or simply go back to the last mix scene you were at.

Resetting a Mix

Using a project you want to reset, click the drop down arrow on the Mix Recall module and select “Reset Mix…” from the menu. This will remove all automation envelopes, plug-ins, and reset the ProChannel back to the default modules along with any controls in SONAR.

That’s It! Now you can get back to working on your mix instead of trying to manage multiple saved versions of the same song or trying to manually remove each plug-in or automation envelope.

Advanced Techniques

  • Create a save point as you begin your mix once you have basic levels and panning so you can always go back and hear your project from the start.
  • Create save points within your mix to go back and see how it has progressed.
  • Save several iterations of a mix and bounce each when sending it to a client or friend. Here are some common iterations to save as Mix Scenes.
    • Vocal Up Mix (Plus 1-3dB)
    • Vocal Down Mix (Minus 1-3db)
    • No Vocals
    • Radio Edit Mix
  • Time box your mix by only giving yourself an allotted amount of time and dividing that up over what you need to do.  Save each stage as a Mix Scene to go back and look at your progress and how you did at each stage.

Mix Recall is available in SONAR Artist, Professional and Platinum

NBC "The Voice" Winner Javier Colon: HOW SONAR PLAYED A ROLE IN HIS NEW RECORD ON CONCORD MUSIC GROUP

You could call Javier Colon timeless.  After winning the inaugural season of NBC’s The Voice, he has battled even harder than he did during the show’s “Battle Round.” Last year his perseverance and life-long dedication to creating music on his own terms brought him to yet another chapter in his career with a new recording contract with Concord Music Group.  Concord Music Group is home to many enduring artists such as Ray Charles, James Taylor and The Kenny Wayne Shepherd Band to name a few, but it’s also one of the most respected and ageless labels of our time.

When the ink was dry, Javier who is a longtime SONAR user dug deeper than he ever had before, and started writing songs for the new record.  “A lot of the songs on this new record started right in my home studio on SONAR Platinum,” Javier recently told us in conversation.  “The thing I like about SONAR for writing is that it’s really quick for getting ideas down.  It’s like a creative partner.  Of course it’s great for mixing and creating masters too, but for me since I was fortunate enough on this record to be working with top-notch mixing engineers, the single most important thing was getting the songs right.  The features in Platinum are great for songwriting.  Even just the loops in Addictive Drums 2 are a great starting place to generate ideas—there’s just no shortage of inspiration in the program.”

Javier’s new record titled “Gravity” comes out April 15, and he recently shot a new video in LA (also including scenes from Europe) directed by Gregory Poppen.  The record itself is actually 15 songs, a bit of a different approach from pop music’s recent pattern of releasing fewer tracks per album.  On this record Javier really wanted to get more music out there for his fans who have stayed with him all this time throughout every phase of his career.

Continue reading “NBC "The Voice" Winner Javier Colon: HOW SONAR PLAYED A ROLE IN HIS NEW RECORD ON CONCORD MUSIC GROUP”

Mixing Vocals: Create Depth with a Digital Reverb

by Dan Gonzalez

Depth is a factor of every mix, just like Height and Width. This is a harder concept to grasp because there really is no “Depth” adjust on a mixer. In this article we’ll talk about how to create depth using the Sonitus Reverb.

Creating Depth using the Sonitus Reverb

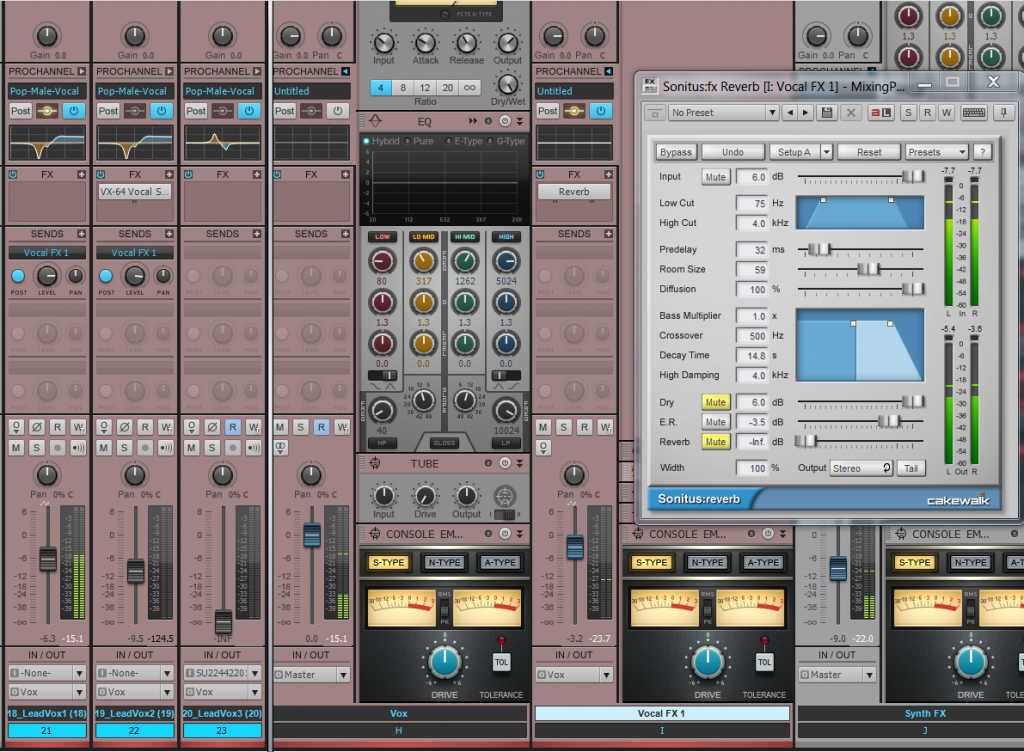
Digital reverbs are the proverbial swiss-army-knives of the mixing world. They are programmed in a way that emulates every part of a reverb. This includes the pre-delay, decay time, width, diffusion, early reflections etc. Since these emulate spaces like halls, plates, rooms, and other reverberant places – we can use them to create a room sound around our audio tracks for the purpose of creating depth. That’s a fancy way of saying that we can use reverb for depth. Here’s a vocal track that has no effects on it at all. It’s mixed into this track completely dry.

Continue reading “Mixing Vocals: Create Depth with a Digital Reverb”

Optimizing Vocals with DSP

Optimizing tracks with DSP, then adding some judicious use of the DSP-laden VX-64 Vocal Strip, offers very flexible vocal processing. 

By Craig Anderton 

This is kind of a “twofer” article about DSP—first we’ll look at some DSP menu items, then apply some signal processing courtesy of the VX64—all with the intention of creating some great vocal sounds. 

PREPPING A VOCAL WITH “MENU” DSP 

“Prepping” a vocal with DSP before processing can make the processing more effective. For example, if you want to compress your vocal and there are significant level variations, you may end up adding lots of compression to accommodate quiet parts. But then when loud parts kick in, the compression starts pumping. 

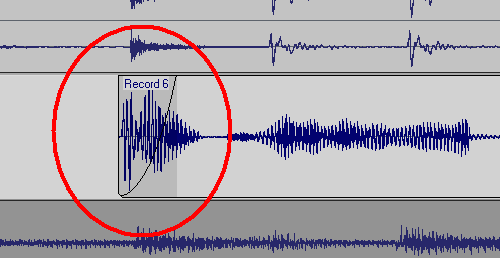
Here’s another example. A lot of people use low-cut filters to banish rogue plosives (e.g., a popping “b” or “p” sound). However, it’s often better to add a fade-in to get rid of the plosive; this retains some of the plosive sound, and avoids affecting frequency response. 

Adding a fade-in to a plosive can get rid of the objectionable section while leaving the vocal timbre untouched. 

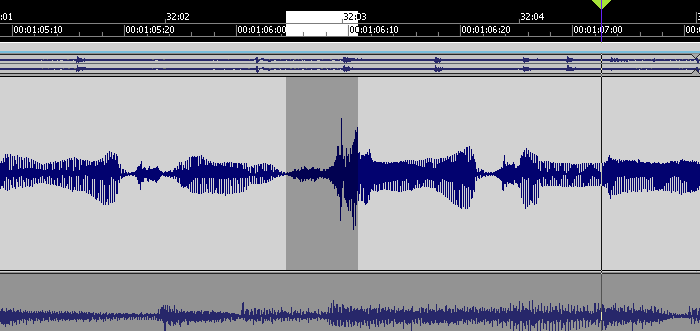
Also check if any levels need to be evened out, because there will usually be some places where the peaks are considerably higher than the rest of the vocal, and you don’t want these pumping the compressor either. The easiest fix is to select a track, drag in the timeline above the area you want to edit, then go Process > Apply Effect > Gain and drop the level by a dB or two. 

This peak is considerably louder than the rest of the vocal, but reducing it a few dB will bring it into line. 

Also note that if you have Melodyne Editor, you can use the Percussive algorithm with the volume tool to level out words visually. This is really fast and effective. 

While you’re playing around with DSP, this is also a good time to cut out silences, then add fadeouts into silence, and fadeins up from silence. Do this with the vocal soloed, so you can hear any little issues that might come back to haunt you later. Also, sometimes it’s a good idea to normalize individual vocal clips up to –3dB or so (leave some headroom) so that the compressor sees a more consistent signal. 

The clip on the left has been normalized and faded out. The silence between clips has been cut away. The clip on the right fades in, but has not been normalized. 
With DSP processing, it’s good practice to work on a copy of the vocal, and make the changes permanent as you do them. The simplest way to apply Continue reading “Optimizing Vocals with DSP”

5 Easy Ways to Improve Vocal Recordings in Your Home Studio

Building your home studio can be a tricky task – especially when you feel that the quality of the space that you record in barely contends with what the pro’s would use. Fear not, there are solutions for making your home studio (or to some: bedroom) a comfortable place to produce high-quality recordings. Here are 5 easy ways to improve your home studio’s vocal recordings.

1. Studio Headphones

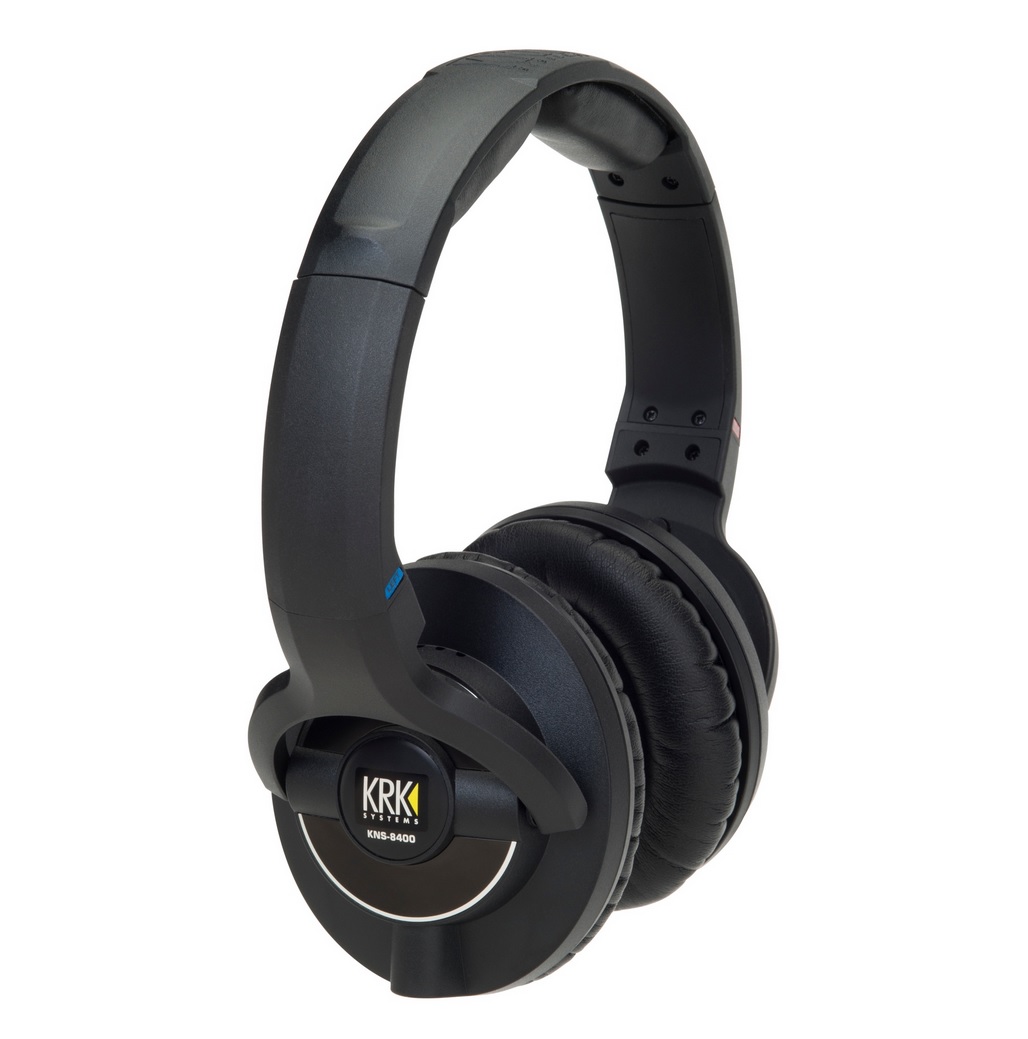
This goes without saying. Make sure you can supply your client(s) with a decent pair of headphones so that they can properly monitor the mix and record over backing tracks. Get at least 2 pairs in case the band’s producer or guitarist wants to follow along to the recording. You don’t need a pair of $400 headphones to get the client what they need to record.

2. Talk-back Functionality

Talk-back is a term used to describe a dedicated microphone that is activated when an engineer wants to speak to a performer in another room between takes. The talk-back microphone is typically routed directly into the headphone mix so that you can easily activate it and deactivate it without any real patching involved. Having this type of functionality in your home studio can improve the flow of the recording session and make the communication between you and the performer a seamless task.

3. Pop Filter/Vocal Shield


In the audio world there are different terms for just about everything. An important term to know is “plosive”. This is the sound a singer makes when they pronounce the letter “P”. This sound causes microphones to pop due to a high stream of controlled air that leaves the singer’s mouth. These pops are typically full of a low-end and can cause irregularities in the fidelity of the vocal track. Pop Filters and Vocal Shields can be used to break up that air and protect the quality of the signal so that your vocal is clean and even throughout.

4. Pre-amp

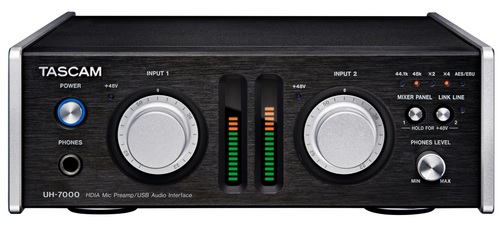
Nice pre-amps can come at a high cost, but if you’re only recording vocals at your home-studio then it’s worth the investment. Pro-sumer all-in-one devices are built to give the buyer as much bang for their buck as possible. This typically means cramming as many inputs and outputs into a signal 1U rack and charging barely anything for it. This is great until you realize that the Pre-amps are noisy and barely have any character. Do yourself a favor and try out a nice pre-amp to understand the difference in quality. If you can demo one out, then do it! Or better yet, nicely as a friend to borrow their nice gear. It will go a long way in the quality of your recordings.

5. Portable Vocal Booth

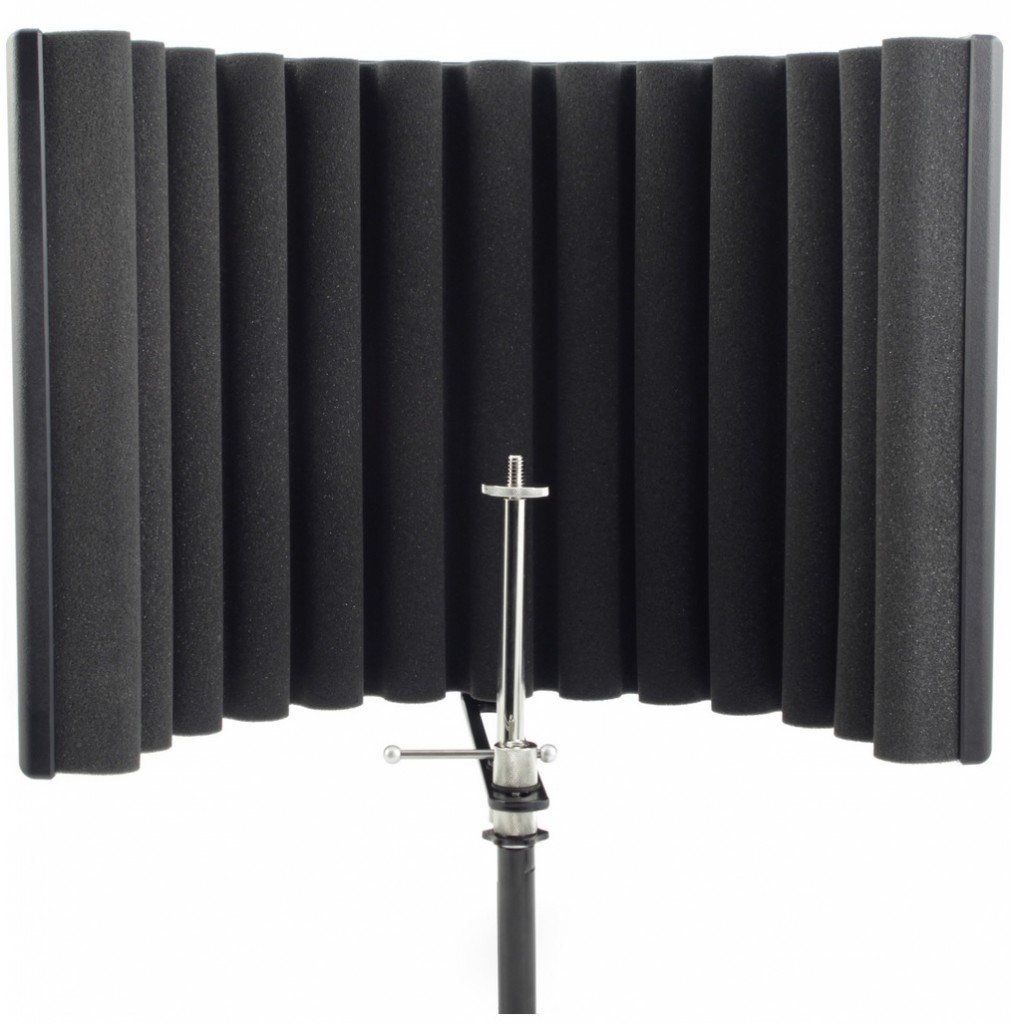
The room in which you record in will be as much a part of the recording as the singers voice. This can work in your favor and can also work against you. If you’re recording in a room surrounded by untreated drywall then you may not receive the quality sound you expected. Untreated rooms reflect sound back and fourth and even back into the microphone. These sound artifacts can be detrimental to the sound and cause the vocal recording degrade in quality. A great way to help alleviate this from happening is to get yourself a portable vocal booth that will help isolate the singers voice from reflecting off neighboring walls and back into the microphone. These are inexpensive and can go a long way.


Mixing Tips: Ten Nasty Mixing Mistakes

Not happy with your mixes? One of these reasons might be why

By Craig Anderton

Mixing is tough enough as is, but avoiding the following mistakes just might help the process go a little more smoothly—and give you audibly better results.

1. Mixing in a lousy monitoring environment

If you mix in a room with horrible acoustics or use inaccurate speakers that do tricks like hype the bass, your mix is doomed. You may think it sounds fine, and it might, because you’re compensating for the monitoring deficiencies. But as soon as you get the mix outside of your environment, it will likely sound dreadful.

To solve this problem, strive to use speakers that emphasize accuracy. They may not flatter your music that much, but that’s the point: If your mix sounds great over accurate speakers, it will at least sound decent over other speakers.

Proper acoustic treatment is ideal, but may not be possible. IK Multimedia’s ARC can help with fixing your acoustics (normally I see little value in “room tuning,” but IK’s system is quite effective). Also consider buying a really good set of circumaural headphones, and use them as a reality check compared to your speakers. Just remember that headphones give a particular “flavor” of reality that accentuates ambience and stereo separation; their main use in this case is evaluating the amount of bass because room acoustics aren’t a factor. However if you use something like Beatz, that won’t help—you want headphones designed for monitoring, not consumers.

2. Too much reverb or too little ambience

Some people seem to think that adding lots of reverb will compensate for a problematic part. Actually, all it does is give you a problematic part with too much reverb. Mitigating factor: If you’re doing a 60s revival/tribute recording, then make sure you do use too much reverb if you want to be authentic.

On the other hand, an overly dry sound doesn’t do you any favors either. We usually hear music in an acoustic environment of some kind, so adding in audio like room mics on drums (Fig. 1) can create a much more realistic and satisfying mix.

Fig. 1: Take advantage of the room mic option in Addictive Drums to give a more “real” feel.

Note that with recorded drums that already have some ambience, you can often make the existing ambience more prominent by putting the drums through the Concrete Limiter. By reducing the peaks Continue reading “Mixing Tips: Ten Nasty Mixing Mistakes”

Make Your Voice Sound Like Daft Punk with Melodyne Editor and SONAR X3 Producer

Certain effects have defined generations of music. The decade of the 80’s for example was a major era for reverb. In today’s pop music, the use of pitch correction software seems to be an effect that many artists and producers are utilizing creatively. Daft Punk has been using this effect for a number of years now, making them one of the first to bring this vocal style to the level of popularity it is today.

SONAR X3 & Melodyne

To create a Daft Punk inspired vocal effect Continue reading “Make Your Voice Sound Like Daft Punk with Melodyne Editor and SONAR X3 Producer”

Singing Tips – Don’t Tax Your Voice Before a Vocal Performance

This post originally appeared on Disc Makers’ blog. Reprinted with permission.

Resting before a vocal performance is key, but environmental things, like being in a place where the decibel level is too high, can adversely affect your capacity to sing.

What makes a great vocal performance? There are many answers to that, and they don’t all require being the most technically gifted singer with a five-octave range. Confidence, charisma, and the right repertoire are among the many subjective elements that go into any great performance – live or when recording vocals in a studio – in addition to having chops as a singer.

“‘Synthesis’ is this fancy word we throw around in our college,” says Daniel Ebbers, Associate Professor of Voice at the Conservatory of Music of the University of the Pacific, “and I do think it’s an important thing. We study all these things individually, but it’s the synthesis, a command of your vocal instrument, a command of the stage, a command of the language and the language you use – all these things synthesized together make a great vocal performance.”

Of course, much of what helps a performer reach the point where all these elements come together is preparation, practice, and experience. A good vocal warm up, and general vocal care, can help ensure peak vocal performance.

Continue reading “Singing Tips – Don’t Tax Your Voice Before a Vocal Performance”

8 Steps for Comping The Perfect Vocal Take

Comping is a term used for editing multiple instances of the same performance together into one flawless track. Cakewalk has adapted this functionality in order to bring this kind of workflow right to the fingertips of every SONAR X3 user. Within this article I am going to show you my own workflow for comping together a vocal track.

1. Create Markers for the different sections of your song. This should have been done during the actual recording. As I’ve stated in other posts, it’s really important to label your sections so that you can move from one place to another without a second thought. Fast paced environments are not very forgiving when the engineer loses their spot. It creates distractions and impedes the artist’s or group’s concentration.

2. Identify the individual sections of the song with split points so that you can understand where each section edit starts and ends. This works in tandem with Markers to help isolate the larger sections of the song. Simply expose your take lanes by using the short-cut Shift+T, expand the track height of the takes, and then click and swipe on the lower half of your audio regions to make split points.

Clicking and swiping can be viewed here Continue reading “8 Steps for Comping The Perfect Vocal Take”

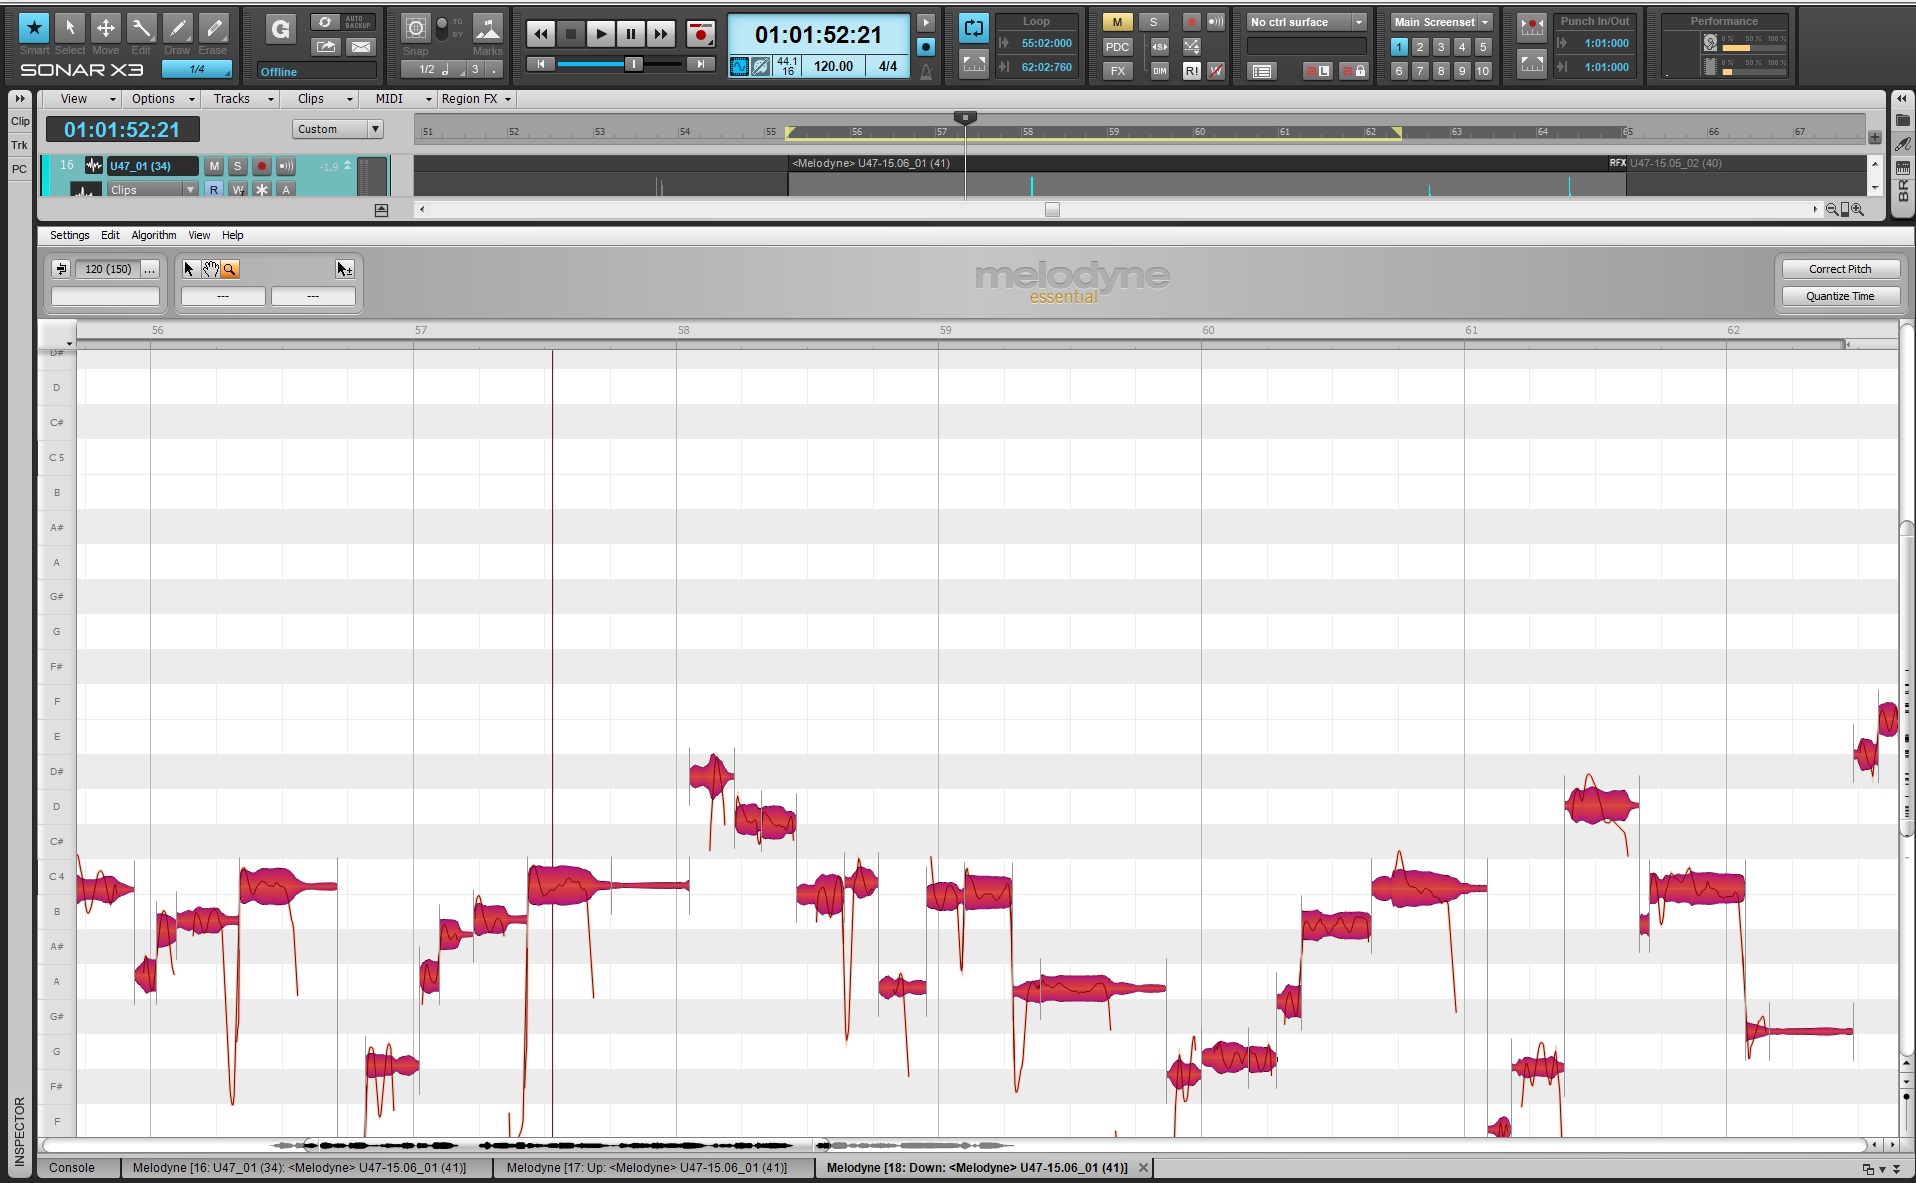
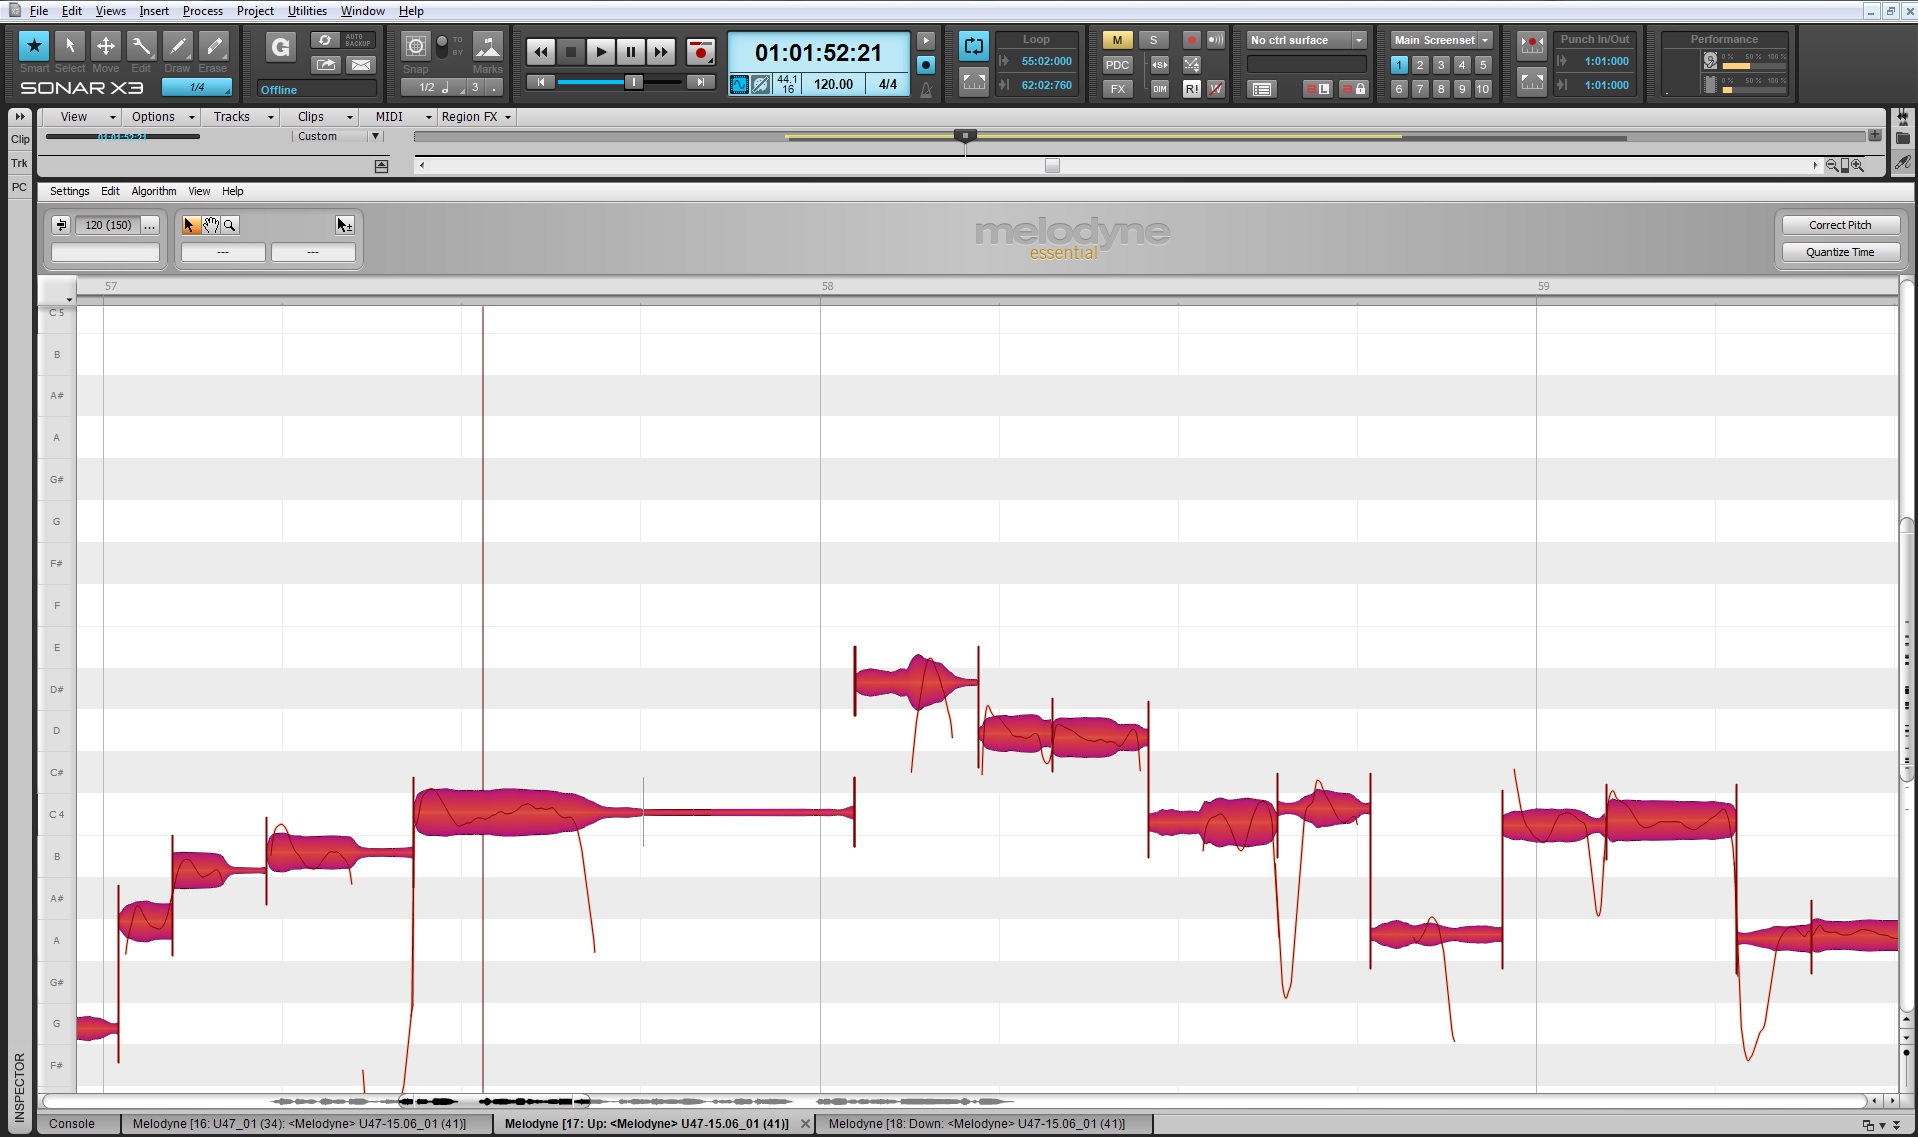
SONAR X3 Quicktip: Make Your Voice Thicker (Studio & Producer)

Vocal production can lead to many different types of processing. Sometimes subtle enhancements to your vocals can make all the difference in the final mix.

SONAR X3 Studio and Producer introduces Melodyne Essential as a fully integrated and pitch correction editor.  This easy to use software allows users to access their Melodyne right from the Multi-Dock without needing to perform any special tricks within the software.

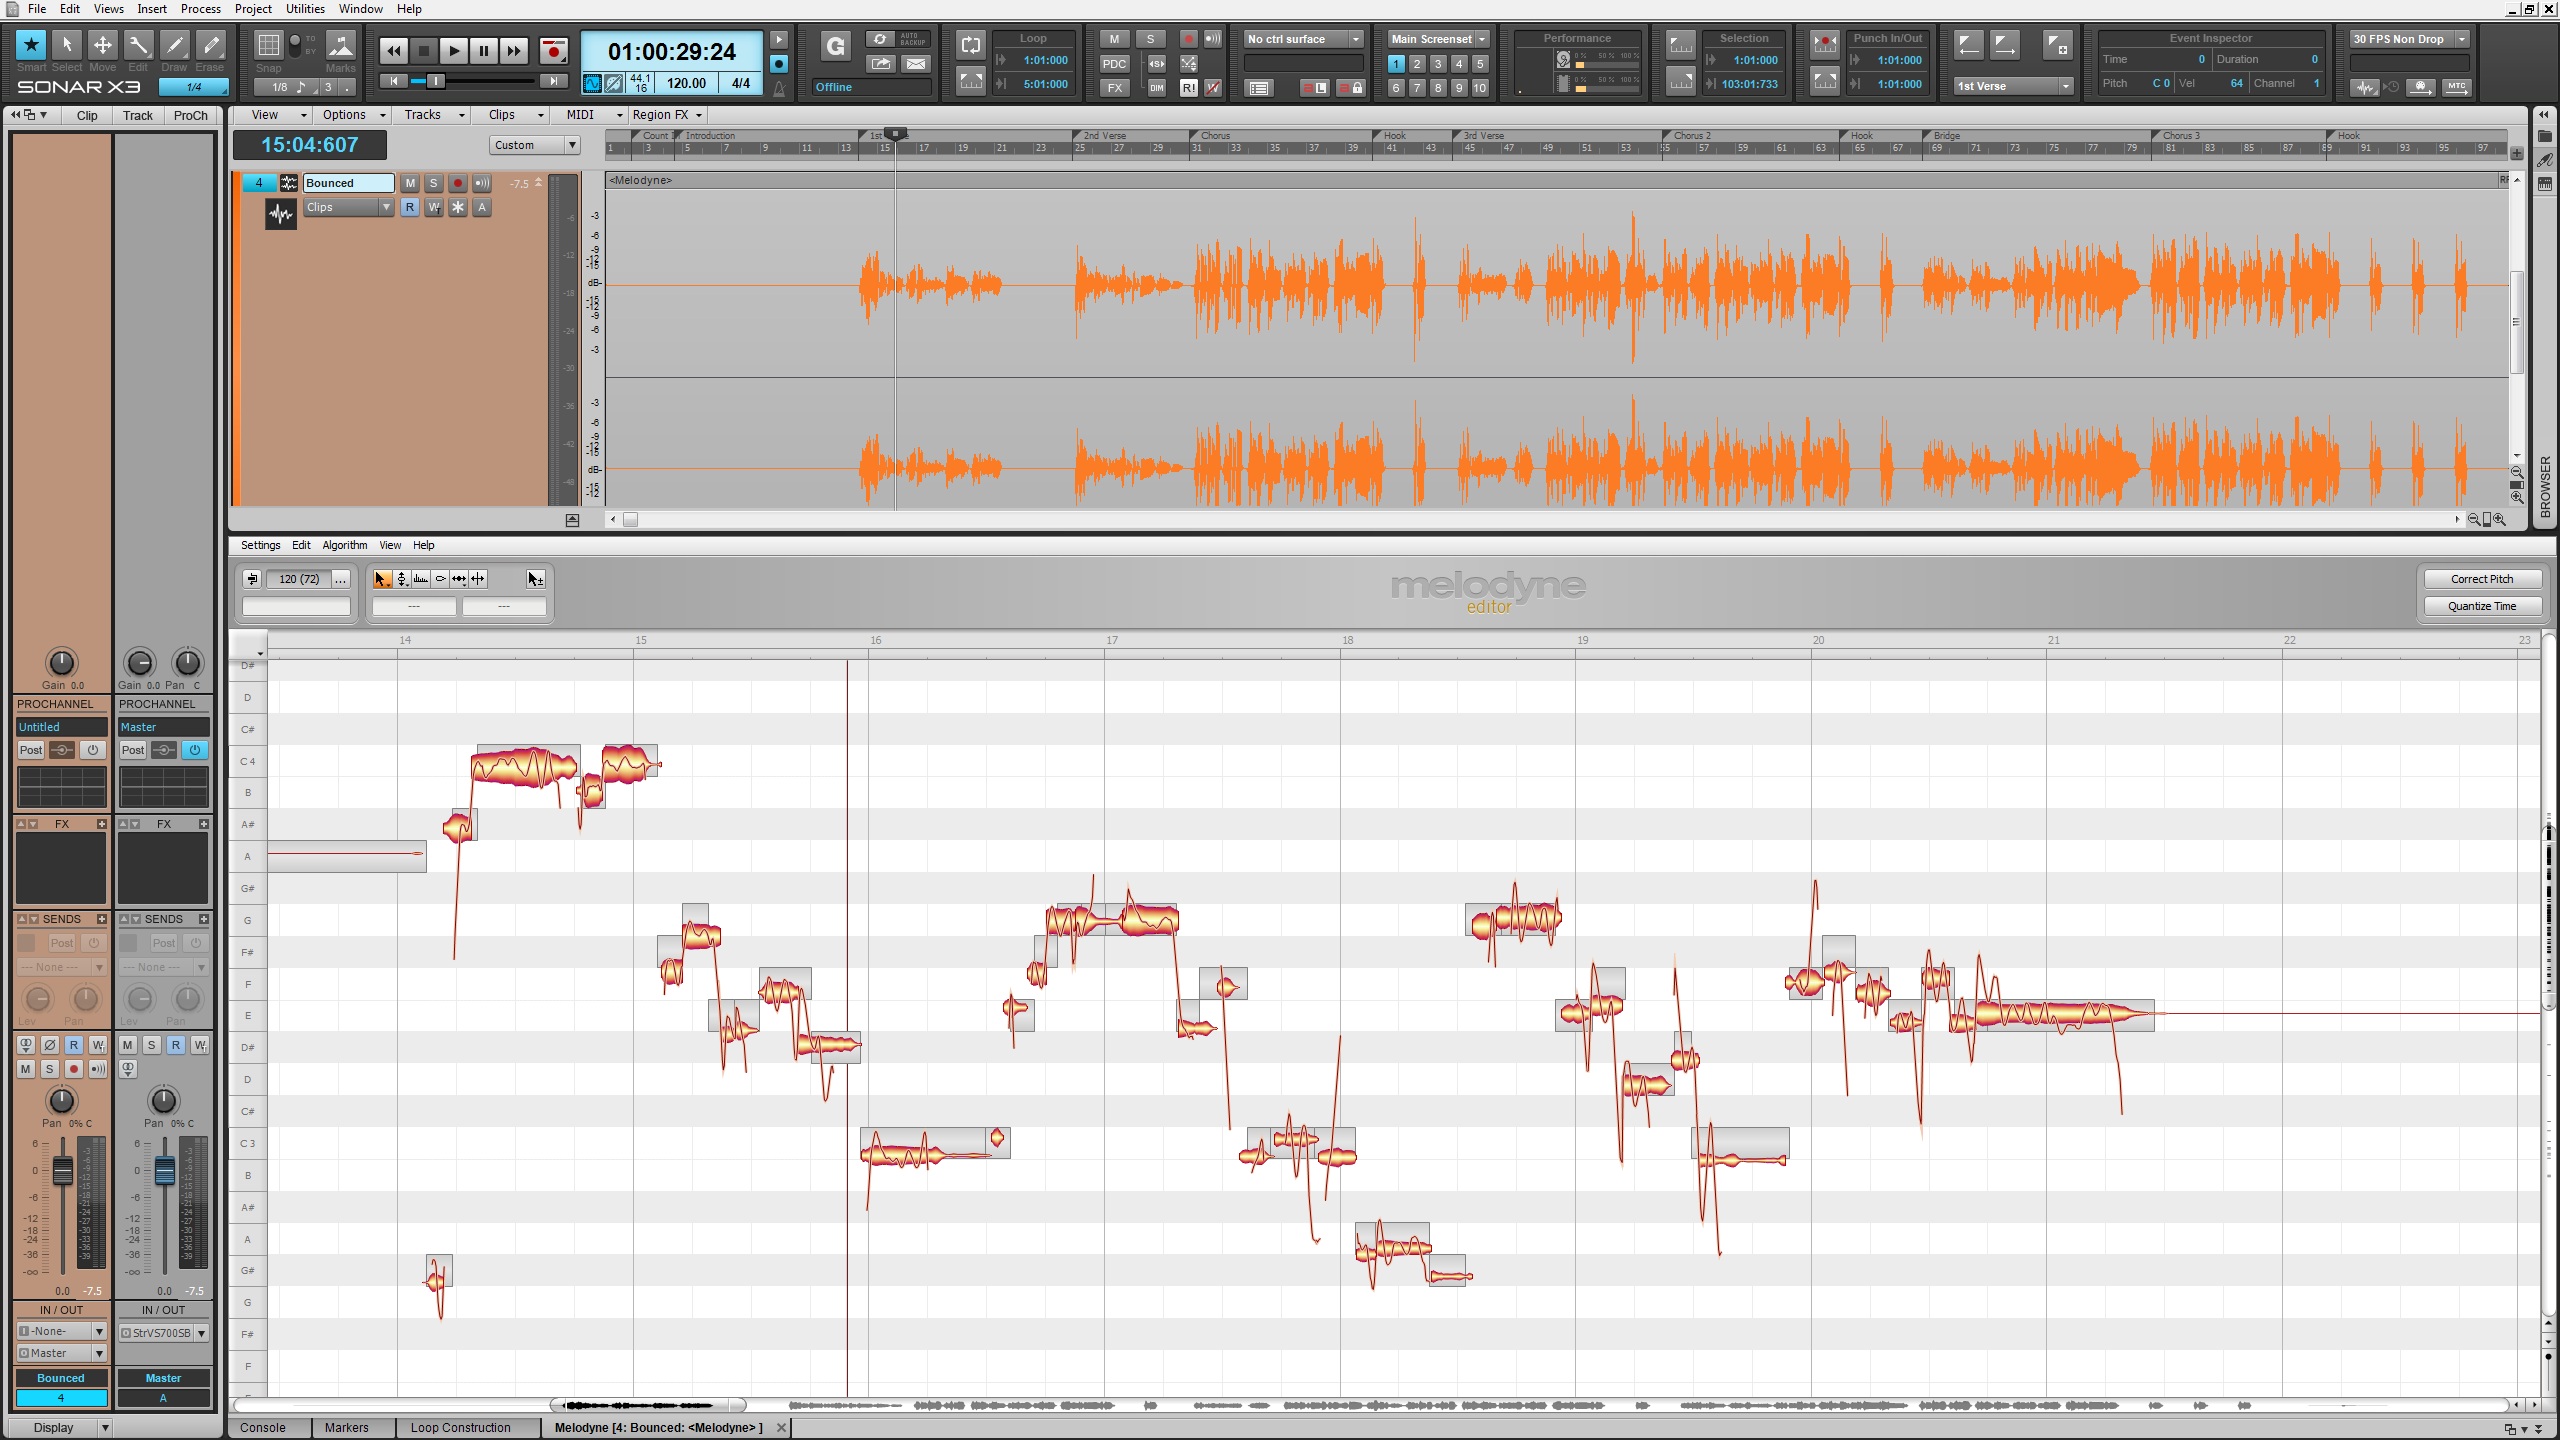
One great way to process vocals is to add low end to them without using EQ. Thickening up a vocal can be a tricky task but now with the use of Melodyne you can take advantage of it’s pitch correction abilities.

With the deep integration of ARA technology simply do the following to edit pitch:

  • Insert a vocal track that needs some help in the lower register.

  • Highlight the desired audio region

  • Go to Region FX and highlight Melodyne

  • Melodyne will appear in the Multi-Dock

Minimize the Melodyne Editor for now and do the following in the Track View

  • Highlight your audio track and right-click on the Track Pane

  • Select [Clone] and make sure to enter 2 in the selection for “repetitions”

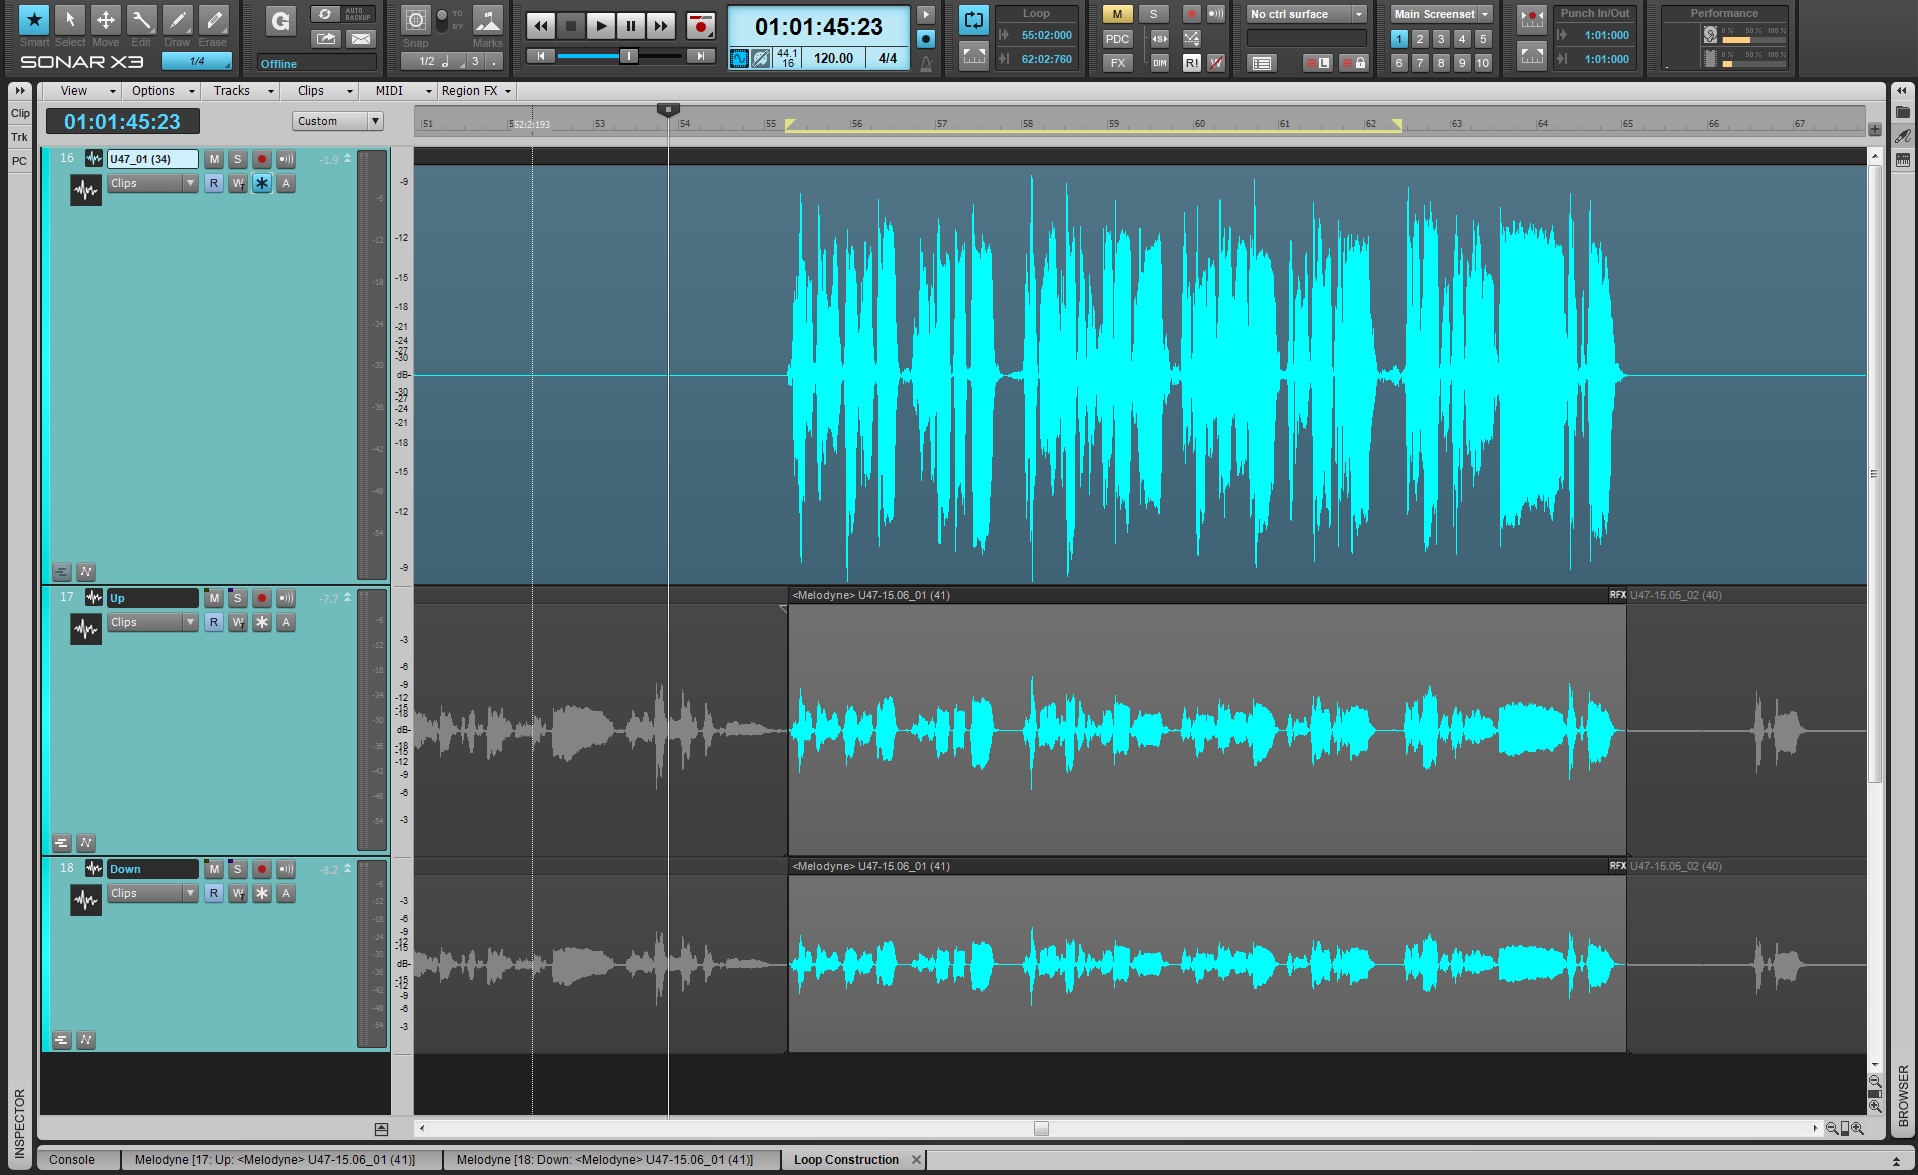
This will load two tracks with the same Melodyne region enabled.

  • Open up the first region within Melodyne

  • Go to Edit > Select All or simply hit CTRL+A

  • Within Melodyne use the magnifying glass tool to zoom in on one specific blob

  • Within Melodyne go to Edit > Pitch Grid and select No Snap

  • Using the “Main Tool” click and drag the entire selected track down every so slightly

  • Do the same with the second cloned track but in the opposite direction

  • Now pan both tracks somewhat out in width and mix them underneath your main vocal track

  • Apply a Low Pass Filter to both and any other processing you want to experiment with, here I added some saturation to both tracks

The goal here is to create a parallel thickness underneath your track so that your vocal becomes more present in the lower and punchier frequencies.

Try it out, and experiment with more parallel DSP effects and you’ll start down a route of unlimited effects.

Learn more about SONAR X3 here.