SONAR X3 Feature Spotlight: Melodyne Essential with ARA integration

Addictive Drums

One of the most talked about features in SONAR X3 has been the new ARA integration. Every version of SONAR X3 now includes ARA Integration which allows you to use Melodyne as if it were part of SONAR X3. In addition, SONAR X3 Studio and Producer also include Melodyne Essential (retail value $99).

While including Melodyne Essential is a huge upgrade in terms of pitch correction, it’s the ARA integration that really takes it over the top. The main benefit of ARA is that it allows SONAR to integrate with plug-ins that can edit and analyze audio, such as Melodyne. ARA greatly improves the workflow when using plugins like Melodyne that do MIDI analysis and pitch and timing correction. Compatible plug-ins can exchange information about the project’s timeline data, including audio clips, tempo, pitch, rhythm and much more, which allows them to behave as if the plug-in was part of SONAR.

In a recent article on CreateDigitalMusic.com, industry expert Peter Kirn stated the obvious: “there’s no other way to say this: Celemony’s Melodyne line of products is just better than any other offering out there.” Kirn later went on to proclaim, “Cakewalk has done more with the SDK for ARA than any other host so far.”

Read the ARA integration article on CreateDigitalMusic.com

Developer Notes: SONAR X3 ARA Integration

SONAR X3 Tip: Easy Audio to MIDI Conversion

SONAR X3 Tip: Make your vocal thicker with Melodyne

SONAR X3 Tip: Drum Replacement with ARA and Addictive Drums

Upgrade to SONAR X3 Producer (includes Melodyne Essential)

SONAR X3 Quicktip: Drum Replacement with ARA Integration and Addictive Drums (Producer)

Within SONAR X3 converting Audio to MIDI has never been easier thanks to our deep ARA integration. This opens up many doorways for users to convert their mono audio tracks to MIDI. One great use case for this is replacing drums or adding samples to your drum tracks to enhance their sound.

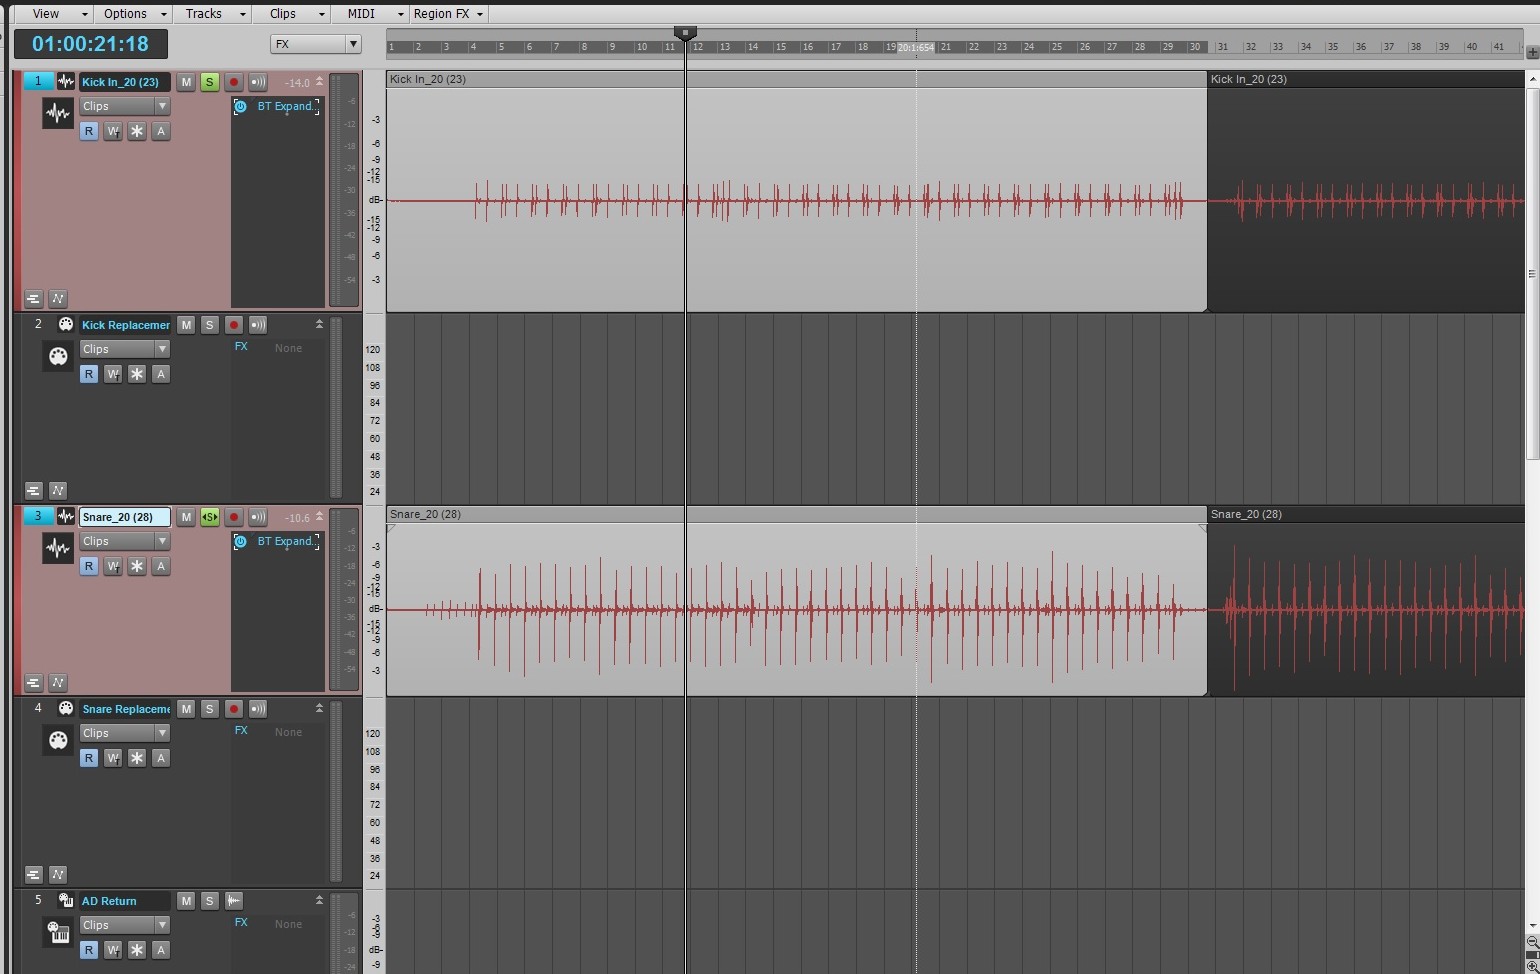
Within SONAR open up your Kick and Snare tracks.

Add a MIDI track below each audio track that you wish to replace.

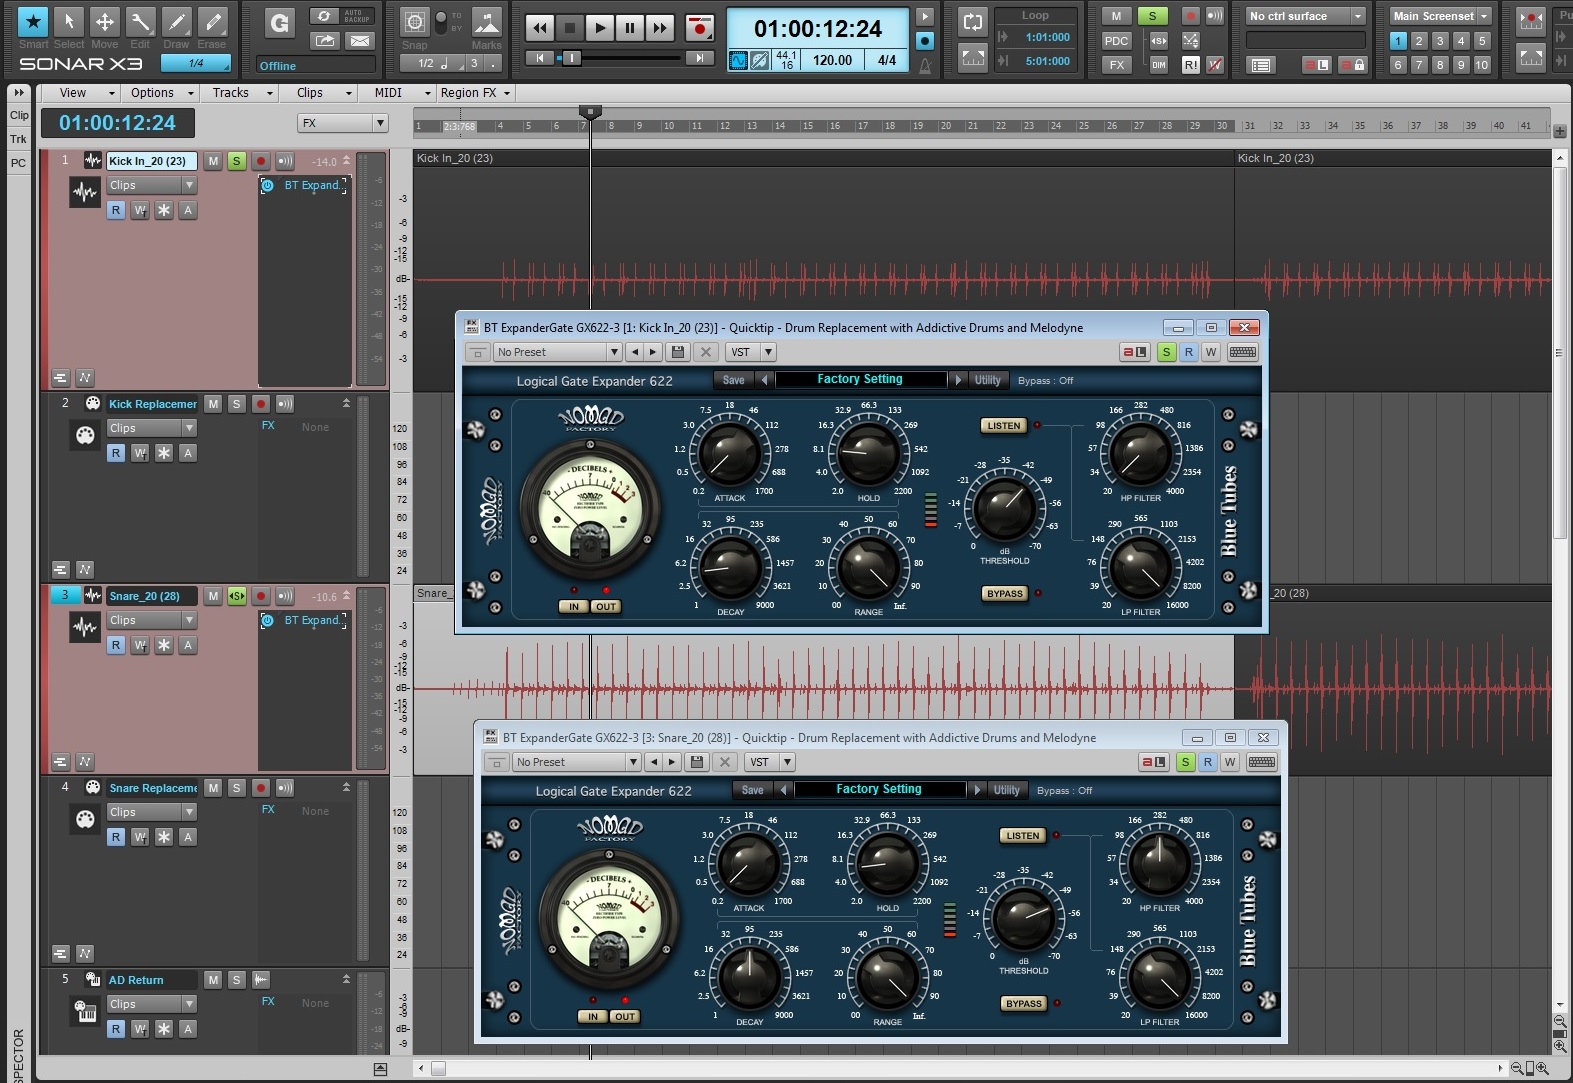
Add our new Logical Gate/Expander to both the Kick and Snare and adjust the effect so that instruments are heavily gated and sound like the following:

After this, Freeze both tracks.  This is going to render the Kick and Snare tracks with the gates embedded in the audio tracks.

Next, latency.  Let’s drop the latency to the lowest settings. Go to Edit > Preferences > Driver Settings and set your latency low. This will help with timing.

  • If you are using MME (32bit) set your latency closer to [Safe].
  • If you are using ASIO then select [ASIO Panel] and set your buffer size very low.

Drag and drop your kick and snare tracks to their associated MIDI track. Conversion will occur.

Next up, open the PRV and move your MIDI Clips to the drum you wish to use. You can highlight the entire row of MIDI clips by selecting their associated piano key and transpose them easily by going to Process > Transpose.

Once this is done insert Addictive Drums. Make sure to have the following ticked after selecting Insert > Soft Synth > Addictive Drums:

  • First Synth Audio Output
  • Synth Property Page
  • Recall Assignable Controls
  • Ask This Everytime

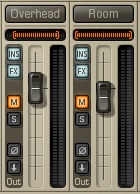
Mute the Room and OH microphones within Addictive Drums.  This reduces any additional ambiance.

Workflow Tip: It’s good practice to do this type of replacement section by section at first so that you can get an idea of how it works.

Mix these drums in behind your current mix.

Learn more about ARA Integration, Addictive Drums, and SONAR X3 Producer here.

Did You Know SONAR X3 Comes with a Dual Phaser and Chorus?

SONAR X3 Studio and Producer have included the mind-bending Dual Analog Phaser and Dual Analog Chorus units from Nomad Factory.  As you might know both units are time based effects and are variations of delay units. Both types of effects split the signal into two parts and then combine them again after the signal passes through the unit.


  • Phaser – When the audio passes through the unit the signal is flipped out of phase and then a LFO-controlled notch filter sweeps through this signal’s frequency spectrum.

  • Chorus – One part of the signal is unaffected and the other is delayed anywhere from 20ms-50ms and then it’s pitch is modulated by a Low Frequency Oscillator


The included LFO on both units has Square, Sine, Triangle, and Sawtooth options for even more sound design options. Within the Chorus users have the ability to control each side of the stereo audio signal independently as well as change the different LFO rates.

Check out the destruction done to a simple jazz drum loop. There really are not limits to the sounds that these plugins can produce.

Learn more about these plugins and SONAR X3.

SONAR X3 Quicktip: Focus the Low end of your Kick and Snare with a Program EQ

Program Equalizers have been around since the 1950’s and in SONAR X3 Studio and Producer users will receive two of these incredibly emulated modules.

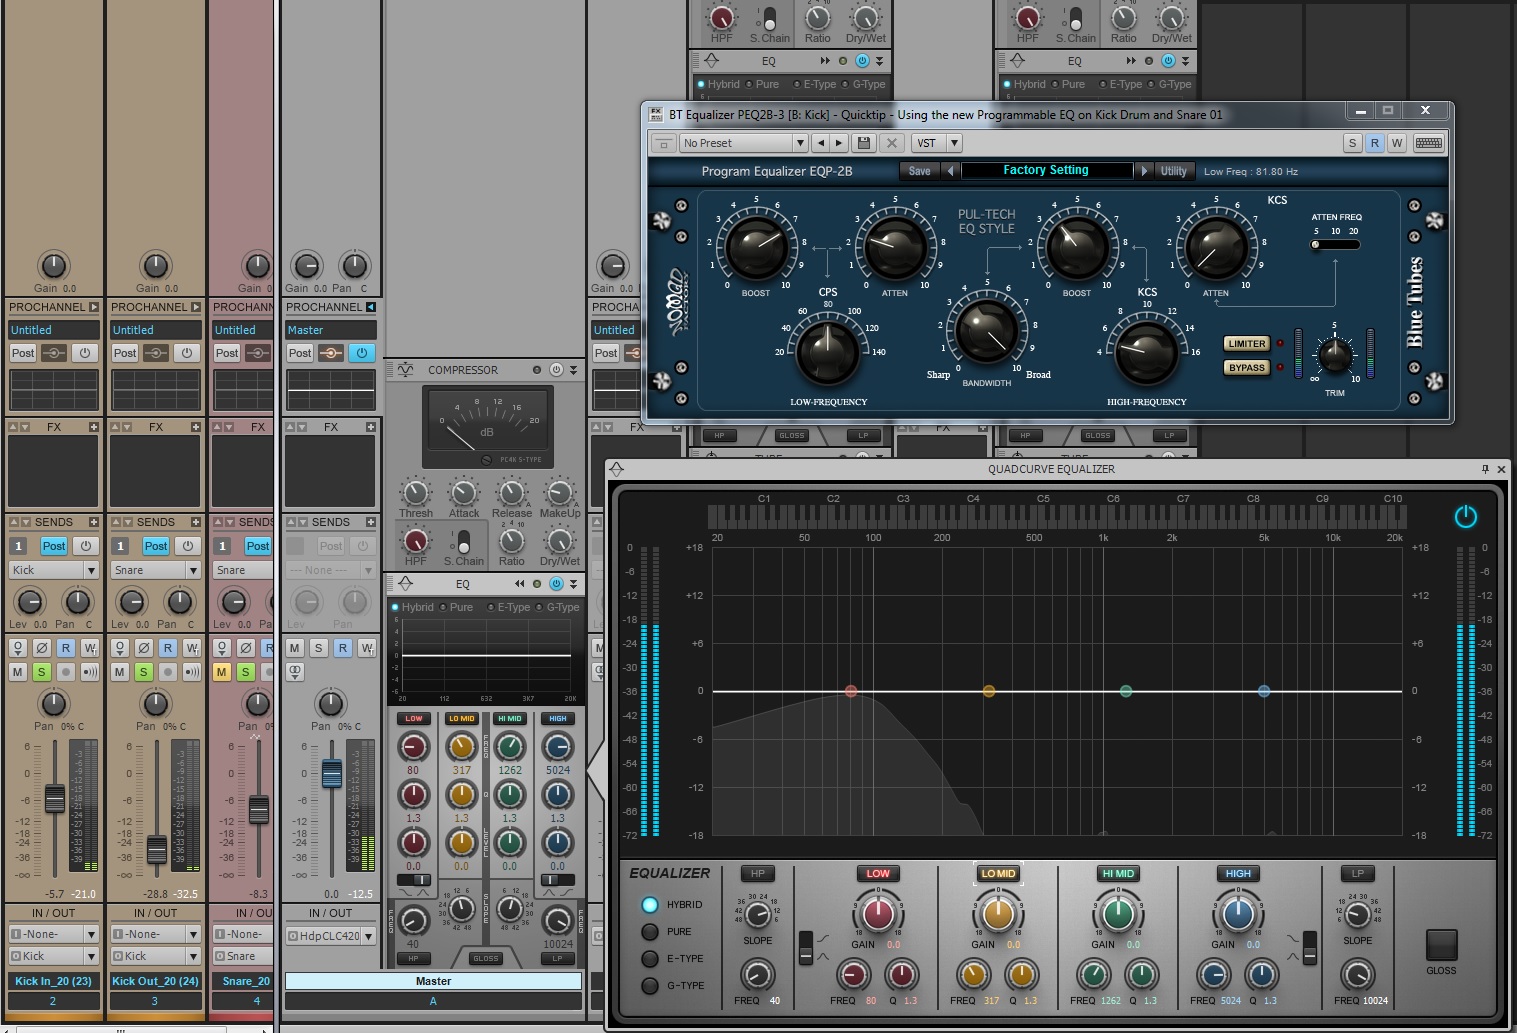
Let’s take a look at what the new Program Equalizer EQP-2B can do for our kick drum. You’ll notice that we have the ability to both boost and cut the same frequencies on this EQ. Choose a low frequency from the variable adjustment and then begin increasing the Boost parameter.  Increase it all the way and your kick drum signal will become quite overpowering. Adjust the Attenuate knob and the signal will begin to smooth out and focus your signal a bit better.

For this country kick drum I picked 80Hz for the low end and boosted the signal to it’s ceiling.  Next, I adjusted the Attenuate knob to it’s lowest setting. This effectively sharpens out the boosted signals and gives the signal a unique focus in the lower spectrum. After that, I adjusted for clarity and the end result is very useable.

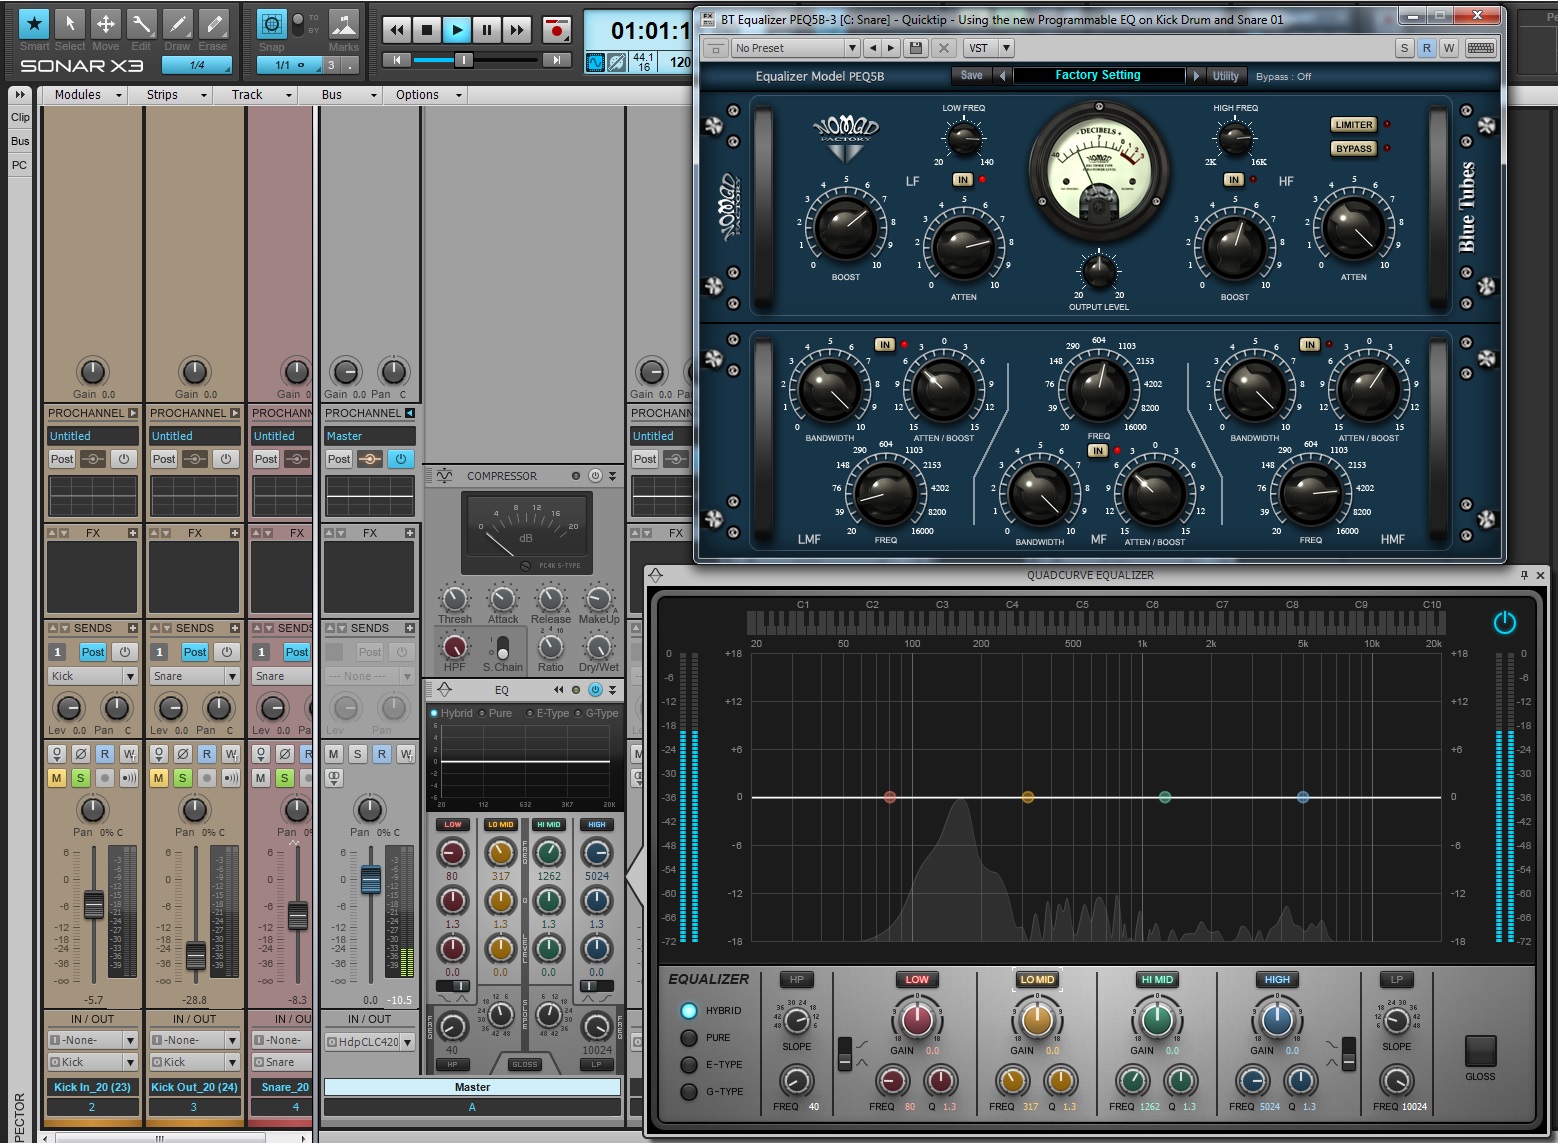
Moving to the snare, user’s can get the same effect using the PEQ5B.  This has some of the same algorithms as the EQP-2B but with an added EQ section in the bottom of the plugin. At first listen the Snare sounds a bit boxy and grainy in the low and mid-range.

I applied a sharp reduction around 50HZ with the Low Shelving EQ and then another sharp cut around 800Hz.  This seemed to make all the difference. Afterwards, I moved to the upper half of this EQ and applied the same thinking that I did to the Kick but instead I focused the EQ to around 122HZ.  This will allow the snare to get out of the way of the Kick.  Next, boosting and then attenuating the signal seemed to focus the shape of the Snare right where I needed it.

Learn more about these plugins and SONAR X3 here.

Hidden Gem: The Blue Tubes Stereo Imager [SONAR X3 Studio & Producer]

Now in SONAR X3 Studio and Producer we’ve included a wonderful hidden gem.  The Blue Tube Stereo Imager is a spatial plugin that allows you to widen and narrow out your mixes with a simple slide from left or right.

This type of effect can be useful in situations where you need to A-B mixes quickly in mono.  Some one would say “I can just use the pan pots or stereo interleaved switch” but the beauty of this plugin is that you could use this plugin in both a musical and technical fashion. Continue reading “Hidden Gem: The Blue Tubes Stereo Imager [SONAR X3 Studio & Producer]”

SONAR X3: Exploring Your New EQs

SONAR X3 comes with an array of brand new EQ plugins. All of them have their own purpose sound and functionality. A great new feature within SONAR X3 is the ProChannel QuadCurve EQ Zoom & Analyzer as well. Using both of these you can truly get an idea of how each one works and how it affects your audio signal.

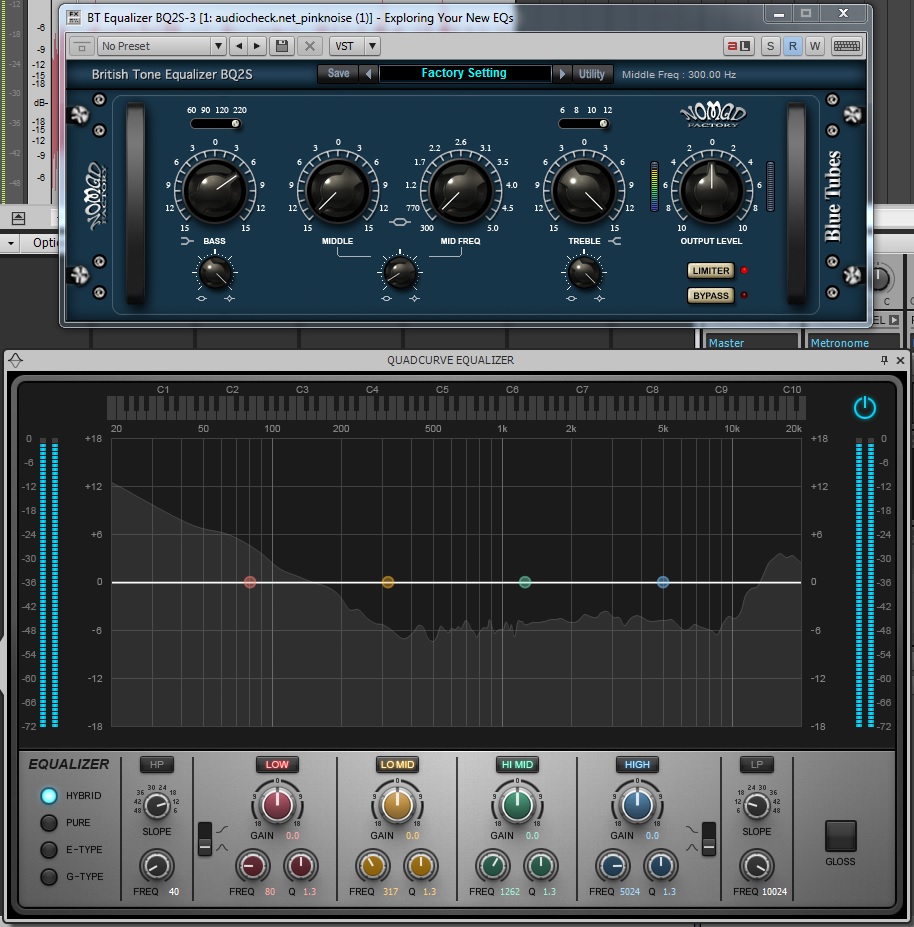
I’ve sent some pink noise through the new QuadCurve EQ & Zoom’s Analyzer so that you can see how the settings are affecting the full frequency spectrum.

The first one is the British Tone Equalizer. This is a 3-band EQ with a Low Shelving Band, Midrange Band, and a High Shelving Band. All have variable bandwidths.

You can see in the diagram below that, even though this appears to be a rather simple EQ, it’s middle adjustment is perfect for instruments that sit in the mid-range.

Both the high-shelving and low-shelving frequency adjustment are not as complex, but would be ideal for carving out their respective frequencies in both the high and low spectrum.

The Bandaxall EQ is a quickly and easy two band EQ with fixed frequency cut offs. This is perfect for Continue reading “SONAR X3: Exploring Your New EQs”

SONAR X3 Quicktip: Setting Up Your Addictive Drums

Addictive Drums is the brand new drum synth available in SONAR X3 Producer. The sounds, fast load times, internal mixing, and abundant groove clips makes this possibly the only drum synth you’ll need to use from now on.
There are a couple ways to insert this new synth into SONAR X3 Producer. The first way is to insert Addictive Drums as a simple instrument track.

  • Within SONAR X3 Producer go to the Media Browser and select the “Synth Tab”
  • Click the + button and go to VST 2 and/or Addictive Drums


Convert Audio to MIDI in SONAR X3

Converting Audio to MIDI has never been easier. Now in SONAR X3 Studio and Producer, Melodyne Essential with deep ARA integration makes it a very simple process.

  • Open up SONAR X3 Studio or Producer
  • Go to the Media Browser and make sure you are on the “Media” tab – Selecting the letter B on your computer keyboard will open and close this view.
  • The drop-down menu below “Media” will give you the different content options for SONAR X3.
  • The “Move up one level” button allows you to move backwards through the file hierarchy of your computer. Selecting this 2 times will bring you to your Cakewalk Projects folder.
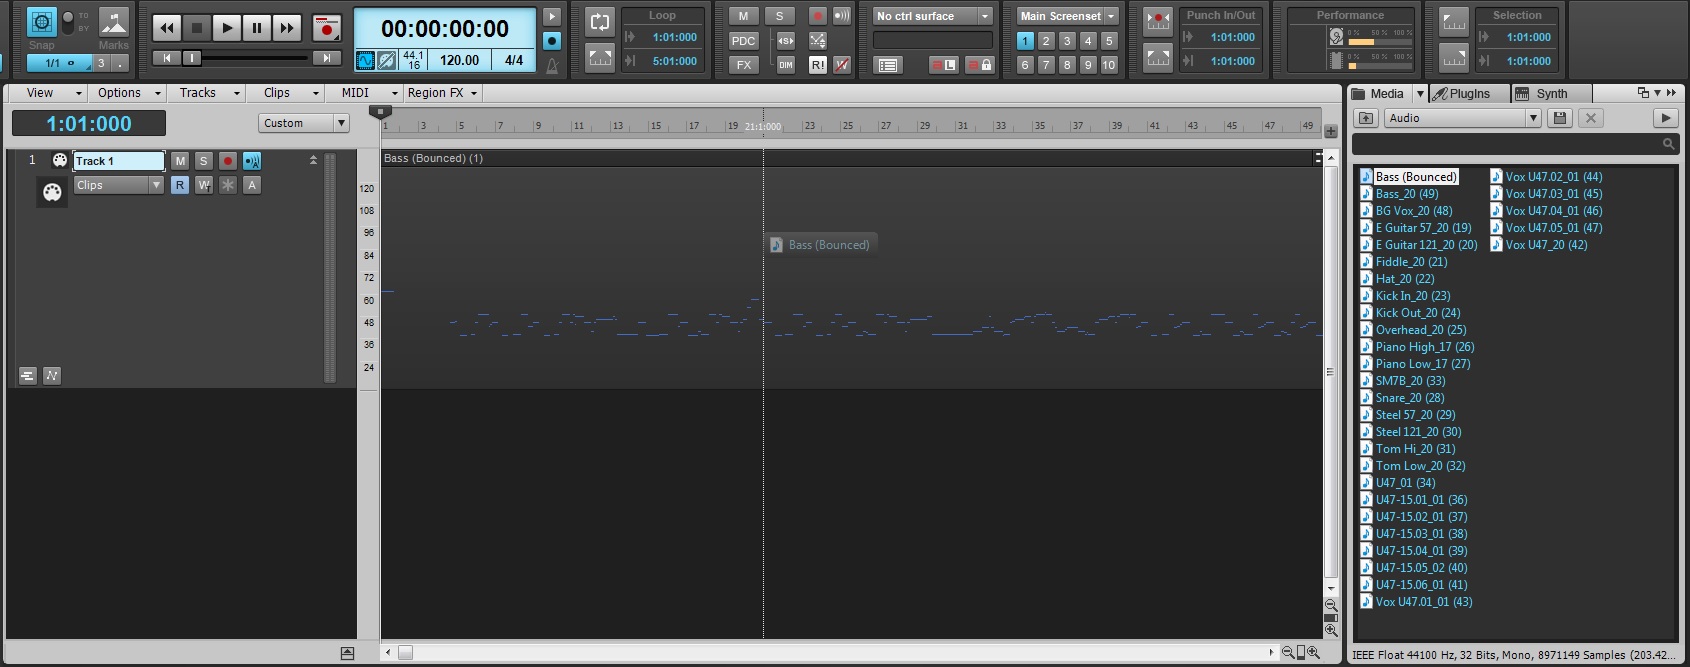
  • Use the Media Browser to locate a mono audio file.
  • Once located simply drag and drop it onto a MIDI Track.
  • You can also drag an audio clip from an audio track onto a MIDI track.

Conversion will occur.

All this is made possible with the newly integrated ARA technology from Celemony.

Learn more about ARA and SONAR X3.

Did You Know That BiFilter2 is a Sound Designer's Dream?

When installing SONAR X3 Producer your eyes may have sailed across a plugin by Tone2 called “BiFilter2”. This program is more than just a filter, its a sound designer’s dream. It’s simplicity is misleading at first glance, but once you open up the hood of this plugin you’ll be grateful of it’s existence.  This filter has everything from basic EQ cutoffs, Comb Filtering, to even FM filtering.

Most of the time plugins of this nature are limited to the filter type being set as a preset and then the user having the ability to automate and modulate the different parameters within that preset. BiFilter on the other hand allows you to radically switch between filter types without hassle and even automate distortion types all within a single automation lane.  Essentially, one could use a single BiFilter per track and switch distortion filter types without stacking up on multiple plugins or introducing unwanted CPU usage.

BiFilter alone is worth cracking open and listening to.  Once you hear this unbelievable plugin every template you make will have one pre-loaded into your FX Bin.

Learn more about Bifilter 2 and SONAR X3 here.

SONAR X3 Quicktip: Gating unwanted noise using the NEW logical gate/expander GX622

Using the new Blue Tubes Logical Gate/Expander you now have yet another incredible tool for your day to day projects. A pretty common problem that happens when recording an entire band is noise bleed from other instruments when one stops and another is still playing.  In this particular case there is quite a bit of drums leaking  in the quiet parts between chord stops of this piano part.  Some would argue that throwing a Gate on there can make your signals sound robotic and choke your signal if not set correctly. So, let’s go through a step by step way of setting up your Gate setup correctly.