by Dan Gonzalez
Impulse responses (IRs) are small bursts of audio data that represent the frequency response of a real life space. By using convolution reverbs we can use them creatively in our productions to increase depth and ambience.
The concept
To accurately represent a real life space, you need to excite it with a frequency sweep or a loud sound rich in complex frequencies like a starter pistol or snare drum hit. For my IR samples in the New York Impulse Pack I used a sine sweep. The sine sweep is the easiest way to make sure you get an accurate representation of a space.
Once you capture that space, you must process it with a utility that shortens the
frequency sweep into a state that convolution reverbs can use. Typically this audio data is no more than a split second long.
I used this workflow to produce the Impulse Responses you’ll receive in our content for users that are a part of the Braintree Release for SONAR Platinum and SONAR Professional.
The equipment you’ll need, and what I used

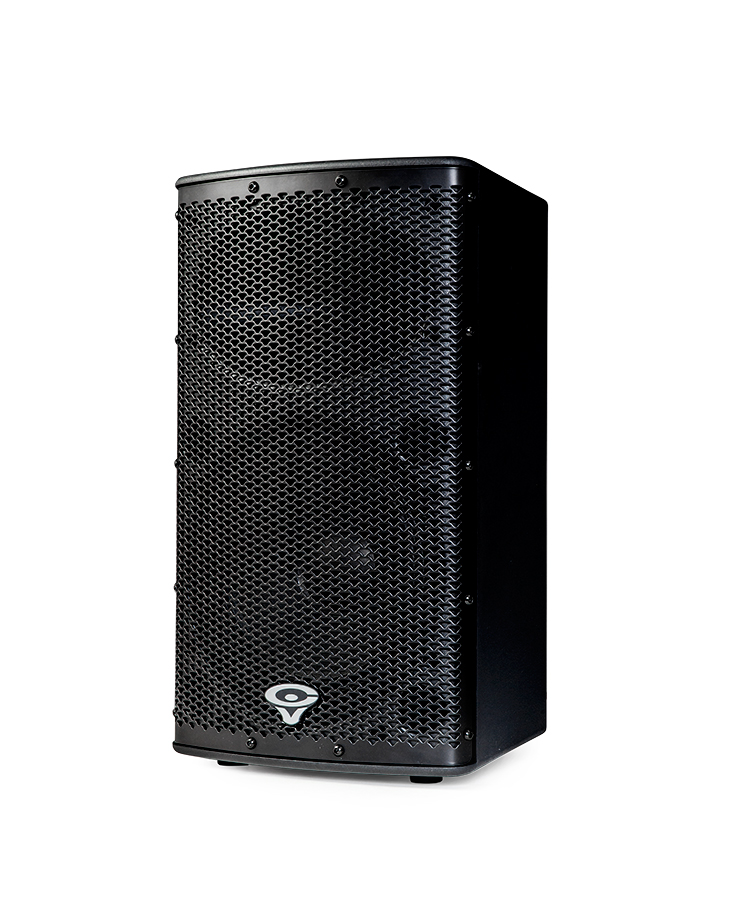
– Speaker, Studio Monitor, or Full Range Flat Response Speaker. I used a Cerwin Vega P1000.
“The P1000X is a two-way, bi-amped, full-range bass-reflex speaker. It employs a 10-inch woofer and a high-frequency compression driver, powered by a custom Class-D amplifier. With a power rating of 1000 watts, the P1000X is one of the most powerful PA product in its class. A proprietary hemi-conical horn provides premium sound clarity over an even and wide coverage area. A built-in mixer with convenient I/O connections allows for simple and fast setup, while Enhanced EQ, VEGA BASS boost and High-Pass Filters enable exact tuning and exceptional performance for any application. The P1000X is a versatile product that can be used as a single speaker for small venues, set in pairs or installed with threaded hang points, and combined with the P1800SX Sub for a larger venue needing more coverage and SPL. Its compact size makes it ideal to operate as a floor monitor as well.”
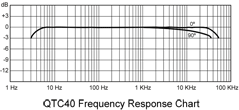
– Pair of microphones, the flatter response the better. I had the benefit of borrowing a pair of Earthworks QTC40s.
– The ability to create a sine sweep. I used this free utility and then bought the license for $40.
– An audio interface to simultaneously play the sine sweep and capture sound of the excited space. My RME UFX worked out wonderfully because it has very clean preamps and multiple inputs and outputs.

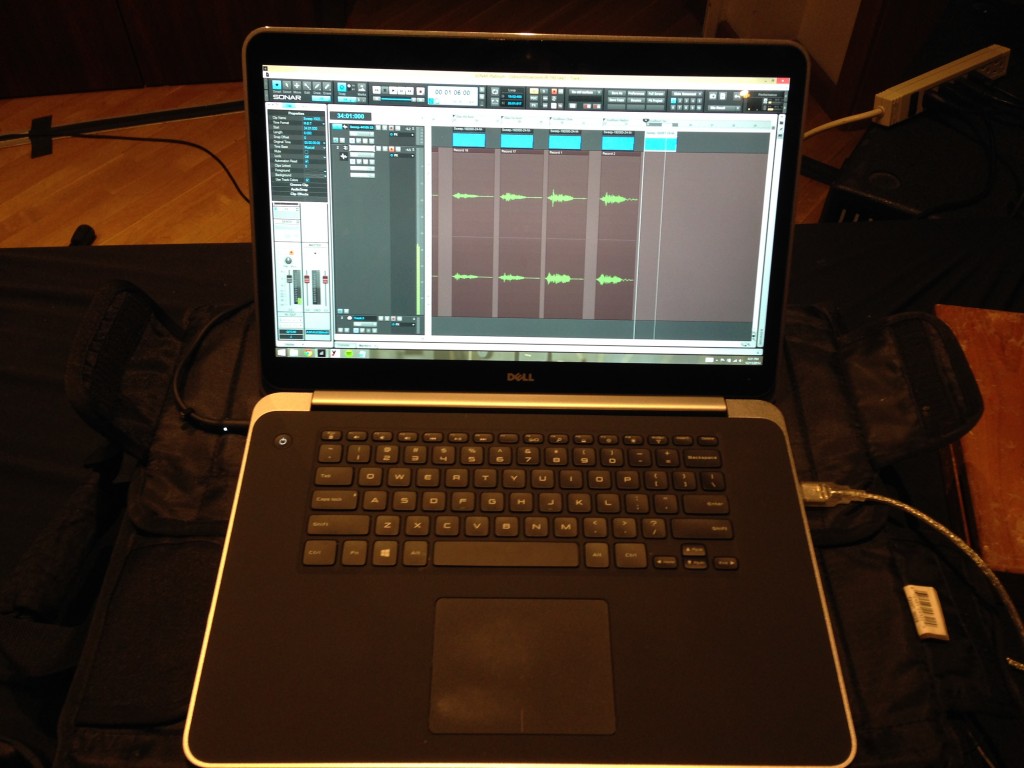
– Of course, SONAR Platinum
The Microphones
The Microphones I used are pretty high-end reference microphones that have a frequency range from 20Hz-40kHz. These are great because they represent the sound of the room without any color. Since we’re in the business of capturing the sound of room – they make a perfect companion for this type of project.
Setting up the spaces
I setup the microphones in a few initial spots to get an idea of how the space sounded. On my first try it was clear that the space was going to sound good no matter where I placed the microphones and the source speaker. Both spaces are not highly reverberant, they just have quality sounding early reflections – which makes them great for getting initial sounds of drums and vocals.
 The goal was to capture the room in various positions. I setup the microphones in close stereo pairs, distant stereo pairs, and subsequently moved the source speaker around them to bounce the sine sweep off different walls. During the processing stage, I then split these stereo IRs out into mono signals so that users could have a choice between stereo or mono processing. For example, here’s a rough diagram of how I setup the microphones in the center with various speaker locations for one set of IRs.
The IRs themselves
To excite the space I created a sine sweep with Voxengo Deconvolver.
BE CAREFUL WHEN PLAYING THESE, THEY ARE LOUD
Once the signal played through the room it sounds like this:
Large Room IR Example
Not very exciting on first listen, but when you process the tracks and apply some instruments you start to understand their sound. Here is a drum passage without the impulse response:
Now, here’s the same drum passage with the ambience of one of the “Big Room” IRs that I captured. You can hear how it doesn’t necessarily add reverb, but more an ambience.
Lastly, here’s just the ambience:
Small Room IR Example
Here’s a synth passage without any IRs applied:
Here’s the same patch with one of the SmallRoom IRs applied:
 Mixing vocals is a tricky process since it is the most prominent element in any song. Vocals can be processed a very specific way to achieve an effect of sorts – or they can be processed in subtle ways to fit nicely into an overall mix. Most of the time you’ll be dealing with the latter of the two so it’s important to figure out ways to enhance your vocals without overpowering the other instruments.


