As seen in the December ’13 issue of Regional Musician
Purchasing your first recording program is an exciting new chapter in your musical career. Now you can record your band practices and start making demos of all your songs in the comfort of your home. However, sometimes during the initial setup of your DAW, you will run into a few issues that could potentially be frustrating. Fear not, by following the right steps and optimizing your studio set-up, you will be well on your way to recording your music.
This article is meant to offer guidance on some terms and subjects that could be a bit foggy when starting out. Following these tips will help make your transition to a DAW much better and help you focus on what’s most important – making music.
1. First Things First
a. Terms you should know
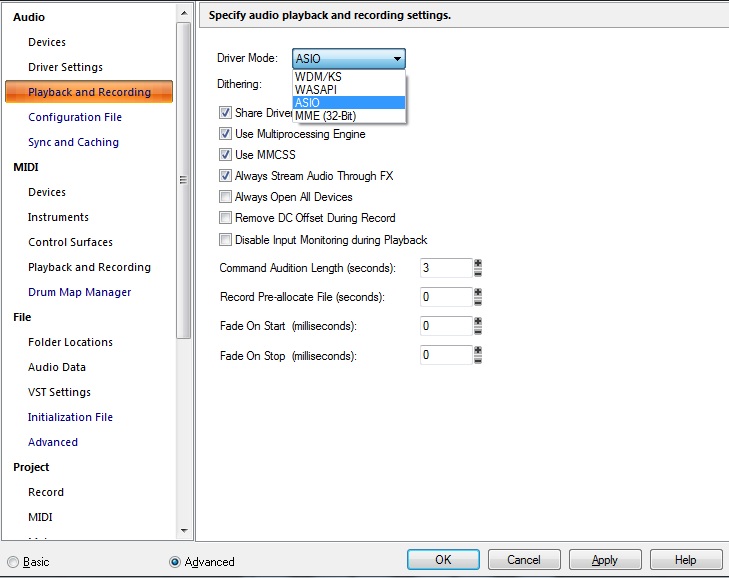
Make sure you are using the correct driver mode for your audio interface or sound card. Some of these words may seem foreign to you if you are just starting out, so:
Driver Mode – When referring to digital audio we use the term “driver mode” to talk about a setting within your DAW that allows recording hardware to communicate with your computer.
Audio Interface – Recording hardware that typically connects to a computer via USB or Firewire and allows you to record instruments or vocals.
Sound Card – There is a system on your computer that handles all of the sound. This is called the sound card. It is where you plug your headphones into your computer. Typically, stock sound cards are meant for basic audio playback. You can purchase more advanced sound cards and install them in your computer for more advanced audio playback options.
Audio interfaces come in all different sizes and shapes with many different features. Make sure you purchase the right one for you.
Check out this article: DAW Best Practice: How To Pick The Right Interface
b. Am I using the correct driver or driver mode?
The most recommended audio driver mode is ASIO and there are some signs to look for if you feel that you are not operating in that mode. They can be obvious give-aways:
- Dropouts – Upon playback your audio engine will freeze and tell you that you have exceeded the limitations of your audio engine.
- Crashing – The DAW will freeze and then need to close.
- High Latency – When recording, you will notice that there is a delay between when you sing or play a note and when it actually gets recorded into the DAW.
- Garbled Playback – Playing anything in the DAW will sound like there is something very wrong with your audio. Not to worry, you are probably using the wrong driver mode.
- Pops & Clicks – You will notice that your audio will sound like it has some distortion on it. This may be Pops and Clicks. Sometimes this can be a giveaway that you need to change your driver mode.
When receiving an audio interface make sure to install the software that comes in the box. If there is no software then make sure to head straight to the manufacturer’s website and download the software that is compatible with your operating system version. You should always download the latest driver when possible. This is a crucial step in setting up your DAW.
Now that you have your audio interface setup, the time has come to get sound out of your DAW. There are many ways to do this so let’s go through them.
a. Terms you should know
Audio Loop – Audio loops are pre-made audio files of instruments and grooves. The reason they are used so frequently is because they can automatically synchronize to a DAW’s tempo and be extended to as many measures as you want.
Waveform – A waveform is the visual representation of an audio file. They show the loudness of an audio file over time.
Audio Input/Return – Inputs and returns operate with the same intention: To receive audio signals from a source.
- Microphone inputs receive the audio signal from a microphone.
- Effects Return receives data or audio from the output of a device.
Audio Output/Send – Outputs are the opposite of inputs. These expel data or audio.
- The output of a guitar plugins into the input of a guitar amp.
- Mixing board have sends available for routing audio to other locations of the board.
Phantom Power – Condenser microphones require a power supply of 48v. Just about any microphone input has an option for this. This can be damaging to ribbon microphones so make sure you understand the type of microphone you are using before even thinking about turning on Phantom Power.
a. Dropping in Audio Loops and Files
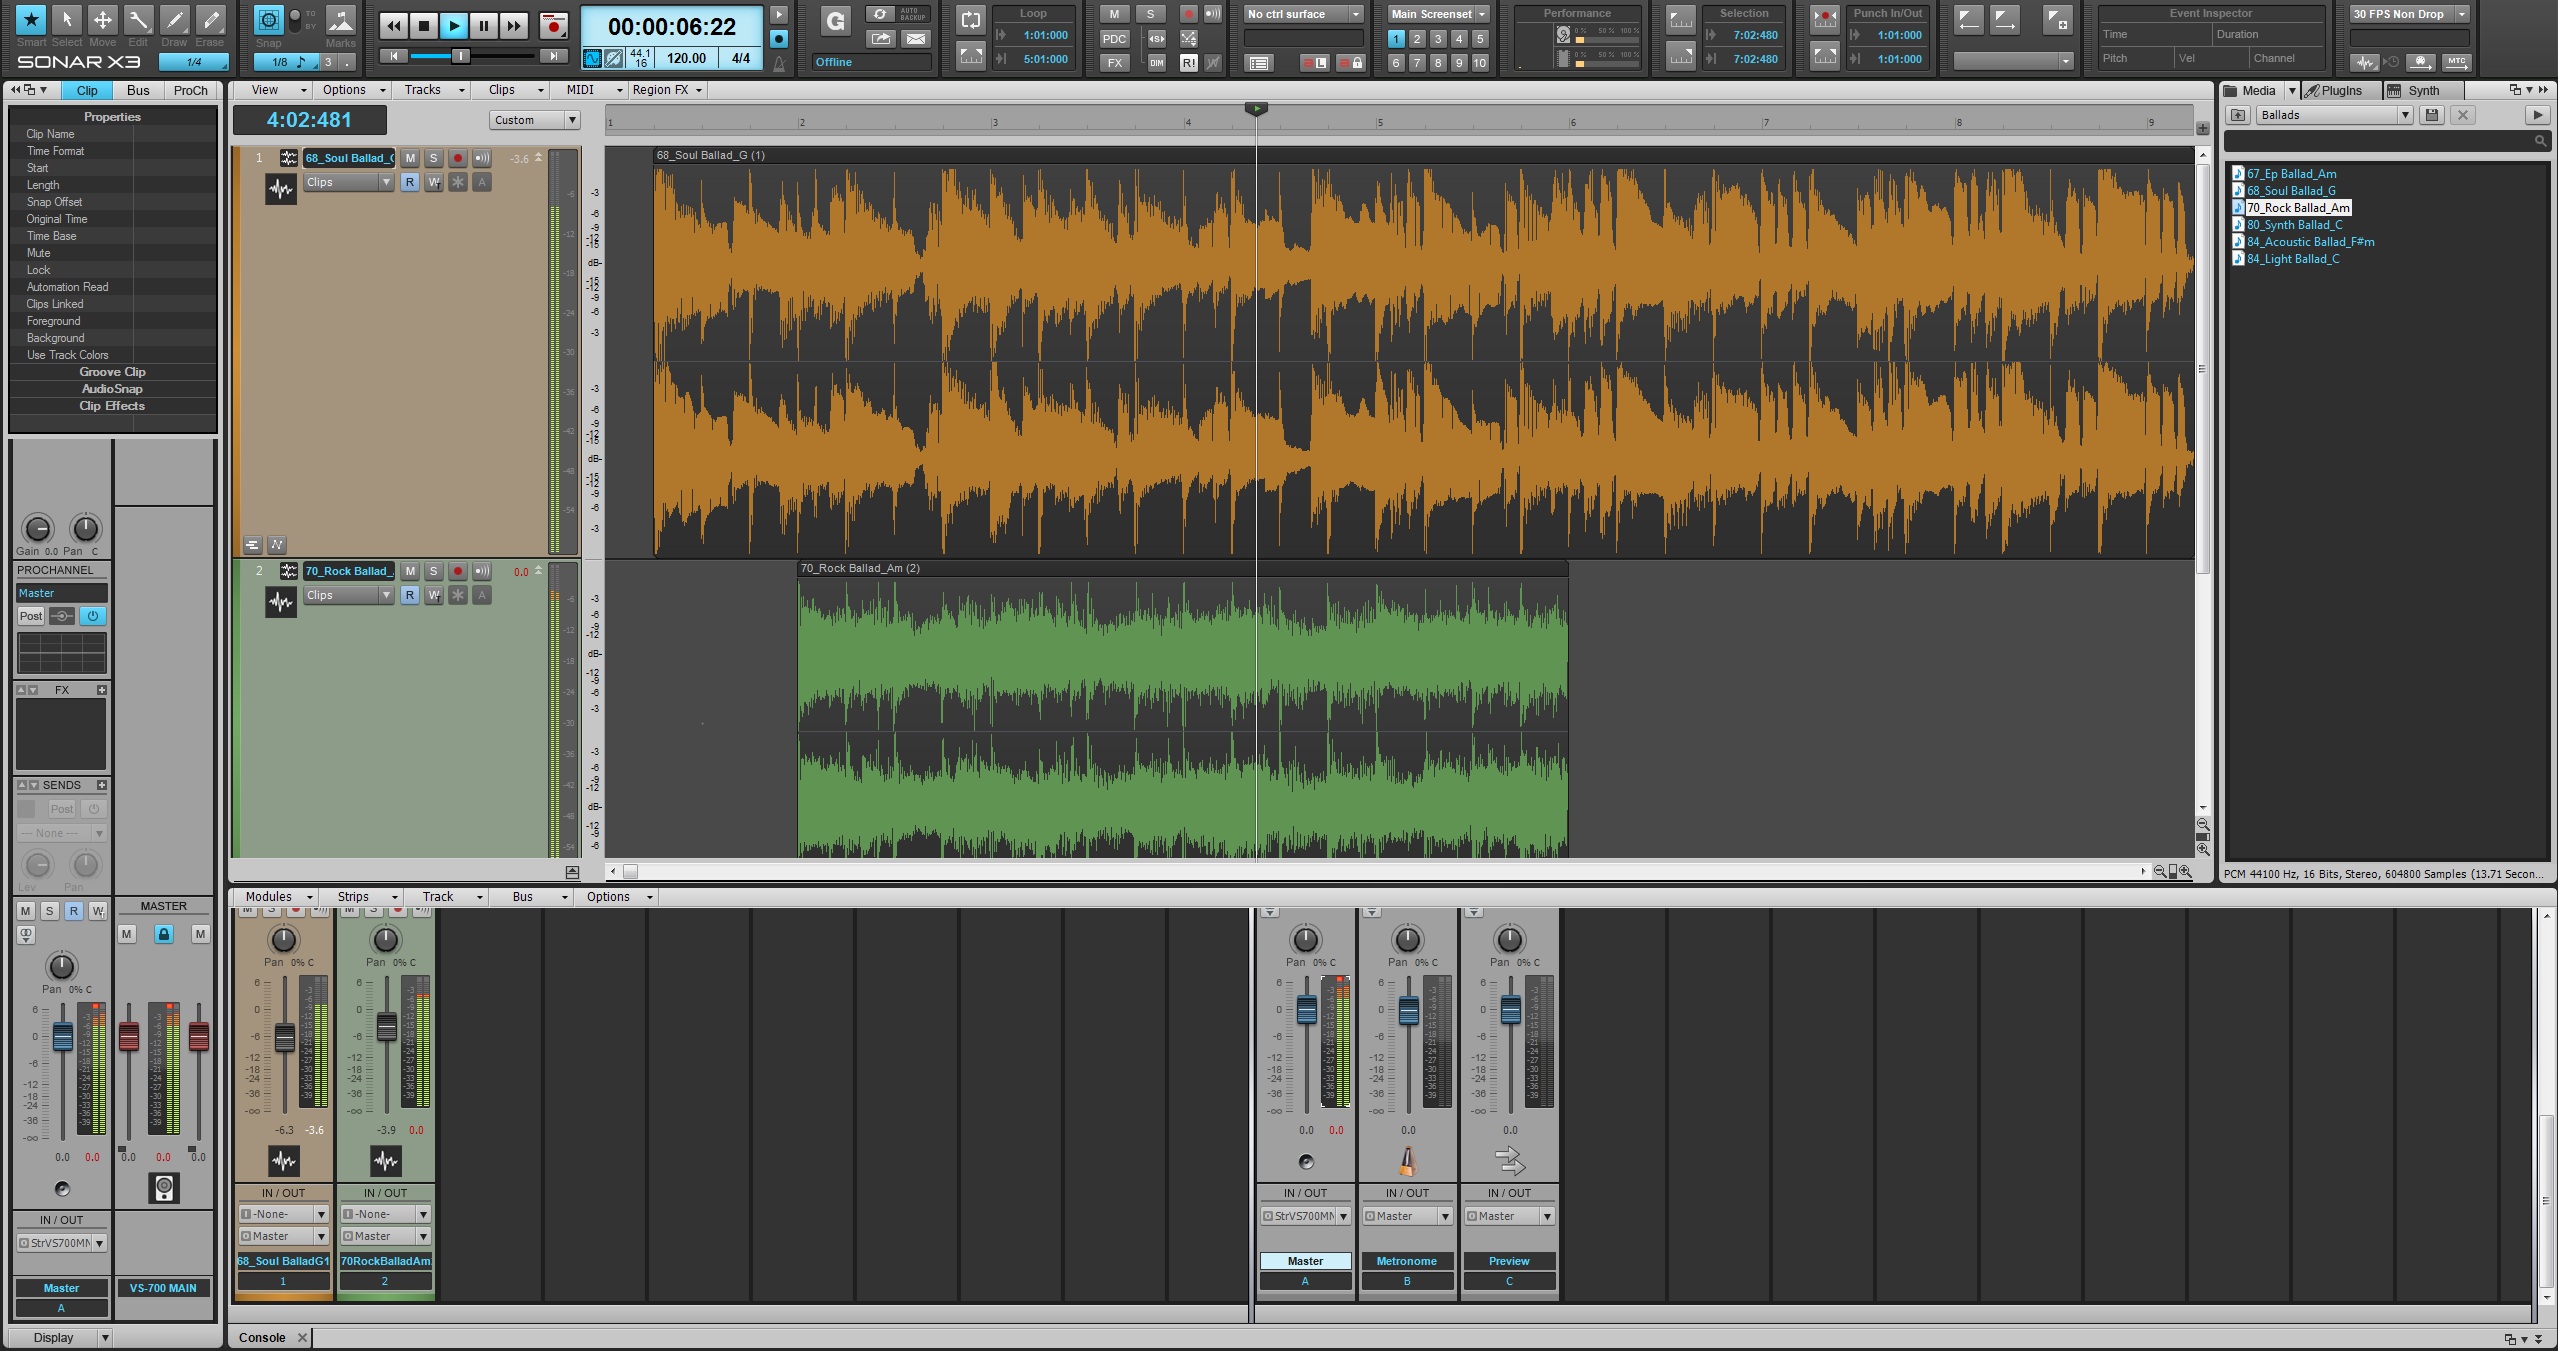
Just about every single DAW has a view that allows you to see visual representations of audio files. This has many different names (Skylight, Track View, Arrange, Main View) but in the end it is essentially a way for us to see waveforms next to one another. This always moves from left to right during playback.
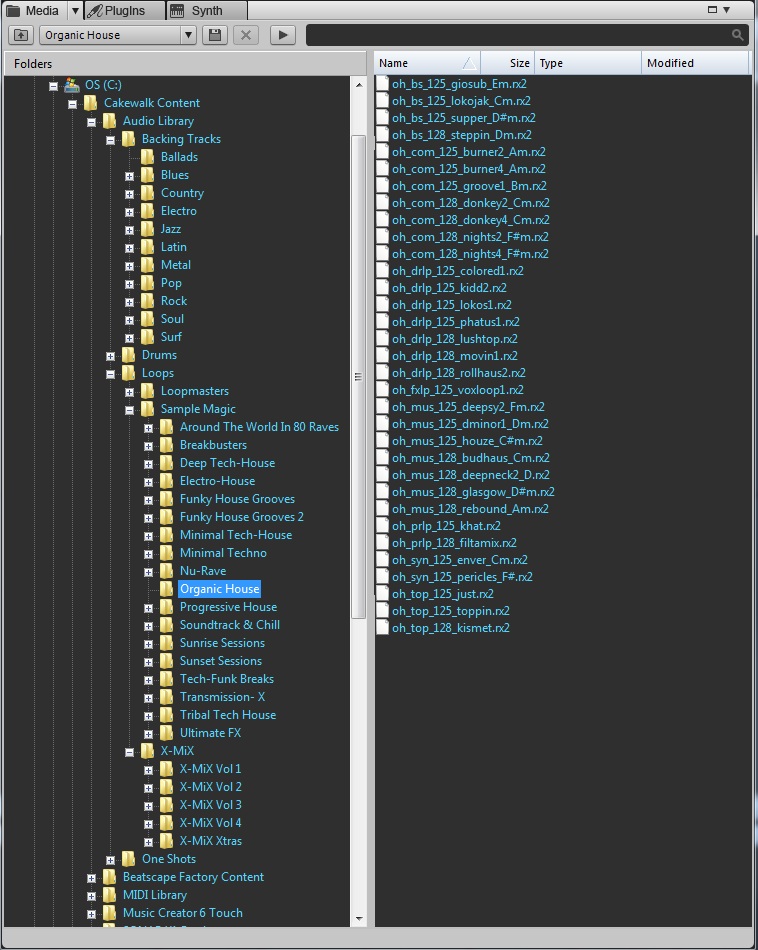
Drag Audio files from your computer or your media browser into your DAW. Most DAWs automatically create a track for you.
SONAR has the ability to not only import media through the media browser, but to also export it. If you have an audio track you are working with and need to quickly get it out of SONAR, you can drag and drop audio from the main view into the Media Browser. The audio file will be automatically created in the file location the Media Browser is currently set to.
b. Recording with a Microphone or Guitar/Bass
Connect your microphone or cable to your audio interface and increase the “Gain” knob to 12 o’clock.
If your Microphone requires Phantom Power then makes sure that you enable it or else you will not hear any sound at all.
+48v
Add a track to your DAW and locate the input for it. The input should show your available audio interface by name and all the available options it has. If you have a 2 Channel Audio interface then you may only see 2 available options for inputs. Make sure that if your microphone is connected to channel 1 that your audio track is set to channel 1.
*Troubleshooting* – Just about every single DAW has a section in it’s preferences that allows you to view your audio interfaces inputs and outputs. Make sure that your DAW is actually aware of your audio interface’s presence in the event that your inputs and outputs constantly say “None”. Again, this could be related to having the correct driver mode selected.
3. Getting Sound Using MIDI
a. Terms you should know
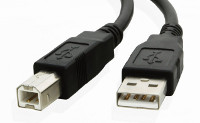
MIDI (Musical Instrument Digital Interface) – MIDI does not make sound by itself. This is the first lesson when working with MIDI. MIDI is data that is used to trigger sounds from software or hardware based instruments as well as can be used for many other things. This data can travel over USB, Ethernet, and MIDI Din cables.


b. Common scenarios
The following scenarios are the most common scenarios that I have run into with first time users.
I downloaded MIDI sequences from the internet.
Once downloaded, double-clicking on your .mid will open it within the DAW on your computer. If this is not the case you can open your DAW and typically drag and drop the .mid file right into it. If this is not possible then most DAWs have an option for Importing MIDI under the primary menu options.
SONAR automatically opens MIDI files and routes them to an internal synthesizer for sound. If you modify the MIDI file then SONAR will give you the option to save the project as a .cwp file for later modification. If you choose to not save the changes, SONAR will revert back to the original MIDI file unharmed or modified.
I want to use the MIDI sequences that came with my DAW or Loop Pack.
Loop Packs and other free content that come with your DAW can typically be accessible through your DAW’s content section or browser. Most DAWs include some form of a browser that allows you to go through your computer and pick files to drag and drop into your project. This streamlines the importing process outlined in the previous scenario.
I want to use a software instrument with my MIDI controller.
Like audio interfaces, MIDI controllers communicate with DAWs by method of a driver. Once your receive your MIDI controller make sure to go to the manufacturer’s website and download the latest version that is compatible with your operating system.
Once you have your MIDI drivers installed make sure that your DAW is actually reading your MIDI Controller. This can typically be done by locating your MIDI settings or preferences in your DAW.
A MIDI controller is a device that does not generate any sound, only MIDI. With this being the case, you must insert a software instrument into your DAW in order to actually use your MIDI keyboard in a musical fashion. Insert your software instrument track and locate the inputs for this track much like you would when assigning a microphone to an audio track. Afterwards, play your keyboard and you should see and hear MIDI or Audio activity.
Windows machines have a very useful MIDI monitor icon in the system tray that blinks when the computer detects MIDI input and output activity.
If you are not getting any MIDI information into your DAW and Windows does not show any MIDI activity then the problem is with the controller. Some controllers have MIDI “Mute” or settings that allow it to switch between generating MIDI through the USB or MIDI ports. Consult your technical manual for your device.
4. Setting Up A Metronome or Click Track
Metronome setup is the key ingredient for beginning to record. Metronome sounds are typically generated by a plugin or sample of a sound file like a cowbell or snare drum. Within just about any DAW the metronome exists as a separate track in your mixer section and is powered by an internal sound generator or plugin. Some DAWs have an internal utility that takes care of all the routing for you.
a. Locate the metronome
Make sure to locate your metronome track and set it up for the style you need. There should be place in your DAW that shows you the default BPM(Beats Per Minute). It is more than likely near or a part of the main transport window of your DAW.
b. Picking the correct speed
The click that you hear for a metronome can be divided up into different variations of speeds for one single setting. Typically you can choose to subdivide the click in half, thirds, or quarters for different feels.
This is typically set to 100 or 120 BPM. Within the settings for your Metronome you should be able to enable or disable the sound of the metronome during separate playback or recording.
c. BONUS Info!
Many different beats, instrumentals, or groove oriented songs are set of 75 BPM because this the average speed of the human heartbeat.
SONAR splits tracks and buses, and the metronome is always set to a default metronome bus. Within SONAR’s preferences you can modify which bus you want the click track to output to. This metronome is sourced by MIDI or audio samples that are all selectable within the Edit > Preferences > Project > Metronome.
5. Making an audio file
a. Terms you should know
Bounce/Bouncing – After you have successfully recorded some audio or MIDI into your project you must export it or render it to an audio file in order to play it on your computer’s media player or burn it to a CD. Most DAWs will refer to this method as “Bouncing” or “Bounce”.
Bouncing is term used to make a submix or a mix of 1 or more audio files. If you recorded 3 guitar tracks, but you want to listen to them all in Windows Media Player or iTunes then you need to “Bounce” them down to one stereo or mono track out of your DAW.
You can find this option within your DAW’s primary file menu options or go to your DAW’s Export Audio option. Typically a DAW’s Export Audio option is where you can select which format to save your audio.
b. Mp3 or Wave, what’s the difference?
The reason why .mp3 files are so widely used is because of their convenient size. This format reduces large audio files into sizes that can fit as an attachment in most emails. Unfortunately this comes at the price of degrading the sound quality.
Wave files tend to be the best sounding file format but are a much larger size than the .mp3 format. Physical CDs use the Wave format.
Conclusion
Hundreds of users get started in SONAR every month and these are some of the recurring concepts and questions that I’ve fielded in my time on phones. I can only imagine that other major companies receive the same types of inquiries. Some of the best information about a recording program is located within the manuals, knowledge bases, and FAQ sections of manufacturers websites. The more reading you do, the more prepared you will be to seek out your own resolutions and techniques for your DAW.
Download SONAR X3 on the Cakewalk Store
Check out more articles on The Cakewalk Blog!
Daw Best Practices: How To Choose The Right Audio Interface
10 Things You’ll Love About The SONAR X-Series


