7 Steps to Cleaning Up Your "ACT" with Hardware

by Craig Anderton

ACT (Active Controller Technology; in SONAR) is a powerful protocol, and its complexity can be sufficiently daunting that some people never take advantage of it. However, one of the rarely-considered advantages of a powerful protocol is that it’s often powerful enough to be used in a more basic way. So if you’ve wanted to take advantage of ACT without having to reach for the aspirin, you’re in the right place.

The conventional approach to ACT is using templates that let you apply hands-on control to various instruments and effects. This usually implies having a dedicated controller, spending some time setting up assignments and creating templates, and so on. However, you can also treat ACT more like a “controller scratch pad” that’s easy, efficient, and works with just about any MIDI controller. It’s the ideal solution for when you simply want some hands-on control without having to venture very far into left-brain territory.

Step 1: Choose Your Controller

One of my favorite ACT controllers is Native Instruments’ discontinued Kore 2 controller. The industrial design is first-class, it’s built solidly, and there’s enough functionality for what we need. Another advantage is that when NI stopped supporting Kore, the eBay prices took a major tumble. Although the examples in this article are based on Kore, please note that the same principles apply to virtually any MIDI controller.

Step 2: Grab Your Software

Many controllers have dedicated drivers, so if needed, make sure you have the latest. NI still offers the 32/64-bit Kore 2 Controller Driver 3.0.0 and the latest NI Controller Editor, which you can download for free from their site. Follow the instructions when installing, or you’ll wonder why the controller doesn’t work.

(Note: With the Kore 2 controller, you may first be greeted with an unusable bright red display. No worries: Hit Kore 2’s F2 button, navigate to Set, hit Enter, and use the navigation buttons and data wheel to control the Contrast and Backlight parameter values.)

The Controller Editor for NI’s Kore lets you specify various characteristics of the Kore 2 controller. In this picture, a button is being assigned to output a trigger when pushed down.

Various controllers may have options—such as assigning buttons to a latch, toggle, or trigger mode. Many of them have editors; Kore 2’s is somewhat more sophisticated than many others, but again, the principles are the same. In the case of Kore you open the Editor, select Kore Controller 2 from the drop-down menu, and use the Edit button in the Templates tab to choose New. This creates a general purpose MIDI control template. (While you’re at it, I recommend assigning the eight main buttons associated with the pots to Trigger, and action on Down. For a shift button, assign the monitor [speaker icon] button to Gate, again with action on down. Go to the file menu, and save the configuration as “Sonar ACT.ncc.”)

Step 3: Set Up SONAR

Your controller communicates with SONAR via MIDI, so go to the Continue reading “7 Steps to Cleaning Up Your "ACT" with Hardware”

How to set-up an Audio Interface for Windows Recording

Studio Makeover Month
Tips to help you build your dream studio all through August 
Your studio is where the magic happens! If your music is important to you, then so is your gear, your space, and of course your software. We are focusing this month on tips to help you build the perfect setup to capture the moment when inspiration strikes.

Video Part 1: How to set-up an Audio Interface for recording

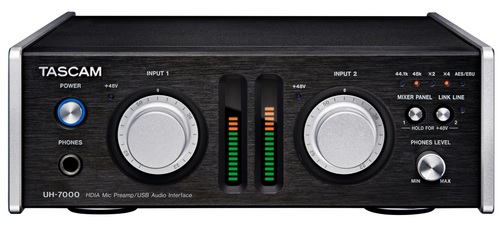
TASCAM UH-7000Setting up a new audio interface can be tricky so we’ve put together a solid 3 part video series that shows you all the ins and outs of the process. We’ve used the brand new TASCAM UH-7000 with SONAR X3 Producer to show you the  basic workflow for getting you ready to record. This knowledge can be applied to any interface when working with SONAR.

Video Part 2: How to set-up an Audio Interface for recording
In part 2 we become more focused on the software-end of things Continue reading “How to set-up an Audio Interface for Windows Recording”

4 Tips for Songwriters Before Entering the Recording Studio

1. Eliminate uncertainties with a pre-production demo.

If there is a single doubt in your mind about a song on your record then it’s time to sit down and work out those uncertainties before you get into the studio. Idolizing a recording studio as a creative space is only productive when you’ve booked studio time for being creative. Get that demo sounding as close to the final product as possible so that every part and idea is thought out.

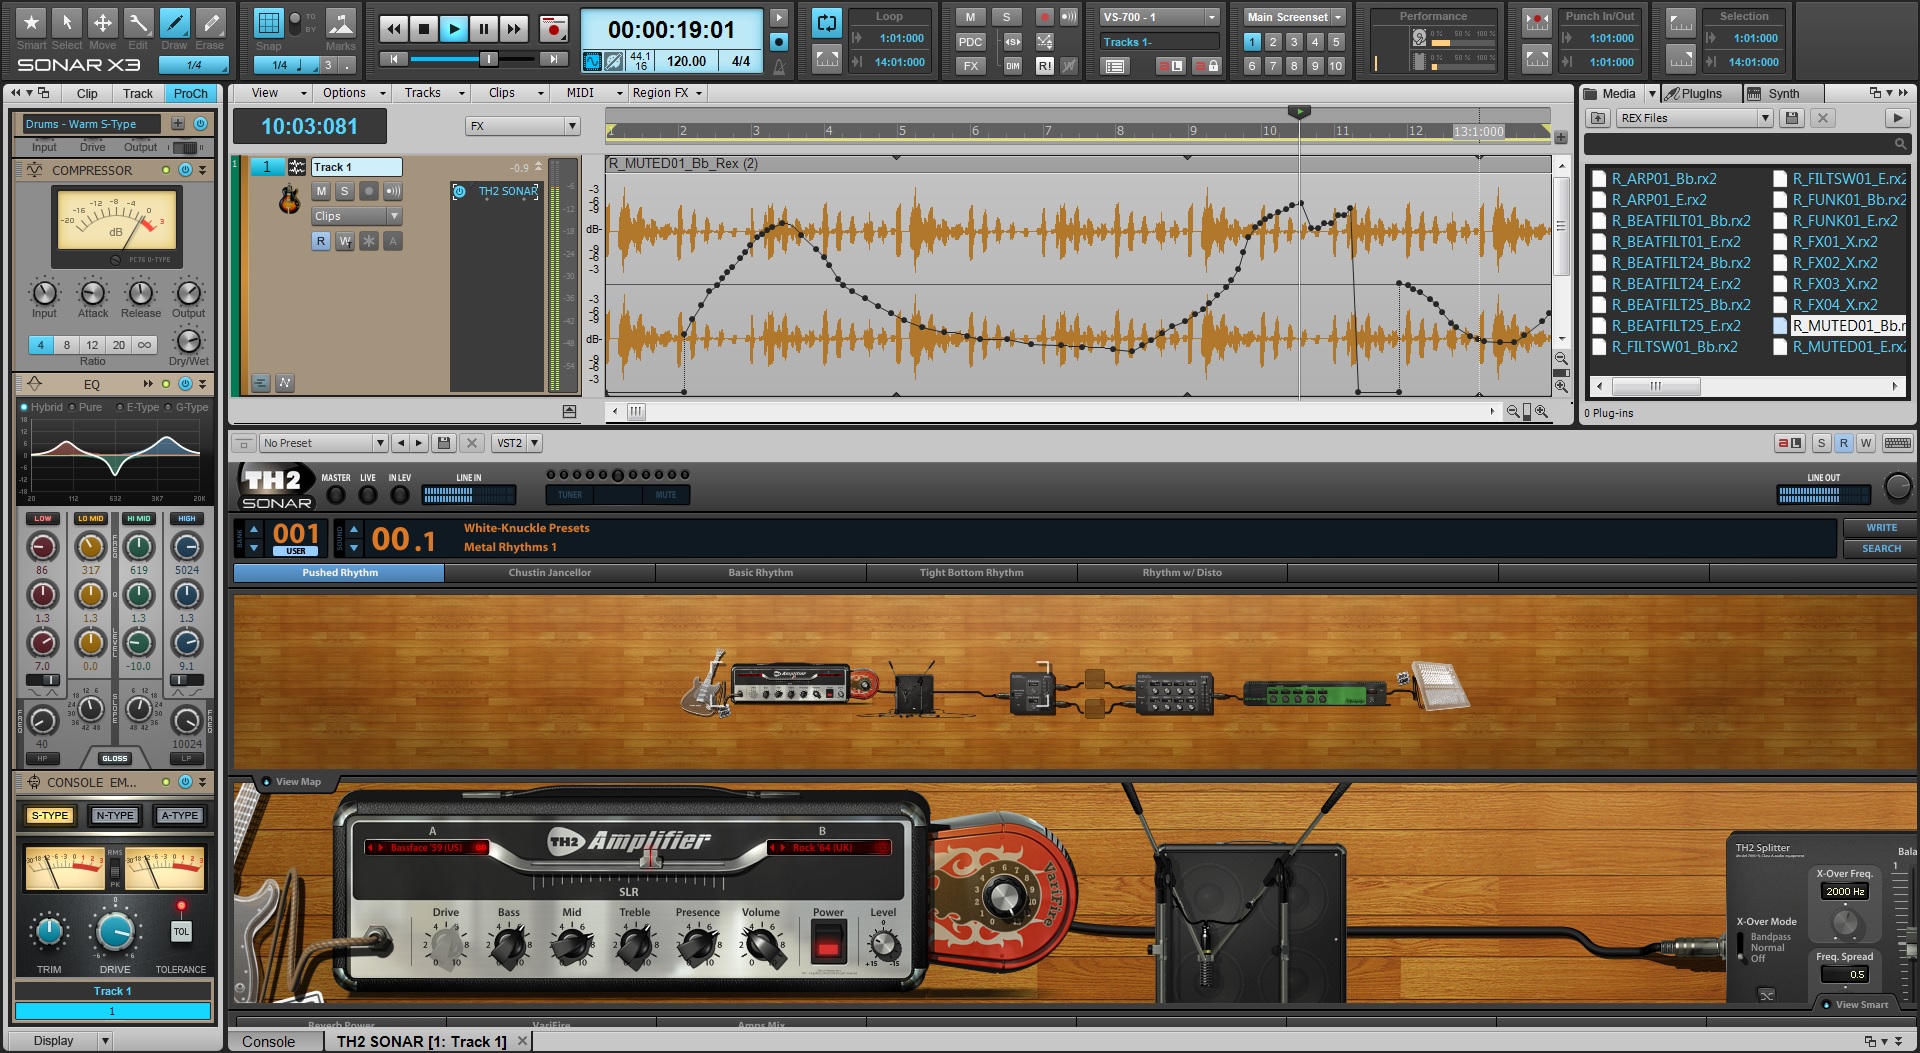
SONAR X3 is ideal for experimenting with those finishing touches. For example, TH2 is a great way to easily grab an amp tone for your bass or guitar. The advanced sound behind Overloud’s flagship product allows you to change amps, input your own impulse responses, and get as close to your final product as you can. The best part about it is that it’s a virtual amp, so you don’t have to commit to your final guitar sound until you’re in your mixing stage.


2. Learn the songs cold.

Studio preparation should involve regular and productive practice schedules. Try to learn the songs so that you can play them all the way through without stopping. Playing full takes will get you the best possible performances of your song and allow you to think more about the other players rather than yourself. Continue reading “4 Tips for Songwriters Before Entering the Recording Studio”

Songwriting: 5 Ways to Break Musician's Writer's Block

Introduction

Composing has an arch nemesis, and that evil is known as writer’s block. It’s a challenge to get through especially if you’re just starting to write your own music. Here are some steps you can take when you feel that you have hit a creative roadblock in your workflow.

1. Break down big tasks into smaller ones.

If something seems like a large undertaking then try to sit down and break it up into smaller parts. This type of workflow can offer you insight on time management. You’ll start to get a  better idea of the different tasks you’re good at and maybe some others that you’re not very good at. Let’s say that you’re really great at writing a catchy choruses, but you always get hung Continue reading “Songwriting: 5 Ways to Break Musician's Writer's Block”

6 Tips for Songwriters in SONAR

by Dan Gonzalez

SONAR helps songwriters improve their creativity and workflow by offering tons of features that are engineered specifically for them. In this video we’ve outlined some of our favorite tools to that save you time while you’re developing your next musical idea.

 
Try SONAR X3 free for 30 Days.

Recording Virtual Synthesizers: The Art of Imperfection

Synths can make perfect sounds…but is that always a perfect solution?

by Craig Anderton

Recording a virtual instrument is simple…you just insert it, hit a few keys, and mix it in with the other tracks. Right?

Well…no. Synthesizers are musical instruments, and you wouldn’t mic a drum set by taking the first mic you found and pointing it the general direction of the drummer, nor would you record an electric guitar by just plugging it into a mixing console. A little extra effort spent on avoiding an unnatural sound when mixing synths with acoustic instruments, improving expressiveness, tightening timing inconsistencies, and other issues can help you get the most out of your virtual instruments.

But first, remember that “rules” were made to be broken. There is no “right” or “wrong” way to record, only ways that satisfy you to a greater or lesser degree. Sometimes doing the exact opposite of what’s expected gives the best results. So take the following as suggestions, not rules, that may be just what the doctor ordered when you want to spice up an otherwise ordinary synth sound.

THE SYNTHESIZER’S SECRET IDENTITY

The paramount aspect of recording a synth is to define the desired results as completely as possible. Using synths to reinforce guitars on a heavy metal track is a completely different musical task from creating a all-synthesized 30-second spot. Sometimes you want synths to sound warm and organic, but if you’re doing techno, you’ll probably want a robot, machine-like vibe (with trance music, you might want to combine both possibilities).

So, analyze your synth’s “sonic signature”—is it bright, dark, gritty, clean, warm, metallic, or…? Whereas some people attach value judgements to these different characteristics, veteran synthesists understand that different synthesizers have different general sound qualities, and choose the right sound for the right application. For example, although Cakewalk’s Z3TA+ is highly versatile, to my ears its natural “character” is defined, present, and detailed.

Regarding sonic signatures, perhaps one of the reasons for a resurgence in analog synths sounds is digital recording. Analog synths tended to use low-pass filters that lacked the “edgy” sound of digital sound generation. Recording the darker analog sounds on analog tape sometimes resulted in a muddy sound; but when recording on digital, analog sounded comparatively sweet. Digital also captured all the little hisses, grunts, and burps that characterized analog synths. This is a case where the “imperfections” of analog and the “perfection” of digital recording complemented each other.

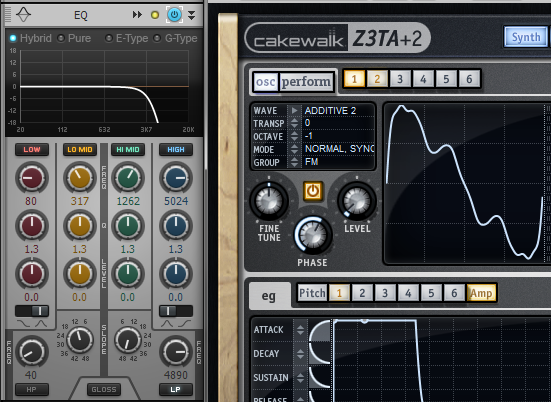
Another thought: look at guitars, voices, pianos, etc. on a spectrum analyzer, and you’ll note there is little natural high end. If you’re trying to blend a virtual instrument in with physical instruments, remember that a virtual synth has no problems obtaining a solid high end. Using the ProChannel’s LP filter set to 48dB/octave and lowering the frequency just a little bit can introduce the “imperfection” that matches the spectral characteristics of “real” acoustic and electric instruments more closely, so the synth seems to blend in better with the other tracks (Fig. 1).

Fig. 1: The ProChannel QuadCurve EQ’s lowpass filter can help digital synths sit better in tracks that use multiple physical or acoustic instruments. Continue reading “Recording Virtual Synthesizers: The Art of Imperfection”

Beatboxing – Watch What Happens to the Frequency Analyzer in SONAR X3

Within the Vocal world  there are all different styles of singing and beatboxing is one of the more complex and percussive styles that the human voice can produce. Typically there is a single frequency range that vocalists stay within but beatboxers span the entire frequency range to achieve the sounds that come from their mouth. Check out this video with a local Boston street performer as he shows us how it’s done:

Wanna try the QuadCurve EQ? Check out SONAR X3 30 Day Trial

5 Easy Ways to Improve Vocal Recordings in Your Home Studio

Building your home studio can be a tricky task – especially when you feel that the quality of the space that you record in barely contends with what the pro’s would use. Fear not, there are solutions for making your home studio (or to some: bedroom) a comfortable place to produce high-quality recordings. Here are 5 easy ways to improve your home studio’s vocal recordings.

1. Studio Headphones

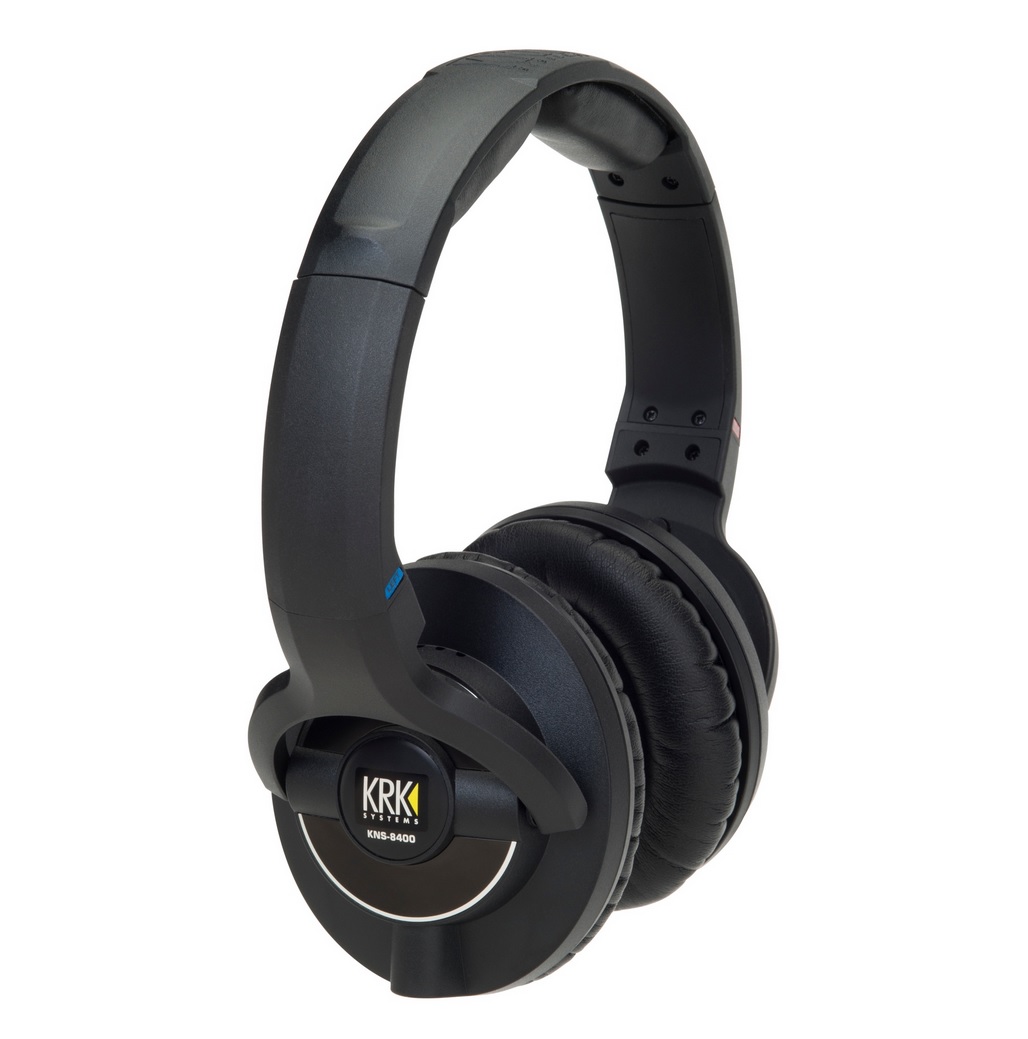
This goes without saying. Make sure you can supply your client(s) with a decent pair of headphones so that they can properly monitor the mix and record over backing tracks. Get at least 2 pairs in case the band’s producer or guitarist wants to follow along to the recording. You don’t need a pair of $400 headphones to get the client what they need to record.

2. Talk-back Functionality

Talk-back is a term used to describe a dedicated microphone that is activated when an engineer wants to speak to a performer in another room between takes. The talk-back microphone is typically routed directly into the headphone mix so that you can easily activate it and deactivate it without any real patching involved. Having this type of functionality in your home studio can improve the flow of the recording session and make the communication between you and the performer a seamless task.

3. Pop Filter/Vocal Shield


In the audio world there are different terms for just about everything. An important term to know is “plosive”. This is the sound a singer makes when they pronounce the letter “P”. This sound causes microphones to pop due to a high stream of controlled air that leaves the singer’s mouth. These pops are typically full of a low-end and can cause irregularities in the fidelity of the vocal track. Pop Filters and Vocal Shields can be used to break up that air and protect the quality of the signal so that your vocal is clean and even throughout.

4. Pre-amp

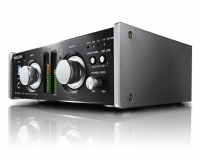
Nice pre-amps can come at a high cost, but if you’re only recording vocals at your home-studio then it’s worth the investment. Pro-sumer all-in-one devices are built to give the buyer as much bang for their buck as possible. This typically means cramming as many inputs and outputs into a signal 1U rack and charging barely anything for it. This is great until you realize that the Pre-amps are noisy and barely have any character. Do yourself a favor and try out a nice pre-amp to understand the difference in quality. If you can demo one out, then do it! Or better yet, nicely as a friend to borrow their nice gear. It will go a long way in the quality of your recordings.

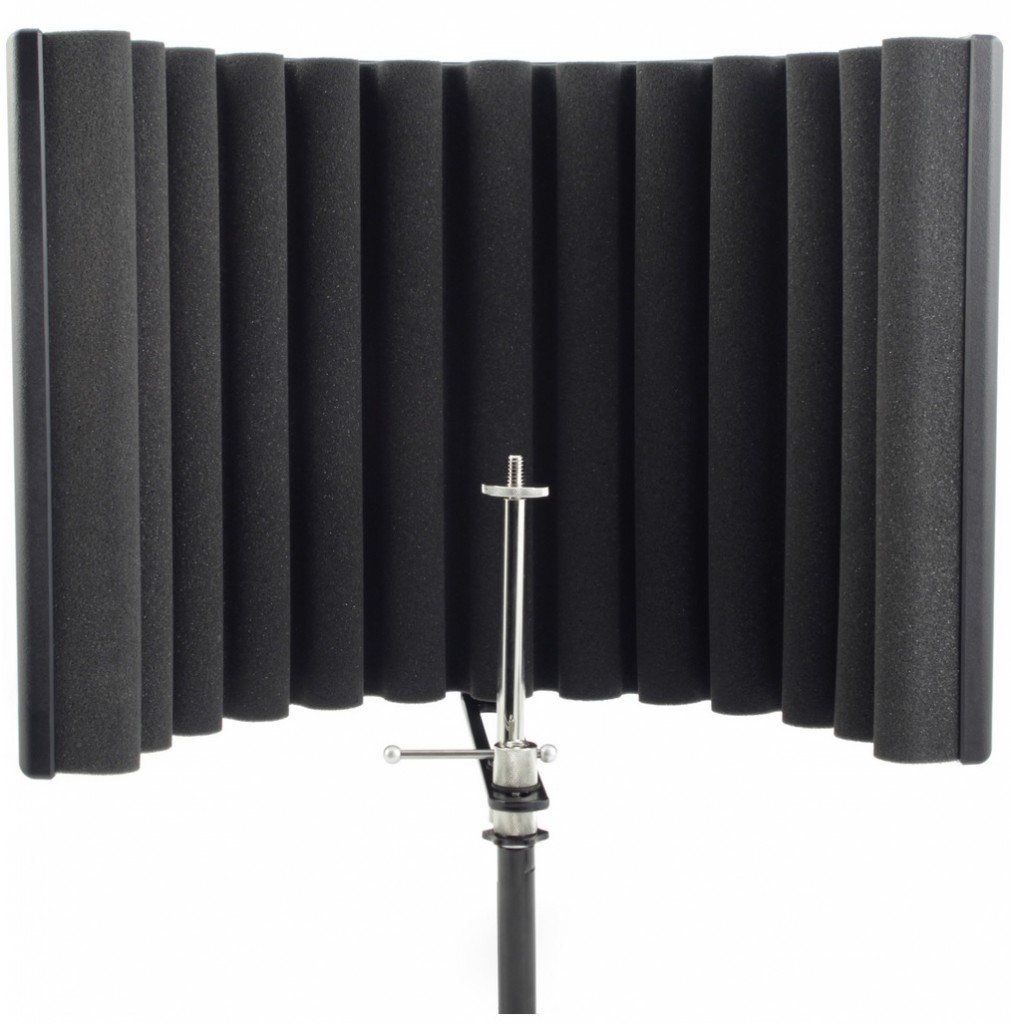
5. Portable Vocal Booth

The room in which you record in will be as much a part of the recording as the singers voice. This can work in your favor and can also work against you. If you’re recording in a room surrounded by untreated drywall then you may not receive the quality sound you expected. Untreated rooms reflect sound back and fourth and even back into the microphone. These sound artifacts can be detrimental to the sound and cause the vocal recording degrade in quality. A great way to help alleviate this from happening is to get yourself a portable vocal booth that will help isolate the singers voice from reflecting off neighboring walls and back into the microphone. These are inexpensive and can go a long way.


Vocal Month: Creating Vocal Harmonies with Melodyne Essential

Can’t quite hit the high or low notes? Melodyne usually can.

by Craig Anderton

If you don’t have a wide vocal range, you have to choose a vocal’s key very carefully—the low parts can’t go below your range, and if you’re going to hit the harmony notes, you have to pay attention to where the highest notes fall as well. Unfortunately the voice sometimes loses power when you start hitting your lower limits, but if you choose the best possible range for your lead vocal then you may have a hard time hitting the harmony’s high notes. What’s a singer to do?

My solution is to choose the optimum key for the lead vocal, then reach for Melodyne Essential to synthesize the harmonies. Most of the time I can hit the harmonies so I’ll sing them “for real” and bring in Melodyne as needed, but I’ve also found merit to using Melodyne to generate the harmony even if I can hit the notes—it gives a different character that works well in some musical contexts.

Creating Harmonies

Generating harmonies requires some manual effort, but it’s worth it.

1. Clone the lead vocal.

2. Create a Melodyne Region FX for the clone.

3. Solo the lead vocal and clone (Dim Solo can be useful for this application so you can hear the vocals in context).

4. Start adjusting the clone’s blob pitches to create the harmony (Fig. 1).

Fig. 1: Thanks to a paint program’s transparent layers, colorization, and cut and paste, this shows the harmony line (blue) superimposed on the lead vocal.

Usually the easiest way to do this is by ear, but if you’re theory-minded, you can always apply those rules to determine which pitches to use for the harmonies.

Additional Tips

I highly recommend choosing Edit > Pitch Grid > No Snap and adjusting the harmony pitch by ear. Snapping doesn’t always produce the most musical results.

Also, check out my article Easy Automatic Double Tracking with Melodyne Essential, which describes how to add slight timing and pitch variations to do automatic double tracking. Applying the same technique to the harmony line prevents it from “shadowing” the lead vocal, and helps the harmony establish itself as an independent entity.

There’s a video on my YouTube channel that uses Melodyne Essential for creating both ADT and the harmony effects described in this article. In fact, there’s only one vocal track in the entire song; all the others were derived from it using Melodyne.

Finally, I demoed this technique during the video I did at Berklee College of Music last March. You can see the video here.

Happy harmonizing!

BETTER TOGETHER: TRY SONAR X3 AND MELODYNE FOR FREE!

Vocal Month: Easy Automatic Double Tracking (ADT) with Melodyne Essential

There’s a great ADT program lurking within Melodyne Essential

by Craig Anderton

So is Celemony’s ADT (Automatic Double Tracking) program any good? If you have Melodyne Essential, you can find out for yourself—because it’s the same program. Yes, hidden within SONAR X3‘s Melodyne Essential is a very cool ADT effect that’s extremely effective with vocals.

Introduction

Double-tracking is the process of singing a second vocal on top of a main vocal to “thicken” the overall sound. It’s impossible to sing a vocal exactly the same, so there will be slight timing and pitch differences that add interest and depth. Automatic Double Tracking produces this effect electronically, which can give more control over the double-tracked vocal. While there are dedicated plug-ins to give the ADT effect, Melodyne has all the tools needed to do this. I’d go so far as to say Melodyne can produce one of the best electronically generated ADT effects I’ve heard.

The Melodyne ADT effect works best with vocals where you haven’t already added extensive pitch or timing correction. As an aside, I never do a “wholesale” quantization of notes; to my ears, removing the “incorrect” pitch variations in a vocal actually create a less compelling performance. Instead, I manually correct only those notes that actually sound “wrong.” Even then, I don’t always quantize exactly to pitch. Music is about tension and release, and subconsciously, you’ll often sing a little flat or sharp (tension) and end up on pitch (release). Making all the pitches “perfect” removes this emotional component.

As an analogy, conside B. B. King’s guitar playing. He often bends a flatted 7th not quite up to pitch. By not resolving the note, instead of completing the phrase it leads you into the next one. Timing and pitch variations are an essential part of music, so don’t overdo the correction.

Setup

It’s easy to set up the ADT effect with Melodyne.

1. Clone the vocal to which you want to add the ADT effect.

2. Right-click on the cloned click and create a Melodyne Region FX.

3. Select all the notes in the vocal.

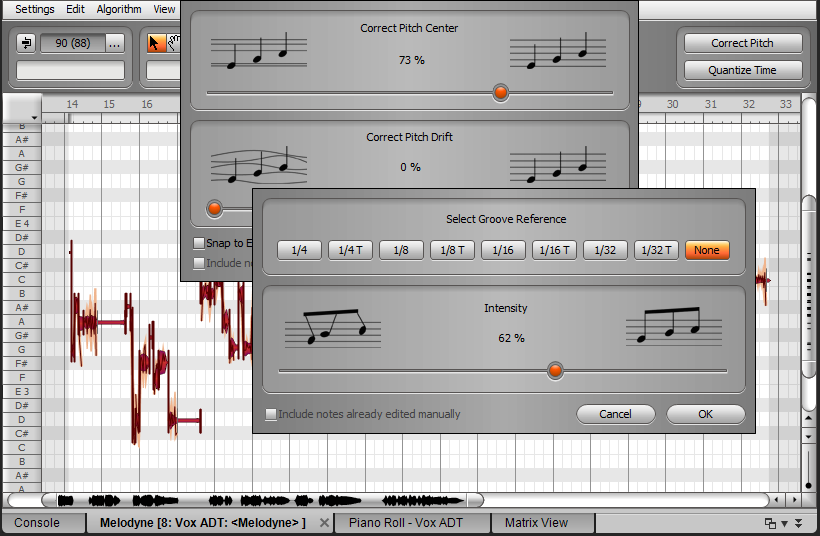
4. Turn up Correct Pitch Center to about 60% (Fig. 1).

Fig. 1: Correcting pitch and  timing subtly on a cloned vocal track can produce an automatic double-tracking effect.

5. Turn up Quantize Time Intensity to about 60% (Fig. 1).

6. Evaluate the ADT effect, and tweak the pitch and timing correction amounts as appropriate.

Generally you don’t want too much pitch or timing correction—just enough to be different from the main vocal.

Mixing ADT Vocals

When mixing, centering the two vocals tends to maximize the similarities to chorusing; the vocals sound somewhat more diffused, which works well for “gentler” material. Panning them slightly oppositely (about 30% right and 30% left) can give a more spacious sound in stereo.

With sparser mixes, centered panning often fits best while the somewhat spread sound helps the vocals have more presence in dense material, like hard rock with lots of distorted guitar. However, these aren’t “rules” as ultimately, the song itself will dictate which works best in the final mix.

Give this technique a try—I think you’ll be as surprised as I was about how effectively it provides an authentic, convincing ADT effect.

BETTER TOGETHER: TRY SONAR X3 AND MELODYNE FOR FREE!

SONAR X3 QUICKTIP: MAKE YOUR VOICE THICKER (STUDIO & PRODUCER)