TH2 Producer: Not Only Guitars

TH2 Producer amp sim can do more than you might think

By Craig Anderton

Overloud’s TH2 Producer offers amp modeling with multiple amps and cabinets, as well as several effects. So while it’s a perfect subject for guitar month, and hopefully the following will give some inspiration to guitarists, let’s also consider what non-guitarists can do with a processor designed for guitar.

The power of parallel. Parallel processing is one of my favorite techniques. Fortunately TH2 not only accommodates parallel processing (the signal path follows a serial—> parallel—> serial  protocol), it also provides different “flavors” of parallel processing.

The parallel section starts with a crossover, so the parallel split can:

  • Provide “bi-amplification,” and send highs to one path and lows to the other
  • Enable a Bandpass filter mode, where one path has a bandpass-style boost, while the other has a complementary notch. A separate “spread” control determines the notch bandwidth
  • If neither is enabled, both paths are simply a parallel connection with no filtering

For extra flexibility, a “swap” button reverses the outputs (e.g., if one output was highs and the other lows, swap reverses that).

The output mixer sums the parallel paths back together again, with Phase Inverse, Delay, Width, Pan, and Level controls, as well as a Balance slider. The TH2 Producer manual can fill you in on the details.

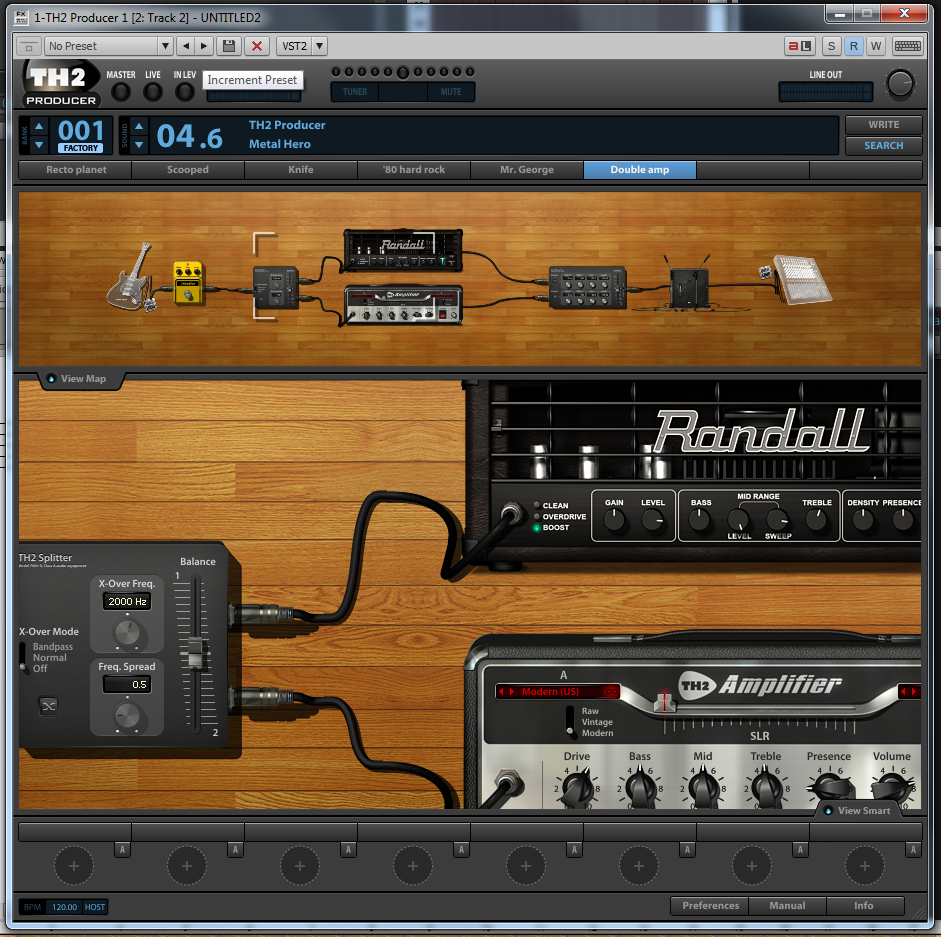
Bass wah. Let’s start off by not straying too far from guitar, and looking at how to use TH2 Producer with bass. A problem with putting any kind of filtering or distortion on bass it that it thins out the sound. You can solve this problem by using the crossover to separate the low end and keep it clean, while adding wah to the midrange frequencies (Fig. 1).

Fig. 1: Parallel processing can keep the low end clean, but process the highs (click to see the entire image).

Again, we’ll use the Normal Splitter mode, with 490Hz as the split frequency. The Crying wah pedal handles the higher frequencies. The rest of the controls are straightforward Continue reading “TH2 Producer: Not Only Guitars”

TH2: Understanding Memory Locations and Variations

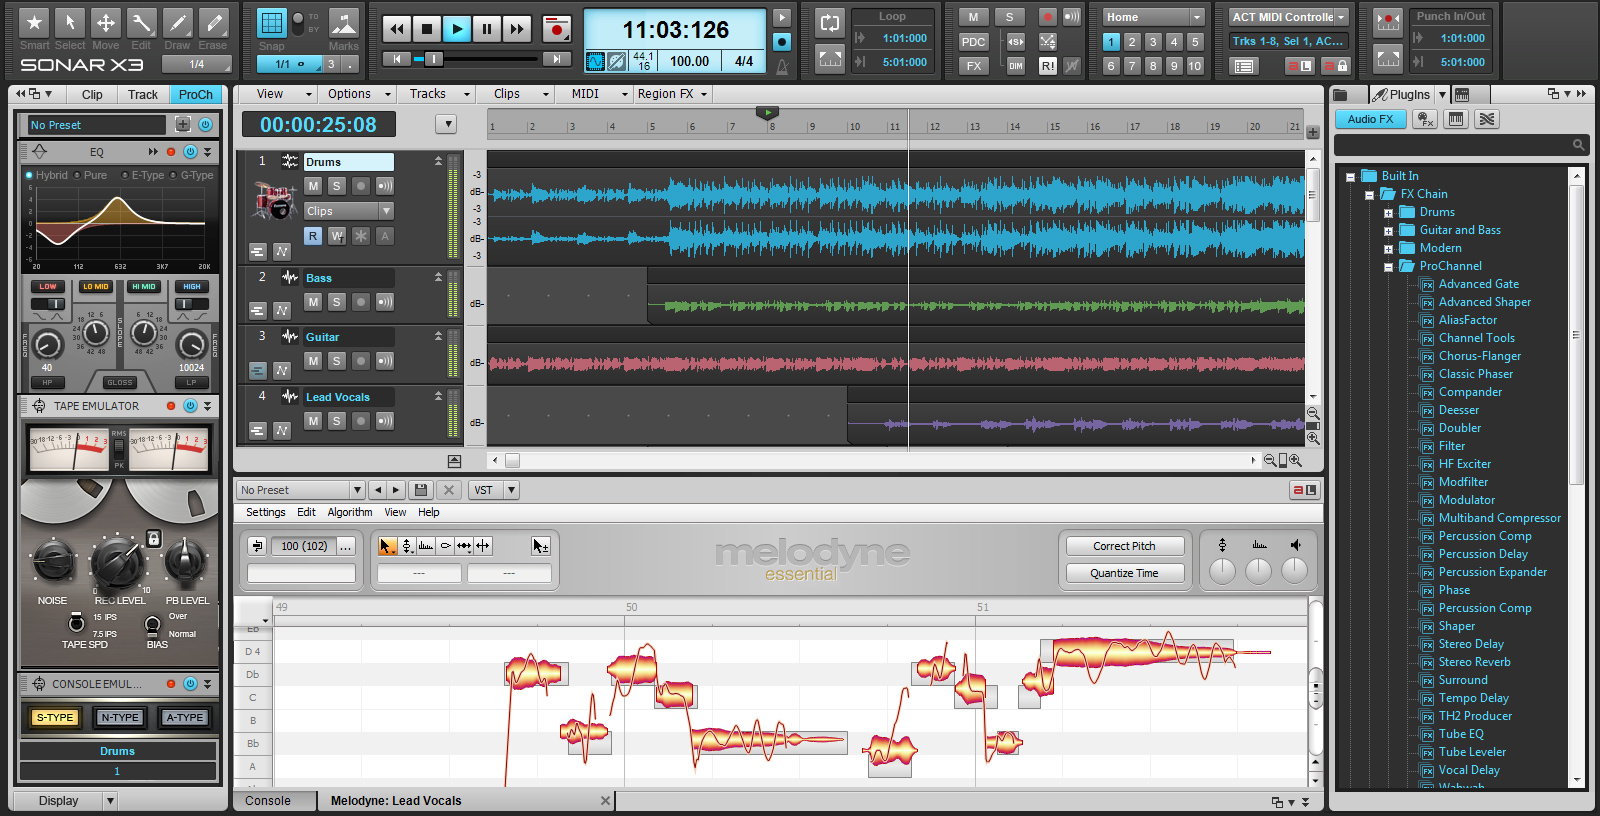
Overloud’s TH2 advanced preset saving introduces a great way to store, call-up, and switch presets on the fly. Instead of relying on the internal saving methods of SONAR X3, TH2 uses a series of Banks, Sounds, and Variations to better suit a guitarists setup in a live situation.


Banks

When you first open up the program the top of the window displays some number values. The first 3 digits on the left refers to “Banks”. TH2 can hold up to 999 User Banks and 999 Factory (non-writable) Banks. To switch through the Factory Banks simply use the up and down arrow keys next to the 3 digits as seen here Continue reading “TH2: Understanding Memory Locations and Variations”

Anatomy of an FX Chain: CA Power Chord (Free Download)

Let’s de-construct an FX Chain, and find out how to optimize distortion guitar sounds

by Craig Anderton

I like big, rich, smooth power chords—harshness need not apply. While TH2 Producer’s presets were a point of departure, I wanted to take them further.

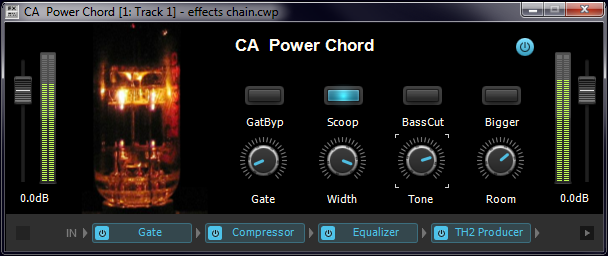
The UI for the Power Chord FX chain

So I got to work on an FX Chain, and I’m happy to share it with you. The final FX Chain ended up as Continue reading “Anatomy of an FX Chain: CA Power Chord (Free Download)”

First Time DAW Users: 5 Things You Need To Know

As seen in the December ’13 issue of Regional Musician

Purchasing your first recording program is an exciting new chapter in your musical career. Now you can record your band practices and start making demos of all your songs in the comfort of your home. However, sometimes during the initial setup of your DAW, you will run into a few issues that could potentially be frustrating. Fear not, by following the right steps and optimizing your studio set-up, you will be well on your way to recording your music.

This article is meant to offer guidance on some terms and subjects that could be a bit foggy when starting out. Following these tips will help make your transition to a DAW much better and help you focus on what’s most important – making music.

1. First Things First

a. Terms you should know

Make sure you are using the correct driver mode for your audio interface or sound card. Some of these words may seem foreign to you if you are just starting out, so:

Driver Mode – When referring to digital audio we use the term “driver mode” to talk about a setting within your DAW that allows recording hardware to communicate with your computer. Continue reading “First Time DAW Users: 5 Things You Need To Know”

EDM Production Tip: Ducking Synth Melodies using Sidechaining

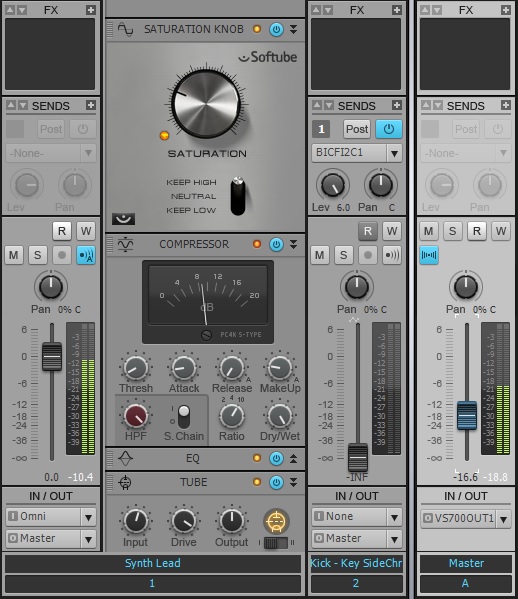
Ducking is a popular technique used in EDM music to apply percussive processing to pads, leads, and bass lines using side-chains on compressors. This technique is also used as a method for getting bass and drum passages to subtly fit together in mixes. In order to successfully apply ducking to your track you must have the following:

  • Compressor inserted on a pad or lead track with side-chain capabilities
  • Percussive source to key the side-chain

First, grab a kick drum sample and align it to the desirable rhythm you need.  Next, insert a compressor onto your synth lead or pad track.  Afterwards insert a send on the sampled kick drum track and set the send to “Pre-fader”. In SONAR, deselecting the [Post] button enables pre-fader sends.  Mute the kick drum sample and turn up the gain on the send.

Once you have the signal flow set, enable the Sidechain on the Compressor.  Now, every time the kick drum sample plays the Side-Chain will trigger the compressor and “Duck” the signal.  You can set the compressor using the Threshold, Attack, and Release settings to shape the kind of effect you want.

Try it yourself with the SONAR X2 Producer free 30-Day trial.

The Distance Effect: How to make audio sound far away using Reverb

Creating distance in a mix or sound design project often results in the use of a distance effect.  This effect can make anything sound as if it’s 50 ft away, and is quite easy to setup.

1) Insert a pre fader send onto an audio track. Within just about every DAW and/or mixing board there is a setting on the Sends sections called “Pre”.  Within SONAR this setting is enabled when the “Post” button on the send is deactivated.

2) In SONAR, I right-click on the Sends area in the console view and select “New Stereo Bus”.

3) Rename the bus “Distance Effect”. Now my audio is routed to this Bus. It’s often good practice to label your buses, or else mixes become confusing to work with.

4) Insert an instance of Reverb onto that bus. In this example I used BREVERB SONAR and called up a Plate preset.

5) Mute the audio track and hit play.


To read more about BREVERB SONAR check out Breverb: A 2013 Sound Design Odyssey on our Knowledge Base.

Try the BREVERB ProChannel Module for free – Download the SONAR X3 Producer Trial

SONAR Quick Tip: Save time tweaking levels with Quick-Grouping

Grouping is one of the most powerful tools you can use during both the tracking and mixing process, but SONAR X2 offers up Quick-Grouping as an alternative method for making quick adjustments to your levels.

Let’s say you have mic’d up a drum set and you have been working diligently on the balance.  Without realizing it you are completely clipping your Master Bus, don’t worry this happens to the best of us. The first thing that comes to mind is making a group to correctly adjust all your levels at once. This involves assigning each parameter to a group and then eventually turning that group off and on again when you need to make small adjustments.

Instead of doing that, try the following Quick Groups feature:

  • Select all of your tracks using CTRL+A
  • Hold CTRL
  • This makes a temporary group of your selected tracks
  • Move 1 fader
  • The rest will follow suite and keep the fidelity of your balance

Try SONAR X2 free for 30-days and check out this easy-to-use feature.


SONAR Quick Tip: Changing The Default Preset For A Plug-in – by Scott R. Garrigus

After adding effects to a folder (in the Cakewalk Plug-in Manager), you can also specify default presets for each effect. Right-click an effect in the folder and choose Properties.

In the Item Properties dialog box, choose a preset from the Default Preset menu.

Click OK. Now when you insert the effect into a project, it will automatically default to the preset you selected. See pages 12 to 15 in SONAR X2 Power! for more information about customizing plug-in menus.