SONAR for Songwriters – By Craig Anderton

by Craig Anderton

Ask songwriters about writing on a computer, and many of them will tell you it’s a creativity killer—as they reach for an acoustic guitar or piano to get their ideas down. But it doesn’t have to be that way. Although DAWs are thought of traditionally as being all about recording, editing, and mixing, for reasons we’ll cover here I’d rather boot up Sonar for songwriting as well.

Approaches to songwriting vary considerably, from those who strum some chords on a guitar for ideas, to those who start with beats, to those who seem to draw inspiration out of nowhere, and want to record what they hear quickly—before the inspiration fades. As a result, this article isn’t about what you should do to write songs, but rather, describes some particular Sonar tools in depth—some (or all) of which might be very helpful if you’re into songwriting.

Although songwriting styles are very personal, I think we can nonetheless agree on a few general points: While songwriting, you want your tools to stay out of the way and be transparent. You want a smooth-flowing, efficient, simple process; songwriting isn’t about endlessly tweaking a synth bass patch, but about coming up with a great bass part—thanks to the fluid nature of digital recording, just about anything can be replaced or refined at a later date. You want an environment that can simplify turning your abstract ideas into something tangible, while losing as little as possible in the translation. So, let’s look at some Sonar techniques that can help you accomplish that goal.

THE MIDI QUICK START

Normally you need to arm a MIDI track before you can record on it, but it’s possible to defeat this so that recording starts on any selected MIDI track as soon as you click on the transport’s Record button. I realize the default setting is there to prevent accidental overwriting of MIDI tracks, but personally, I find not having to arm a track liberating—it saves time and makes the recording process flow faster. To do this:

  1. Go Edit > Preferences > MIDI > Playback and Recording.
  2. Check the box for “Allow MIDI Recording without an Armed Track” (the 1st box under Record).
  3. Click Apply then OK to close preferences.

It’s possible to record MIDI tracks without having to arm them first, which can be a real time-saver over the course of a song.


TEMPLATE FILES Continue reading “SONAR for Songwriters – By Craig Anderton”

4 Tips for Songwriters Before Entering the Recording Studio

1. Eliminate uncertainties with a pre-production demo.

If there is a single doubt in your mind about a song on your record then it’s time to sit down and work out those uncertainties before you get into the studio. Idolizing a recording studio as a creative space is only productive when you’ve booked studio time for being creative. Get that demo sounding as close to the final product as possible so that every part and idea is thought out.

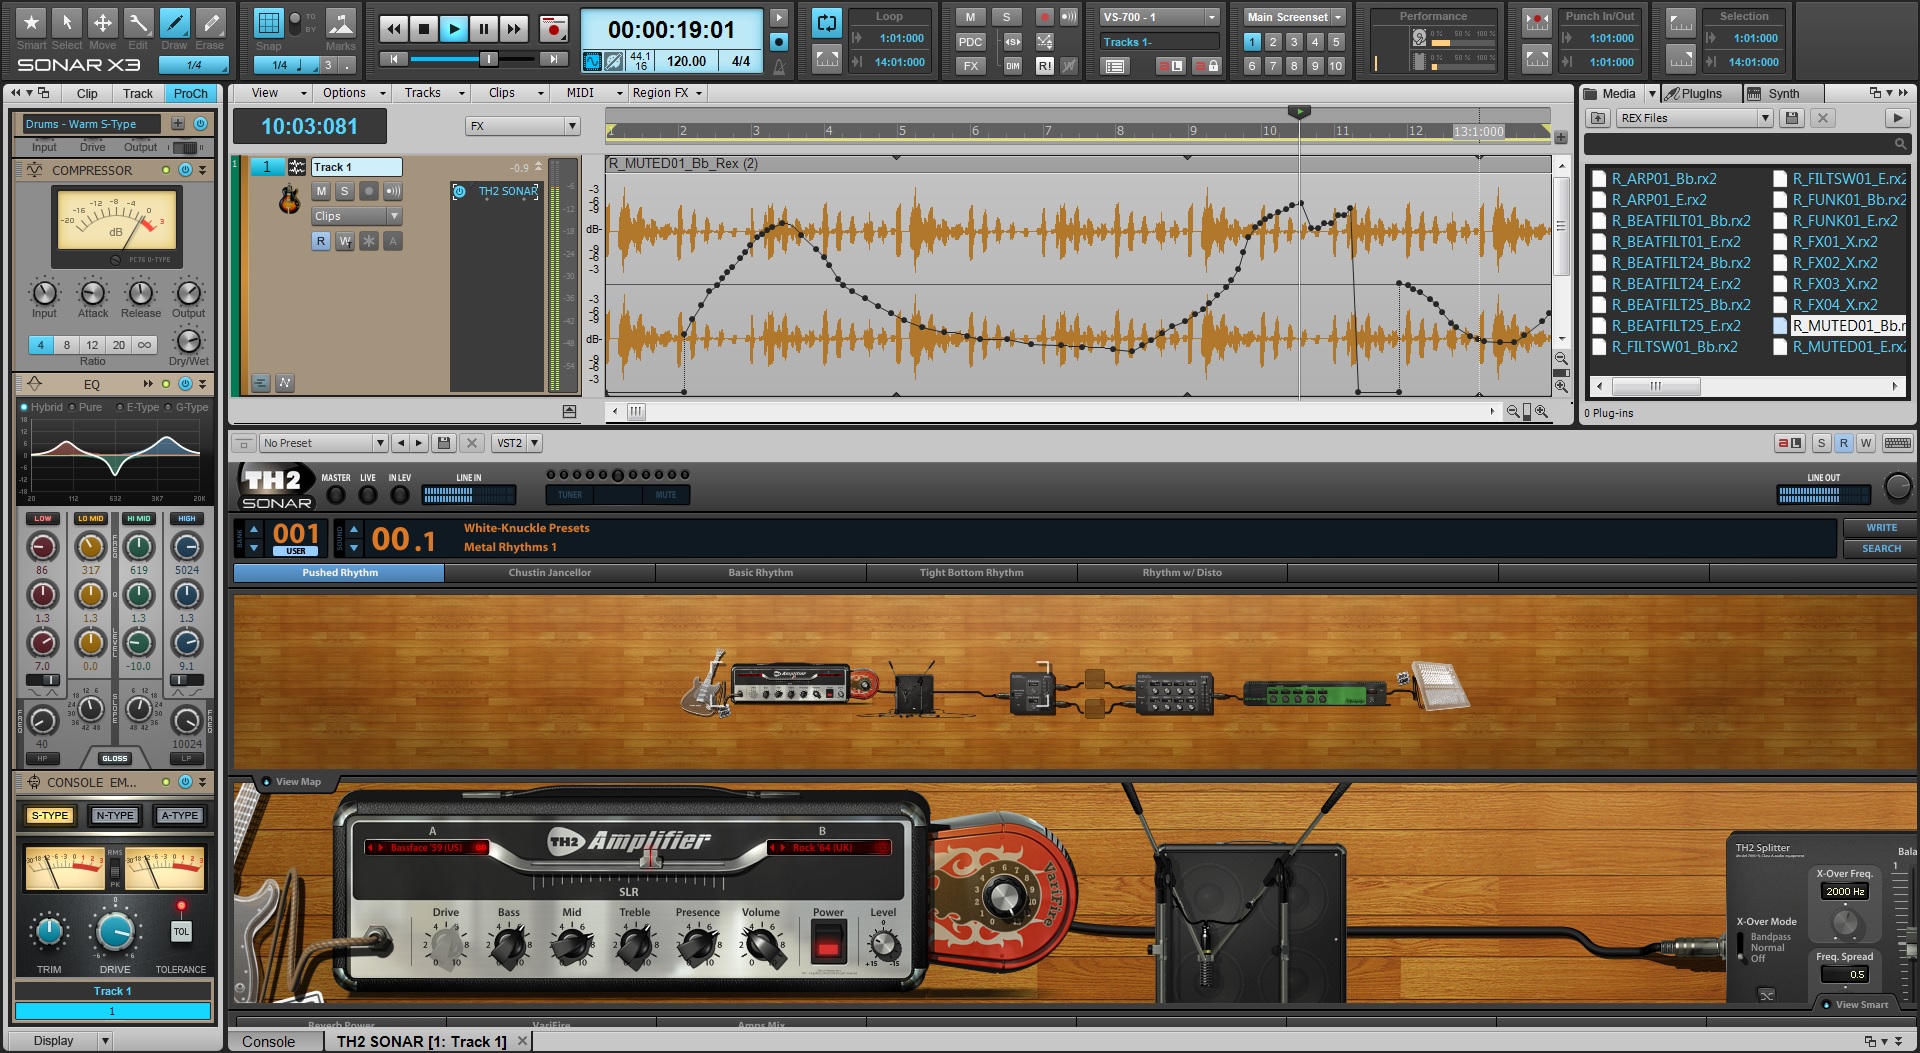
SONAR X3 is ideal for experimenting with those finishing touches. For example, TH2 is a great way to easily grab an amp tone for your bass or guitar. The advanced sound behind Overloud’s flagship product allows you to change amps, input your own impulse responses, and get as close to your final product as you can. The best part about it is that it’s a virtual amp, so you don’t have to commit to your final guitar sound until you’re in your mixing stage.


2. Learn the songs cold.

Studio preparation should involve regular and productive practice schedules. Try to learn the songs so that you can play them all the way through without stopping. Playing full takes will get you the best possible performances of your song and allow you to think more about the other players rather than yourself. Continue reading “4 Tips for Songwriters Before Entering the Recording Studio”

A New Way To Learn Synthesis – Syntorial: Z3TA+ 2 Edition

Syntorial Z3TA+ 2

Syntorial: Z3TA+ 2 Edition – A New Way To Learn Synthesis
Syntorial is video game-like training software that will teach you how to program synth patches by ear. With almost 200 lessons, combining video demonstrations with interactive challenges, you’ll get hands on experience programming patches on a built-in soft synth and learn everything you need to know to start making your own sounds with ease.

Now comes with over 3 hours of Z3TA+ 2 video lessons!

Learn more and try it for free
 

Virtual Instruments: 5 Tips For The Z3TA+ Junkie

Here are some of our favorite Z3TA+ tips and videos from our archive:

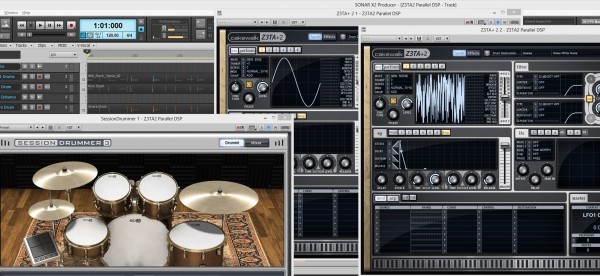
1. EDM Production – Enhance Your Drums with Z3TA+ 2

  • Insert two instances of Z3TA+ 2.
  • Copy your drum sequence to both Z3TA+ 2 tracks.
  • Isolate the Kick on one track and the Snare on the other.
  • Setup the first Z3TA+ 2 to generate a Sine Wave for the Kick.
  • Setup the second Z3TA+ 2 to generate White Noise for the Snare.
  • Adjust the Amplifier Envelope to match the duration of each hit.
  • Within Z3TA+ 2 add Reverb, Compression, and EQ.
  • Mix in under your existing Drum Loop.

2. How to Customize Z3tA+ 2’s Stock Arpeggios

Z3TA+ 2 comes packed with a massive pool of MIDI programs that power it’s internal Arpeggiator, but why stick to the stock programs when you can make your own?

Here’s how:

  • Open Z3TA+2 and activate the Arpeggiator Section
  • Right-Click on the sequence in the arpeggiator and make sure the following are checked
  • Auto Disable Pattern When Dragged to Host
  • Auto Fit Patterns to One Measure When Loaded
  • Load one of the Arpeggios from the Pattern menu
  • Drag and Drop the Arpeggios right into SONAR X2
  • Edit the MIDI Clip to your liking
  • Go to File > Save As
  • Select MIDI 0 in “Save as type”
  • Go to C:\Cakewalk Content\Z3TA+ 2\MIDI Arpeggios and Save it
  • Load it into Z3TA+2′s Arpeggiator by going to Pattern > Load MIDI File…

3. How to create a bass synth with Z3tA+ 2

Who doesn’t like bass? Especially synth bass. Z3TA+ 2 is the answer to all of your sound design needs especially when you are looking to improve your production in the low end. I’ve put together a short tutorial on how to make a simple bass synth inside of Z3TA+2. Once you understand how everything works together you’ll be able to really start to make this plugin work for you.

Picking the right Oscillators

Within Z3TA+2 the first section you need to start working with is the OSC section. First I’ve selected two different square waves for OSC 1 and 2. They were Vintage Square 1 and Vintage Square 2. When creating a bass synth you need to make sure that your patch will not break up in the low end so be sure not to drop the octaves on the individual oscillators too low. I typically set mine to -2 at the most. Once you get to a certain range the instrument will sound weak and lose it’s driving Bass Synth sound

[READ THE REST OF THE TIP HERE]

4. [VIDEO] Digital Sound Factory Z3TA+  Sound Design

5. [VIDEO] Mixing and Mastering a song using only the Z3TA+ effects engine in SONAR

The “Punch” Factor with Synthesizers

What exactly constitutes “punch”? Find out here

by Craig Anderton

We all know a punchy recorded sound when we hear it—but what exactly constitutes “punch”? It seems that perhaps punch is something that can not only be defined, but quantified.

This all started because years ago, I wondered why seemingly every musician agrees that the Minimoog has a punchy sound. Then, when I started playing a Peavey DPM3, several people commented that my bass patches had a punchy sound, “like a Minimoog.” Clearly, the technologies are totally different: one was analog, the other digital; one used voltage-controlled oscillators, the other sample playback. Yet to listeners, they both shared some common factor that was perceived as punchiness.

Analyzing a Minimoog bass line revealed something interesting: even with the sustain set to minimum, there was about 20-30 milliseconds where the sound stayed at maximum level before the decay began. There is no way to eliminate that short period of full volume sustain; it’s part of the Minimoog’s characteristic sound.

I then looked at the DPM3’s amplitude envelope and it exhibited the same characteristic—a 20-30 ms, maximum level period of sustain before the decay kicked in. Also, both instruments had virtually instantaneous attacks. Could this combination be the secret of punch?

For comparison, I then checked two synths that nobody considered punchy-sounding: an Oberheim OB-8, which is generally characterized as “warm” and/or “fat” but not punchy, and a Yamaha TG55. Both had fixed attack times, even with the attack control set to zero, that lasted a few milliseconds. I also recalled some experiments ex-Peter Gabriel keyboard player Larry Fast ran in the mid-70s, when he was curious how fast an attack had to be for a sound to be “punchy.” His research indicated that most listeners noticed a perceptible loss of punch with attack times as short as one or two milliseconds.

So it seems the secret of punch is that you need an extremely fast attack time, but you also need a bit of sustain time at maximum level. This sustain isn’t long enough to be perceived as sustain per se; it’s more of a psychoacoustic phenomenon.

Wondering if this same technique worked with other sounds, I took an unprocessed snare drum sound and tried to add punch by normalizing each cycle to the highest level possible for the first 20-30 milliseconds. Comparing the processed and unprocessed sounds left no doubt that the edited version had more punch.

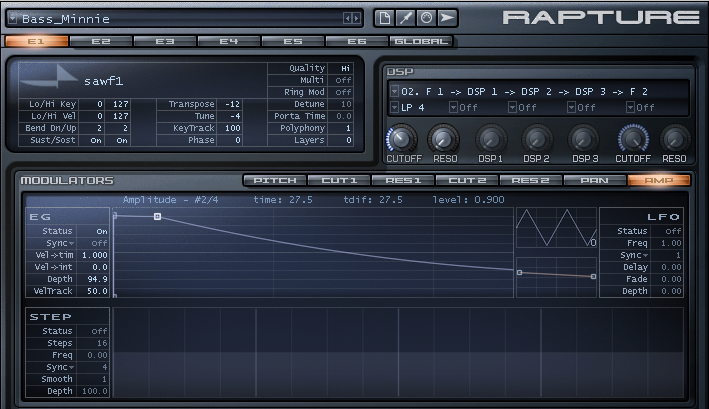
When I designed the Minimoog Expansion Pack for Rapture, I made sure that where appropriate, the envelopes had that characteristic Moog attack (Fig. 1). Note that the second node sustains the sound for 27.5 ms. Rapture’s tight attack time and ability to create “high-resolution” envelopes made it easy to add punch.

Fig. 1: Adding the “punch” factor to a Rapture Minimoog patch. Continue reading “The “Punch” Factor with Synthesizers”

Vocal Month: Extreme Vocals – Picking the Right Vocal Microphone Part III

Last but not least we engineered a session with Eric Alper, the lead vocalist for the Punk band “Knucklewagon” to see how these microphones performed under an extreme style of singing.

Screaming is common in Heavy Metal and Hardcore styles – both of which have a massive underground following throughout the world. If you’re into this style of music then you’ll understand that there is much value in understanding how the microphone you choose will later sit between the instrumentation of this type of music.

Listen intently on the way his vocals sit between the drums and heavy guitars. Keep in mind there is little to no processing on these vocals so that you can understand where the mic will naturally sit in the mix. For the most part, vocals in the extreme style tend to sit above the snare and close to the “crisp” sound of the guitars. It’s hard to reduce the harshness of this style of vocals with EQ – so pick a microphone that brings the aggression you need as well as a smooth dip in the 1K range.

Decisions, decisions…

As we stated in Part 2 of this series, it’s hard to shape your understanding of which microphone is the best due to the different styles that we’ve presented in this series. At this point you have to sit back and think about a few things.

  • What’s your price range?

  • Do you have a microphone that already does what you need to do?

  • Do you want 1 vocal microphone for everything?

  • Do you want options?

Think hard about these questions before making your purchase and try your own shootouts. Some places have trial periods that guarantee a date range of time that you can own the microphone, decide if you like it, and then return or exchange it. These are all great options when picking a microphone. Don’t let someone TELL you what you want. Figure it out for yourself and gather your own opinions.

Missed Part 1 & 2? Check them out here:

VOCAL MONTH: PICKING THE RIGHT VOCAL MICROPHONE PART I

VOCAL MONTH: BEATBOXING – PICKING THE RIGHT VOCAL MICROPHONE PART II

Want to learn more about SONAR X3? Check it out free for 30 Days.

Vocal Month: Beatboxing – Picking the Right Vocal Microphone Part II

To continue on our quest of choosing the right vocal microphone we tracked another style of vocals to help understand the caliber of the microphones for the shootout. Gene Shinozaki is a local Boston resident that performs on the streets and in the in the studio. You can subscribe to his page here. Here’s the beatboxing mic shootout that we did with him in less than 1 minute:

Interestingly enough, recording a beatboxer is a pretty useful way of understanding the true range of a microphone without having too much setup involved. Beatboxers use all different types of techniques to warp and skew their mouth in ways that span a wide frequency spectrum. Producers like Timbaland and the like will even use this on their tracks to enhance them.

A Beatboxing Perspective

Let’s look at the set of microphones from a beatboxer’s perspective now that we understand how they sound on a female vocalist. Continue reading “Vocal Month: Beatboxing – Picking the Right Vocal Microphone Part II”

How to use a vocal-double to enhance lead vocals

One of the toughest things about working with a lead vocal track is getting it to pop out, while allowing it to still sit in the track nicely in context with its surroundings [other tracks].  Every mixing engineer has her/his bag of tricks, but here are a few ideas to utilize a “vocal-double” which may help support and embellish the lead vocal track.  For this demonstration I am using the lead vocal track of NBC’s The Voice Season 1 winner Javier Colon.  Note that you can click on images to get a bigger perspective.

Continue reading “How to use a vocal-double to enhance lead vocals”