8 Steps for Comping The Perfect Vocal Take

Comping is a term used for editing multiple instances of the same performance together into one flawless track. Cakewalk has adapted this functionality in order to bring this kind of workflow right to the fingertips of every SONAR X3 user. Within this article I am going to show you my own workflow for comping together a vocal track.

1. Create Markers for the different sections of your song. This should have been done during the actual recording. As I’ve stated in other posts, it’s really important to label your sections so that you can move from one place to another without a second thought. Fast paced environments are not very forgiving when the engineer loses their spot. It creates distractions and impedes the artist’s or group’s concentration.

2. Identify the individual sections of the song with split points so that you can understand where each section edit starts and ends. This works in tandem with Markers to help isolate the larger sections of the song. Simply expose your take lanes by using the short-cut Shift+T, expand the track height of the takes, and then click and swipe on the lower half of your audio regions to make split points.

Clicking and swiping can be viewed here Continue reading “8 Steps for Comping The Perfect Vocal Take”

SONAR X3 Quicktip: Drum Replacement with ARA Integration and Addictive Drums (Producer)

Within SONAR X3 converting Audio to MIDI has never been easier thanks to our deep ARA integration. This opens up many doorways for users to convert their mono audio tracks to MIDI. One great use case for this is replacing drums or adding samples to your drum tracks to enhance their sound.

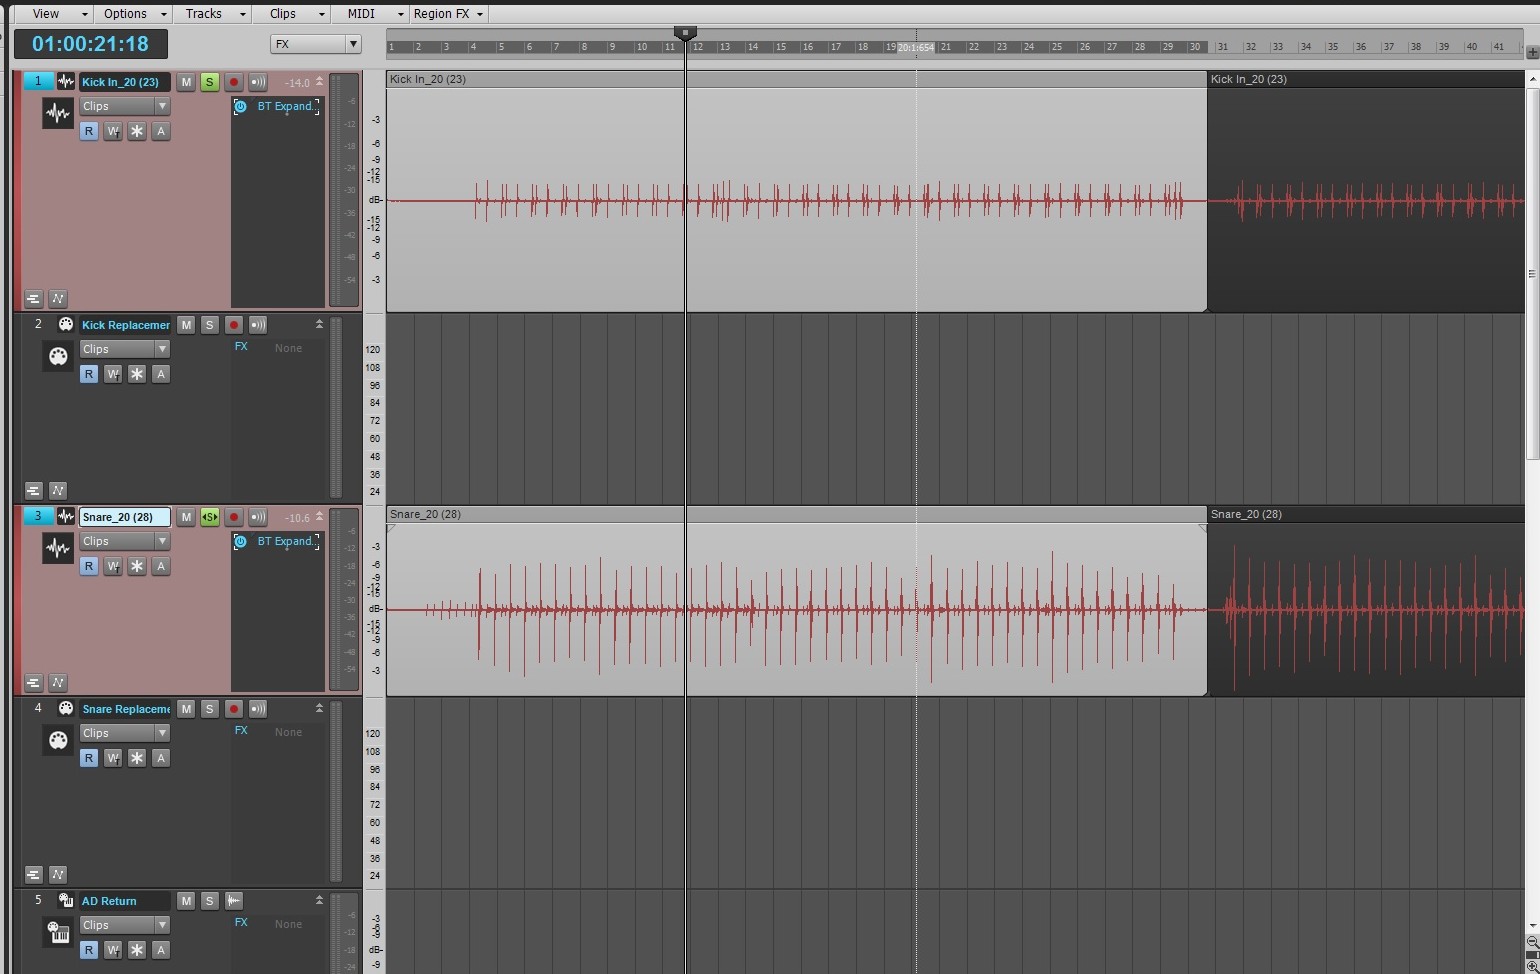
Within SONAR open up your Kick and Snare tracks.

Add a MIDI track below each audio track that you wish to replace.

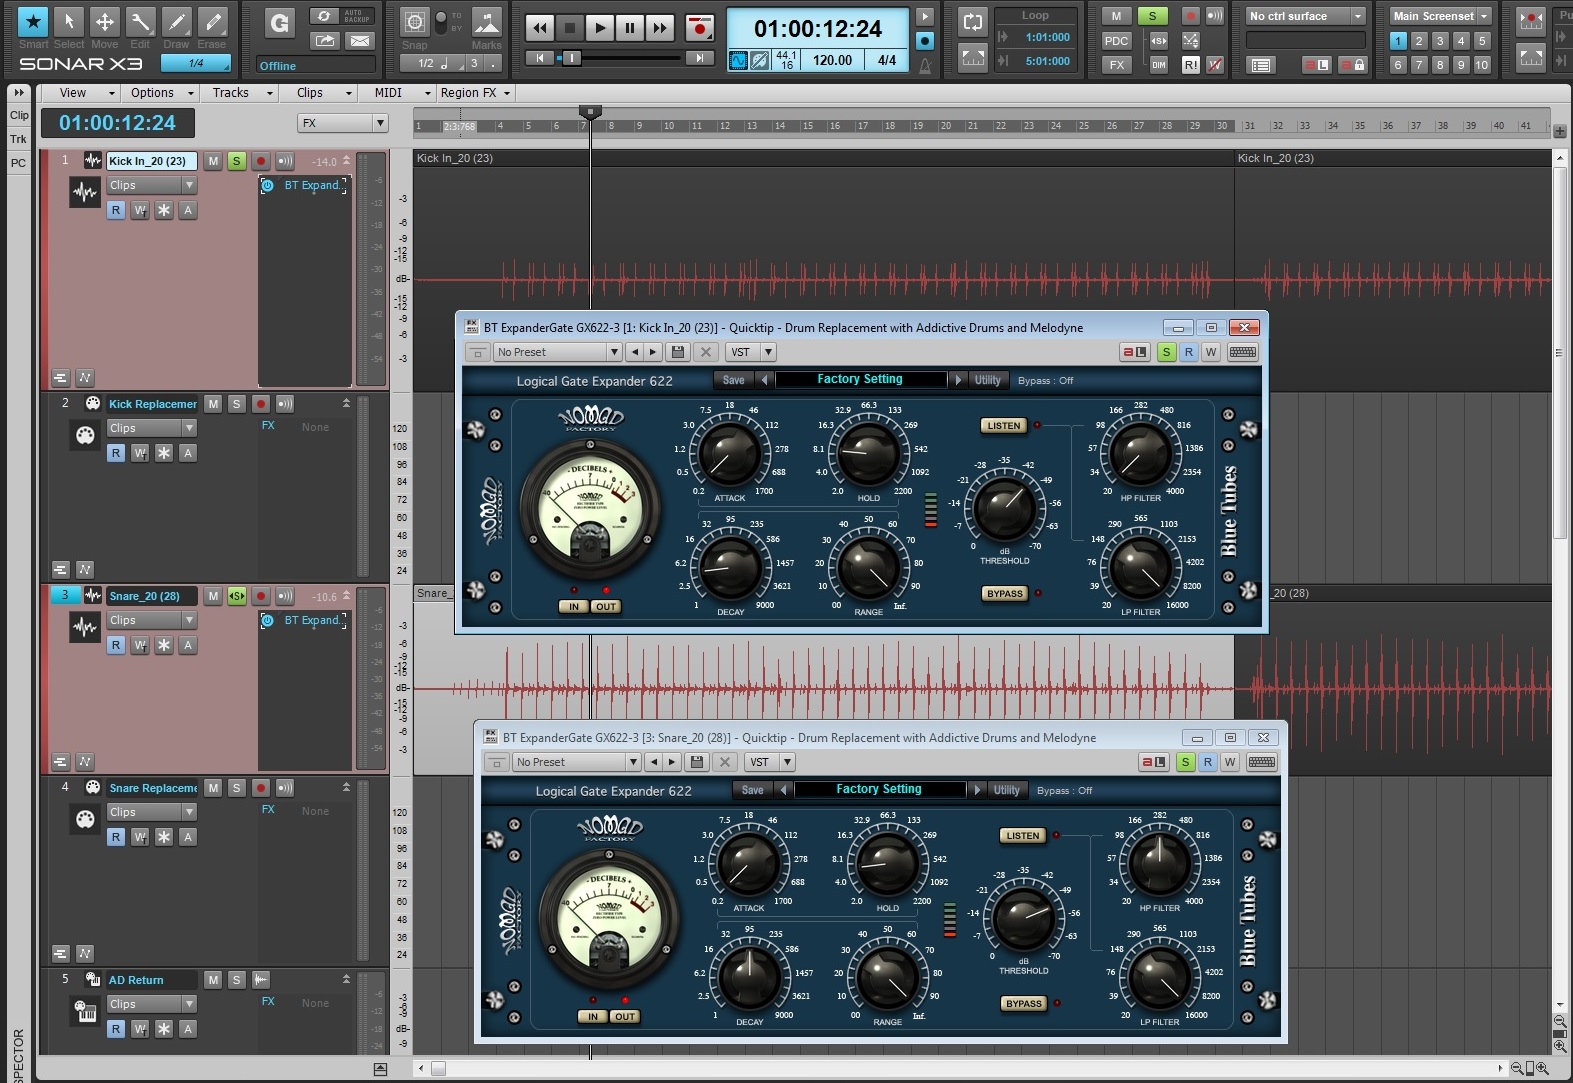
Add our new Logical Gate/Expander to both the Kick and Snare and adjust the effect so that instruments are heavily gated and sound like the following:

After this, Freeze both tracks.  This is going to render the Kick and Snare tracks with the gates embedded in the audio tracks.

Next, latency.  Let’s drop the latency to the lowest settings. Go to Edit > Preferences > Driver Settings and set your latency low. This will help with timing.

  • If you are using MME (32bit) set your latency closer to [Safe].
  • If you are using ASIO then select [ASIO Panel] and set your buffer size very low.

Drag and drop your kick and snare tracks to their associated MIDI track. Conversion will occur.

Next up, open the PRV and move your MIDI Clips to the drum you wish to use. You can highlight the entire row of MIDI clips by selecting their associated piano key and transpose them easily by going to Process > Transpose.

Once this is done insert Addictive Drums. Make sure to have the following ticked after selecting Insert > Soft Synth > Addictive Drums:

  • First Synth Audio Output
  • Synth Property Page
  • Recall Assignable Controls
  • Ask This Everytime

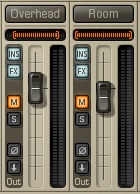
Mute the Room and OH microphones within Addictive Drums.  This reduces any additional ambiance.

Workflow Tip: It’s good practice to do this type of replacement section by section at first so that you can get an idea of how it works.

Mix these drums in behind your current mix.

Learn more about ARA Integration, Addictive Drums, and SONAR X3 Producer here.

SONAR X3 Quicktip: Focus the Low end of your Kick and Snare with a Program EQ

Program Equalizers have been around since the 1950’s and in SONAR X3 Studio and Producer users will receive two of these incredibly emulated modules.

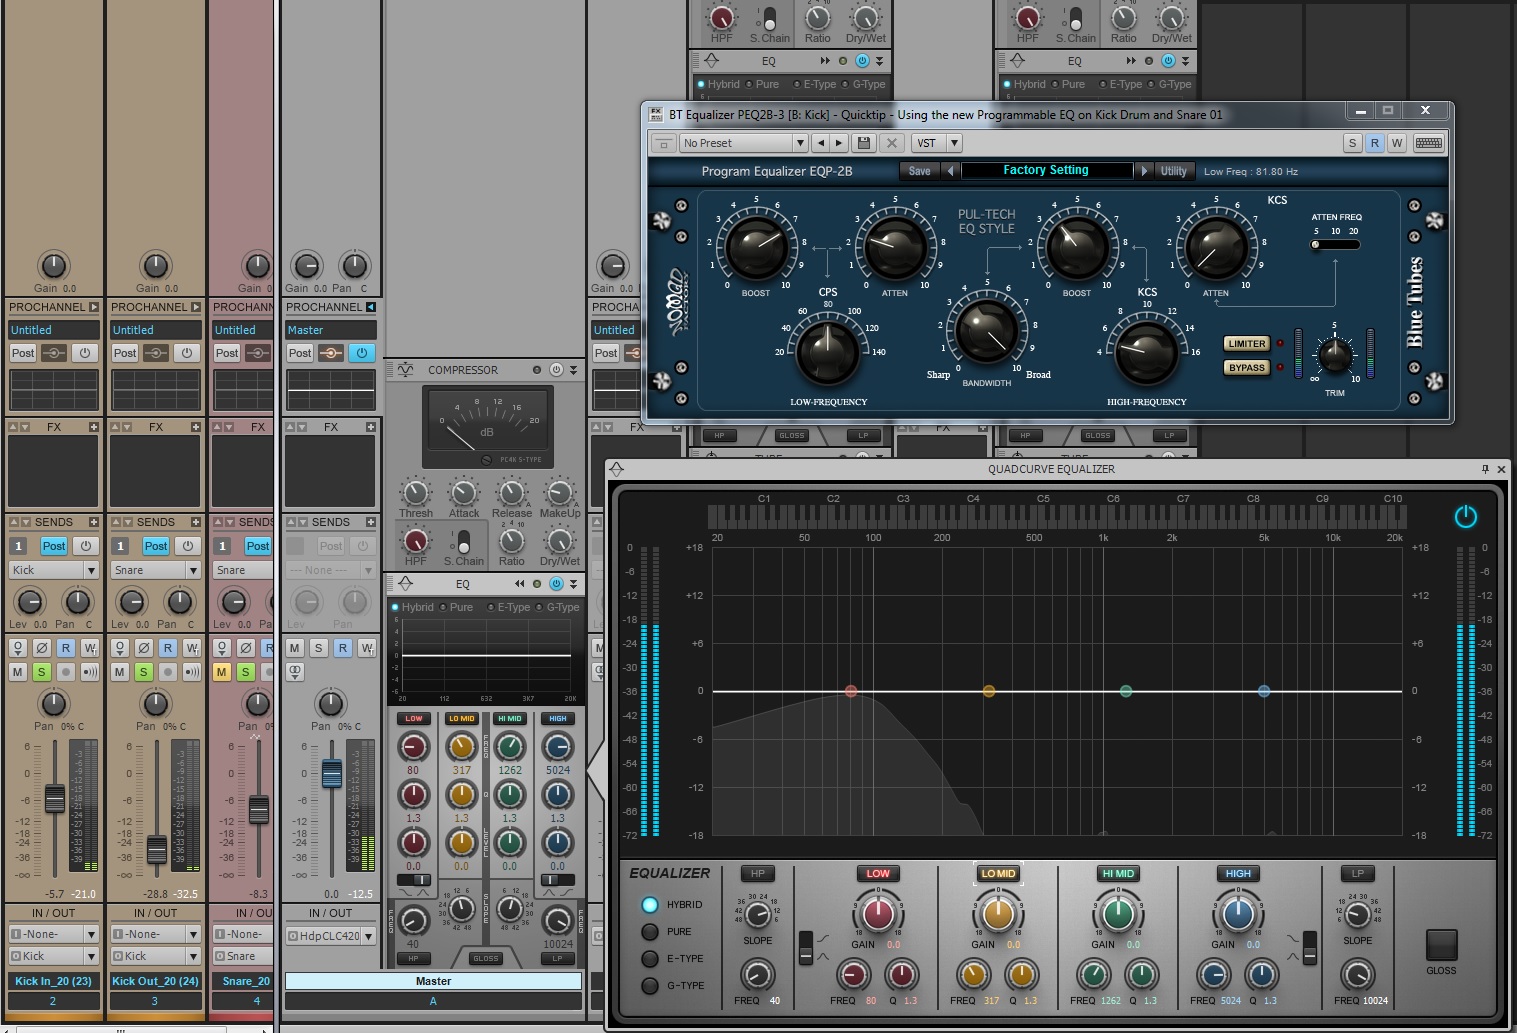
Let’s take a look at what the new Program Equalizer EQP-2B can do for our kick drum. You’ll notice that we have the ability to both boost and cut the same frequencies on this EQ. Choose a low frequency from the variable adjustment and then begin increasing the Boost parameter.  Increase it all the way and your kick drum signal will become quite overpowering. Adjust the Attenuate knob and the signal will begin to smooth out and focus your signal a bit better.

For this country kick drum I picked 80Hz for the low end and boosted the signal to it’s ceiling.  Next, I adjusted the Attenuate knob to it’s lowest setting. This effectively sharpens out the boosted signals and gives the signal a unique focus in the lower spectrum. After that, I adjusted for clarity and the end result is very useable.

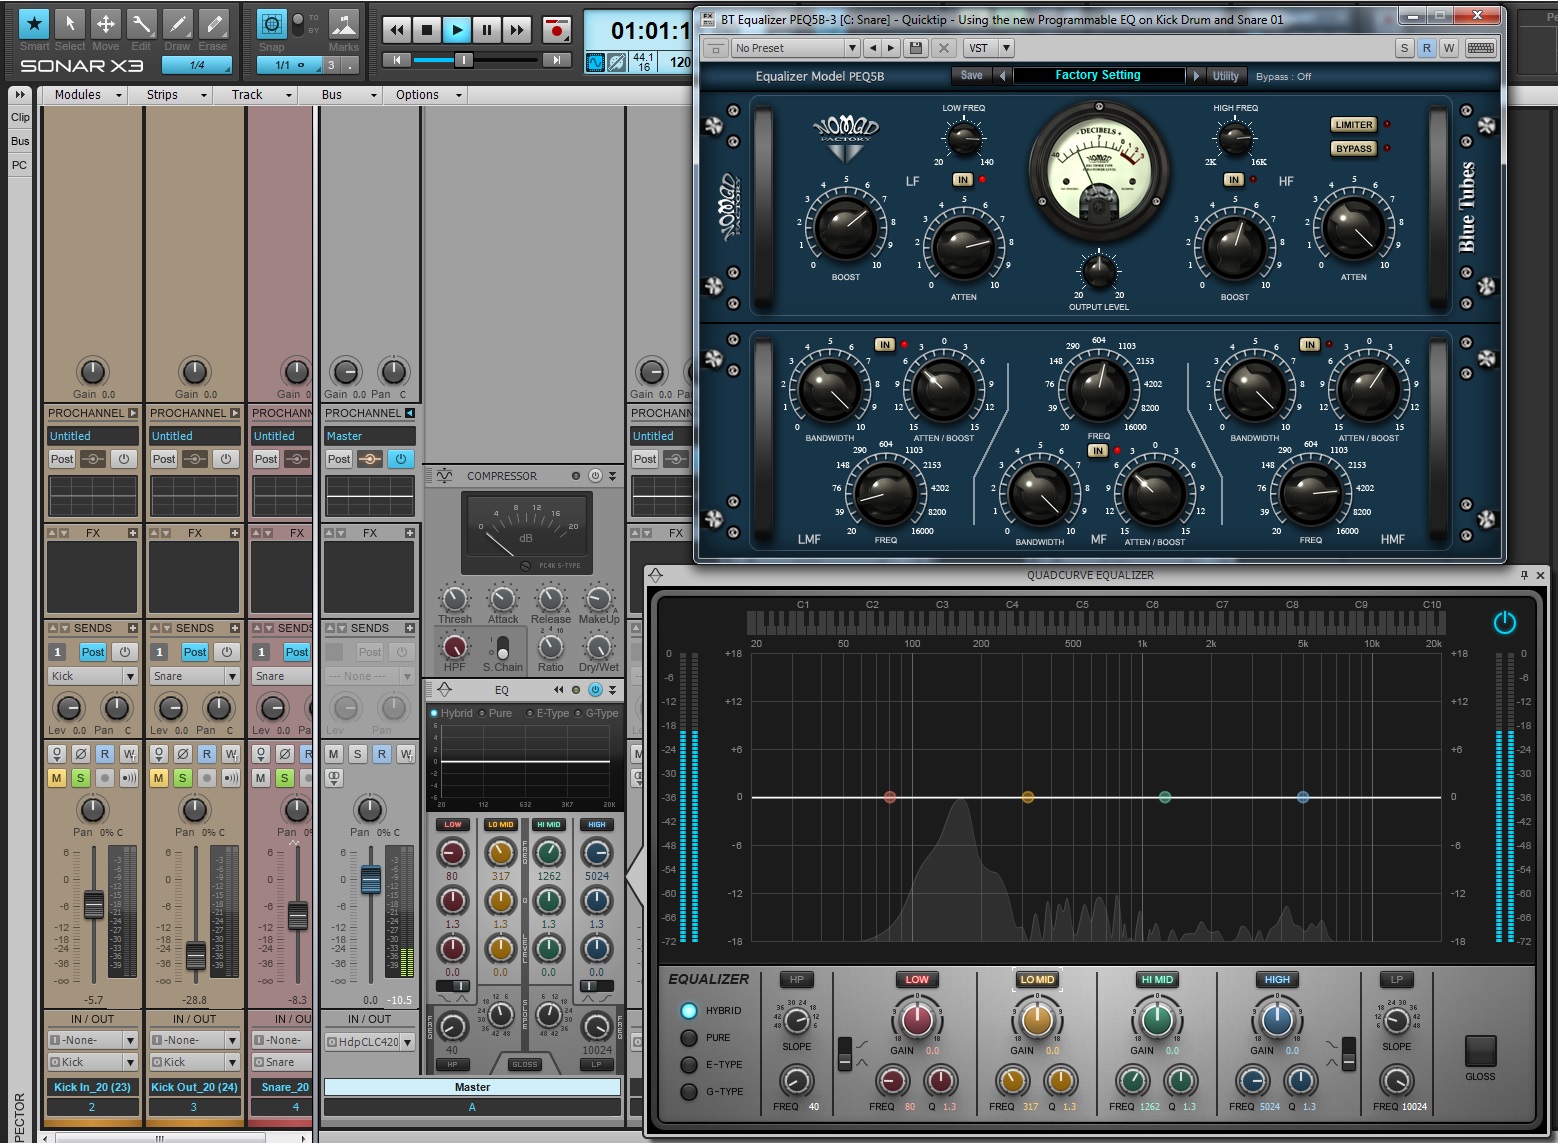
Moving to the snare, user’s can get the same effect using the PEQ5B.  This has some of the same algorithms as the EQP-2B but with an added EQ section in the bottom of the plugin. At first listen the Snare sounds a bit boxy and grainy in the low and mid-range.

I applied a sharp reduction around 50HZ with the Low Shelving EQ and then another sharp cut around 800Hz.  This seemed to make all the difference. Afterwards, I moved to the upper half of this EQ and applied the same thinking that I did to the Kick but instead I focused the EQ to around 122HZ.  This will allow the snare to get out of the way of the Kick.  Next, boosting and then attenuating the signal seemed to focus the shape of the Snare right where I needed it.

Learn more about these plugins and SONAR X3 here.

EDM Production Tip: Ducking Synth Melodies using Sidechaining

Ducking is a popular technique used in EDM music to apply percussive processing to pads, leads, and bass lines using side-chains on compressors. This technique is also used as a method for getting bass and drum passages to subtly fit together in mixes. In order to successfully apply ducking to your track you must have the following:

  • Compressor inserted on a pad or lead track with side-chain capabilities
  • Percussive source to key the side-chain

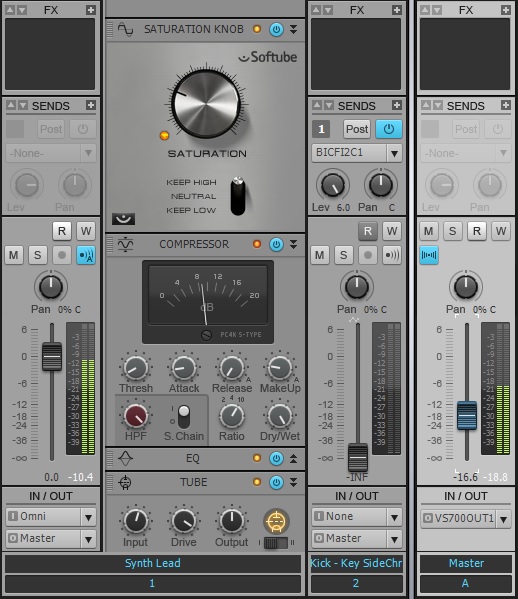
First, grab a kick drum sample and align it to the desirable rhythm you need.  Next, insert a compressor onto your synth lead or pad track.  Afterwards insert a send on the sampled kick drum track and set the send to “Pre-fader”. In SONAR, deselecting the [Post] button enables pre-fader sends.  Mute the kick drum sample and turn up the gain on the send.

Once you have the signal flow set, enable the Sidechain on the Compressor.  Now, every time the kick drum sample plays the Side-Chain will trigger the compressor and “Duck” the signal.  You can set the compressor using the Threshold, Attack, and Release settings to shape the kind of effect you want.

Try it yourself with the SONAR X2 Producer free 30-Day trial.

The Distance Effect: How to make audio sound far away using Reverb

Creating distance in a mix or sound design project often results in the use of a distance effect.  This effect can make anything sound as if it’s 50 ft away, and is quite easy to setup.

1) Insert a pre fader send onto an audio track. Within just about every DAW and/or mixing board there is a setting on the Sends sections called “Pre”.  Within SONAR this setting is enabled when the “Post” button on the send is deactivated.

2) In SONAR, I right-click on the Sends area in the console view and select “New Stereo Bus”.

3) Rename the bus “Distance Effect”. Now my audio is routed to this Bus. It’s often good practice to label your buses, or else mixes become confusing to work with.

4) Insert an instance of Reverb onto that bus. In this example I used BREVERB SONAR and called up a Plate preset.

5) Mute the audio track and hit play.


To read more about BREVERB SONAR check out Breverb: A 2013 Sound Design Odyssey on our Knowledge Base.

Try the BREVERB ProChannel Module for free – Download the SONAR X3 Producer Trial

How to make your Kick and Snare sound more aggressive using compression

Compression can be used in many different formats but one of the most useful methods is for adding an aggressive sound to your Kick and Snare. A typical compressor’s settings involve Threshold, Attack, Ratio, and Release.

  • Threshold is a setting in decibels. Once it senses that audio surpasses the set decibel level it activates the compressor.

  • Attack is a measurement in milliseconds for how fast the compressor should begin compressing audio that exceeds the set threshold.

  • Ratio is the amount of gain reduction applied to the compressed signal.

  • Release tells the compressor how fast to stop compressing the signal once the threshold is no longer exceeded.


By setting the Attack and Release times relatively fast it allows for each drum’s initial hit to sound and then afterwards reduce the audio transient in gain. From our ears’ perspective, each hit sounds more aggressive.

Pictured above: The ProChannel in SONAR X2 Producer.  Try it free!

9 Life Lessons That I've Learned as a Freelance Producer

1. Never be the reason why things are taking forever. If mixes, stems, vocal comps, or those types of things take longer, then so be it; but make sure it’s because you were waiting on the artist and not the other way around.  The people that wait on you are the artists who carry your good name.  You don’t want your name associated with rolling eyes and snickering remarks.  You depend on your work to get more work, and that is honestly how this business goes.

2. You can always learn more about the process, about the experience, about the mic positioning, about the way you handle an artist, or how you handle yourself.  Maybe you figured out how many hours you can stay up straight without noticing the time go by.  Or, maybe this time you were able to consciously sit back and say “Ok guys, that’s a wrap, we’re not getting any more done tonight.” If you have an ego, make sure that it’s because you have a few Grammys in your back pocket and not because you’ve been “around.” Never stop learning and you will continue to hone your skills as a producer and an individual.
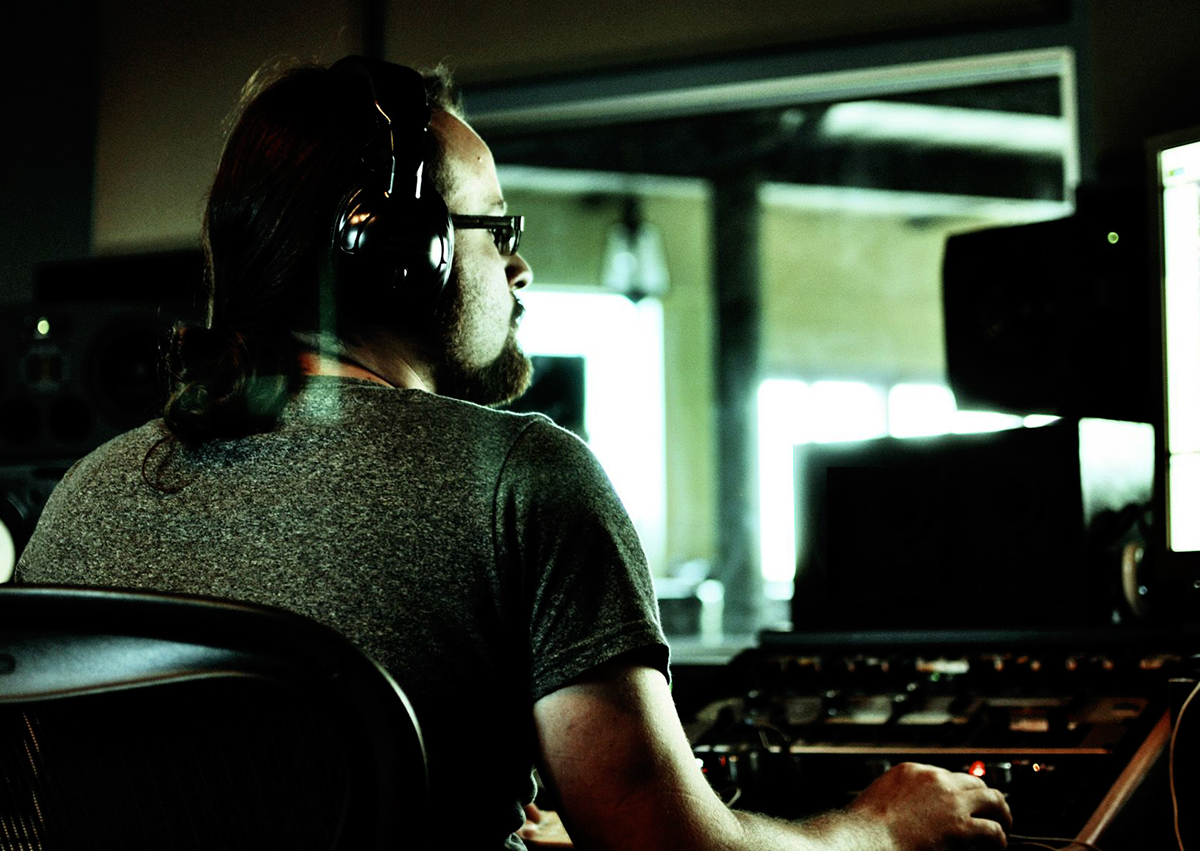
Dan in Studio3. Pre-production is key to making deadlines.  It all happens to us, sometimes there are things that just take a backseat and never get done.  The singer you thought was going to be your saving grace was actually slacking off because you were blinded by your “trust” in his/her ability to prepare things on their own time. There are occasions where unforeseen things will happen and it’s inevitable that your prospective finish date will get delayed. Sometimes your artist is having a hard time and is going through some personal things that can’t be resolved immediately.  It’s your job as the producer to carry on and get things done the best you can in the time frame that is given.

4. Get your personal life in order first before you go off and think you can spend a week in the studio.  Make sure you know that you can be gone for long hours at a time and that you aren’t just leaving someone hanging out to dry on something else you were working on.  The worst thing that can happen is that you have to leave the studio for a personal reason . “Oh, I have to pay my rent – be right back” will not cut it, and will most likely result in losing the gig.

5. Ask yourself, “Do I really like what I’m working on,” because if you don’t, then you won’t care about it enough.  Once you stop caring about something you let things fall through the cracks.  You let yourself cut corners where obvious issues stand.  Sometimes you let yourself completely crash and burn and start to wonder what happened in the beginning that caused a massive spiral of bad events.  Was it because you didn’t care enough?  Was it because you didn’t ask yourself some honest questions about how you feel?  Take a night and sleep on those massive decisions. They are what define you and your work.

6. Take a step back and acknowledge what you will gain from your next project or your next big endeavor. Think about what every project is going to do for you in 5 years and then make a decision. Do you think your next big project will make you look bad? Do you think your next big project is a stepping stone or just a paycheck?  What do you think you could learn?  These are questions that you need to weigh.

7. You’re going to make big mistakes no matter what you do or how you swing it.  At one point in time you’re going to miss a fine detail, blast someone’s ears in the studio, say the wrong thing to the wrong person, or offend someone without knowing it.  This might even cost you the gig. The point is that you learned from this experience and more importantly, it will never happen again.

8. Plan your budget out as early as humanly possible.  Don’t just say “Yeah, studio time is going to cost ‘this much,’ my tracking fee is ‘this’ per hour.” No, sit back and write out every fee, every move, every drop of gas down so that you have a realistic idea of how to get from point A to point B. How do massive productions that tour around the world for years at a time stay profitable? It’s because of a budget. Live by it. Figure out how your artist or group is going to spend it. Once the money runs out it’s more or less coming out of your pocket. See “3” for more details on that.

9. Figure out your end game and don’t let anything stand in it’s way.  It only takes a few small tweaks to your life to get you one step closer to your ideal job.  Do them one at a time and don’t stress if you make a mistake early on.  That’s part of the learning process. You can’t look at your life and directly compare it to where you want to be, that’s just overwhelming and unrealistic.  What you can do is find a professional who is doing exactly what you want to be doing and learn from them. Listen to their records, email them, read their blogs, and listen to their interviews.

Blue Cat Audio Analysis Plugins – Worth A Closer Look

The highly flexible, unique Blue Cat Audio plugins are now available at the Cakewalk Store. Find out how these critically-acclaimed plugins make comparing your audio tracks to reference material and to each other a breeze and how nearly any component—peaks, RMS, crest factor, even isolated frequency bands—can become a key signal for advanced sidechaining.

Blue Cat’s Analysis Pack
At first glance, the plugins in the Blue Cat Analysis Pack seems fairly self-explanatory: Blue Cat’s DP Meter Pro is a digital peak meter, Blue Cat’s FreqAnalyst Multi and Blue Cat’s FreqAnalyst Pro are spectrum analyzers, Blue Cat’s Oscilloscope Multi renders waveforms and Blue Cat’s StereoScope Multi and Blue Cat’s StereoScope Pro are stereo image visualizers. Their included histograms, 3D and 2D spectrograms, envelope graphs, XY and different views may be no surprise, either. However, what their names do not make clear is their capability to generate control data from the dynamics and spectra of your audio. Use them with a dynamics processor to get nearly infinite sidechaining possibilities.

Blue Cat Analysis Pack
Image © Blue Cat Audio

You may be wondering what the difference Continue reading “Blue Cat Audio Analysis Plugins – Worth A Closer Look”

How Building Cost Effective Acoustic Treatment for the Music Studio Will Help Your Music Production; Final Links and Video

A 3 Part Resource for D.I.Y. Acoustic Sound Treatment and Room Development

As a conclusion to my series on Building Cost Effective Acoustic Treatment, I wanted to put a link to all three articles in one place along with a “before and after” video.  I also wanted to put this up on our forum in one place in case anyone has any questions about what I did with my studio.  If you are planning on trying to save some money by building your own acoustic treatment panels these three articles are worth reviewing.

Part 1: Building a sound cloud over your mix position

Part 2: Building corner traps

Part 3:  Building wall panels

The effort to build all this acoustic treatment was not minimal, but well worth it.  Besides saving a lot of money I was able to customize the panels so that they fit the room well.  Using the QuadCurve EQ which comes with SONAR X3Producer is where I can really tell the difference in my environment.  The QuadCurve EQ is very advanced and allows the user to surgically tailor frequencies.  Now that I have my room treated properly, I can really hear the difference between the EQ modes.

So the first step is to get going with a version of the SONAR X3 family, and then do your homework and figure out the best listening environment FOR YOU.