Vocal Month: Extreme Vocals – Picking the Right Vocal Microphone Part III

Last but not least we engineered a session with Eric Alper, the lead vocalist for the Punk band “Knucklewagon” to see how these microphones performed under an extreme style of singing.

Screaming is common in Heavy Metal and Hardcore styles – both of which have a massive underground following throughout the world. If you’re into this style of music then you’ll understand that there is much value in understanding how the microphone you choose will later sit between the instrumentation of this type of music.

Listen intently on the way his vocals sit between the drums and heavy guitars. Keep in mind there is little to no processing on these vocals so that you can understand where the mic will naturally sit in the mix. For the most part, vocals in the extreme style tend to sit above the snare and close to the “crisp” sound of the guitars. It’s hard to reduce the harshness of this style of vocals with EQ – so pick a microphone that brings the aggression you need as well as a smooth dip in the 1K range.

Decisions, decisions…

As we stated in Part 2 of this series, it’s hard to shape your understanding of which microphone is the best due to the different styles that we’ve presented in this series. At this point you have to sit back and think about a few things.

  • What’s your price range?

  • Do you have a microphone that already does what you need to do?

  • Do you want 1 vocal microphone for everything?

  • Do you want options?

Think hard about these questions before making your purchase and try your own shootouts. Some places have trial periods that guarantee a date range of time that you can own the microphone, decide if you like it, and then return or exchange it. These are all great options when picking a microphone. Don’t let someone TELL you what you want. Figure it out for yourself and gather your own opinions.

Missed Part 1 & 2? Check them out here:

VOCAL MONTH: PICKING THE RIGHT VOCAL MICROPHONE PART I

VOCAL MONTH: BEATBOXING – PICKING THE RIGHT VOCAL MICROPHONE PART II

Want to learn more about SONAR X3? Check it out free for 30 Days.

Vocal Month: Beatboxing – Picking the Right Vocal Microphone Part II

To continue on our quest of choosing the right vocal microphone we tracked another style of vocals to help understand the caliber of the microphones for the shootout. Gene Shinozaki is a local Boston resident that performs on the streets and in the in the studio. You can subscribe to his page here. Here’s the beatboxing mic shootout that we did with him in less than 1 minute:

Interestingly enough, recording a beatboxer is a pretty useful way of understanding the true range of a microphone without having too much setup involved. Beatboxers use all different types of techniques to warp and skew their mouth in ways that span a wide frequency spectrum. Producers like Timbaland and the like will even use this on their tracks to enhance them.

A Beatboxing Perspective

Let’s look at the set of microphones from a beatboxer’s perspective now that we understand how they sound on a female vocalist. Continue reading “Vocal Month: Beatboxing – Picking the Right Vocal Microphone Part II”

Vocal Month: Picking the right Vocal Microphone Part I

Having a go-to microphone is always a great policy to have, but understanding the way specific microphones sound and perform is an even greater depth of knowledge every engineer or aspiring engineer should understand. To a trained ear – different microphones sound drastically different in character, response, and tone. The best way to start understanding these differences is easier thank you think. Start comparing microphones – and get nerdy about it!

Here’s our own Cakewalk microphone shootout displaying 5 different microphones on Ingrid Gerdes.

Continue reading “Vocal Month: Picking the right Vocal Microphone Part I”

Beatboxing – Watch What Happens to the Frequency Analyzer in SONAR X3

Within the Vocal world  there are all different styles of singing and beatboxing is one of the more complex and percussive styles that the human voice can produce. Typically there is a single frequency range that vocalists stay within but beatboxers span the entire frequency range to achieve the sounds that come from their mouth. Check out this video with a local Boston street performer as he shows us how it’s done:

Wanna try the QuadCurve EQ? Check out SONAR X3 30 Day Trial

How to use a vocal-double to enhance lead vocals

One of the toughest things about working with a lead vocal track is getting it to pop out, while allowing it to still sit in the track nicely in context with its surroundings [other tracks].  Every mixing engineer has her/his bag of tricks, but here are a few ideas to utilize a “vocal-double” which may help support and embellish the lead vocal track.  For this demonstration I am using the lead vocal track of NBC’s The Voice Season 1 winner Javier Colon.  Note that you can click on images to get a bigger perspective.

Continue reading “How to use a vocal-double to enhance lead vocals”

5 Easy Ways to Improve Vocal Recordings in Your Home Studio

Building your home studio can be a tricky task – especially when you feel that the quality of the space that you record in barely contends with what the pro’s would use. Fear not, there are solutions for making your home studio (or to some: bedroom) a comfortable place to produce high-quality recordings. Here are 5 easy ways to improve your home studio’s vocal recordings.

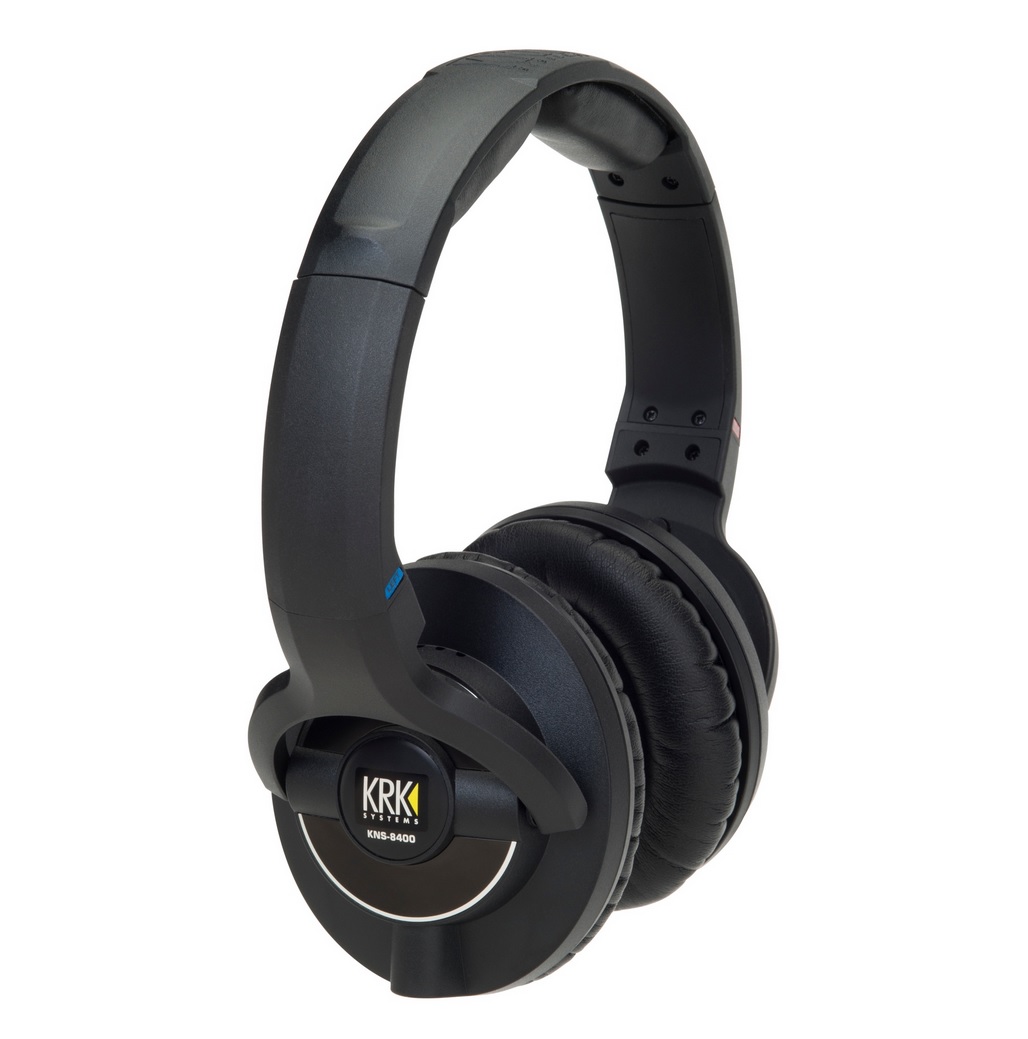
1. Studio Headphones

This goes without saying. Make sure you can supply your client(s) with a decent pair of headphones so that they can properly monitor the mix and record over backing tracks. Get at least 2 pairs in case the band’s producer or guitarist wants to follow along to the recording. You don’t need a pair of $400 headphones to get the client what they need to record.

2. Talk-back Functionality

Talk-back is a term used to describe a dedicated microphone that is activated when an engineer wants to speak to a performer in another room between takes. The talk-back microphone is typically routed directly into the headphone mix so that you can easily activate it and deactivate it without any real patching involved. Having this type of functionality in your home studio can improve the flow of the recording session and make the communication between you and the performer a seamless task.

3. Pop Filter/Vocal Shield


In the audio world there are different terms for just about everything. An important term to know is “plosive”. This is the sound a singer makes when they pronounce the letter “P”. This sound causes microphones to pop due to a high stream of controlled air that leaves the singer’s mouth. These pops are typically full of a low-end and can cause irregularities in the fidelity of the vocal track. Pop Filters and Vocal Shields can be used to break up that air and protect the quality of the signal so that your vocal is clean and even throughout.

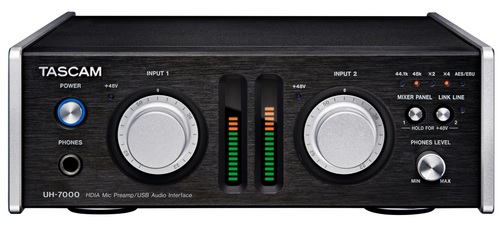
4. Pre-amp

Nice pre-amps can come at a high cost, but if you’re only recording vocals at your home-studio then it’s worth the investment. Pro-sumer all-in-one devices are built to give the buyer as much bang for their buck as possible. This typically means cramming as many inputs and outputs into a signal 1U rack and charging barely anything for it. This is great until you realize that the Pre-amps are noisy and barely have any character. Do yourself a favor and try out a nice pre-amp to understand the difference in quality. If you can demo one out, then do it! Or better yet, nicely as a friend to borrow their nice gear. It will go a long way in the quality of your recordings.

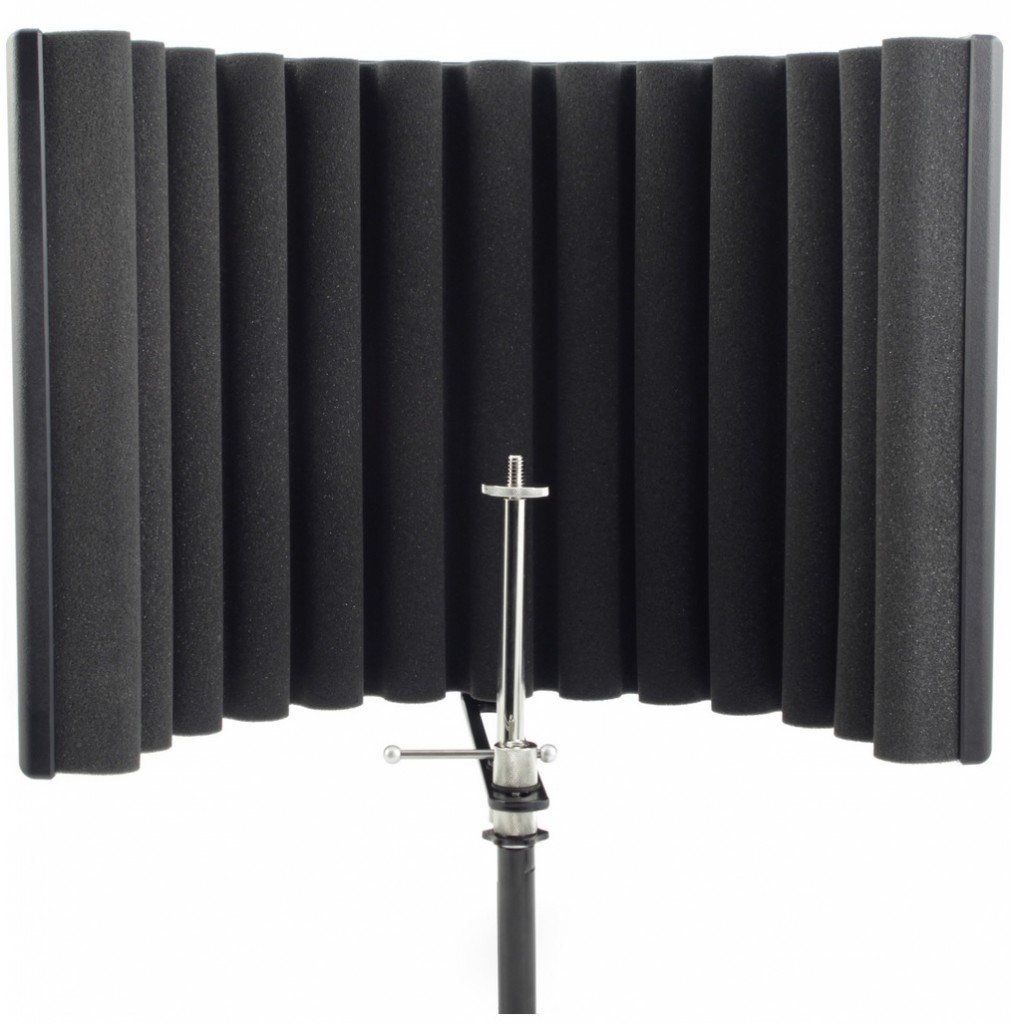
5. Portable Vocal Booth

The room in which you record in will be as much a part of the recording as the singers voice. This can work in your favor and can also work against you. If you’re recording in a room surrounded by untreated drywall then you may not receive the quality sound you expected. Untreated rooms reflect sound back and fourth and even back into the microphone. These sound artifacts can be detrimental to the sound and cause the vocal recording degrade in quality. A great way to help alleviate this from happening is to get yourself a portable vocal booth that will help isolate the singers voice from reflecting off neighboring walls and back into the microphone. These are inexpensive and can go a long way.


Vocal Month: Creating Vocal Harmonies with Melodyne Essential

Can’t quite hit the high or low notes? Melodyne usually can.

by Craig Anderton

If you don’t have a wide vocal range, you have to choose a vocal’s key very carefully—the low parts can’t go below your range, and if you’re going to hit the harmony notes, you have to pay attention to where the highest notes fall as well. Unfortunately the voice sometimes loses power when you start hitting your lower limits, but if you choose the best possible range for your lead vocal then you may have a hard time hitting the harmony’s high notes. What’s a singer to do?

My solution is to choose the optimum key for the lead vocal, then reach for Melodyne Essential to synthesize the harmonies. Most of the time I can hit the harmonies so I’ll sing them “for real” and bring in Melodyne as needed, but I’ve also found merit to using Melodyne to generate the harmony even if I can hit the notes—it gives a different character that works well in some musical contexts.

Creating Harmonies

Generating harmonies requires some manual effort, but it’s worth it.

1. Clone the lead vocal.

2. Create a Melodyne Region FX for the clone.

3. Solo the lead vocal and clone (Dim Solo can be useful for this application so you can hear the vocals in context).

4. Start adjusting the clone’s blob pitches to create the harmony (Fig. 1).

Fig. 1: Thanks to a paint program’s transparent layers, colorization, and cut and paste, this shows the harmony line (blue) superimposed on the lead vocal.

Usually the easiest way to do this is by ear, but if you’re theory-minded, you can always apply those rules to determine which pitches to use for the harmonies.

Additional Tips

I highly recommend choosing Edit > Pitch Grid > No Snap and adjusting the harmony pitch by ear. Snapping doesn’t always produce the most musical results.

Also, check out my article Easy Automatic Double Tracking with Melodyne Essential, which describes how to add slight timing and pitch variations to do automatic double tracking. Applying the same technique to the harmony line prevents it from “shadowing” the lead vocal, and helps the harmony establish itself as an independent entity.

There’s a video on my YouTube channel that uses Melodyne Essential for creating both ADT and the harmony effects described in this article. In fact, there’s only one vocal track in the entire song; all the others were derived from it using Melodyne.

Finally, I demoed this technique during the video I did at Berklee College of Music last March. You can see the video here.

Happy harmonizing!

BETTER TOGETHER: TRY SONAR X3 AND MELODYNE FOR FREE!